
The Design Goal
We always wanted a basement for our new house. The idea of building a new house on slab without one was foreign to us. Both my wife and I grew up in homes that had very active basement areas, with fond family and friend-related memories.
For both of us, basements were places to go for various games (board games, ping pong, pool, etc.), watching TV with family, a place for bulky exercise equipment, or just respite from hot summer sun.
And to improve the basement’s ‘livability’ we wanted it to have a 9′ ceiling height (we felt it made a big difference in our last house over a 7′ or even 8′ ceiling), with large windows facing south.
We also thought that window wells that were more open and expansive could help draw in the sun, hopefully making the space feel less like a dungeon and more like normal living space.
After exploring the options, including this line of products:
Spycor window wells
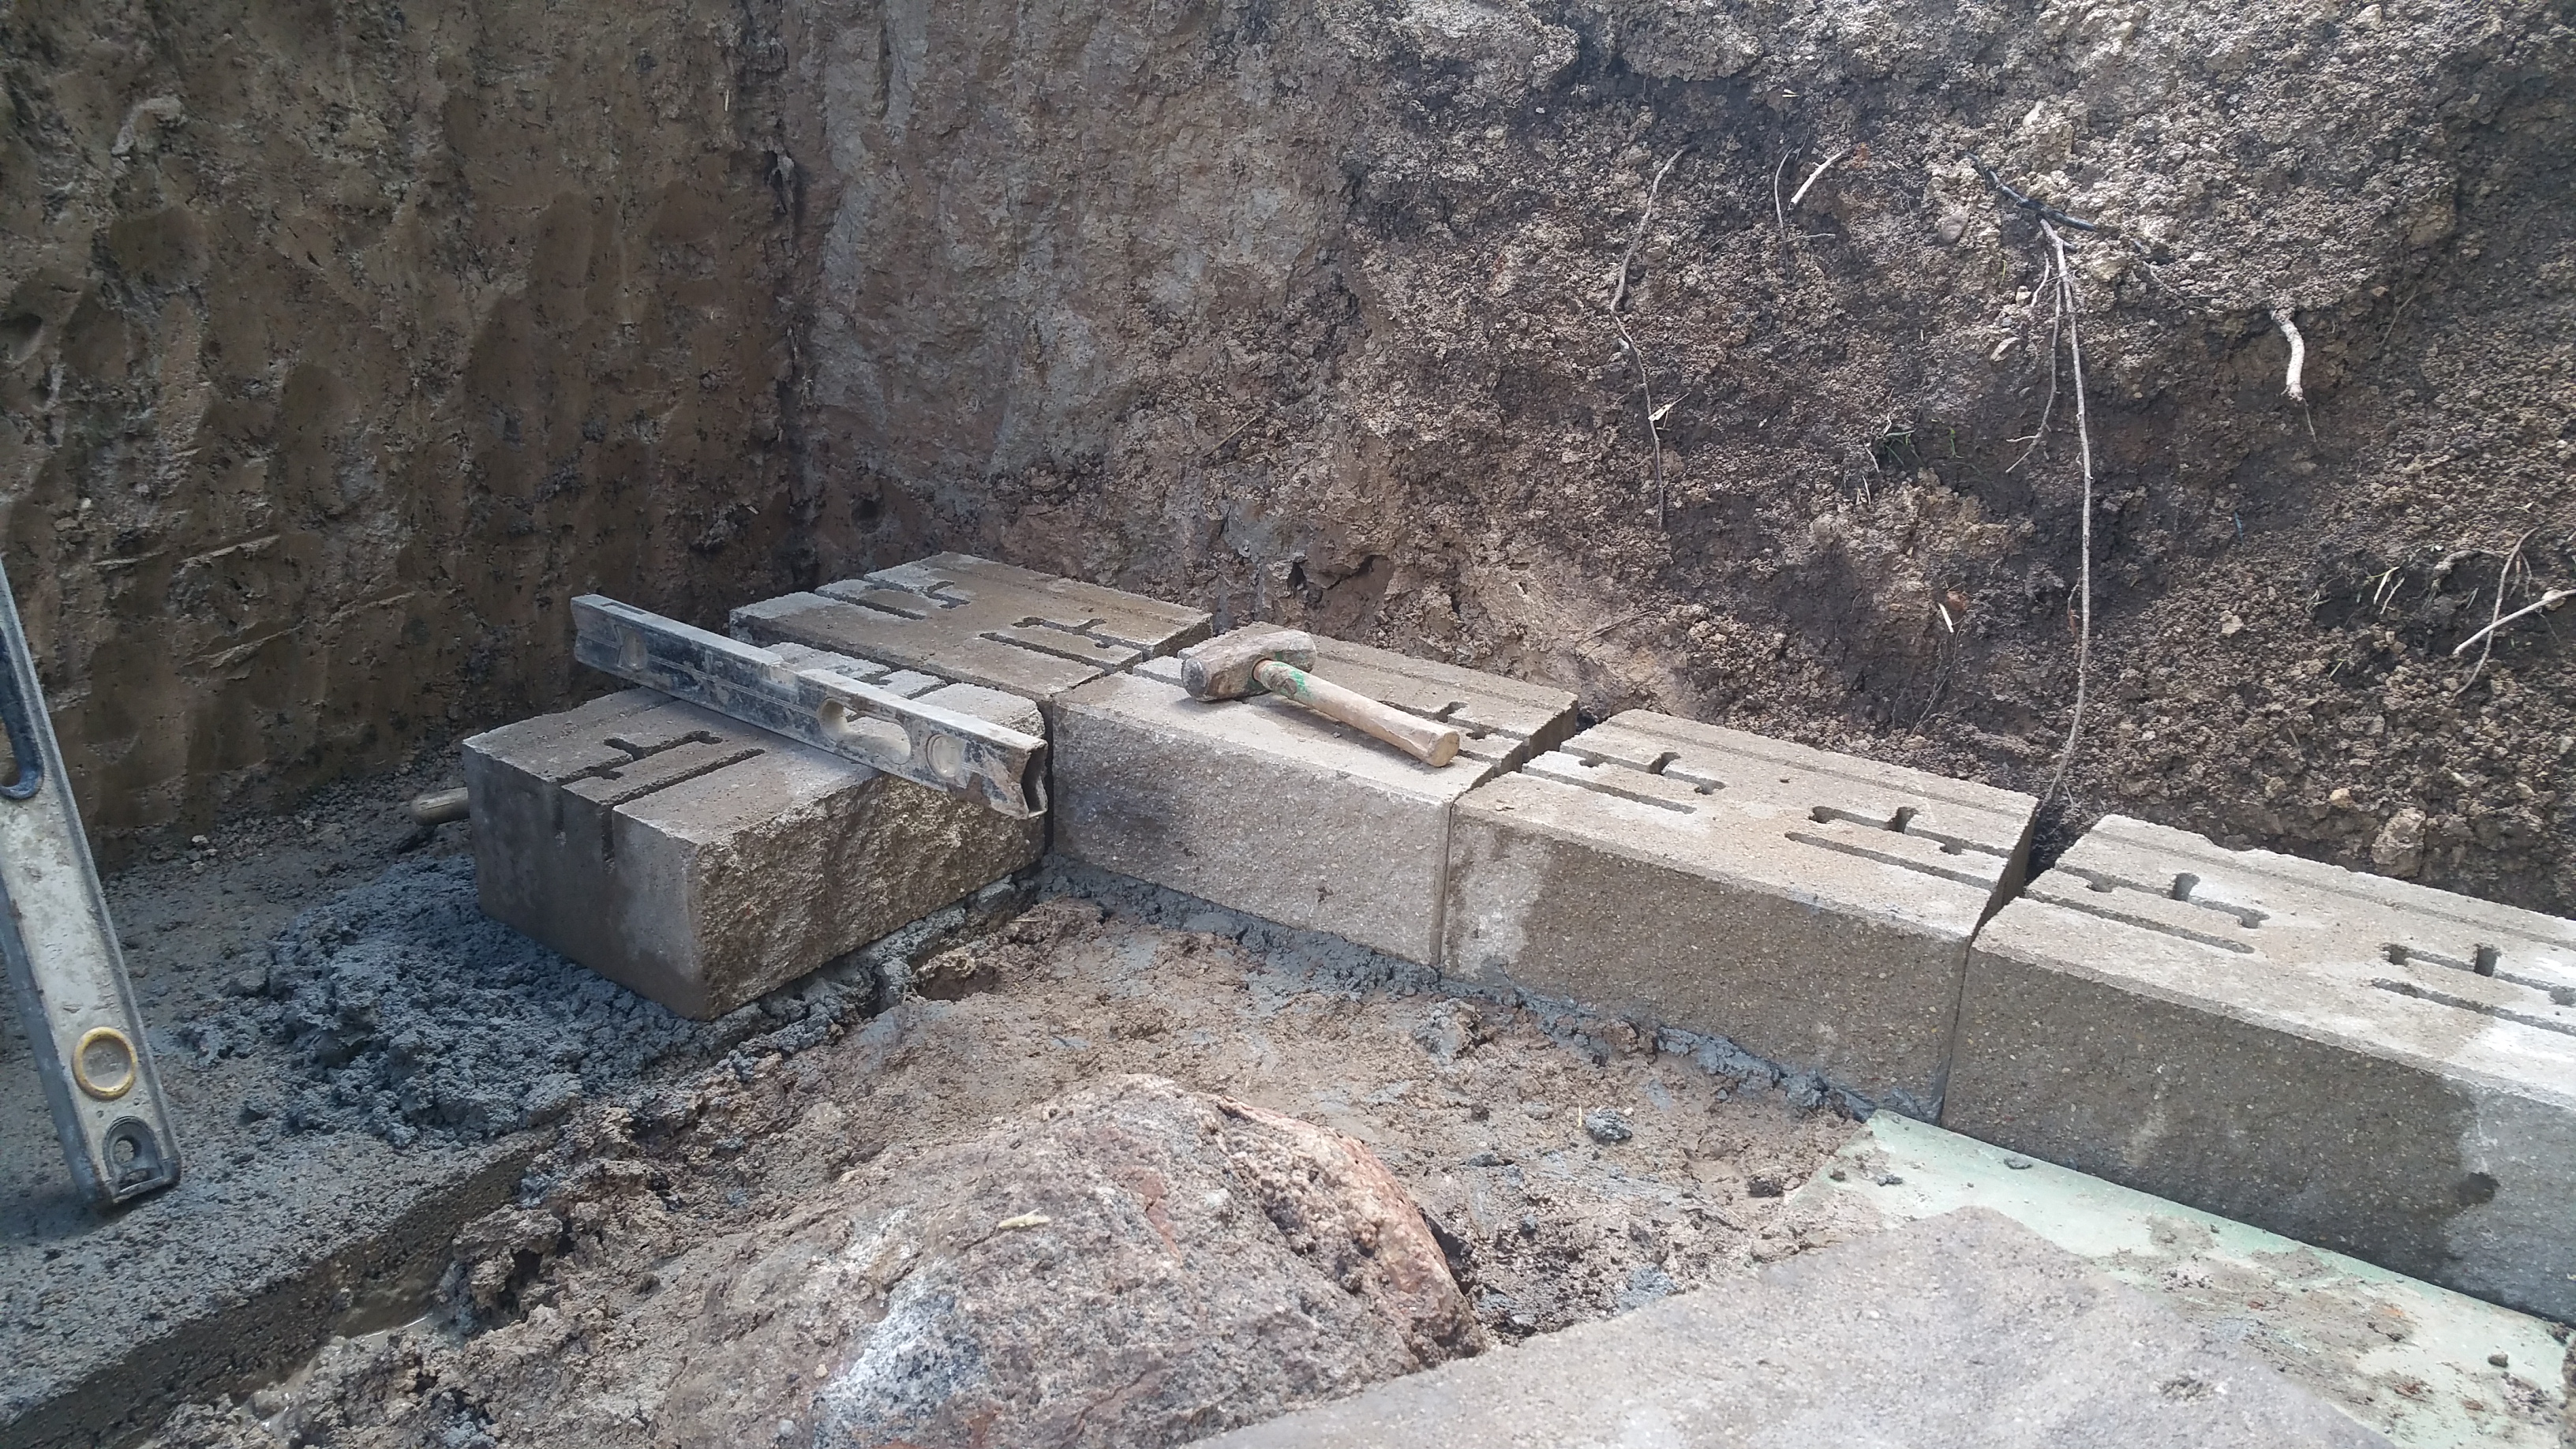
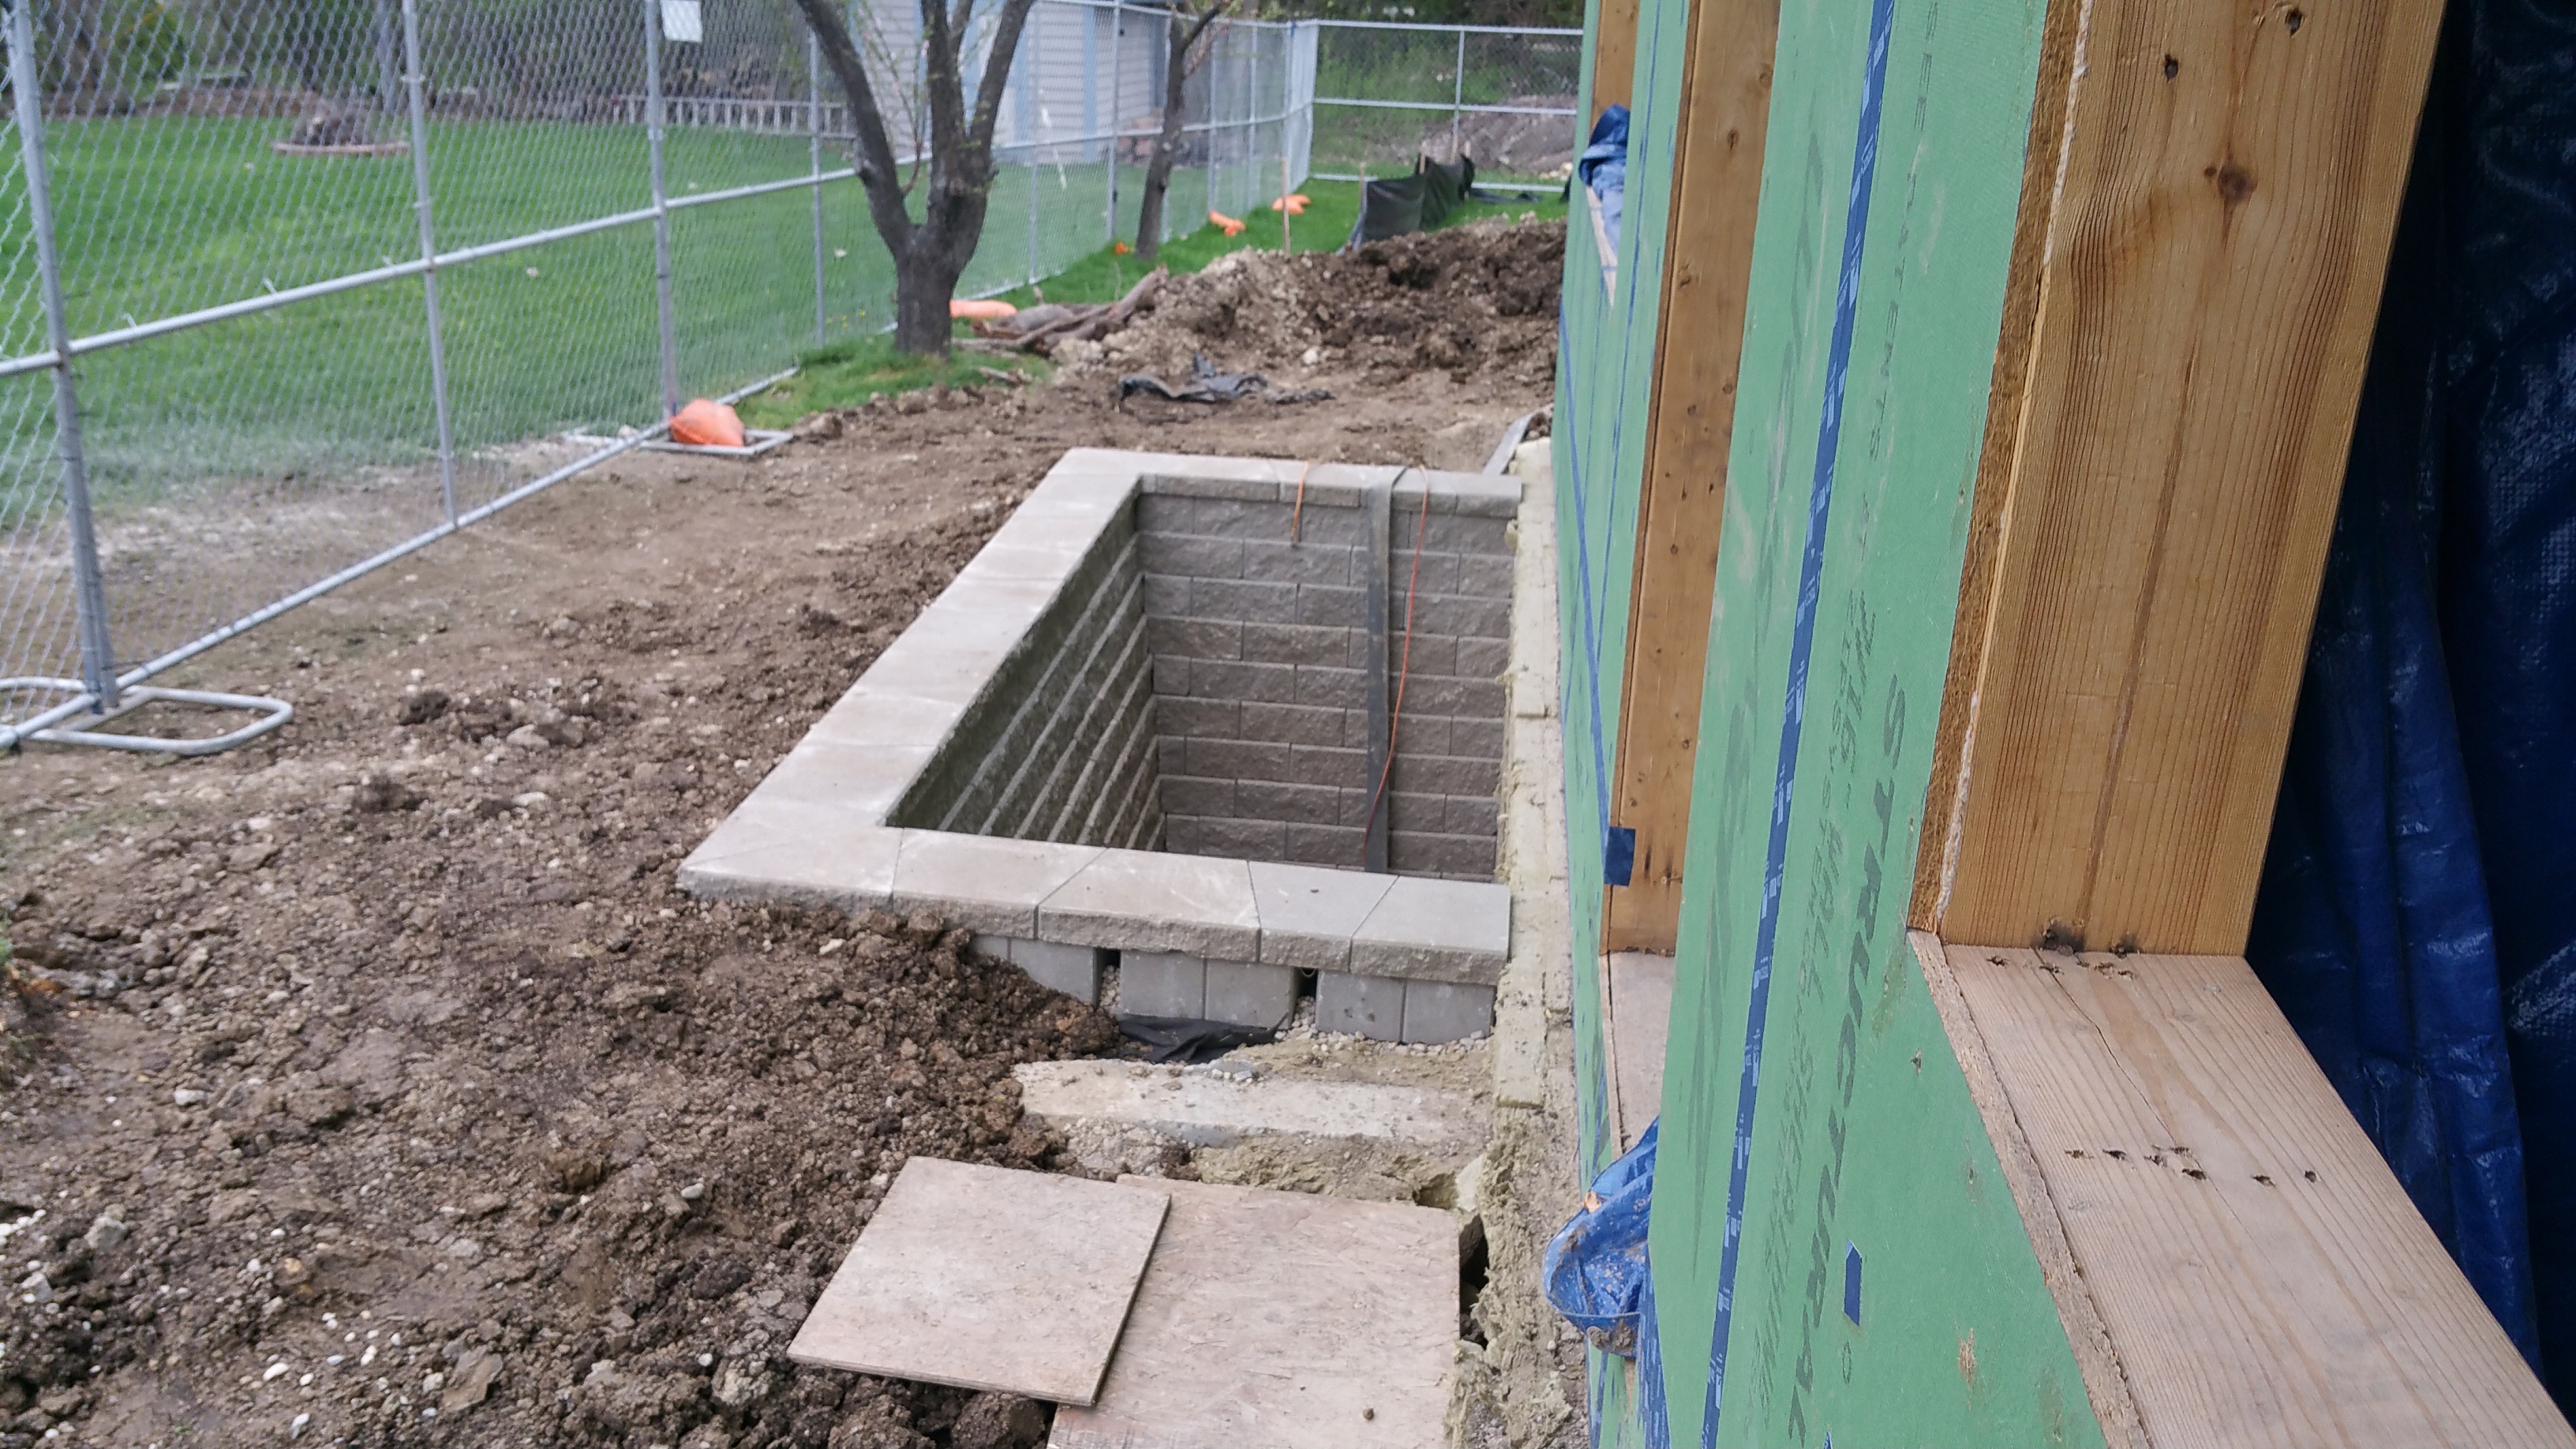
We decided to go with real retaining wall cement blocks.
The Execution
In researching the Versa Lok product , I came across a series of interesting videos by Dirt Monkey on YouTube about retaining walls:
We like the long-term structural stability of the Versa Lok product, and it helps us achieve the Urban Rustic look we’re going for.
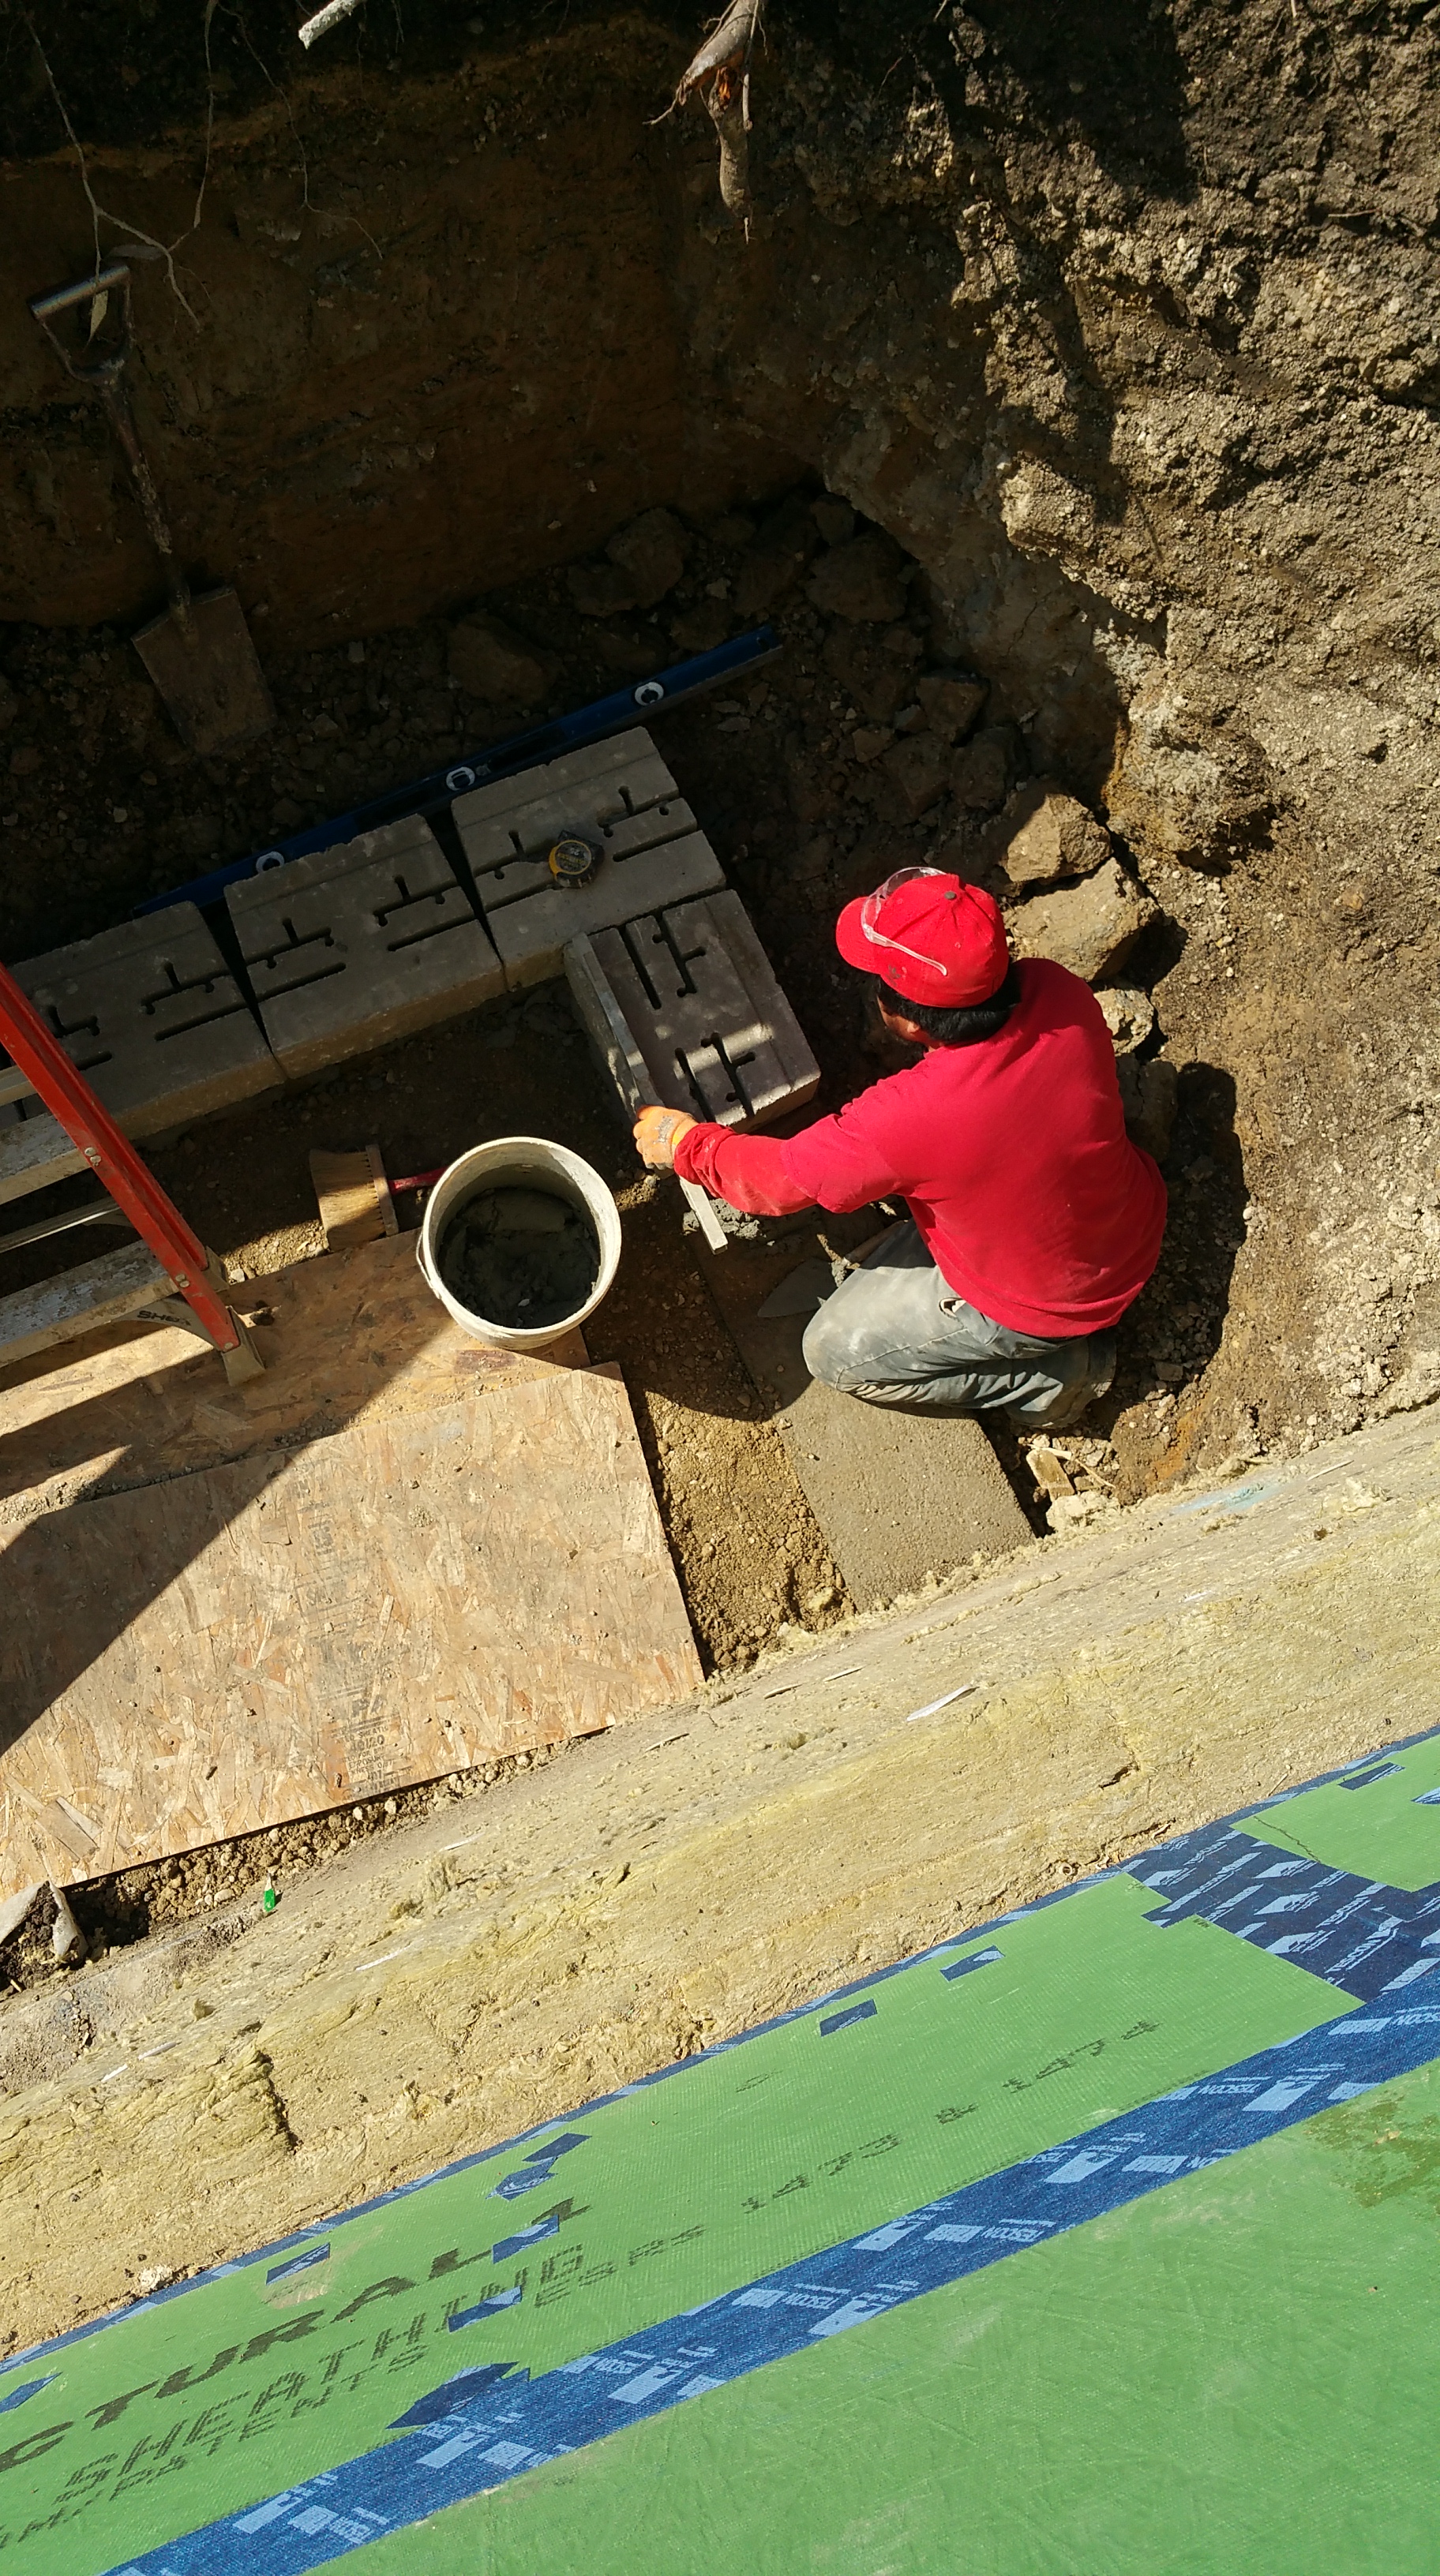
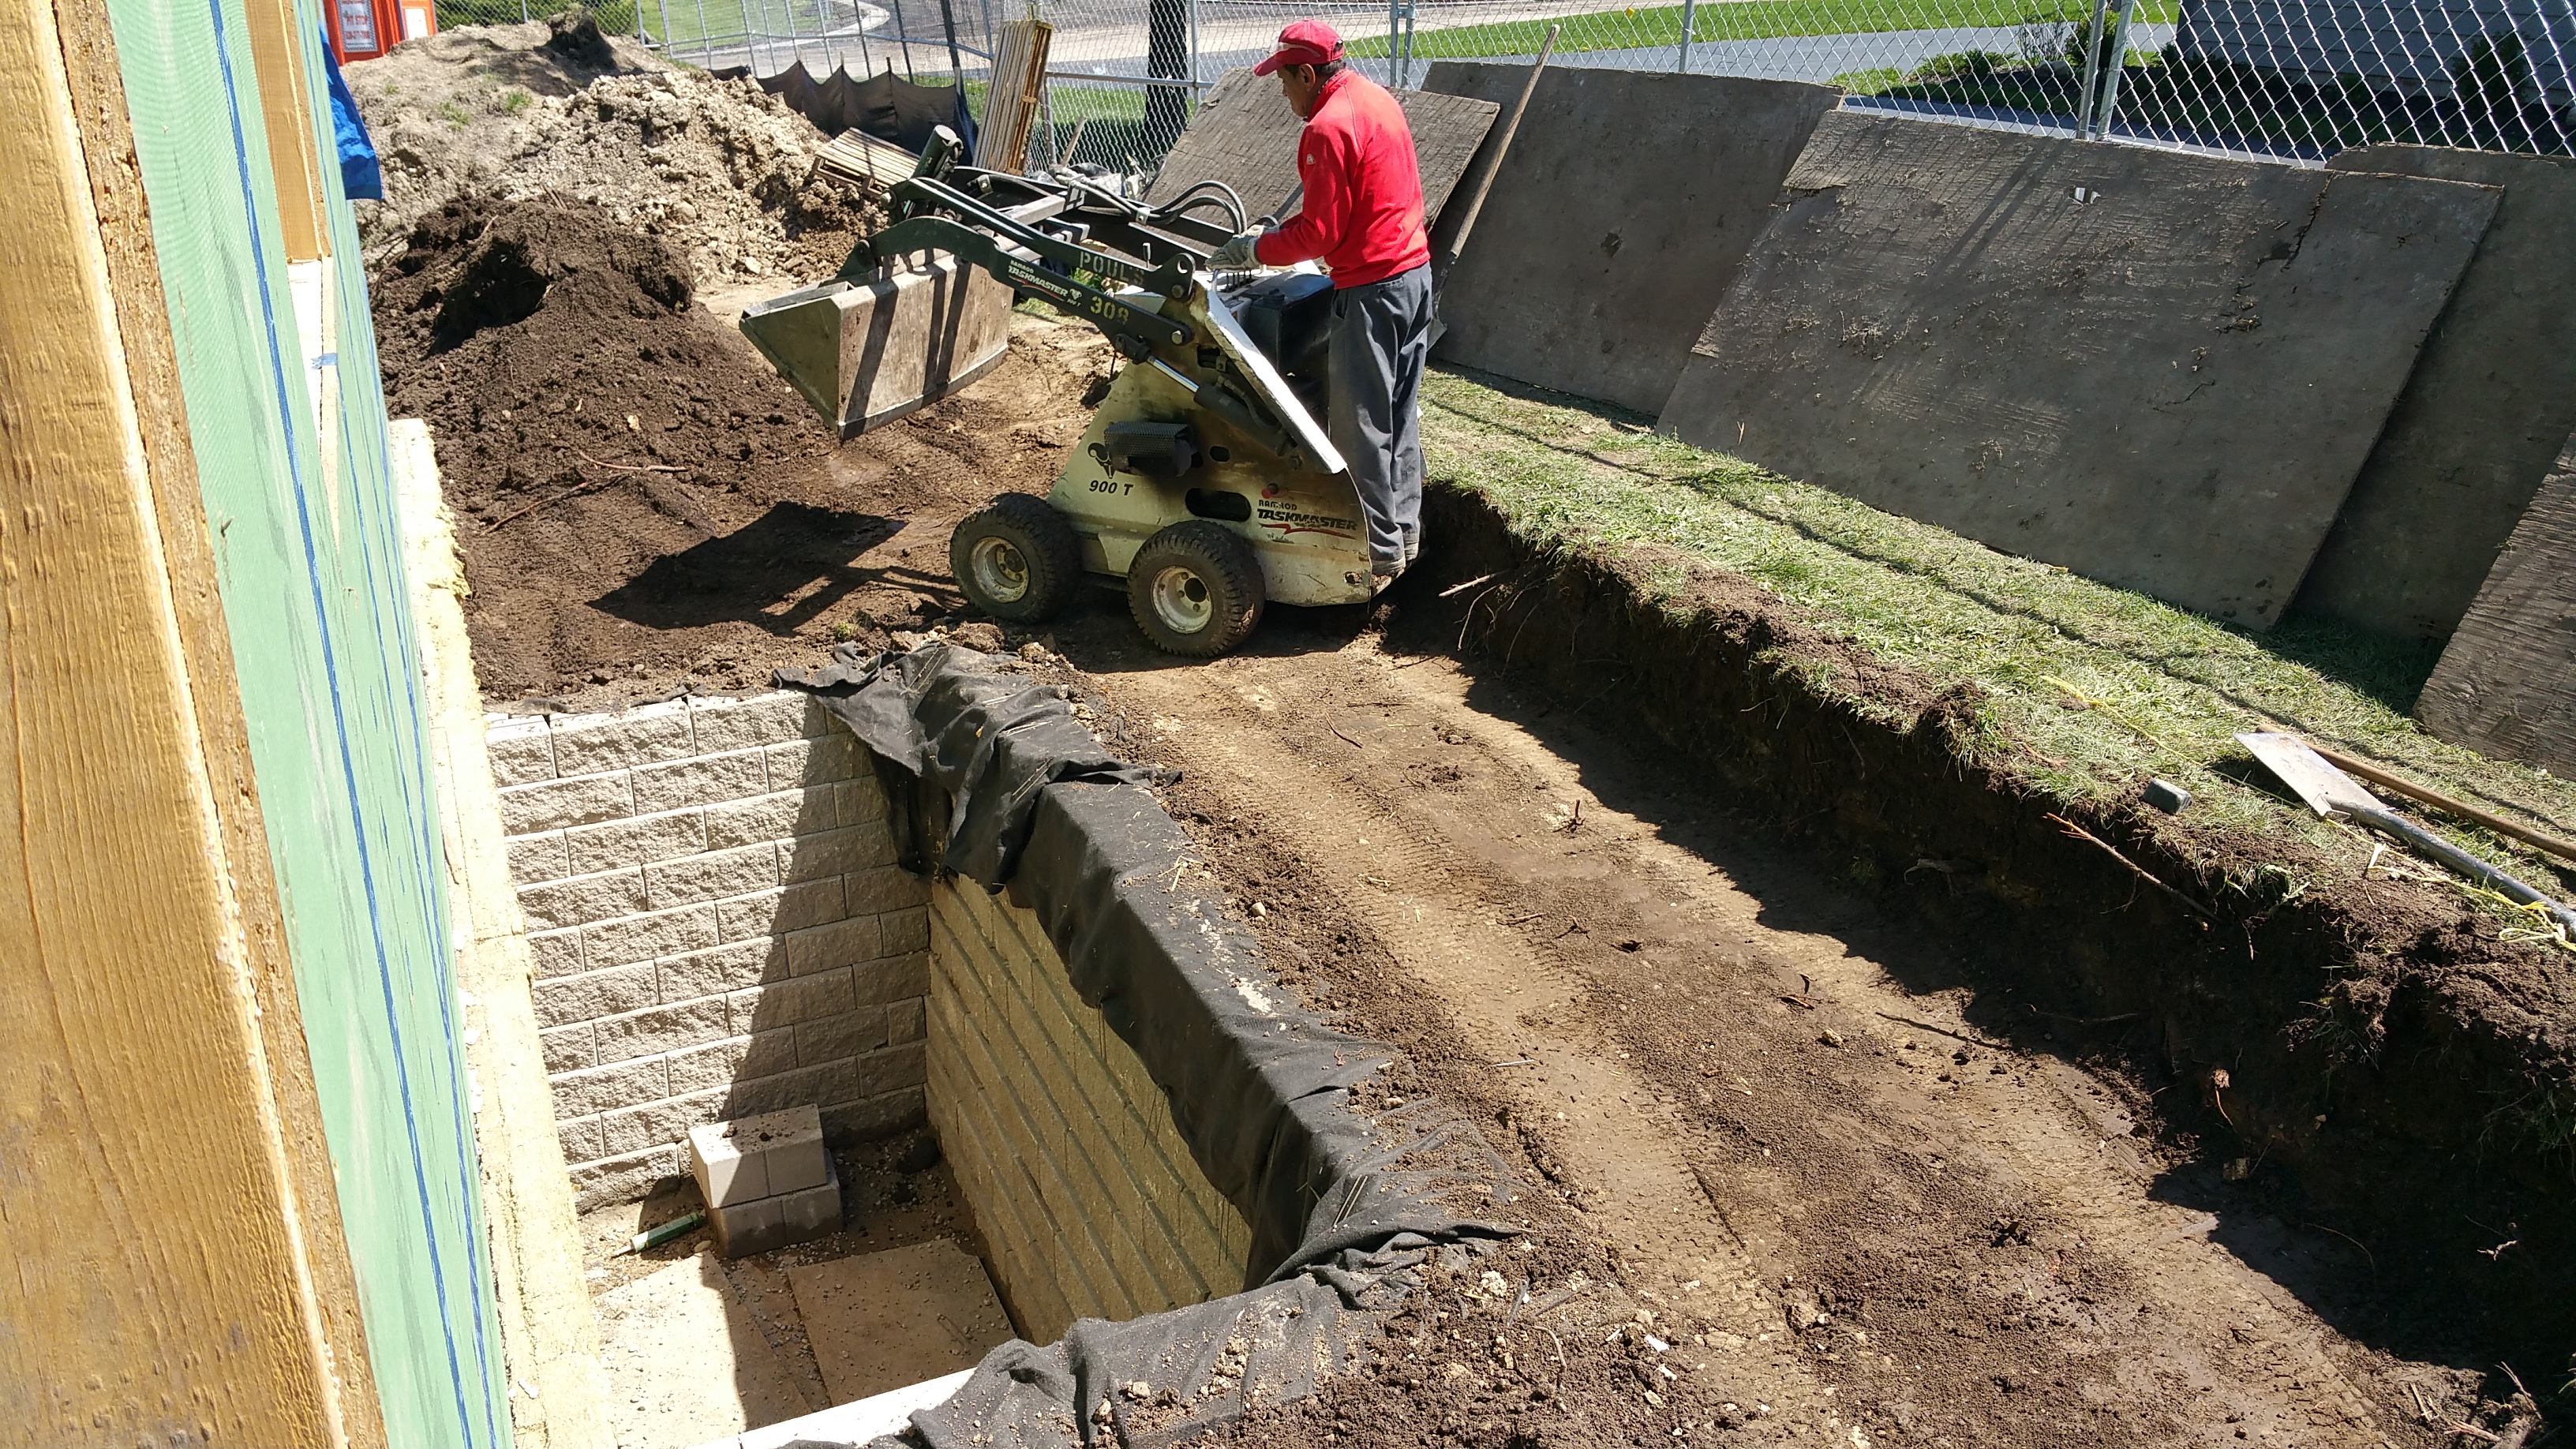
We received several estimates, but decided to go with Poul’s Landscaping & Nursery since they had previous experience building these stone basement window wells. We paid a slight premium to do so, but part of that premium reflected their recommendation to use a concrete footing that would be tied into the foundation with rebar. Without it, they had seen too much movement on previous projects, creating future headaches and costly repairs.
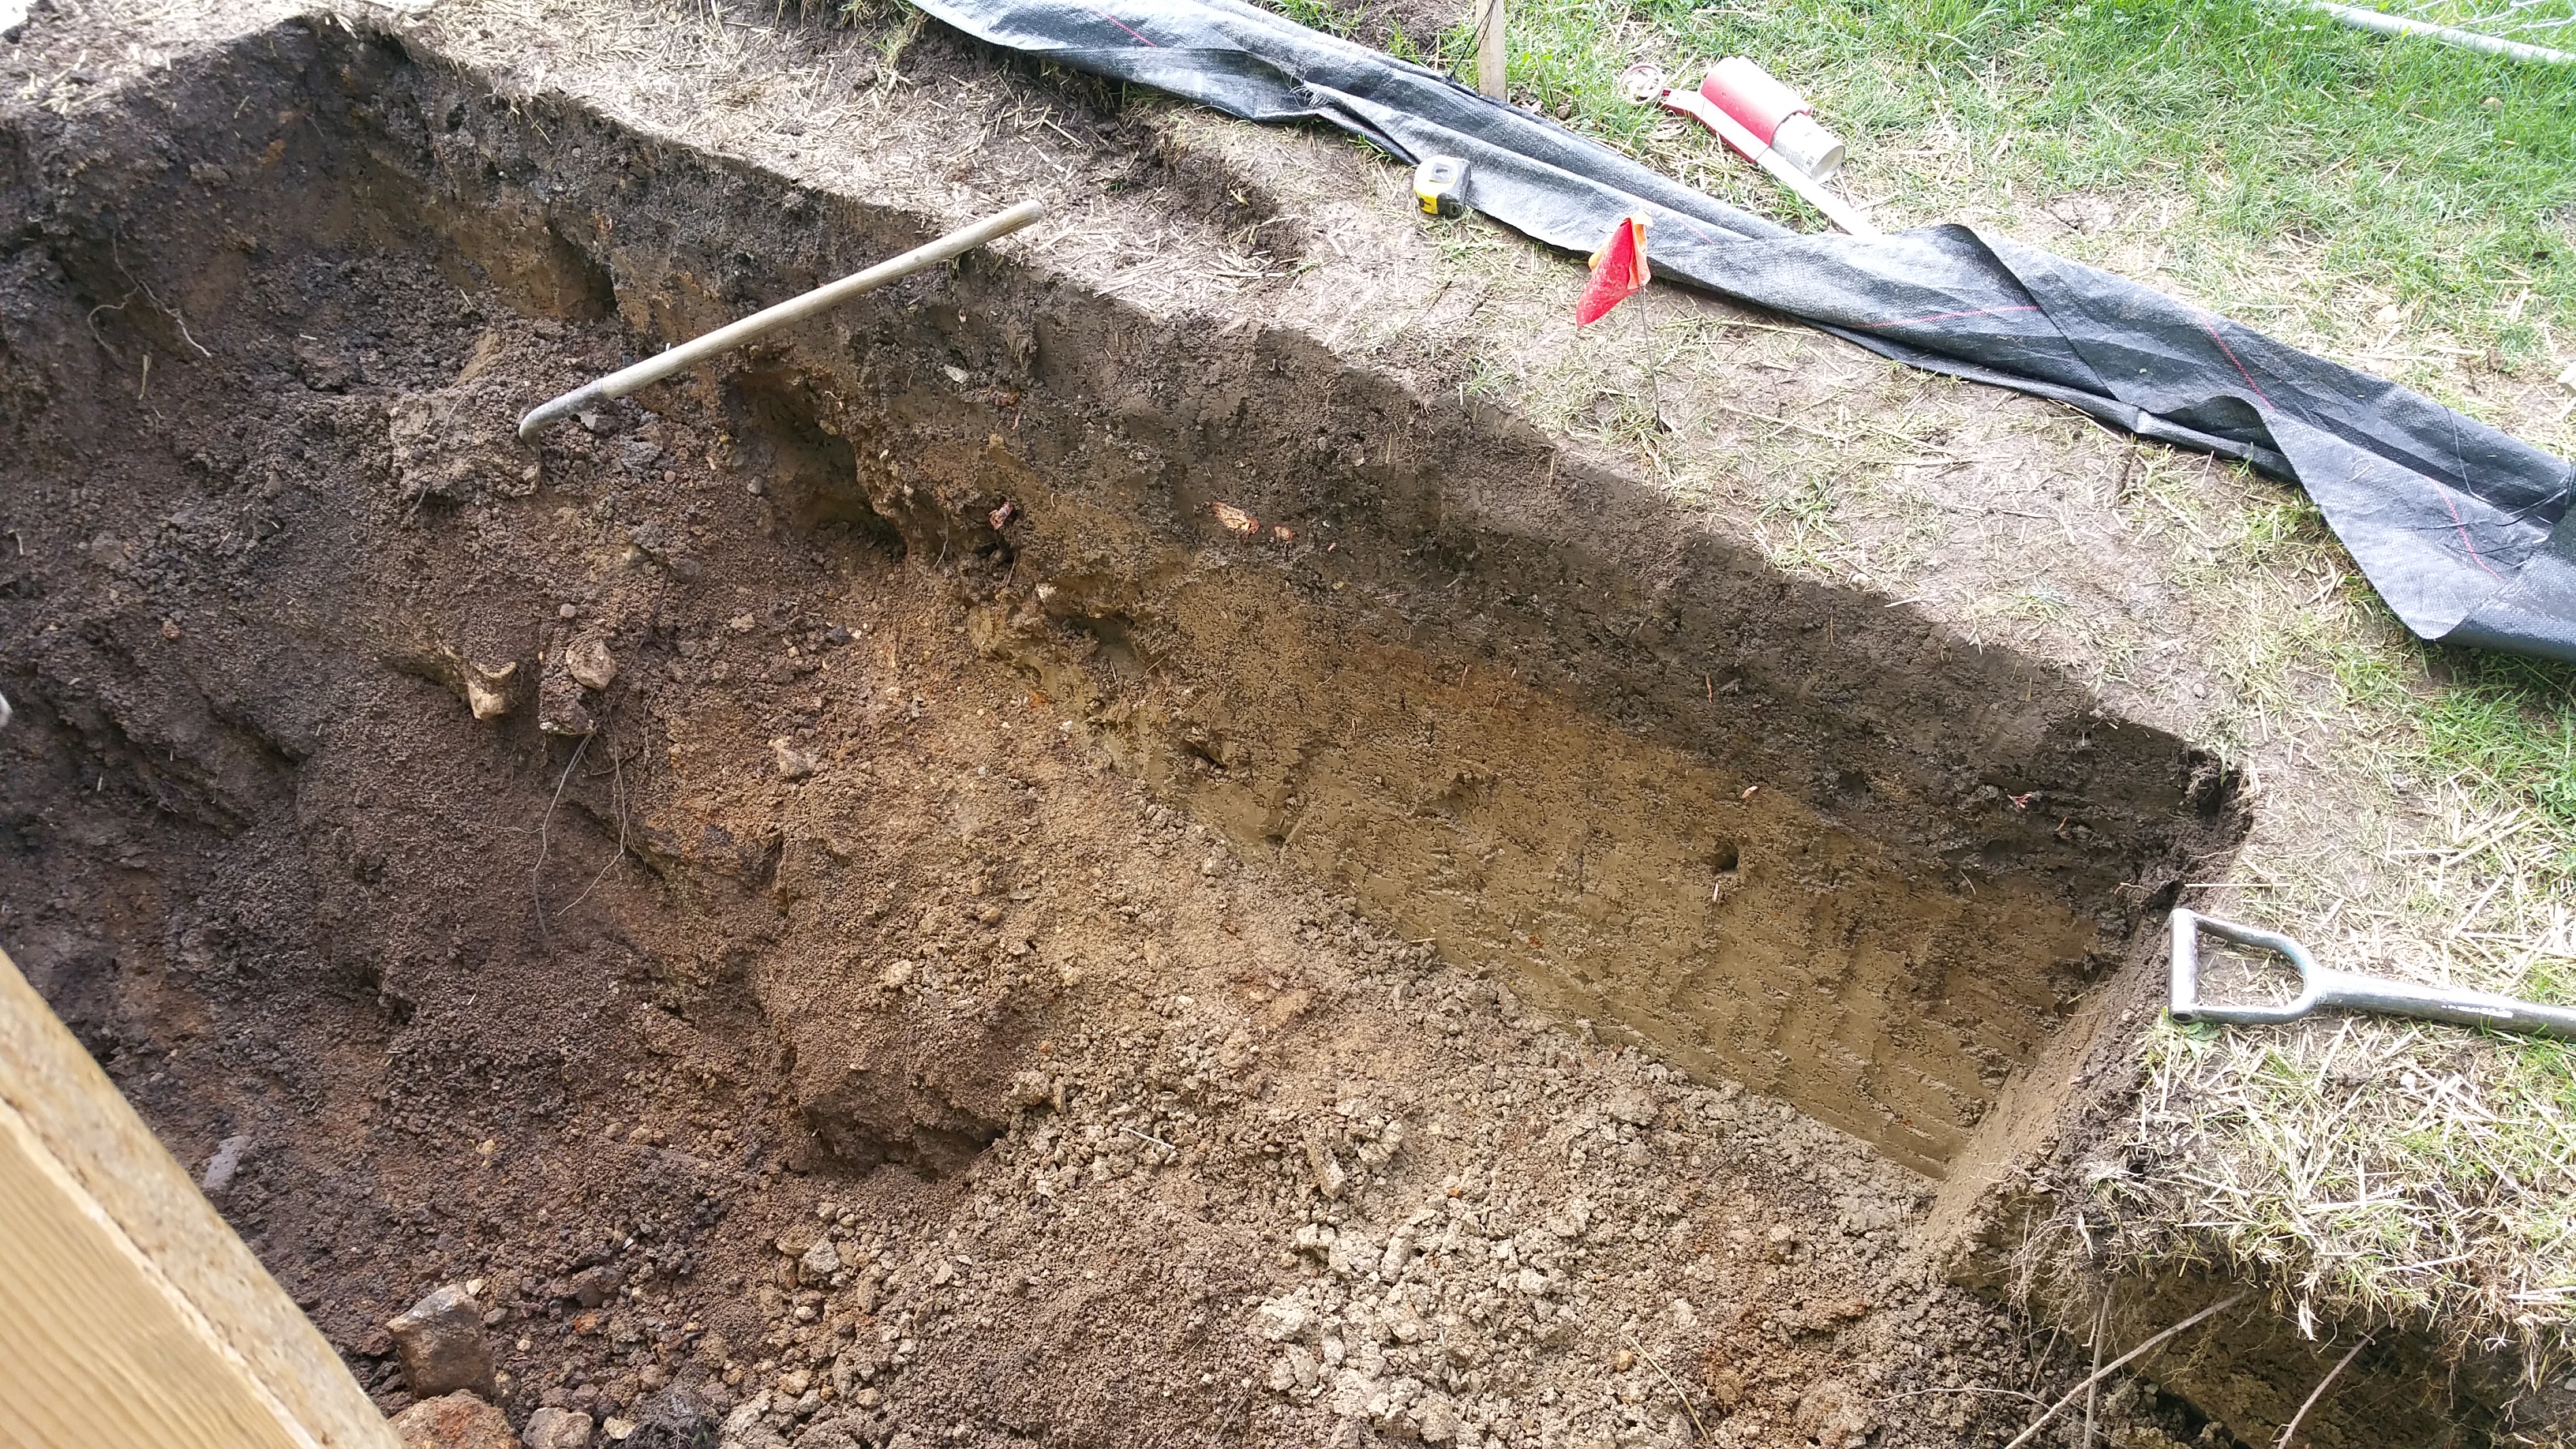
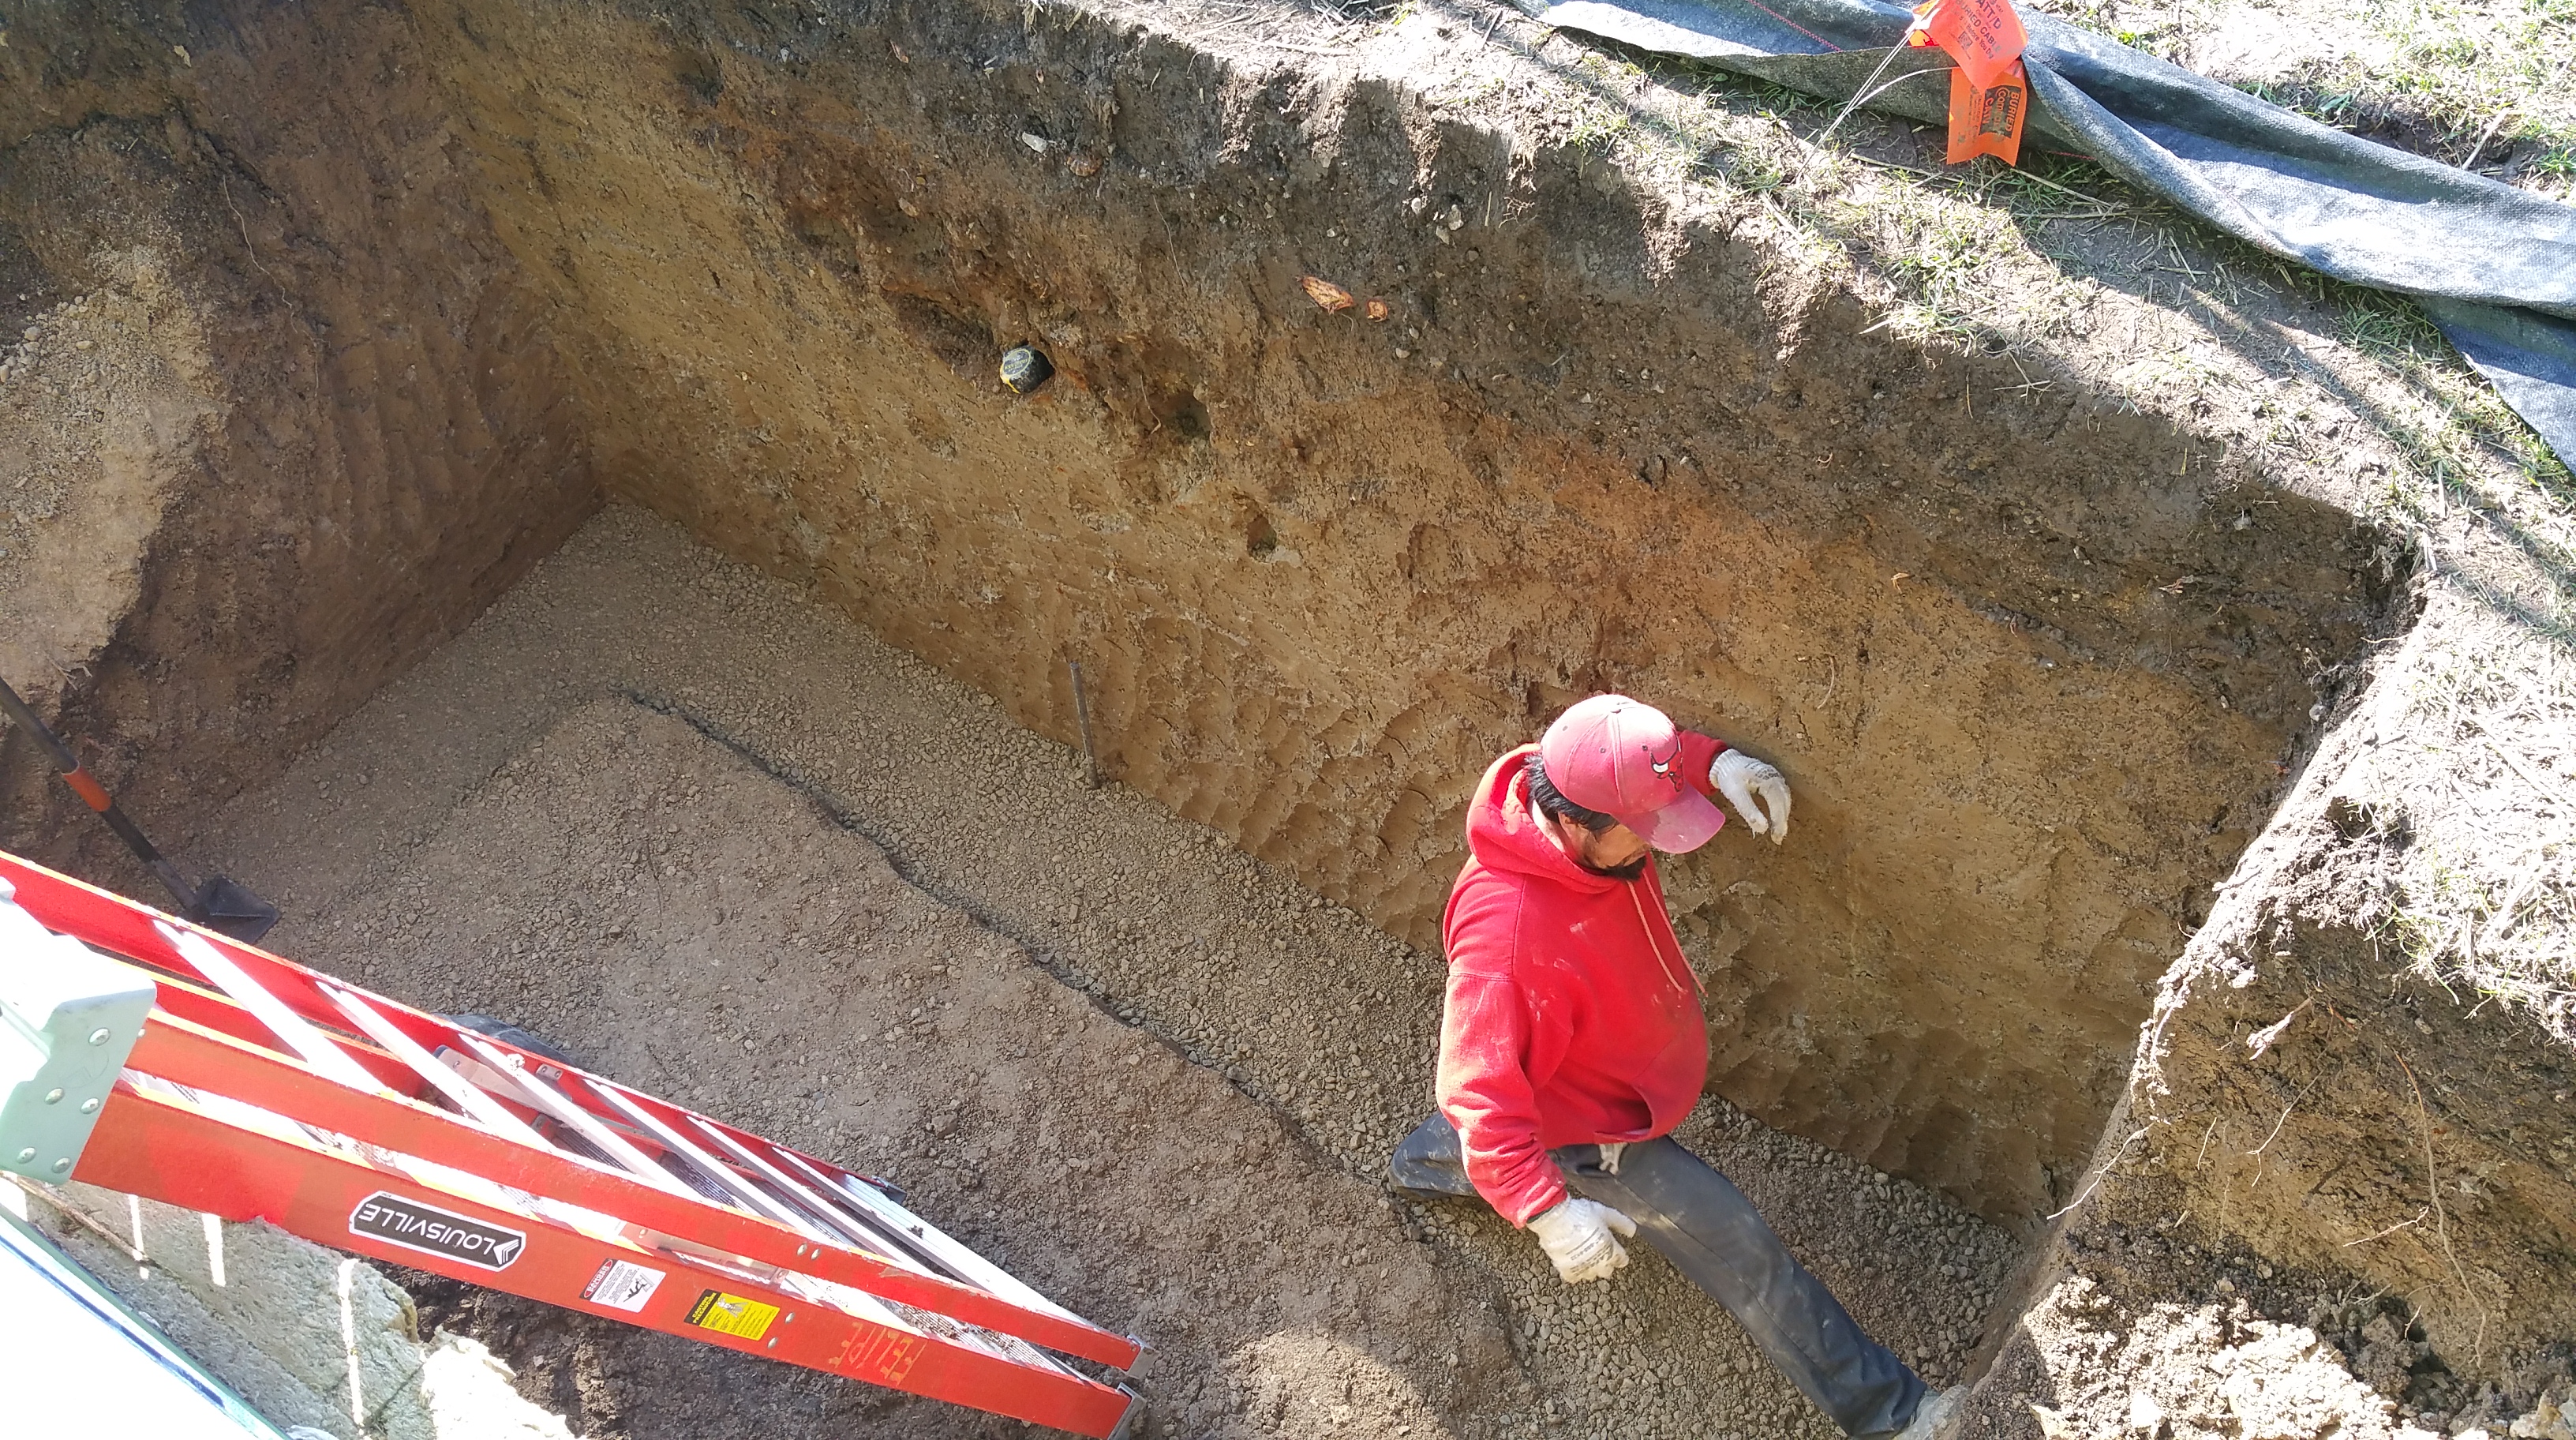
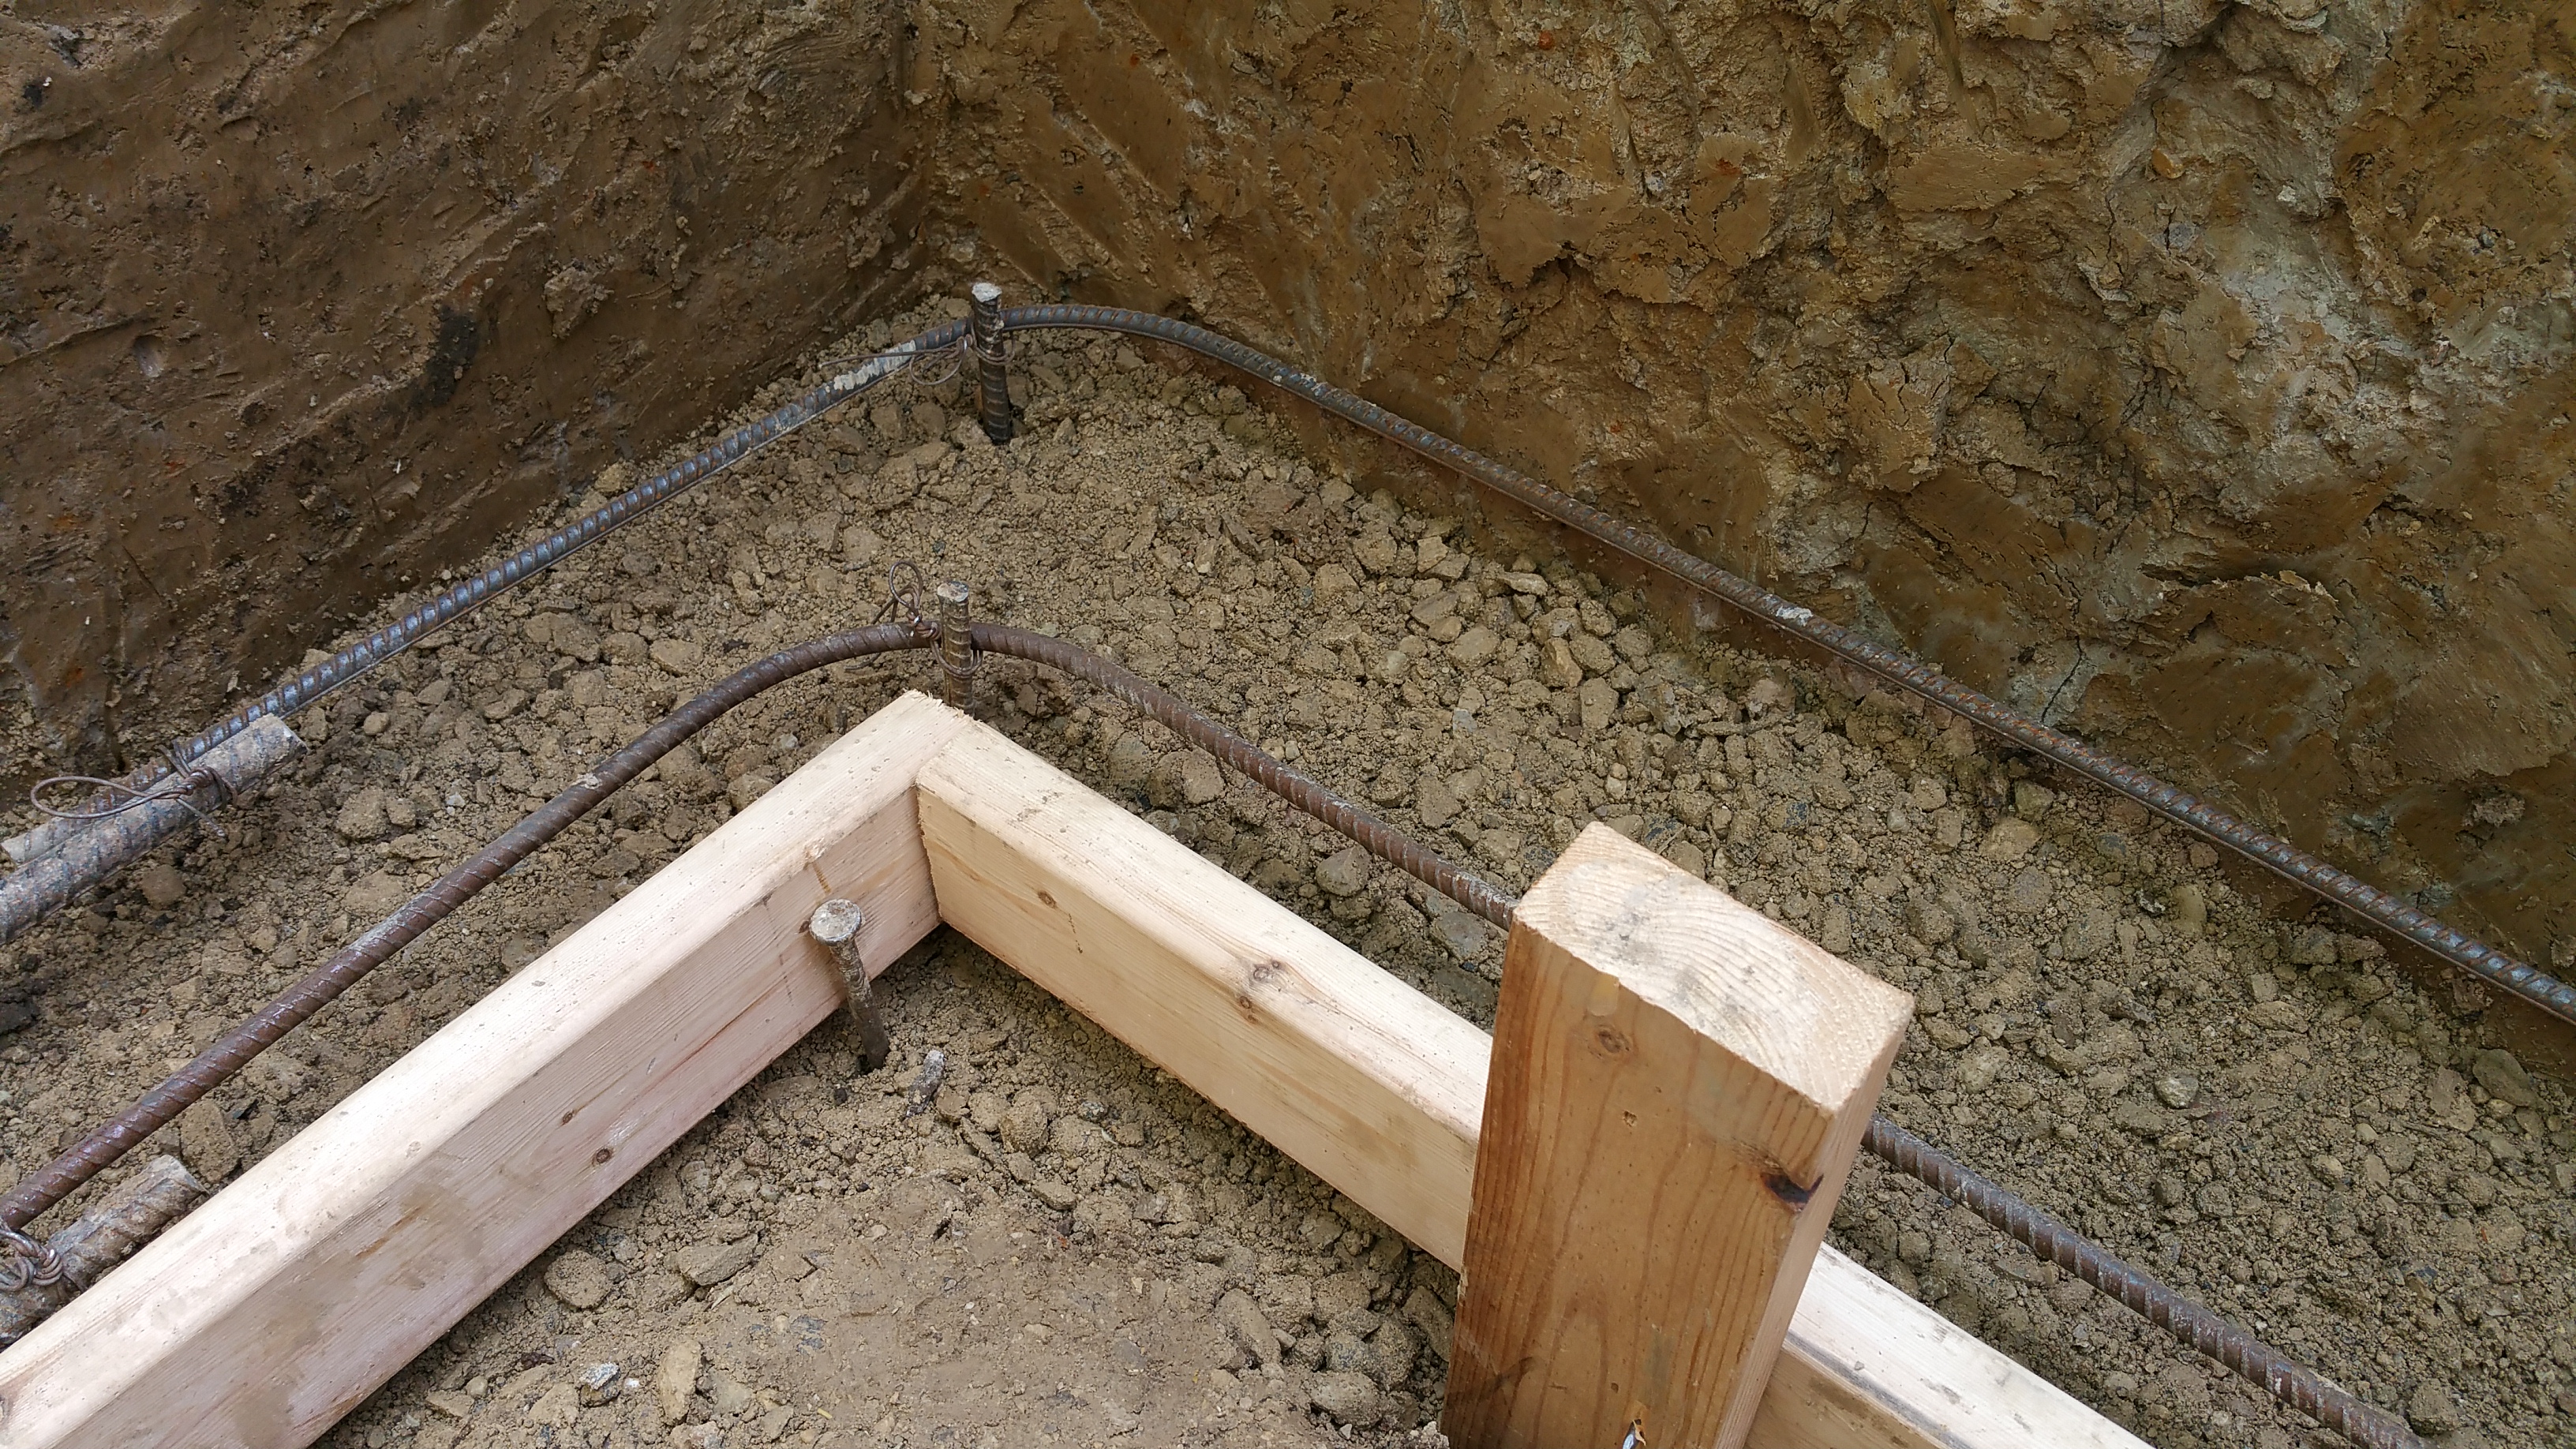
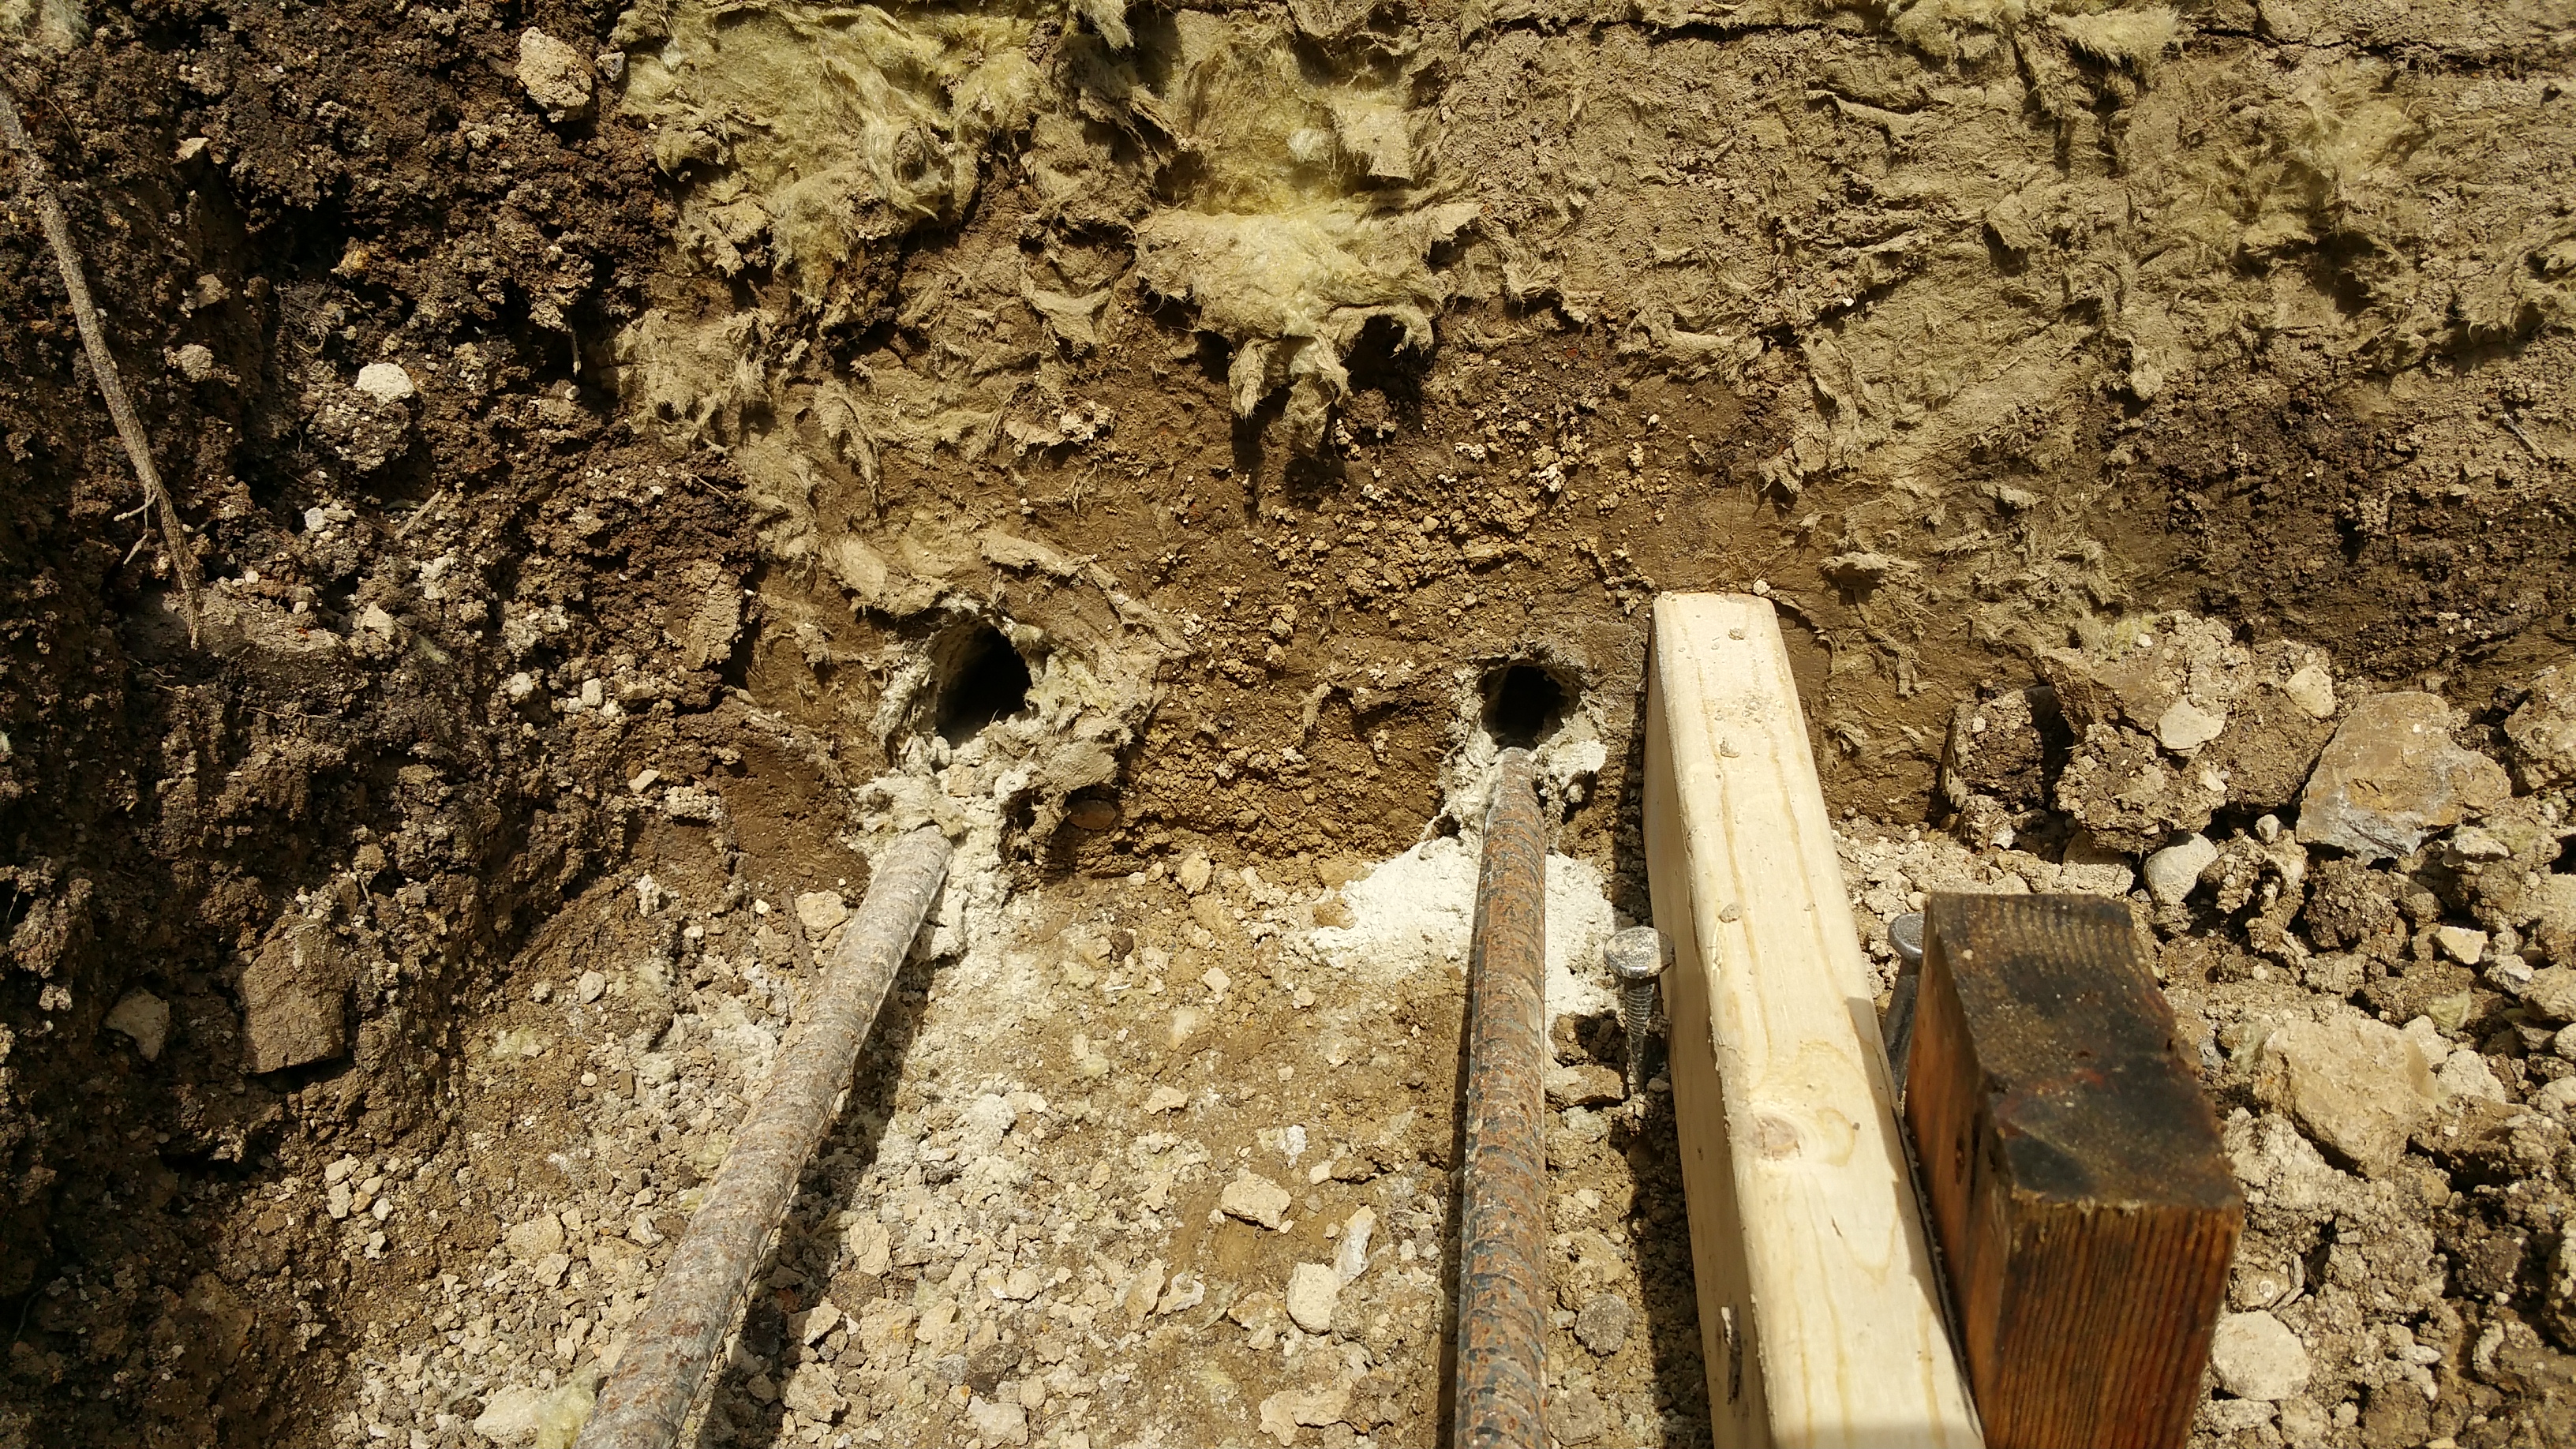
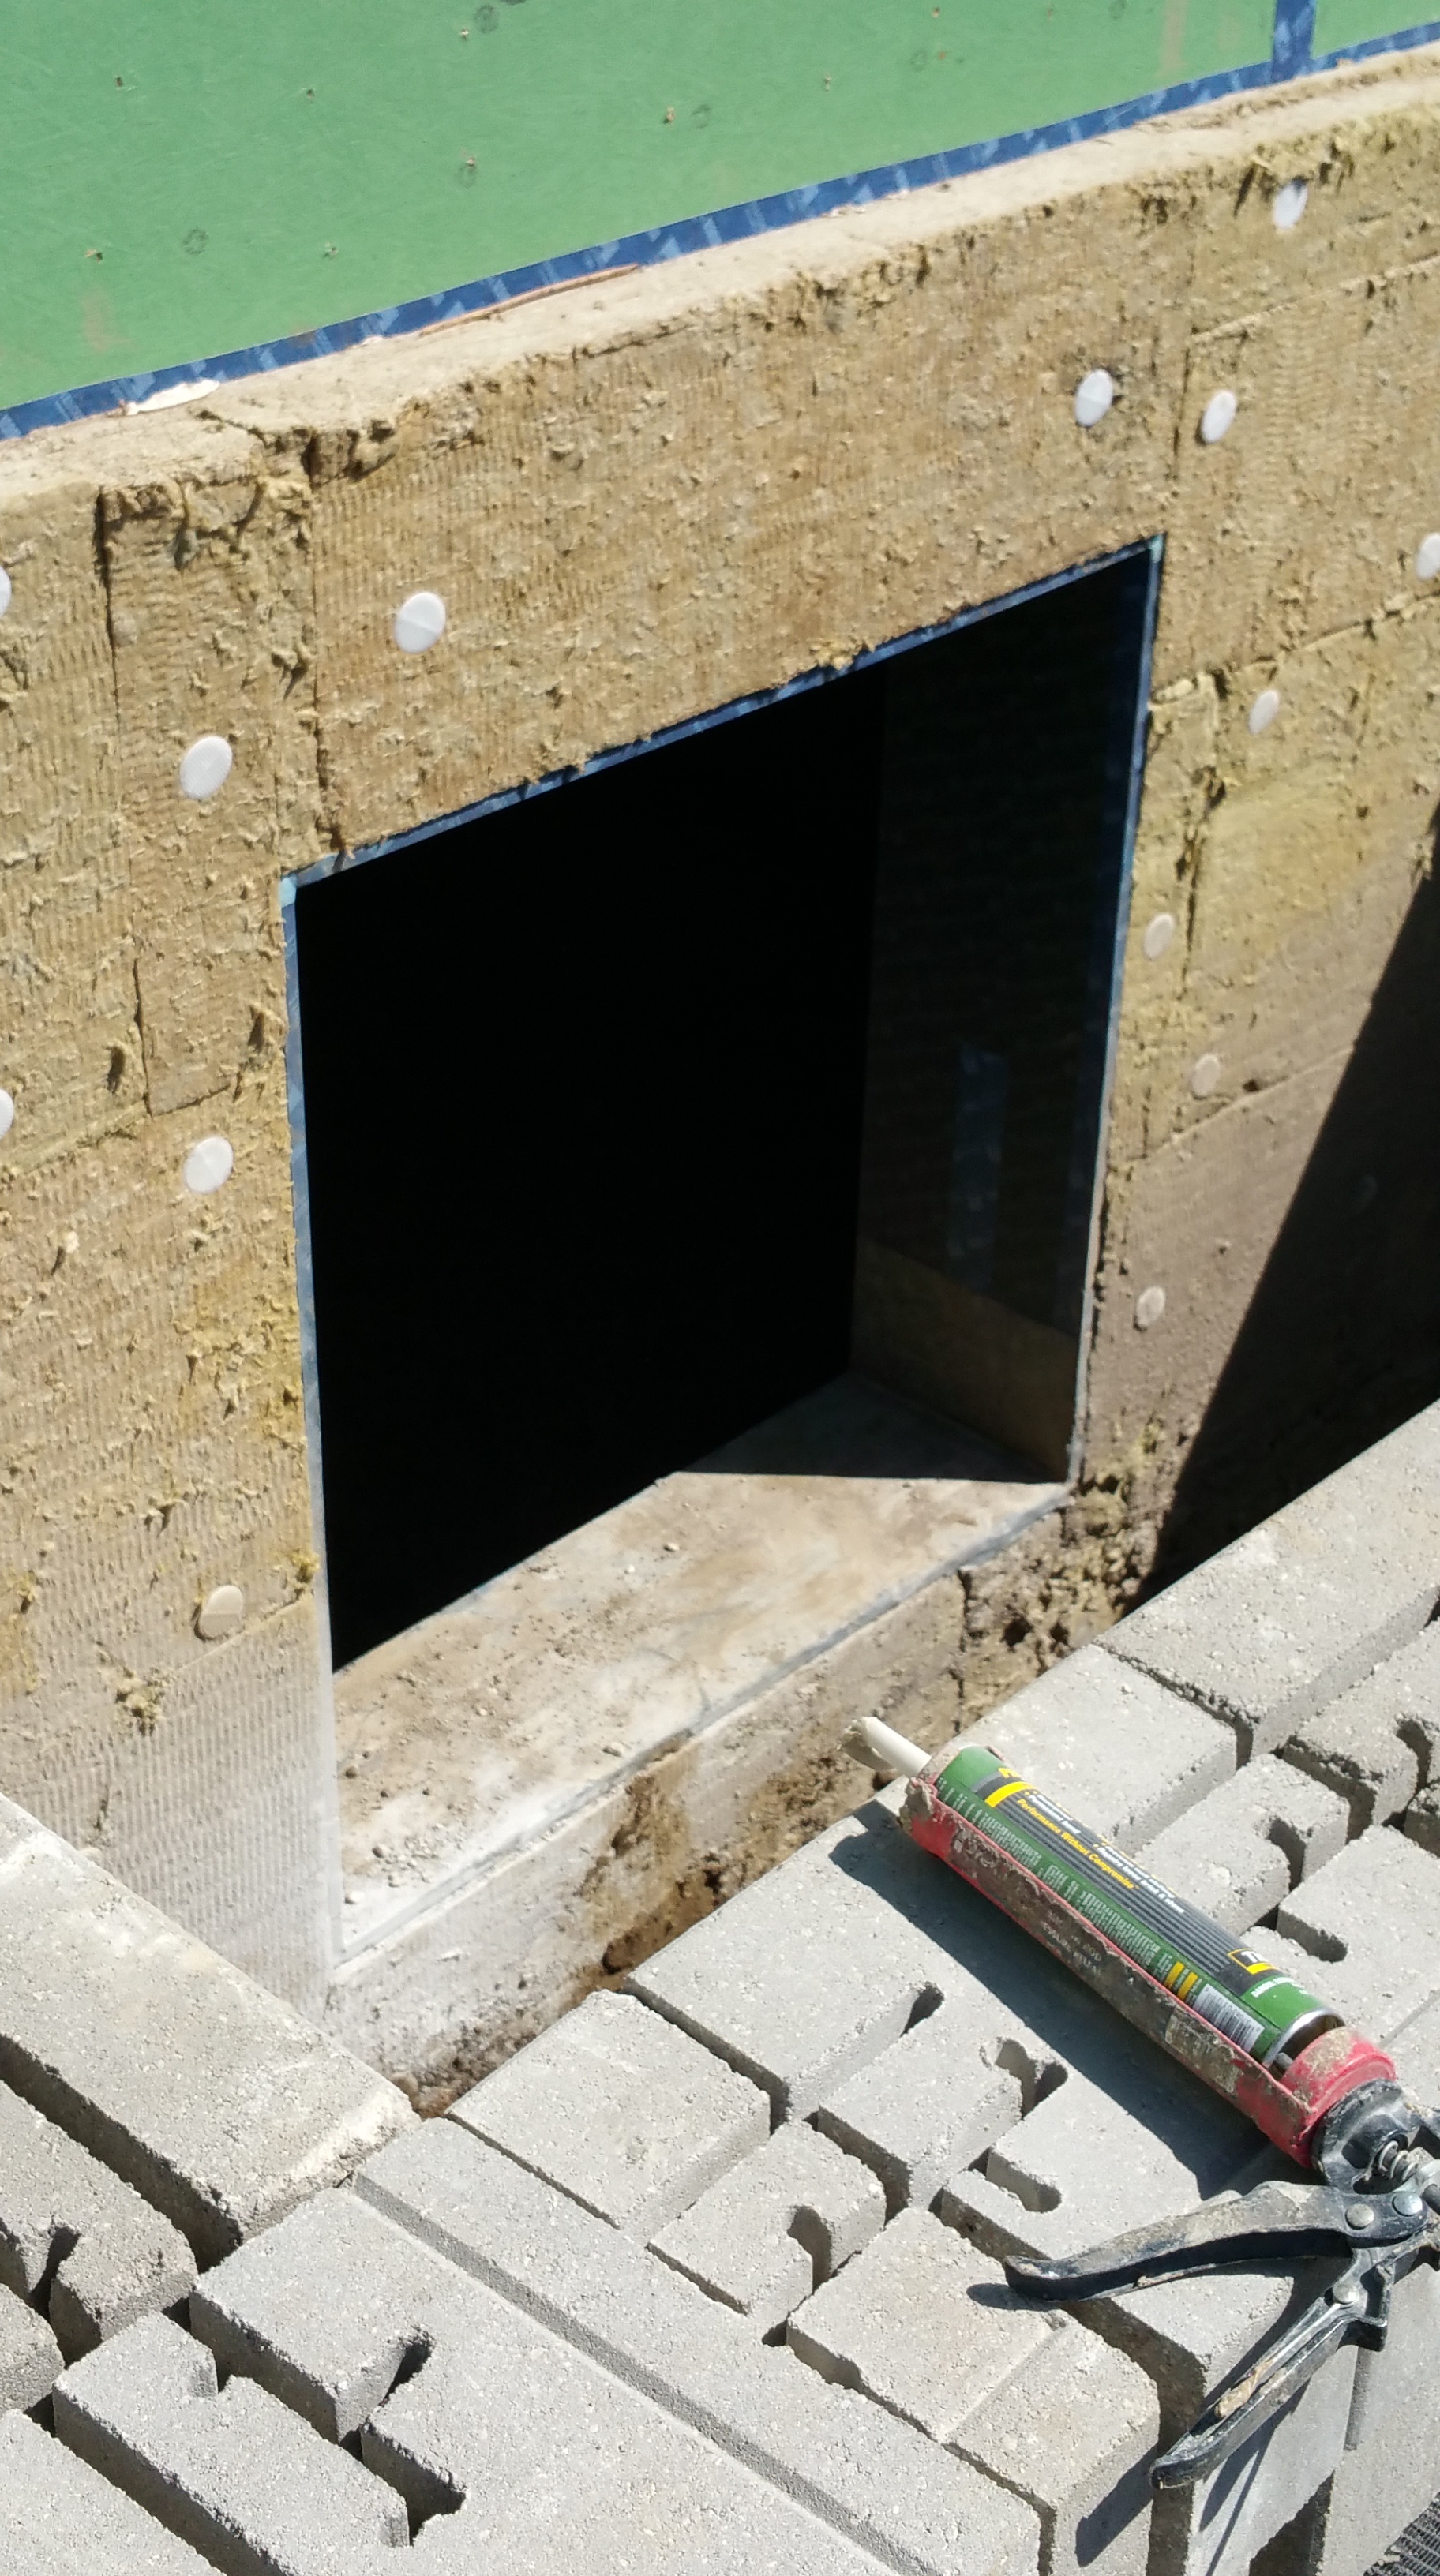
After the guys set the rebar in the foundation through the Roxul, I stuffed the holes as much as possible with pulled apart Roxul Comfortboard 80 before they did the pour for the footings.
For color, we wanted a basic concrete gray, which we thought would complement our overall Urban-Rustic design look, in particular the eventual charred cedar siding.

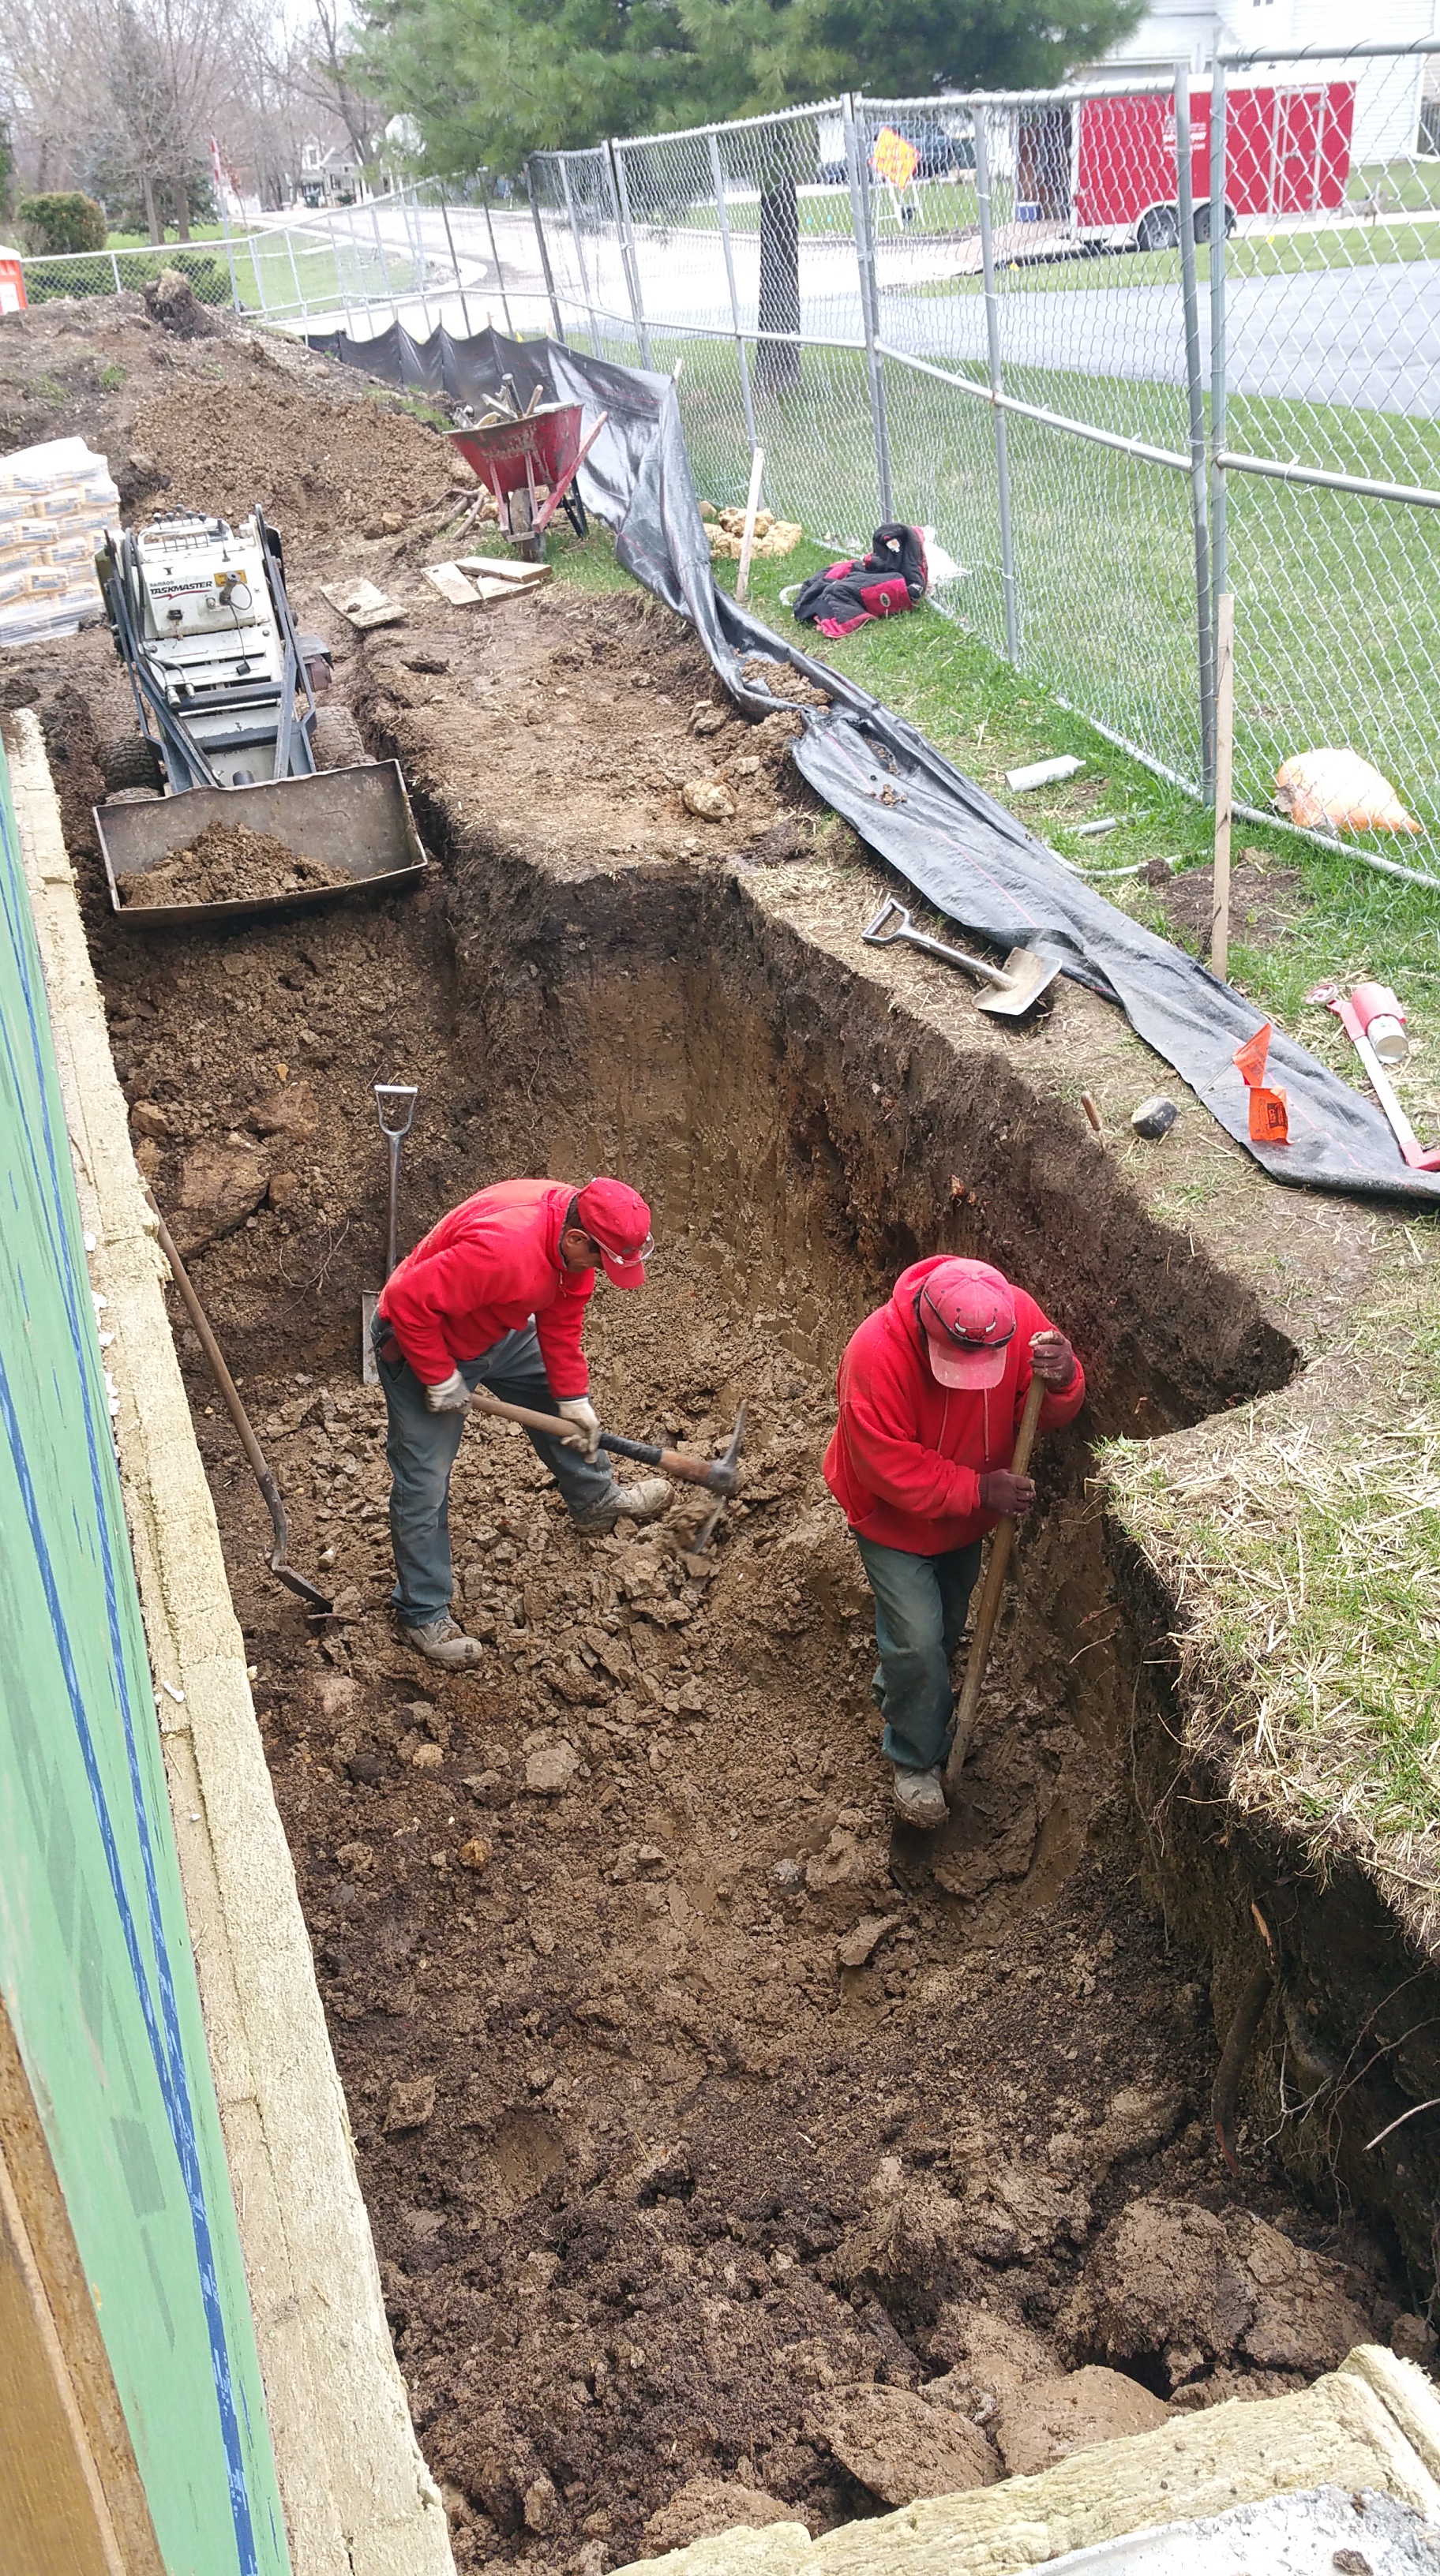
Since firing our builder (there were two of them) in February, the job site has been quiet as I work alone, but then all of a sudden…
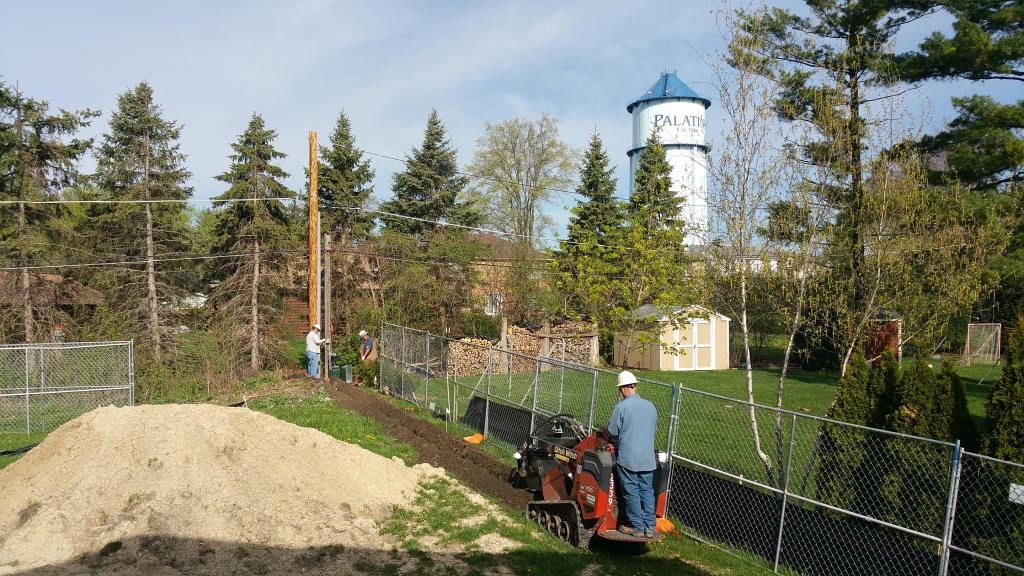
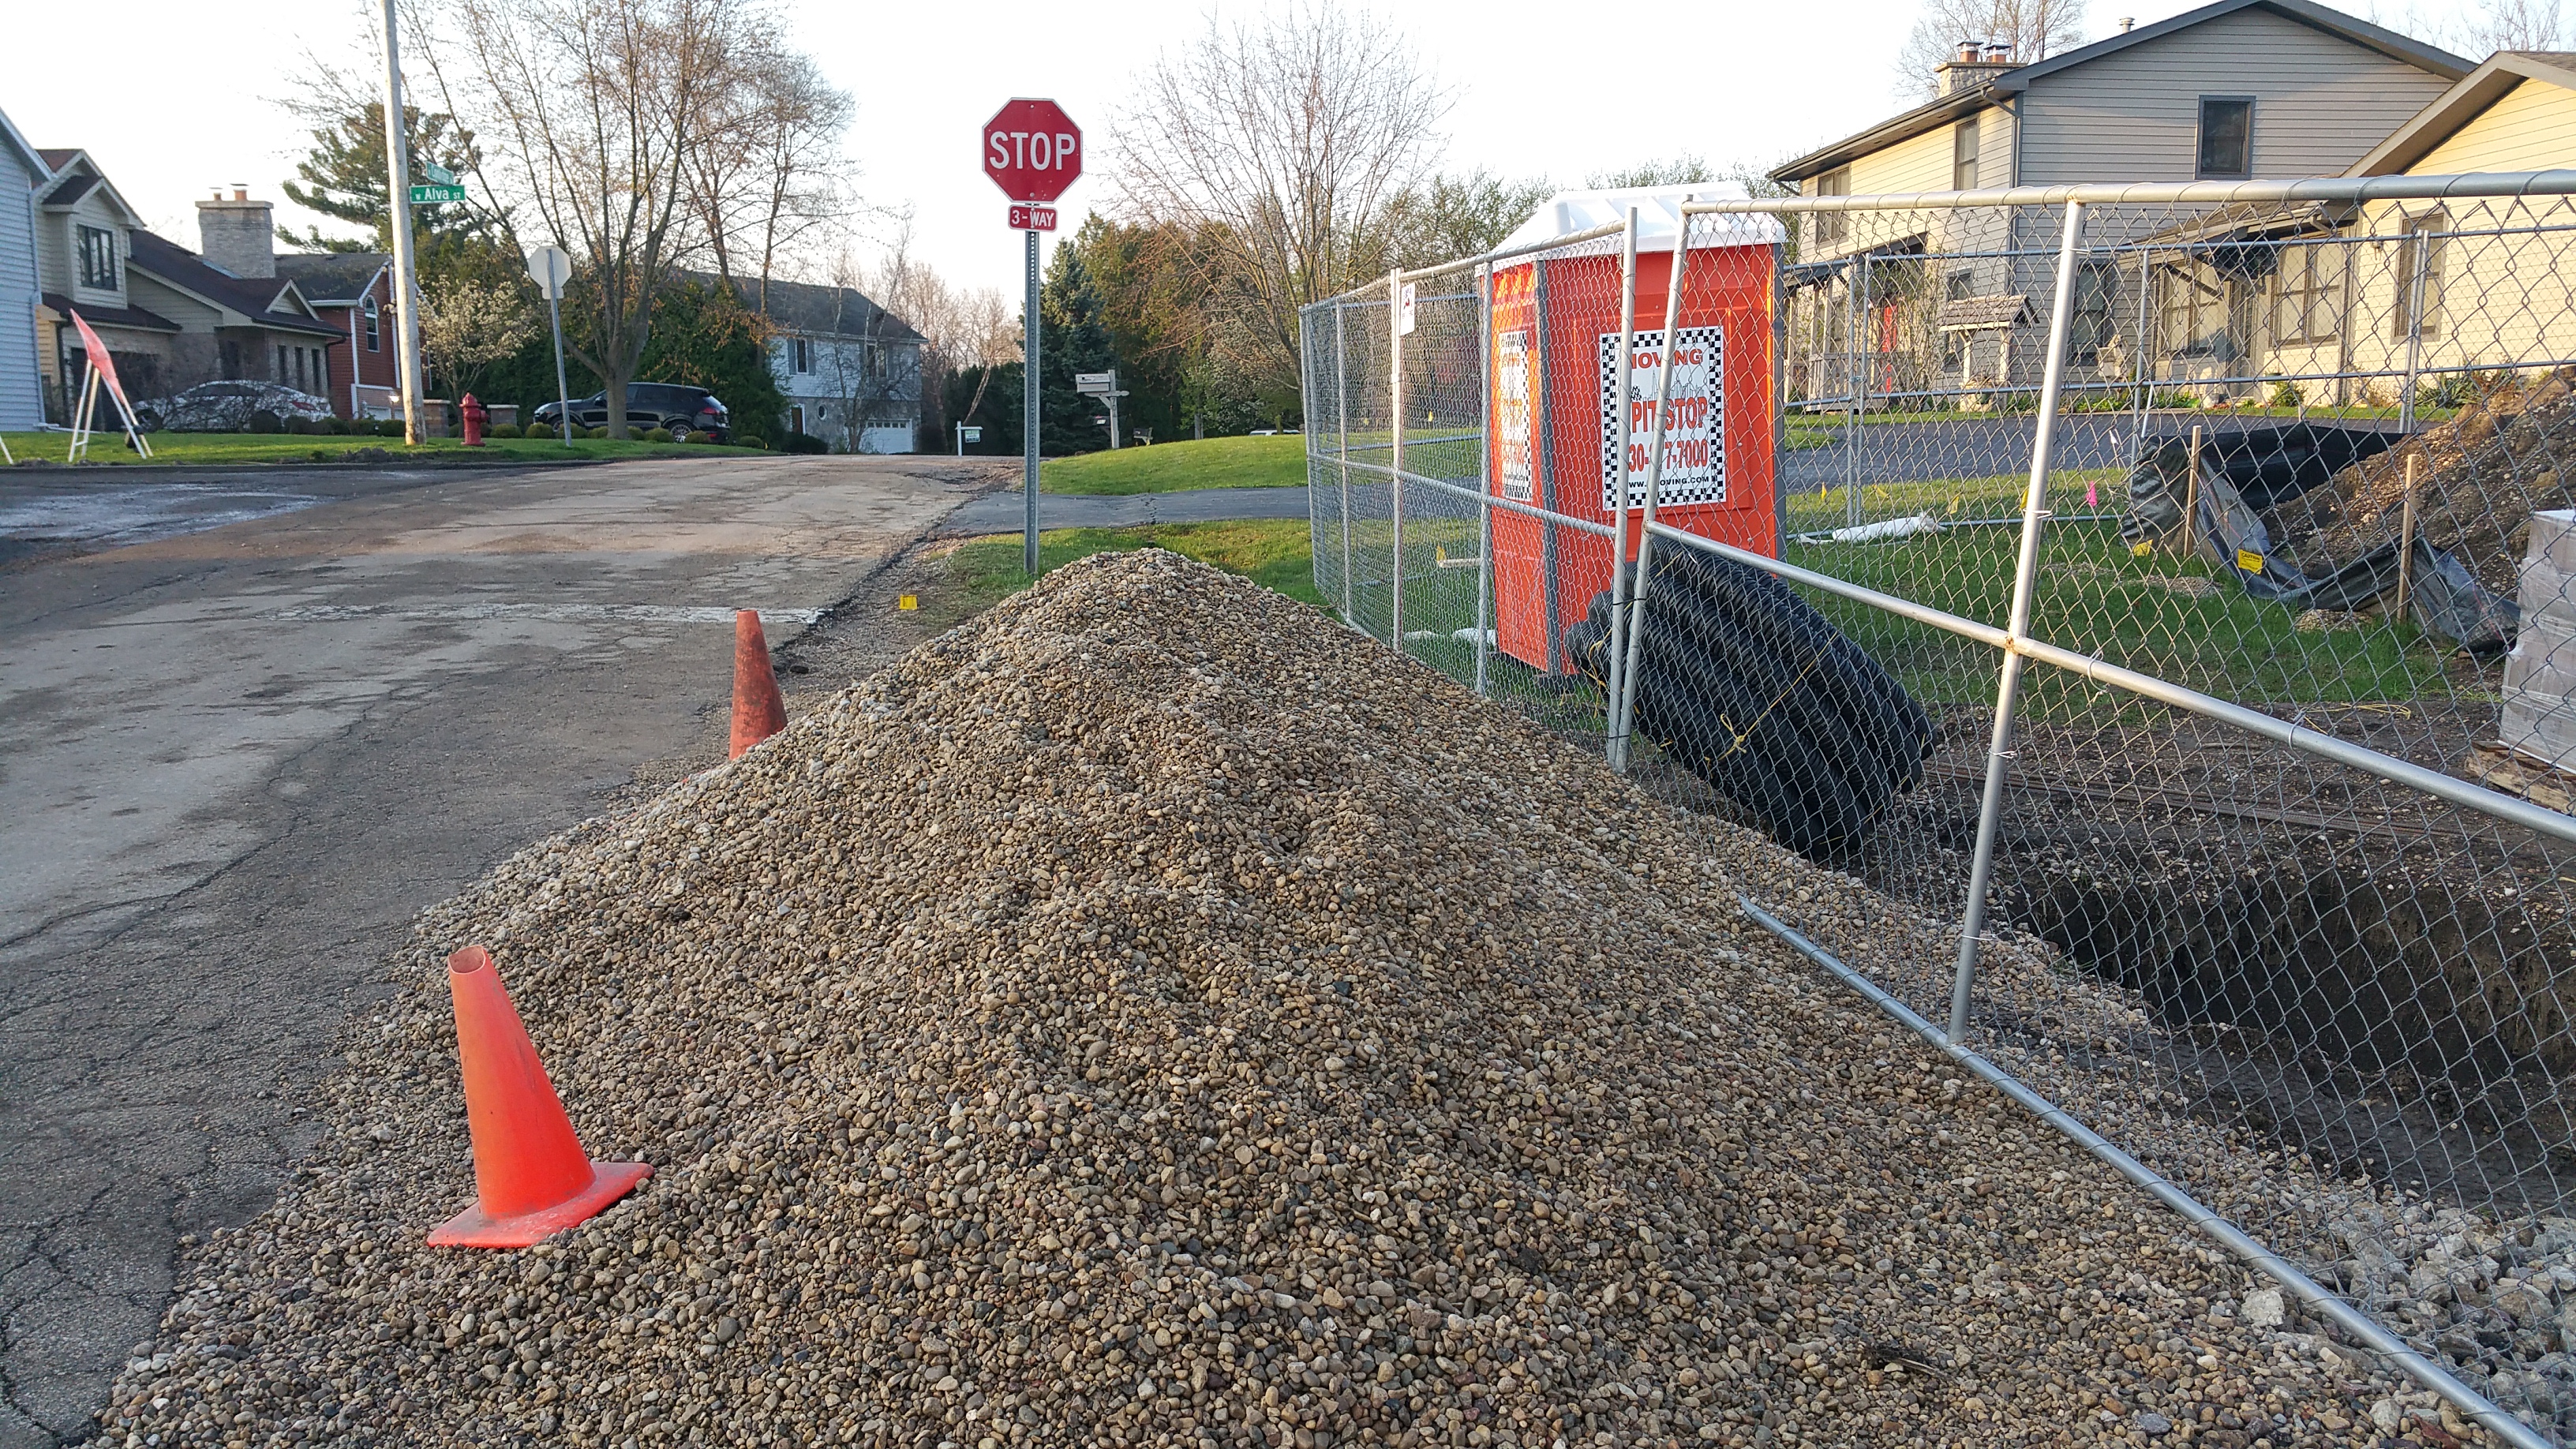
ComEd shows up with a new pole for our electric service, just as pallets of Versa Lok retaining wall block are delivered to site. The job site went from relative silence to hyperactivity — stressful, but also extremely exciting to see after such an extended delay.
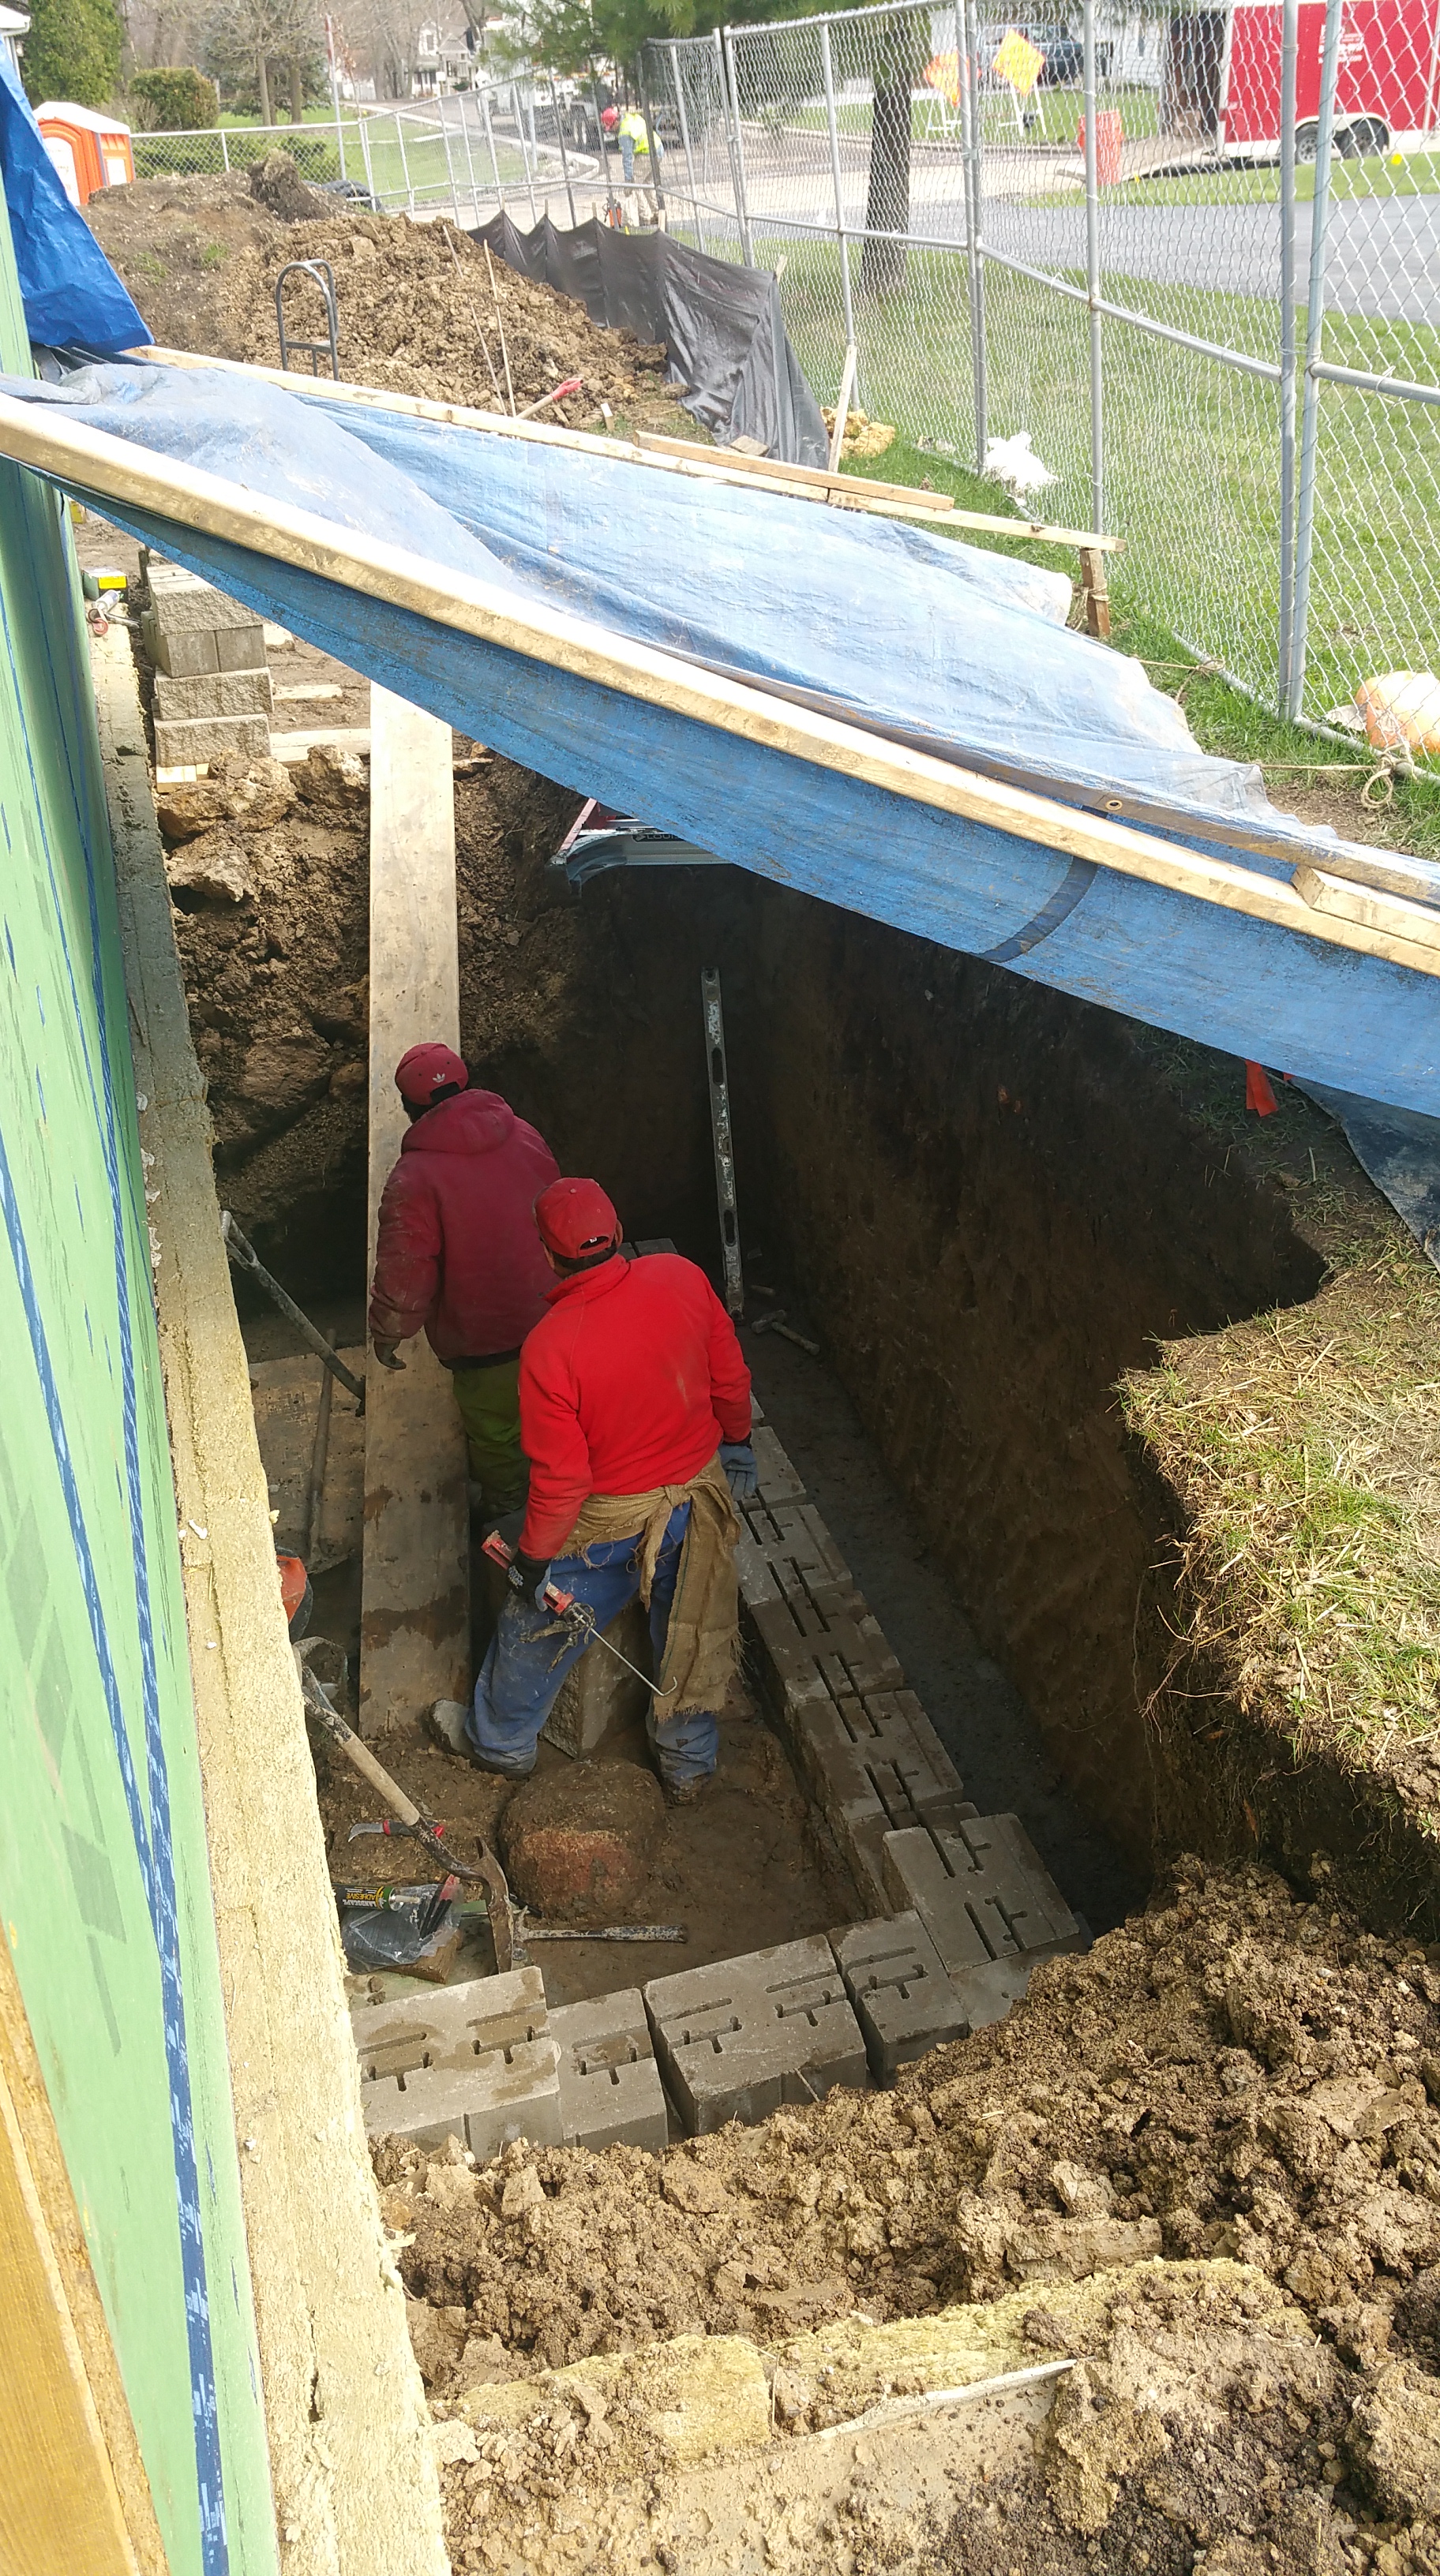
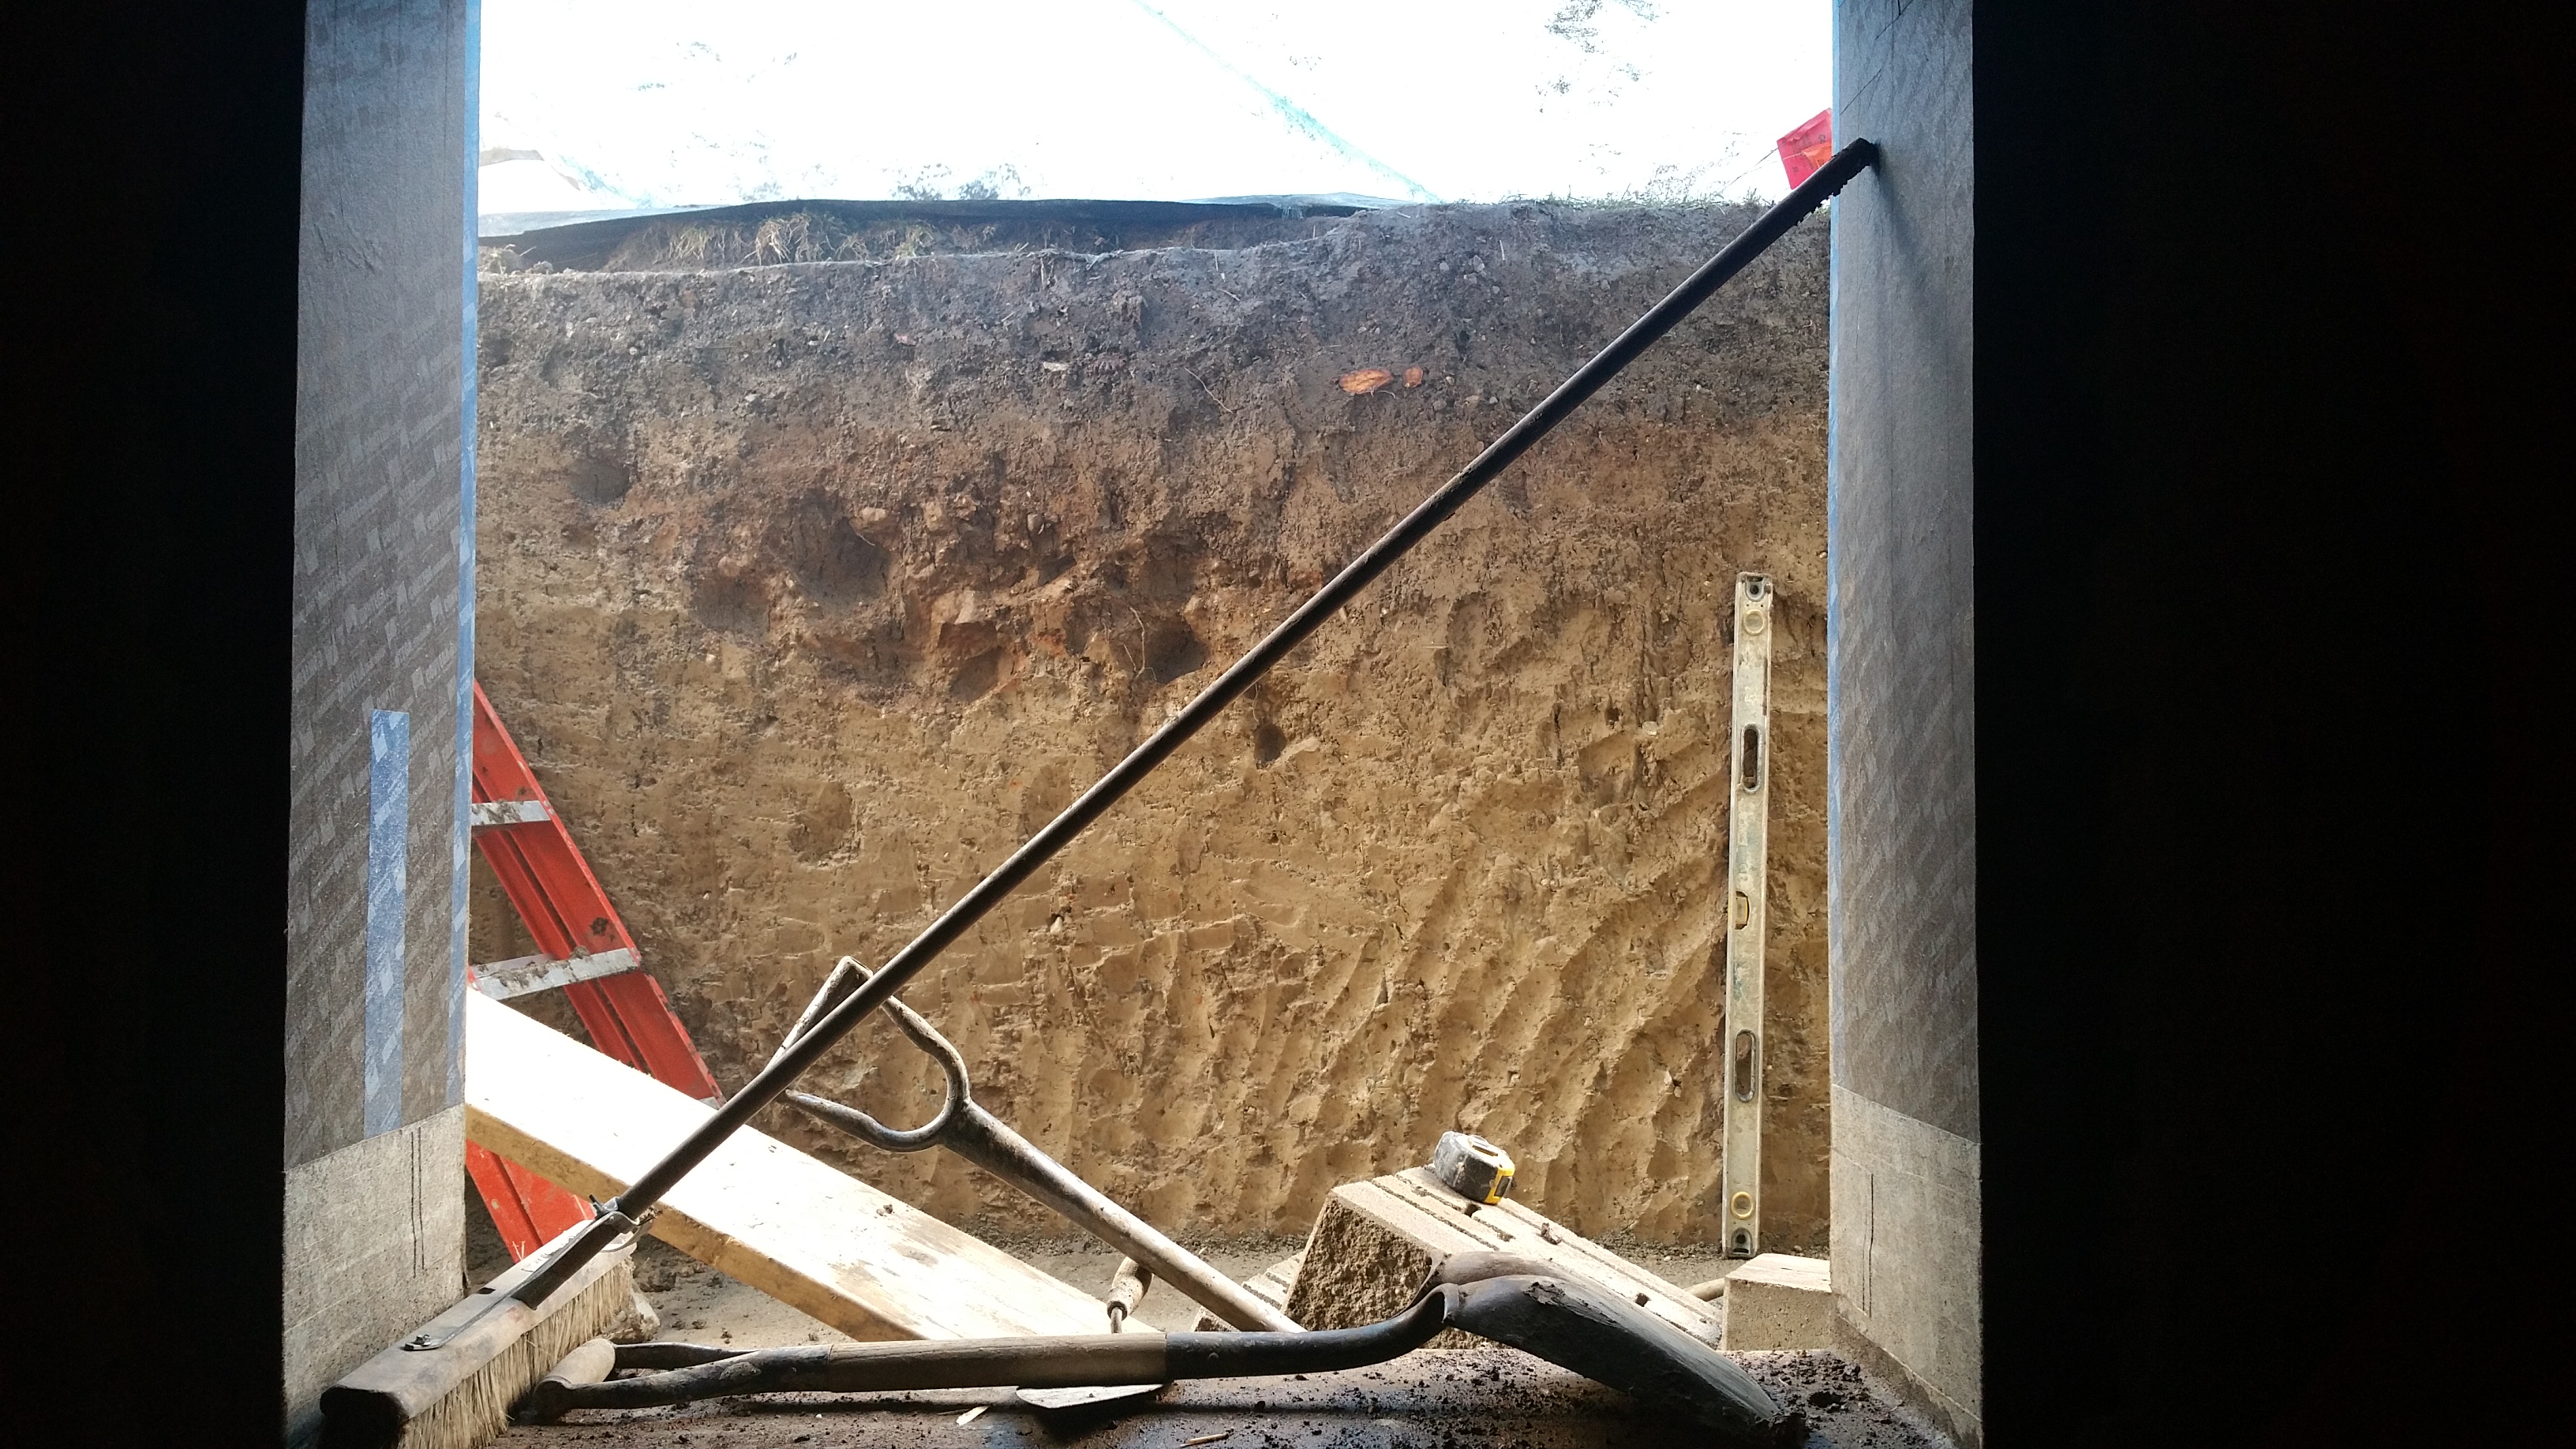
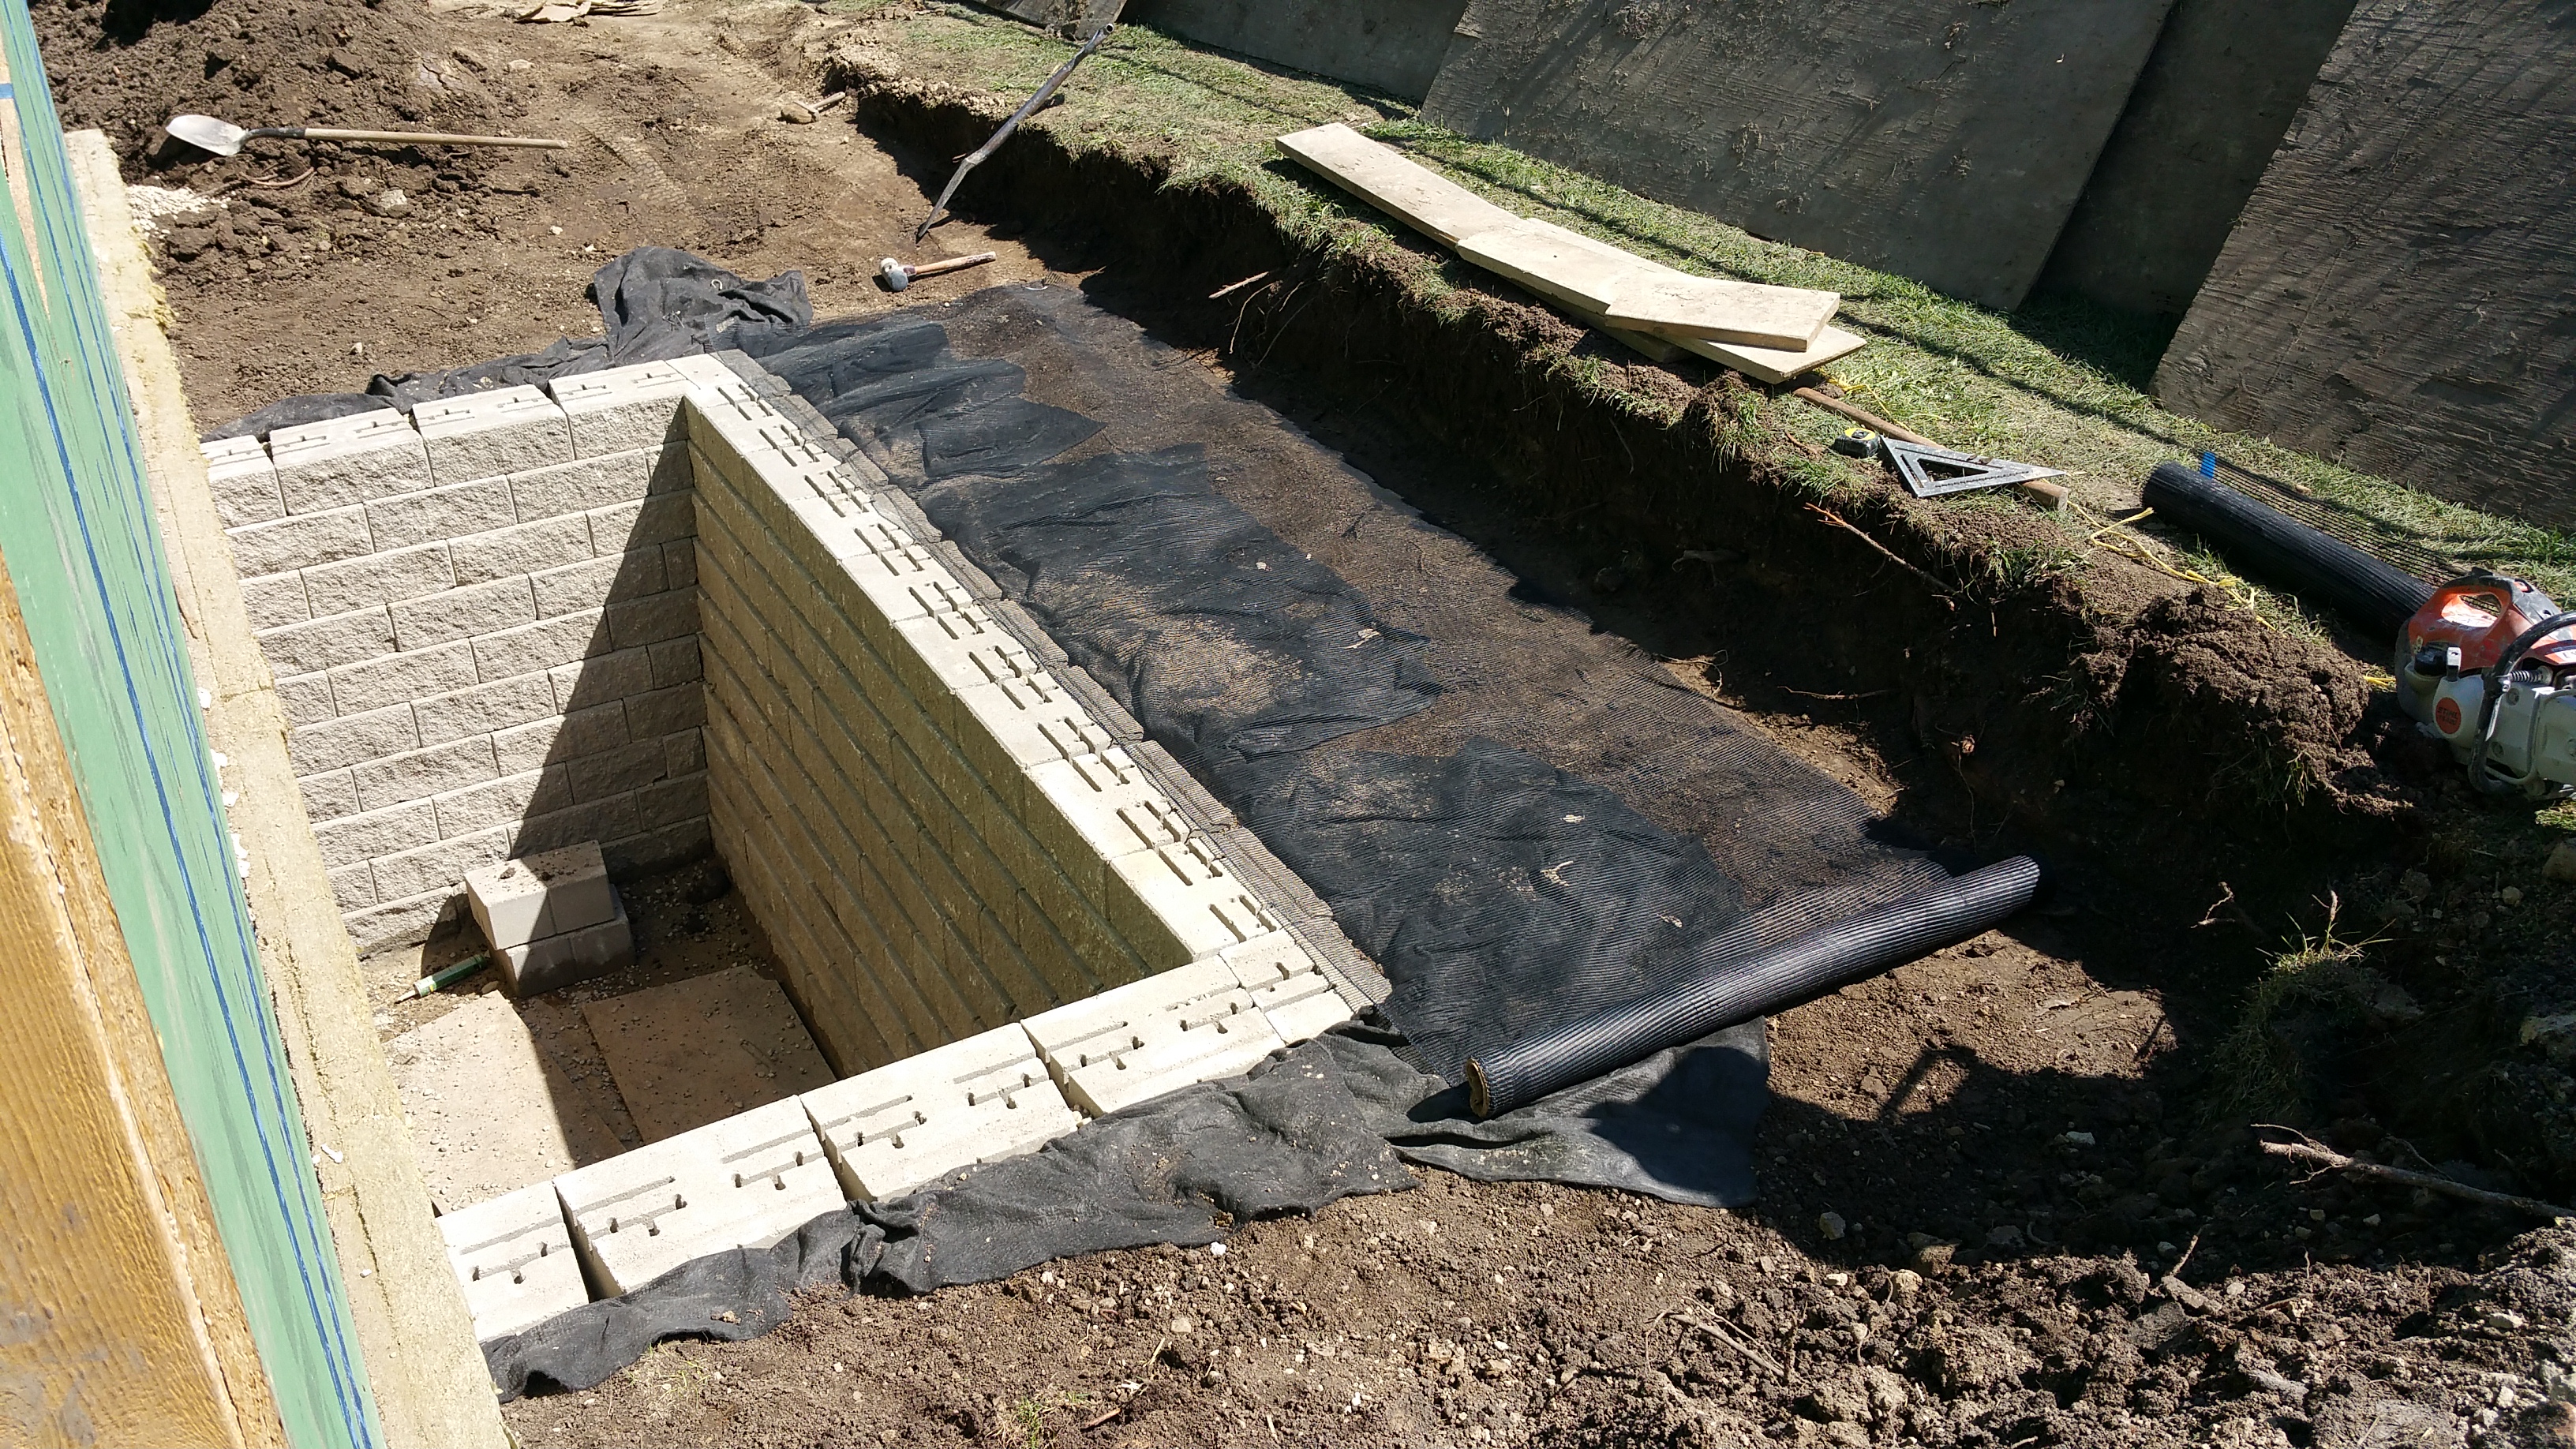
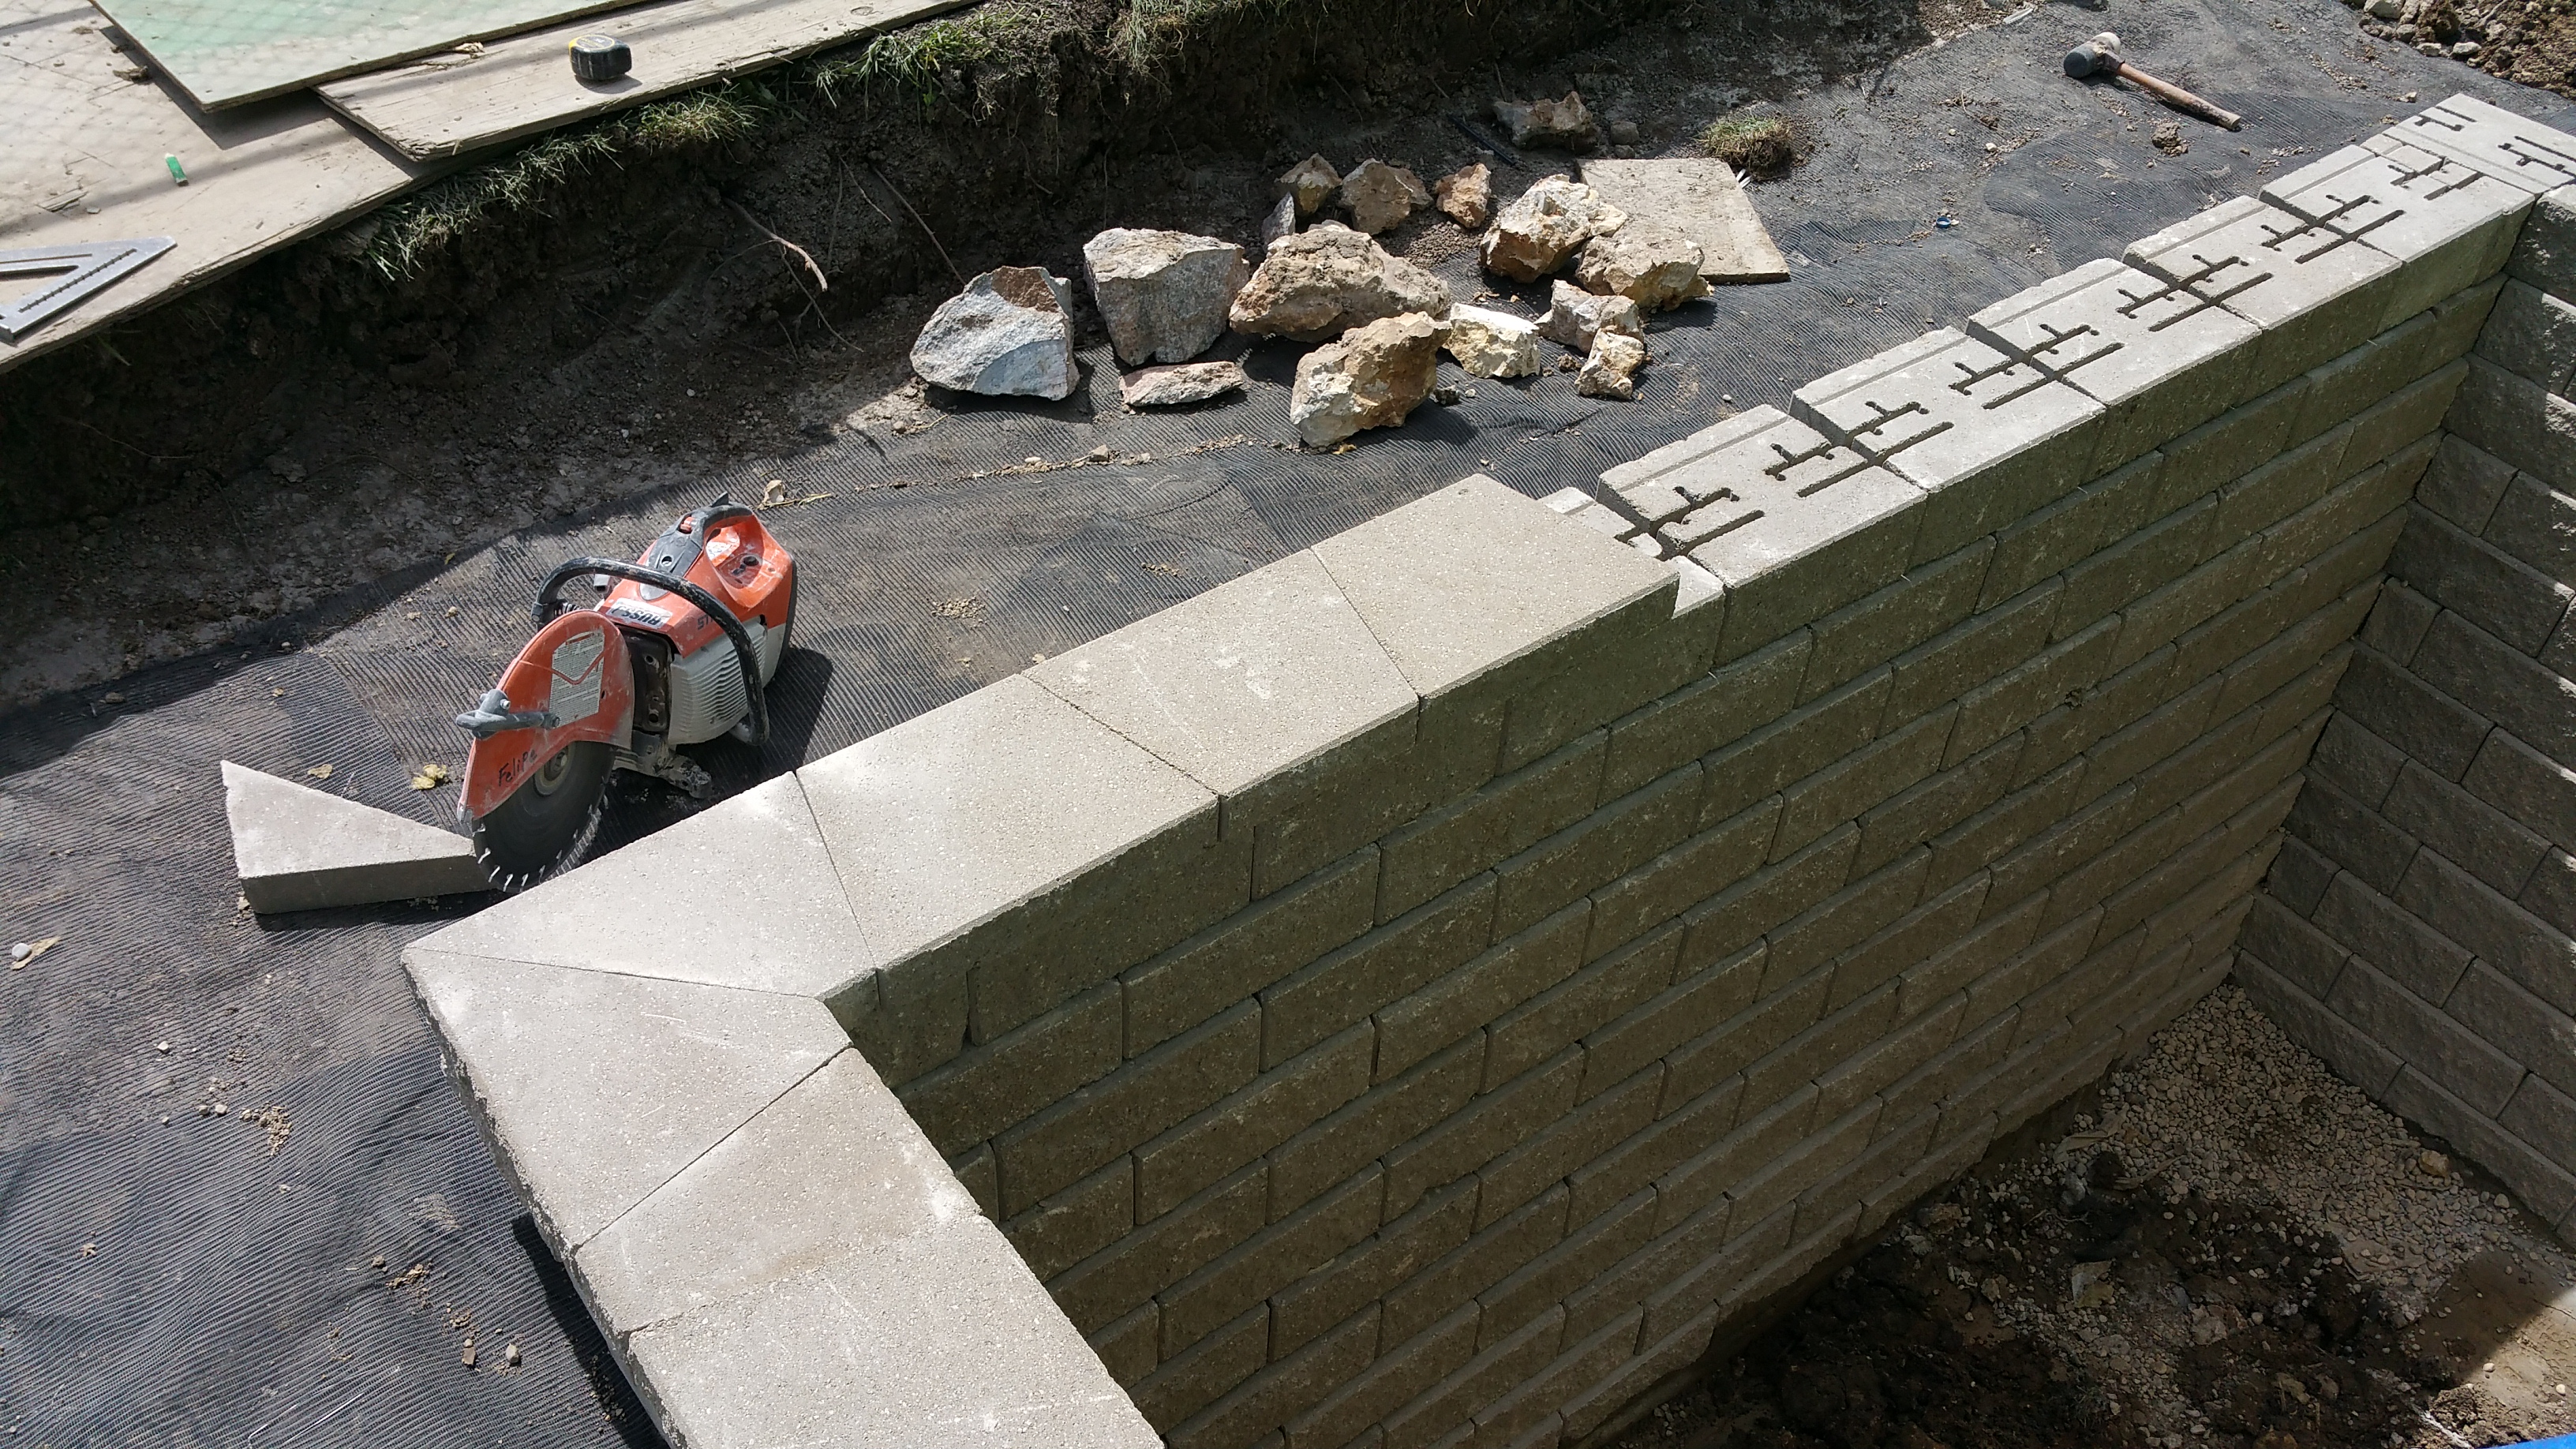
The first wall begins to rise:


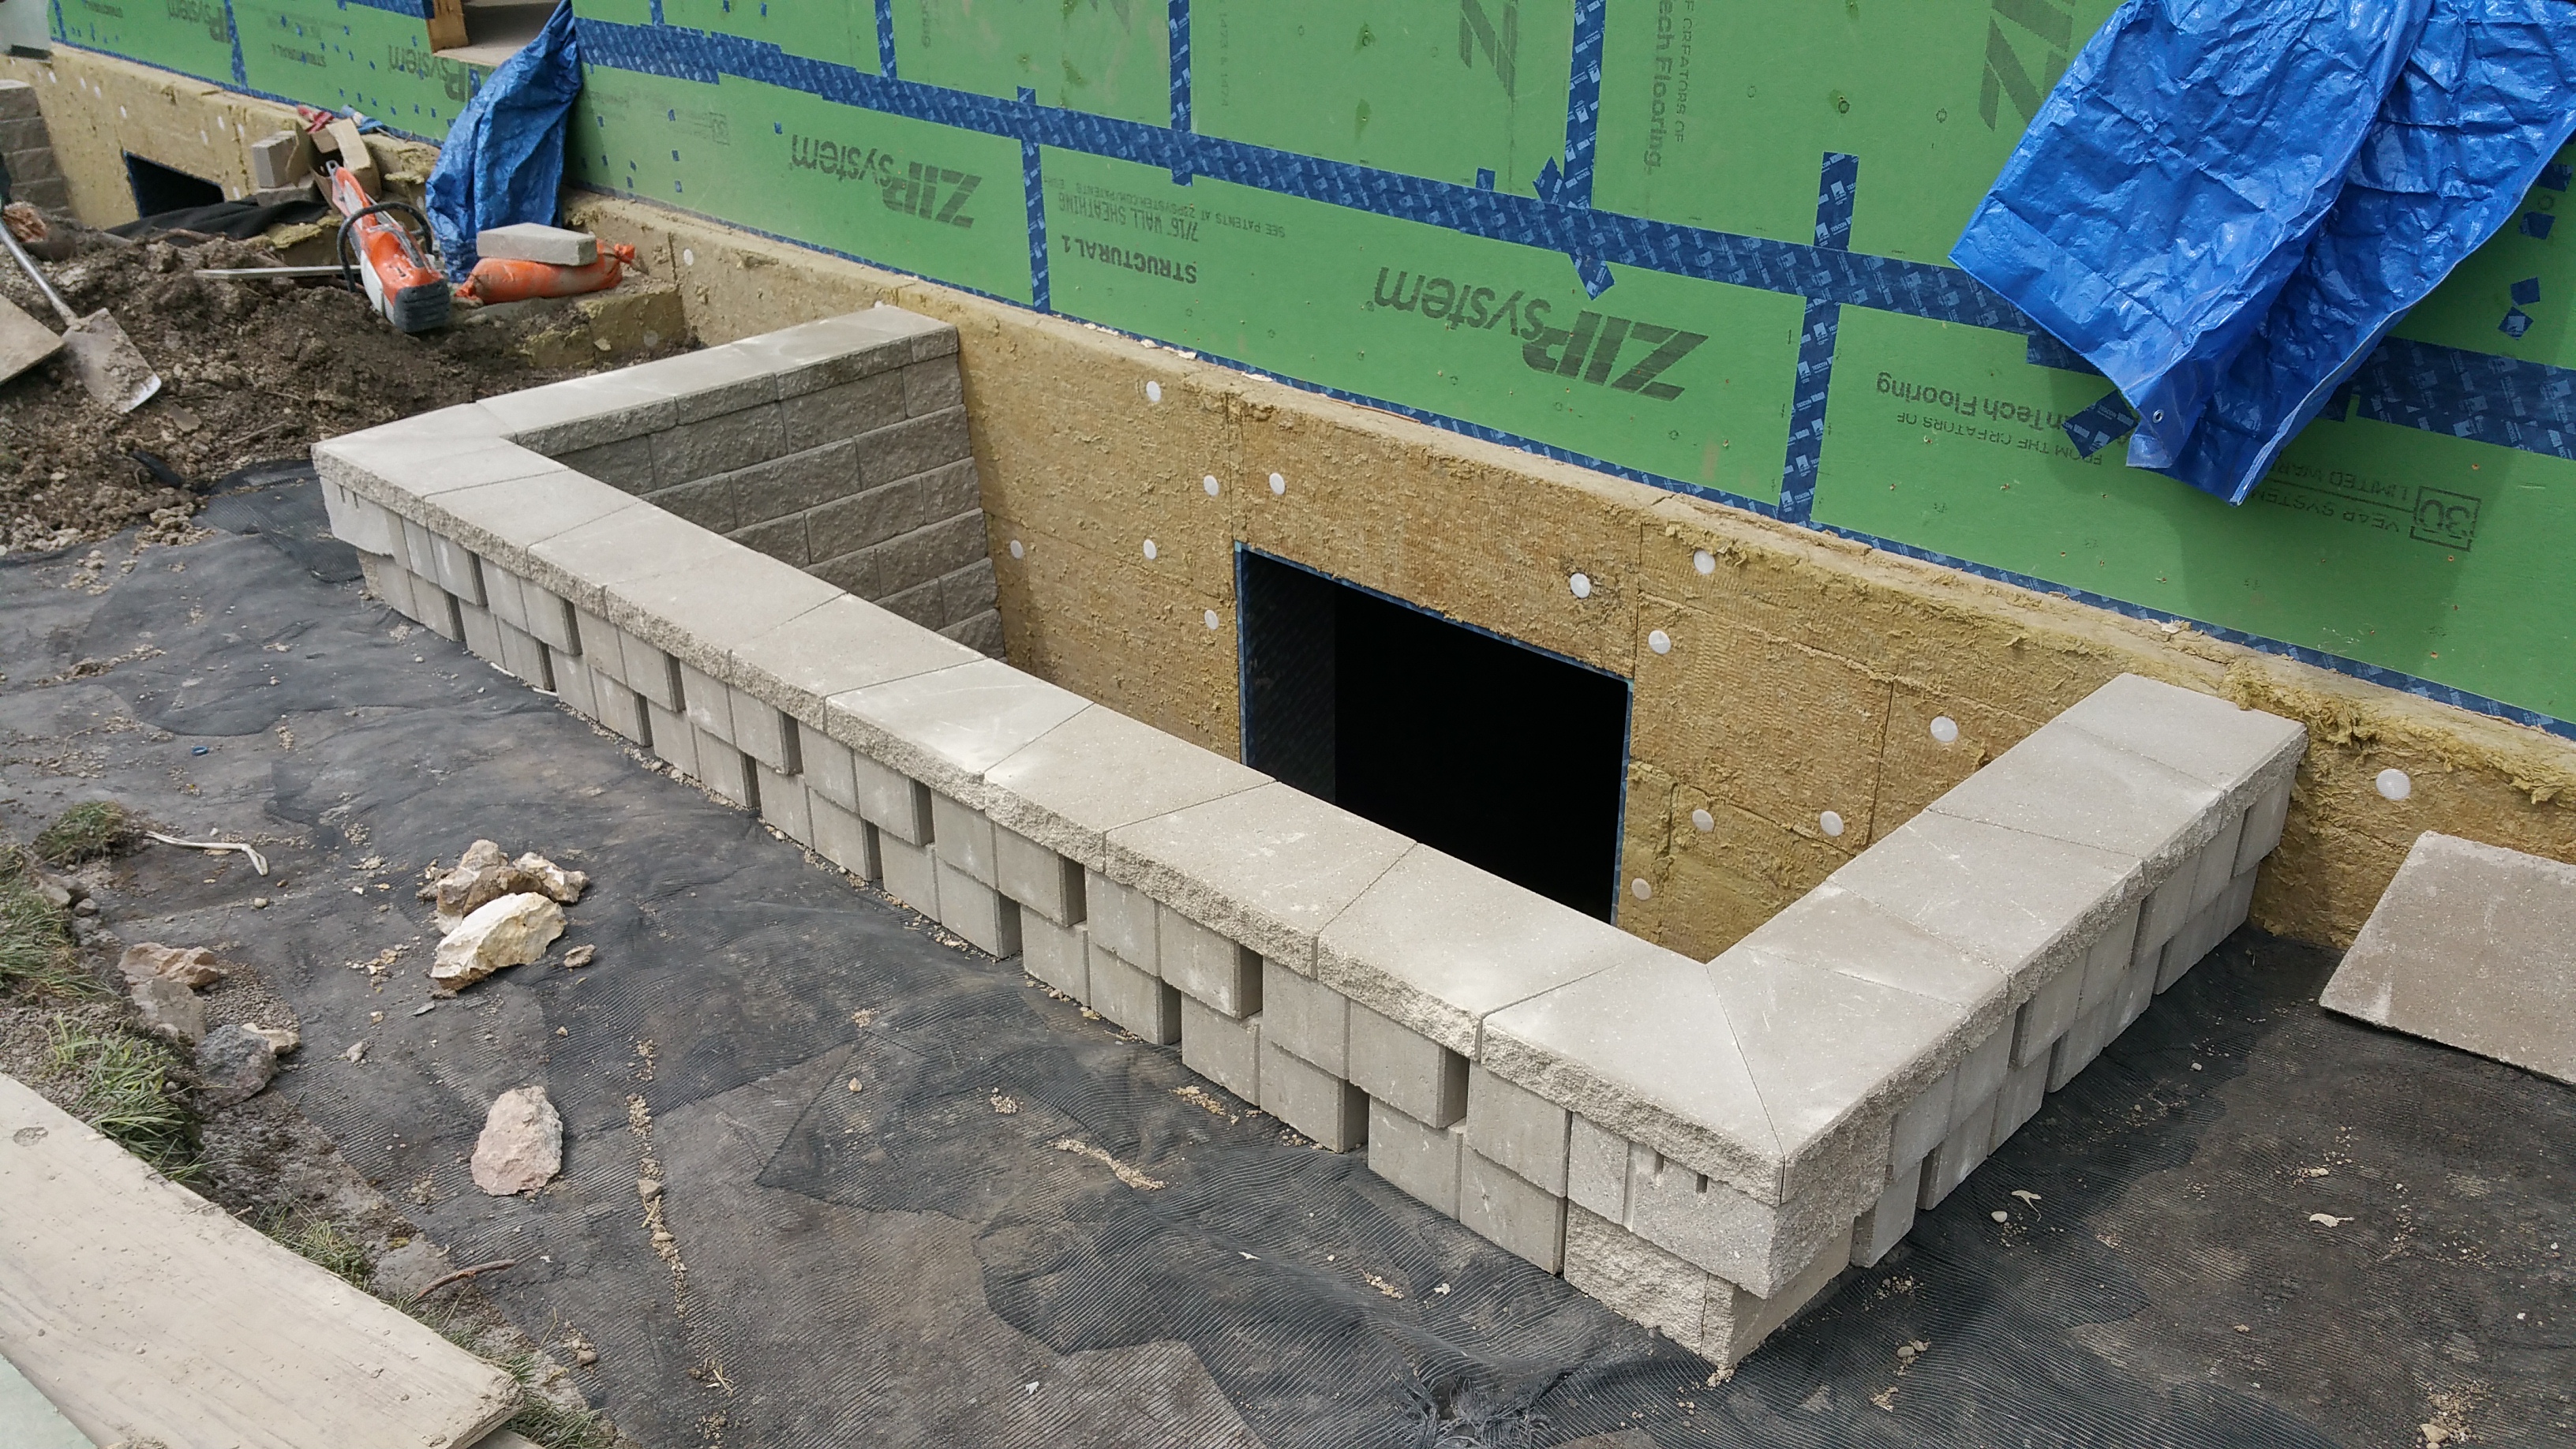
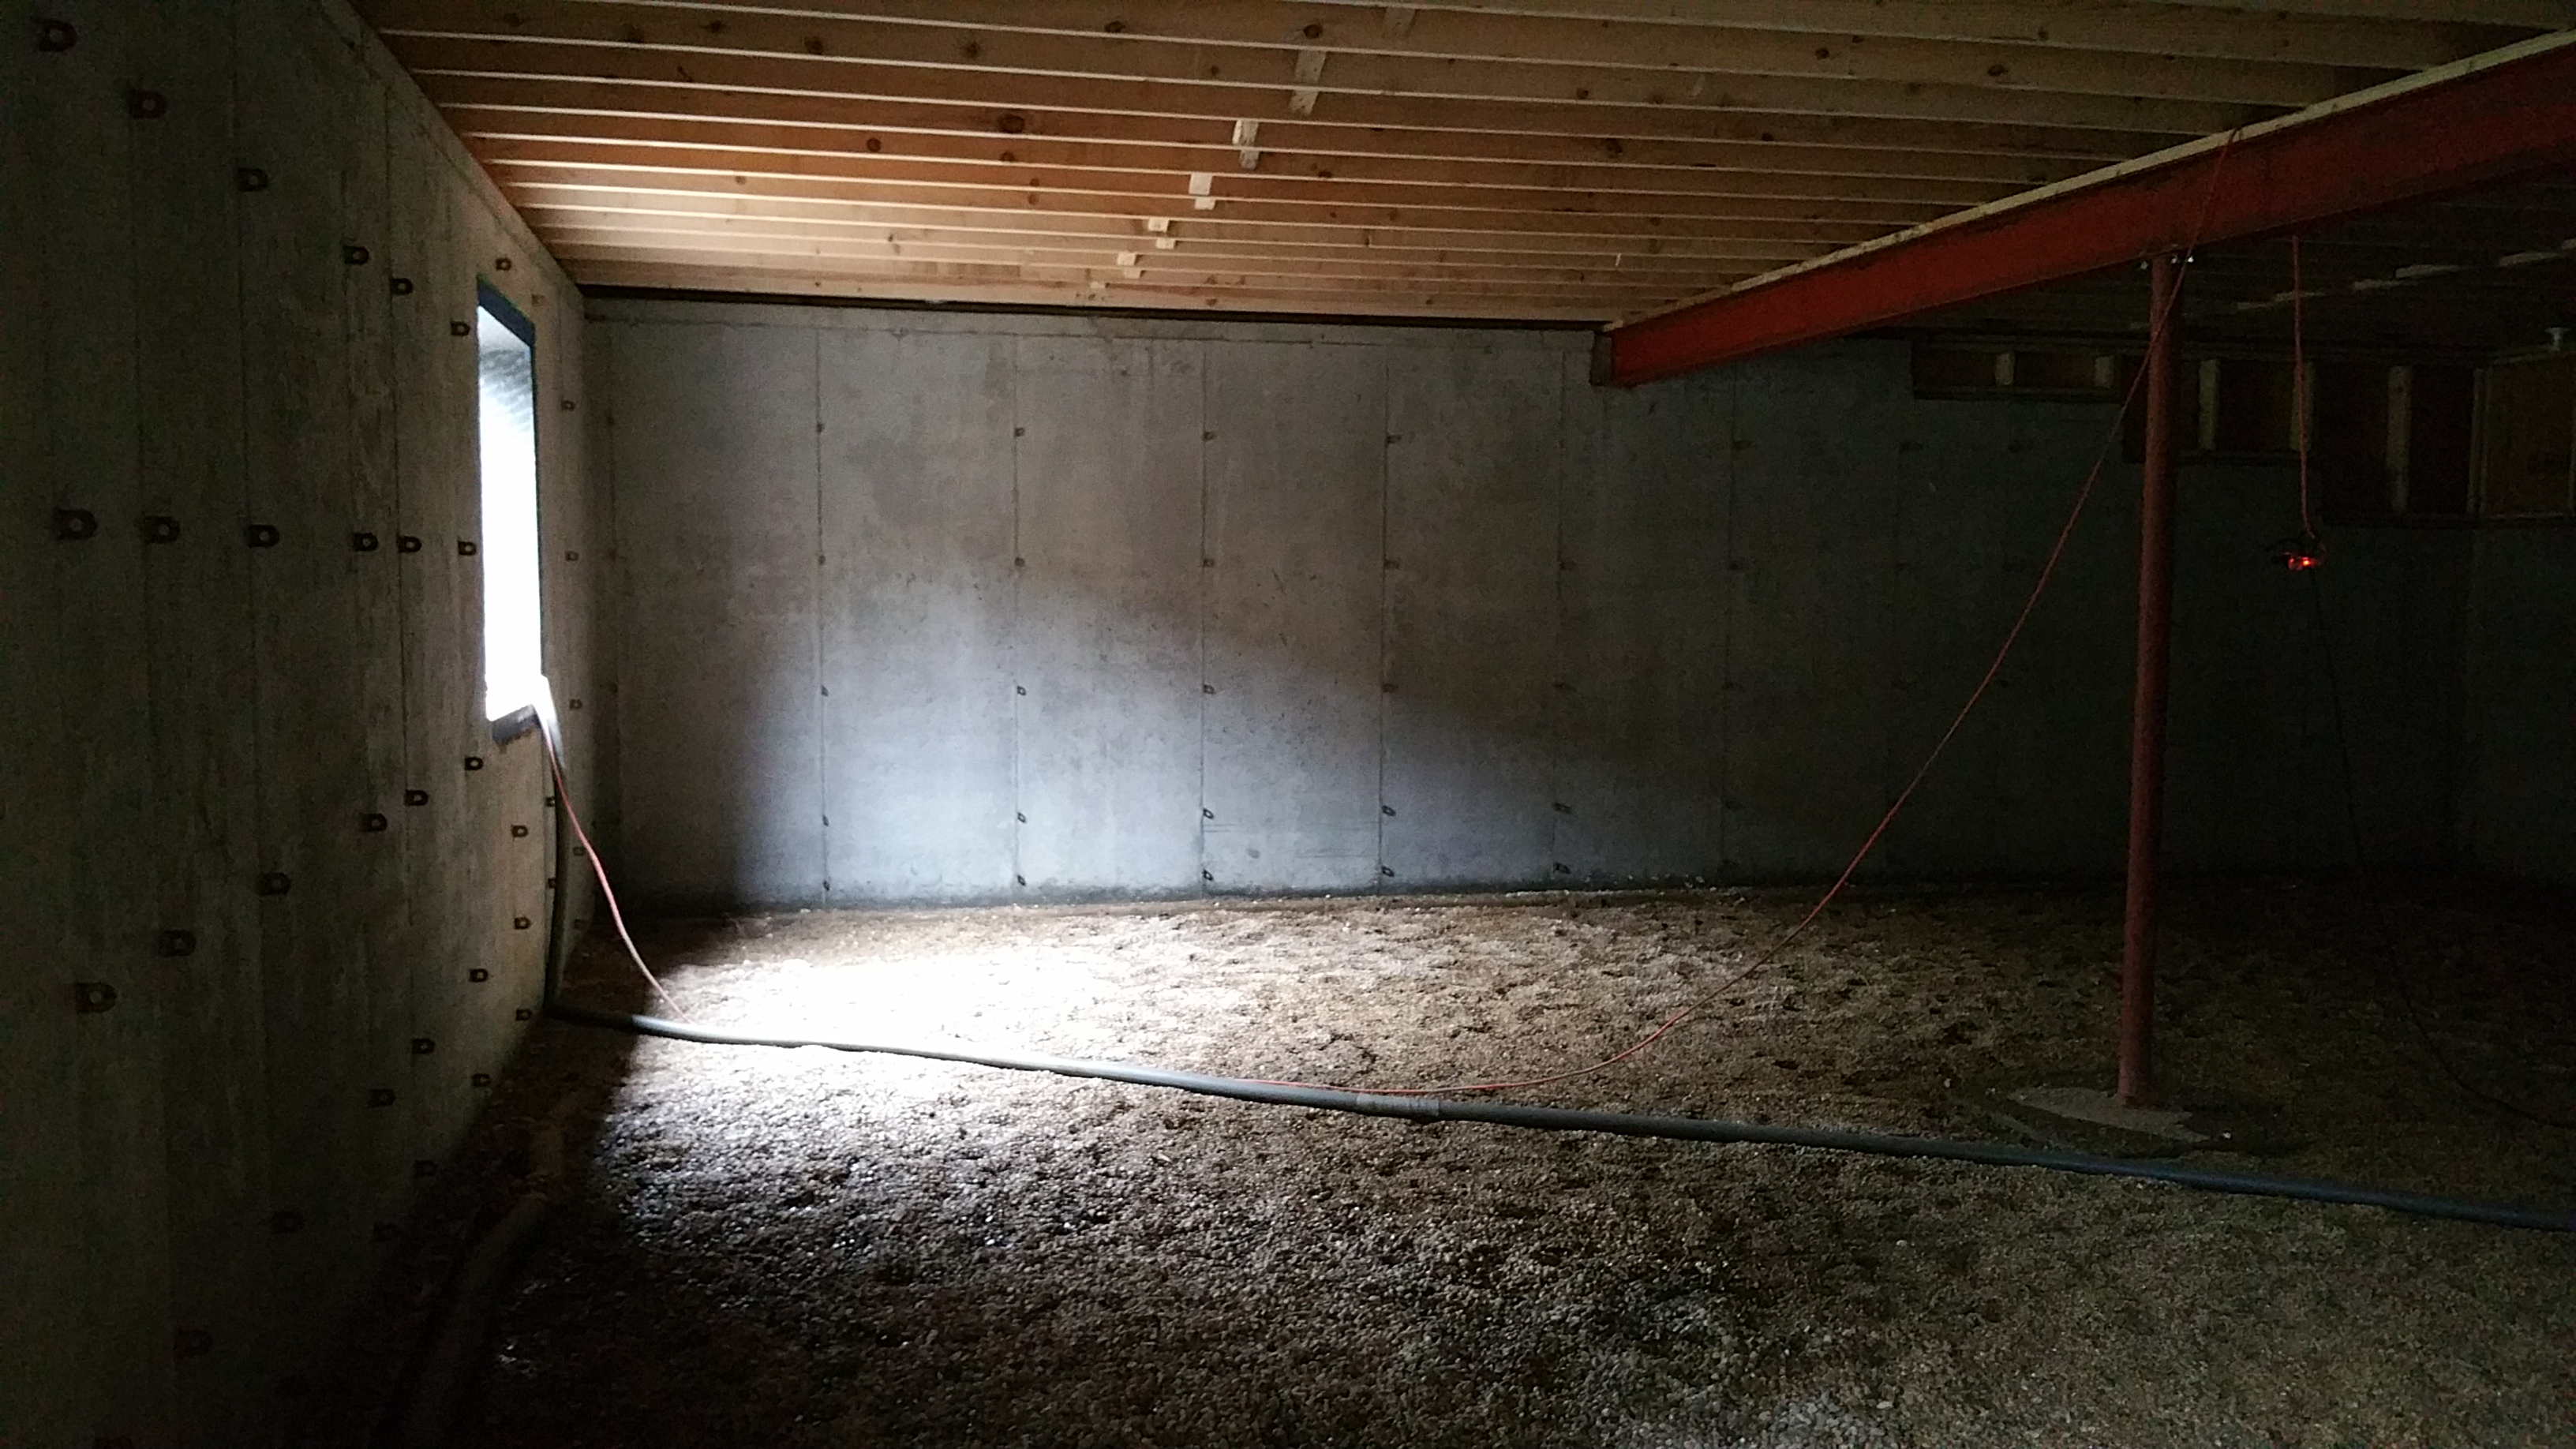
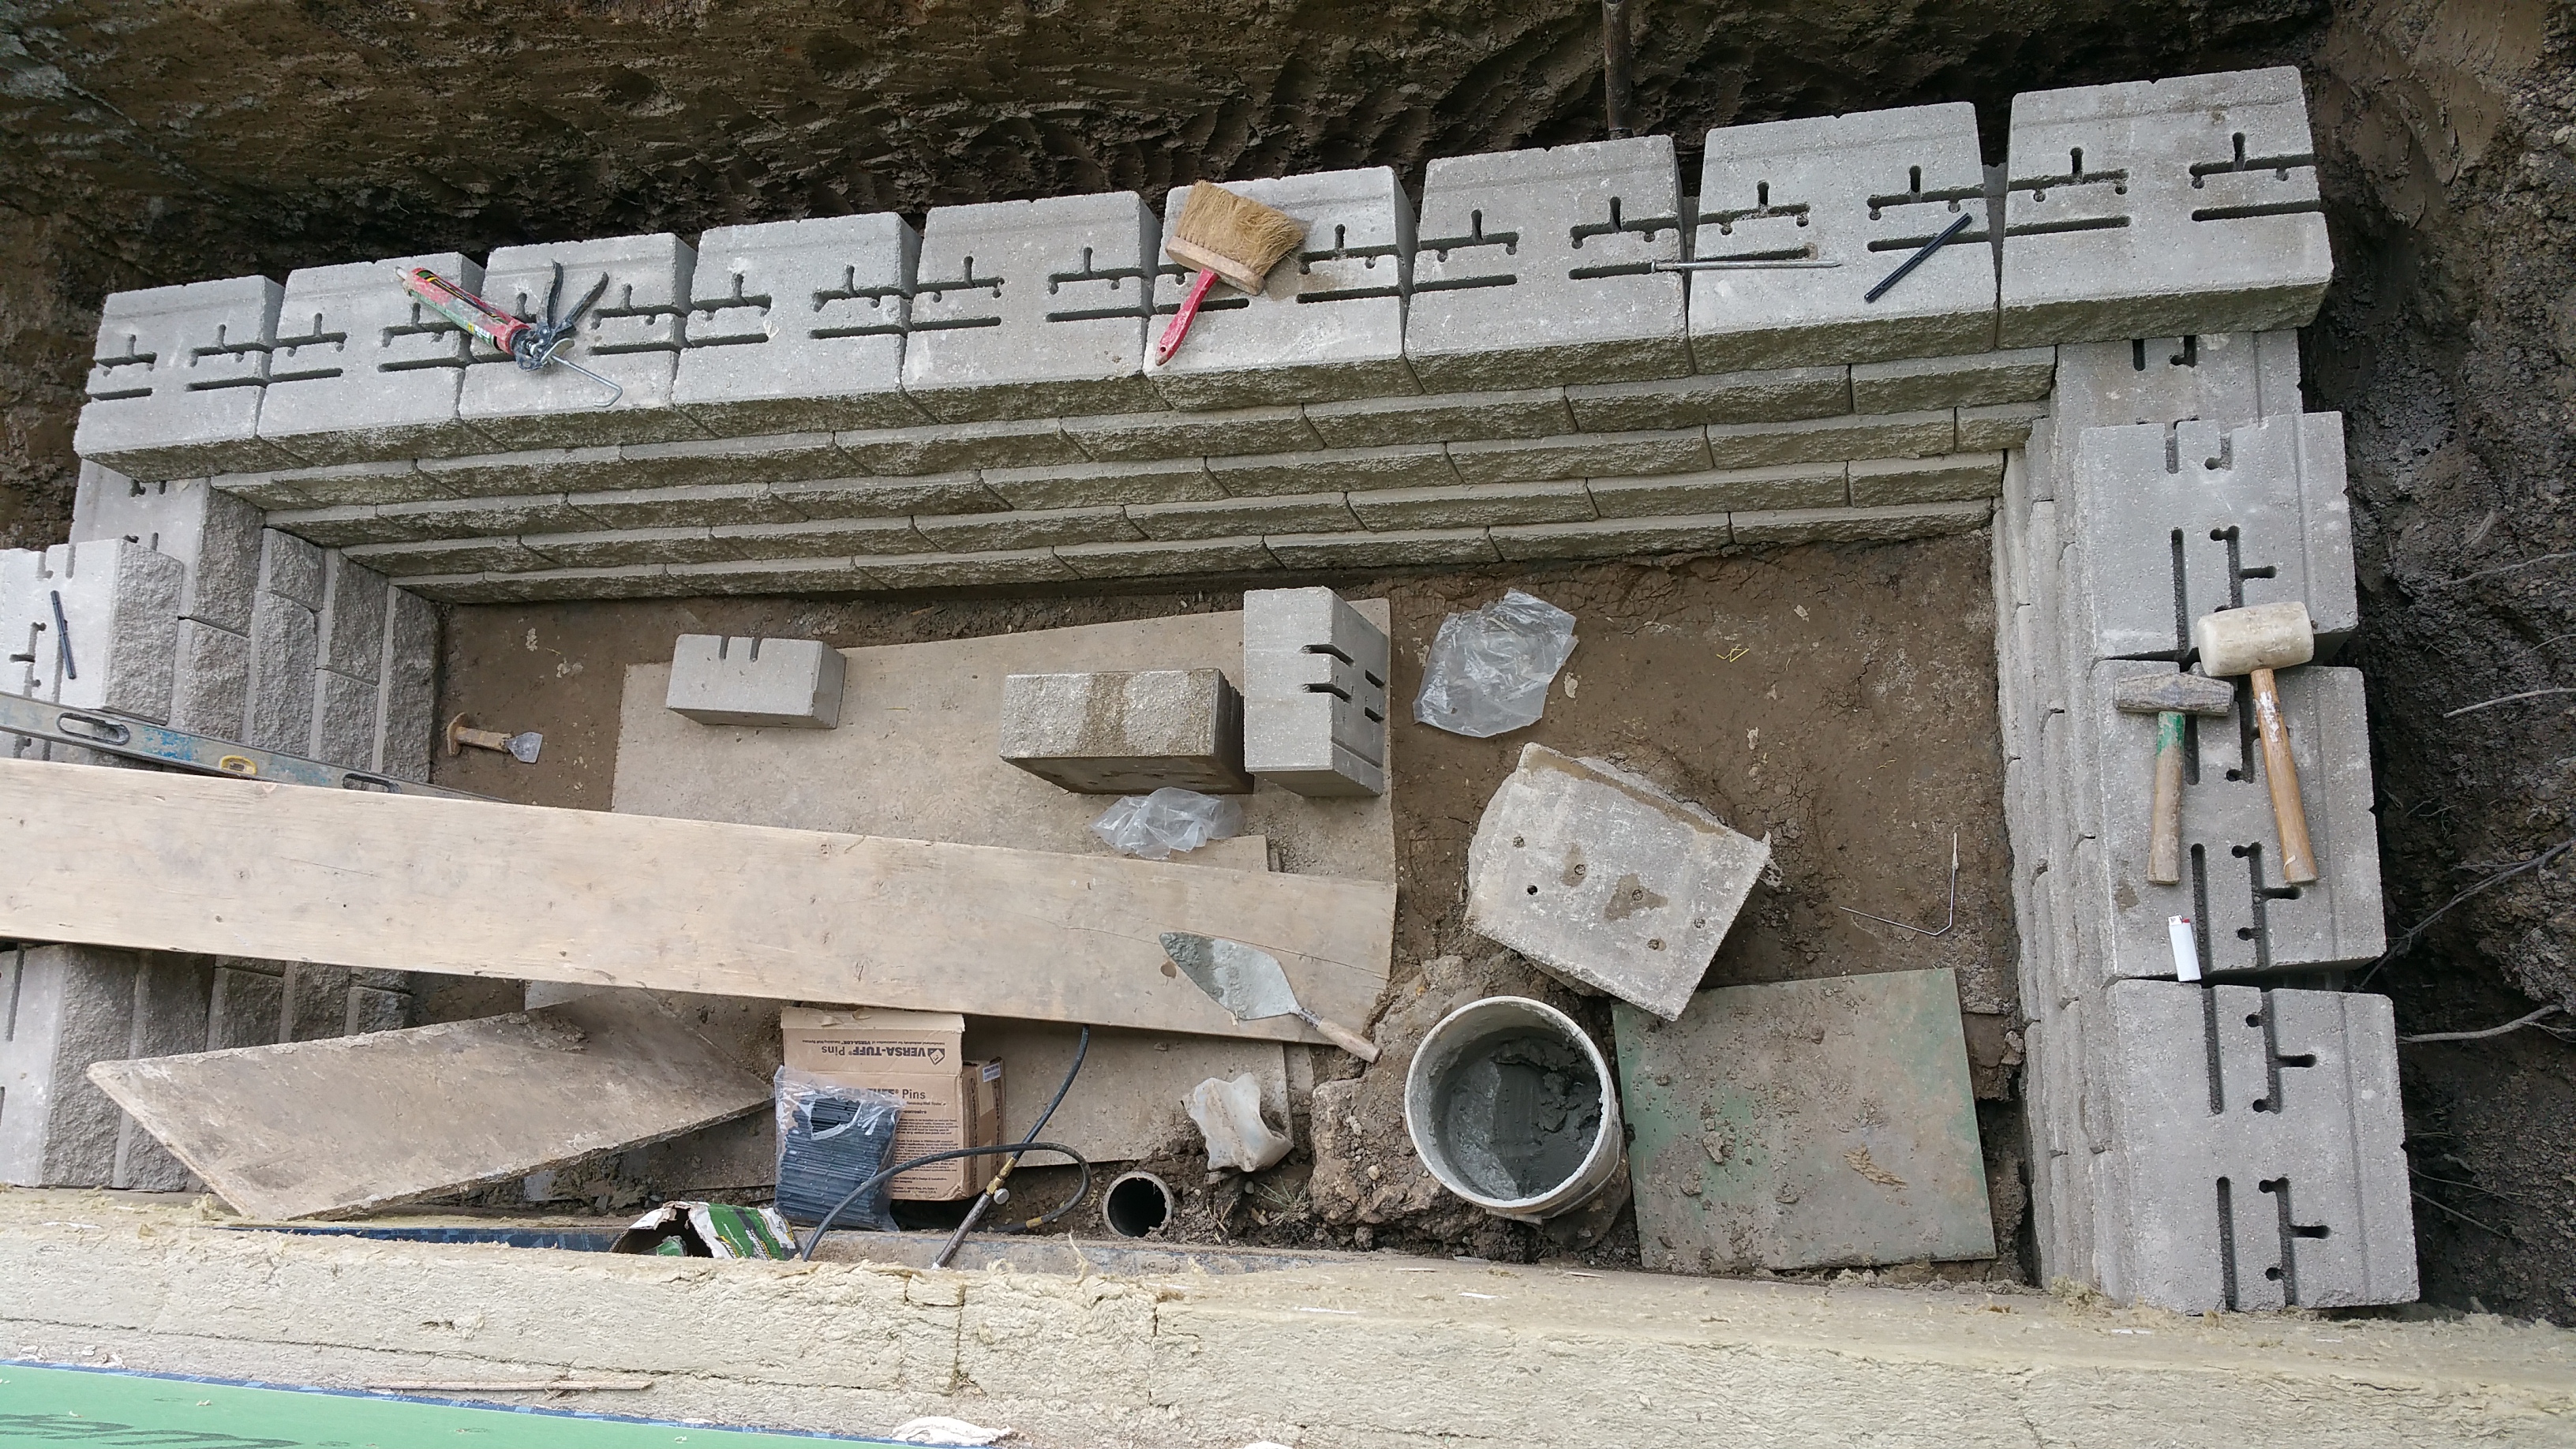
View of the first completed window well from inside the house at the kitchen doorway:

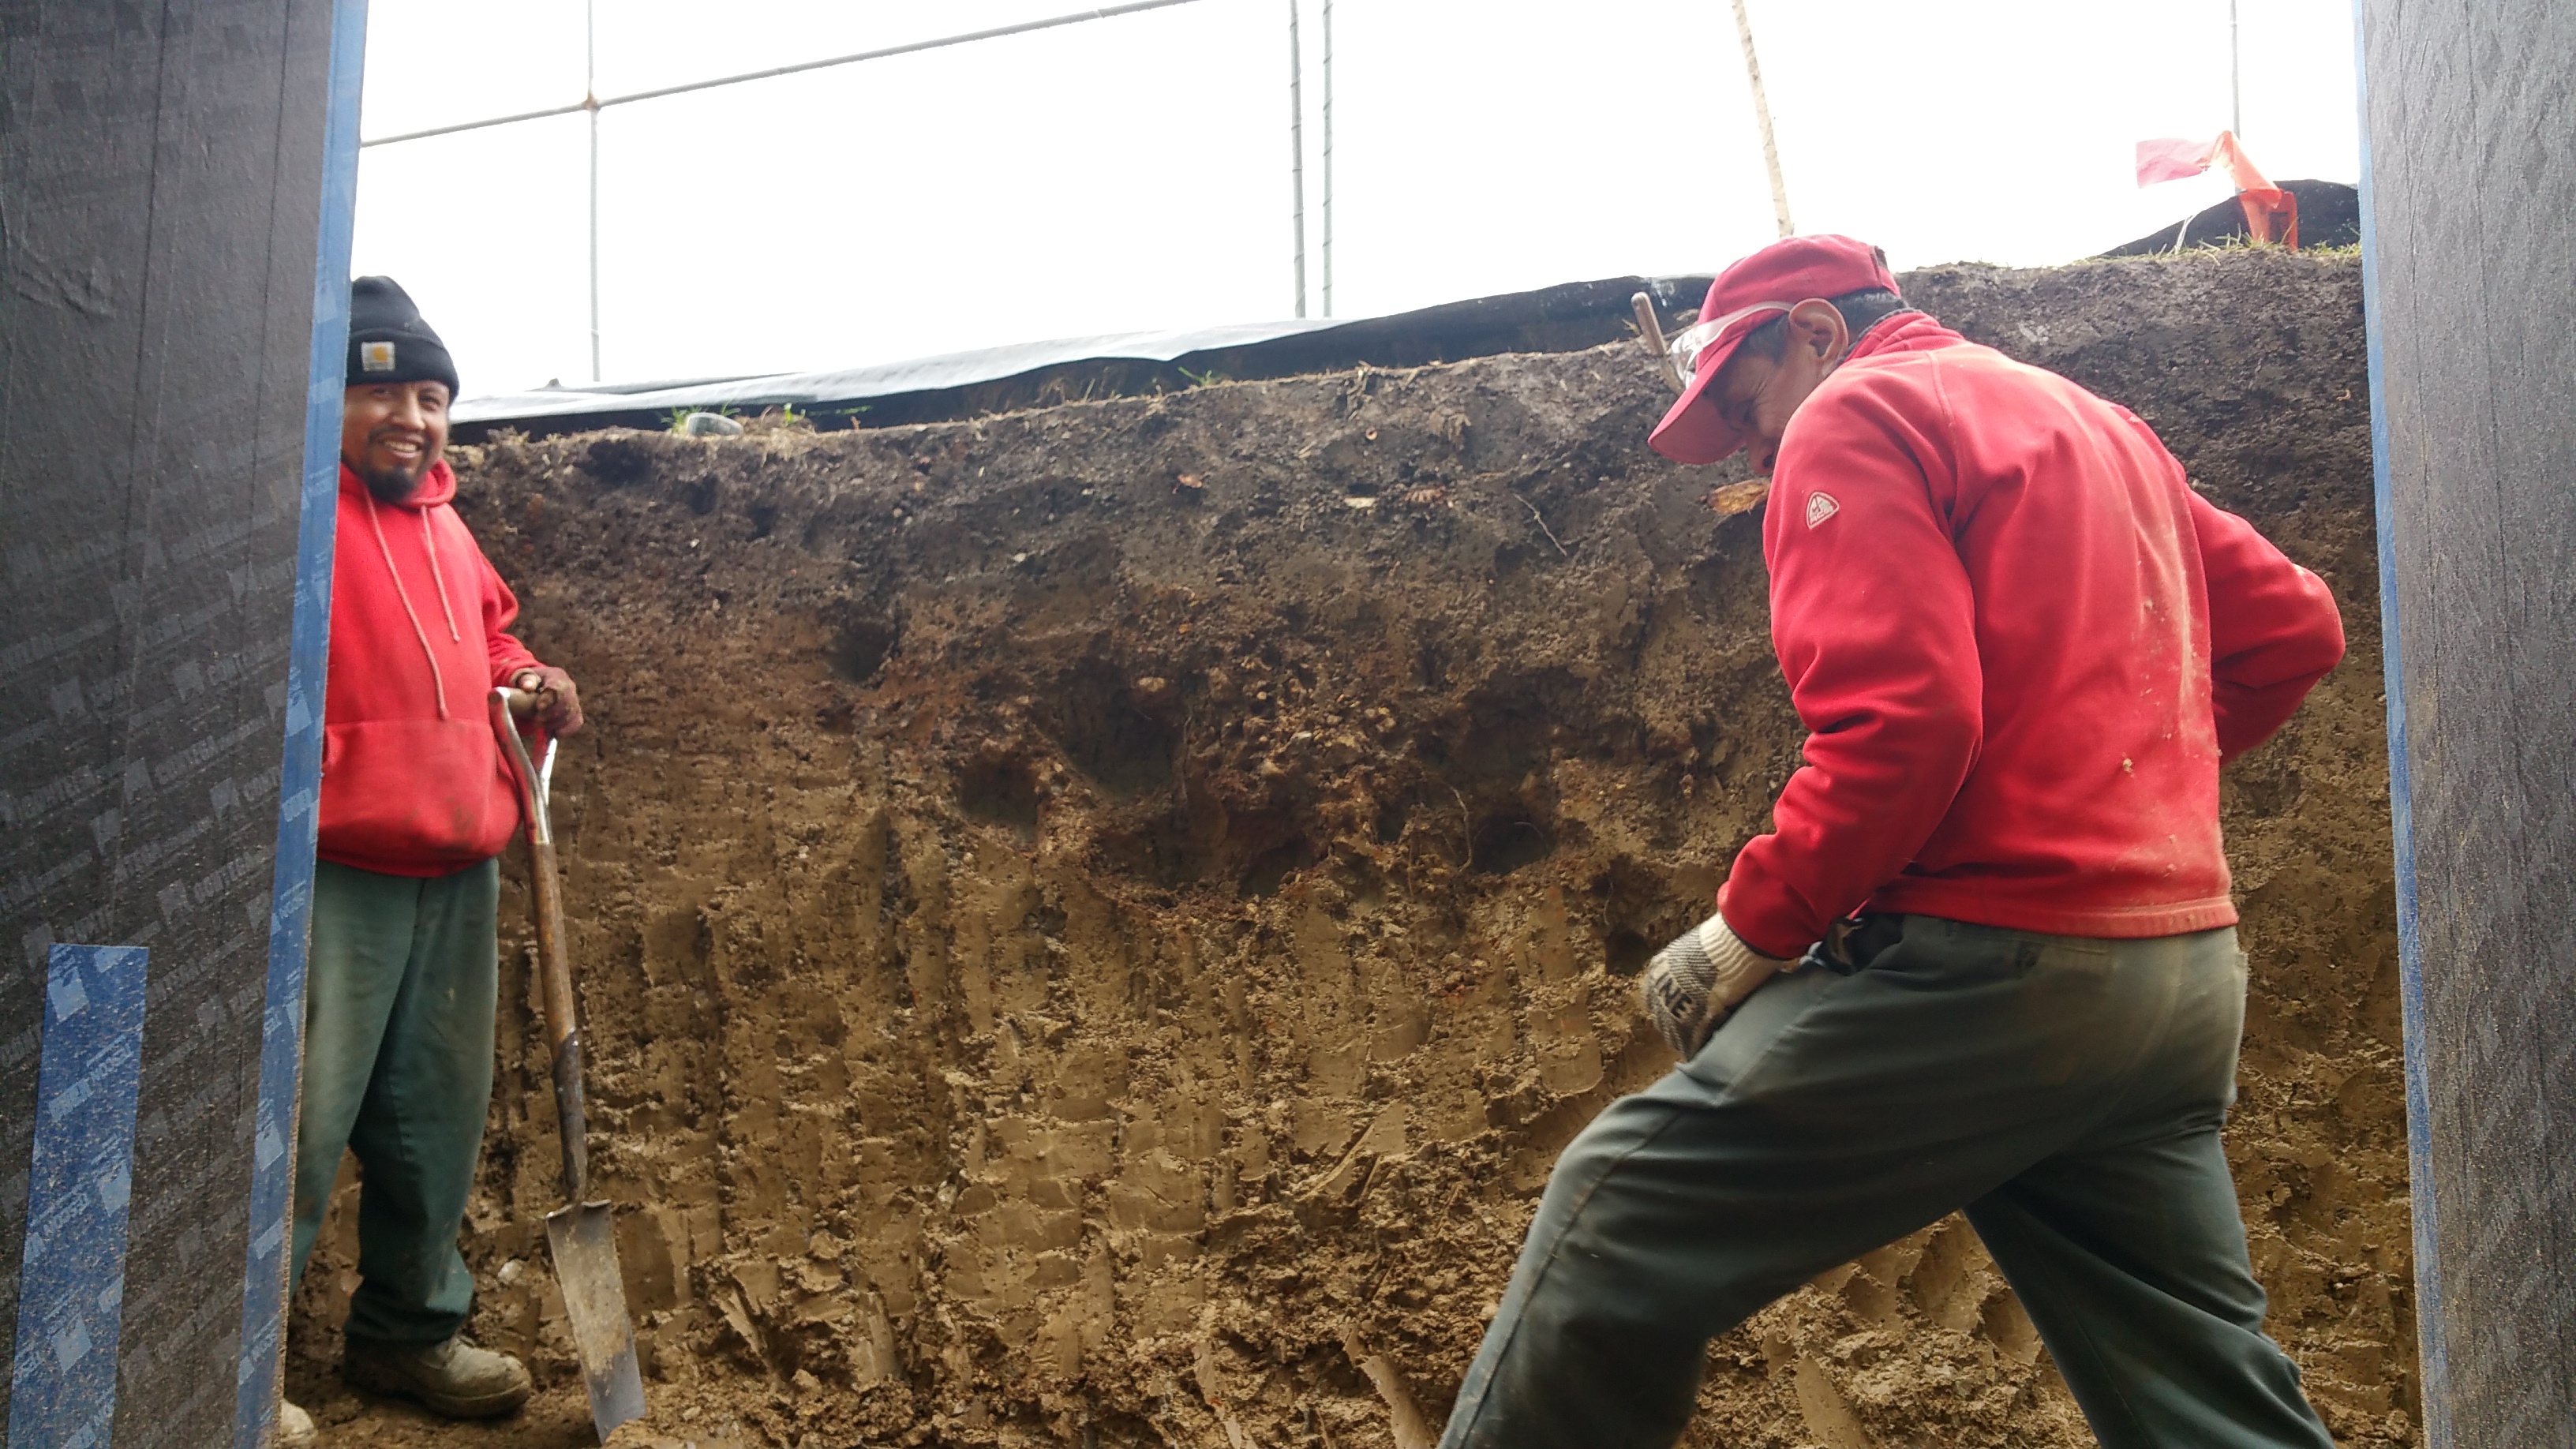
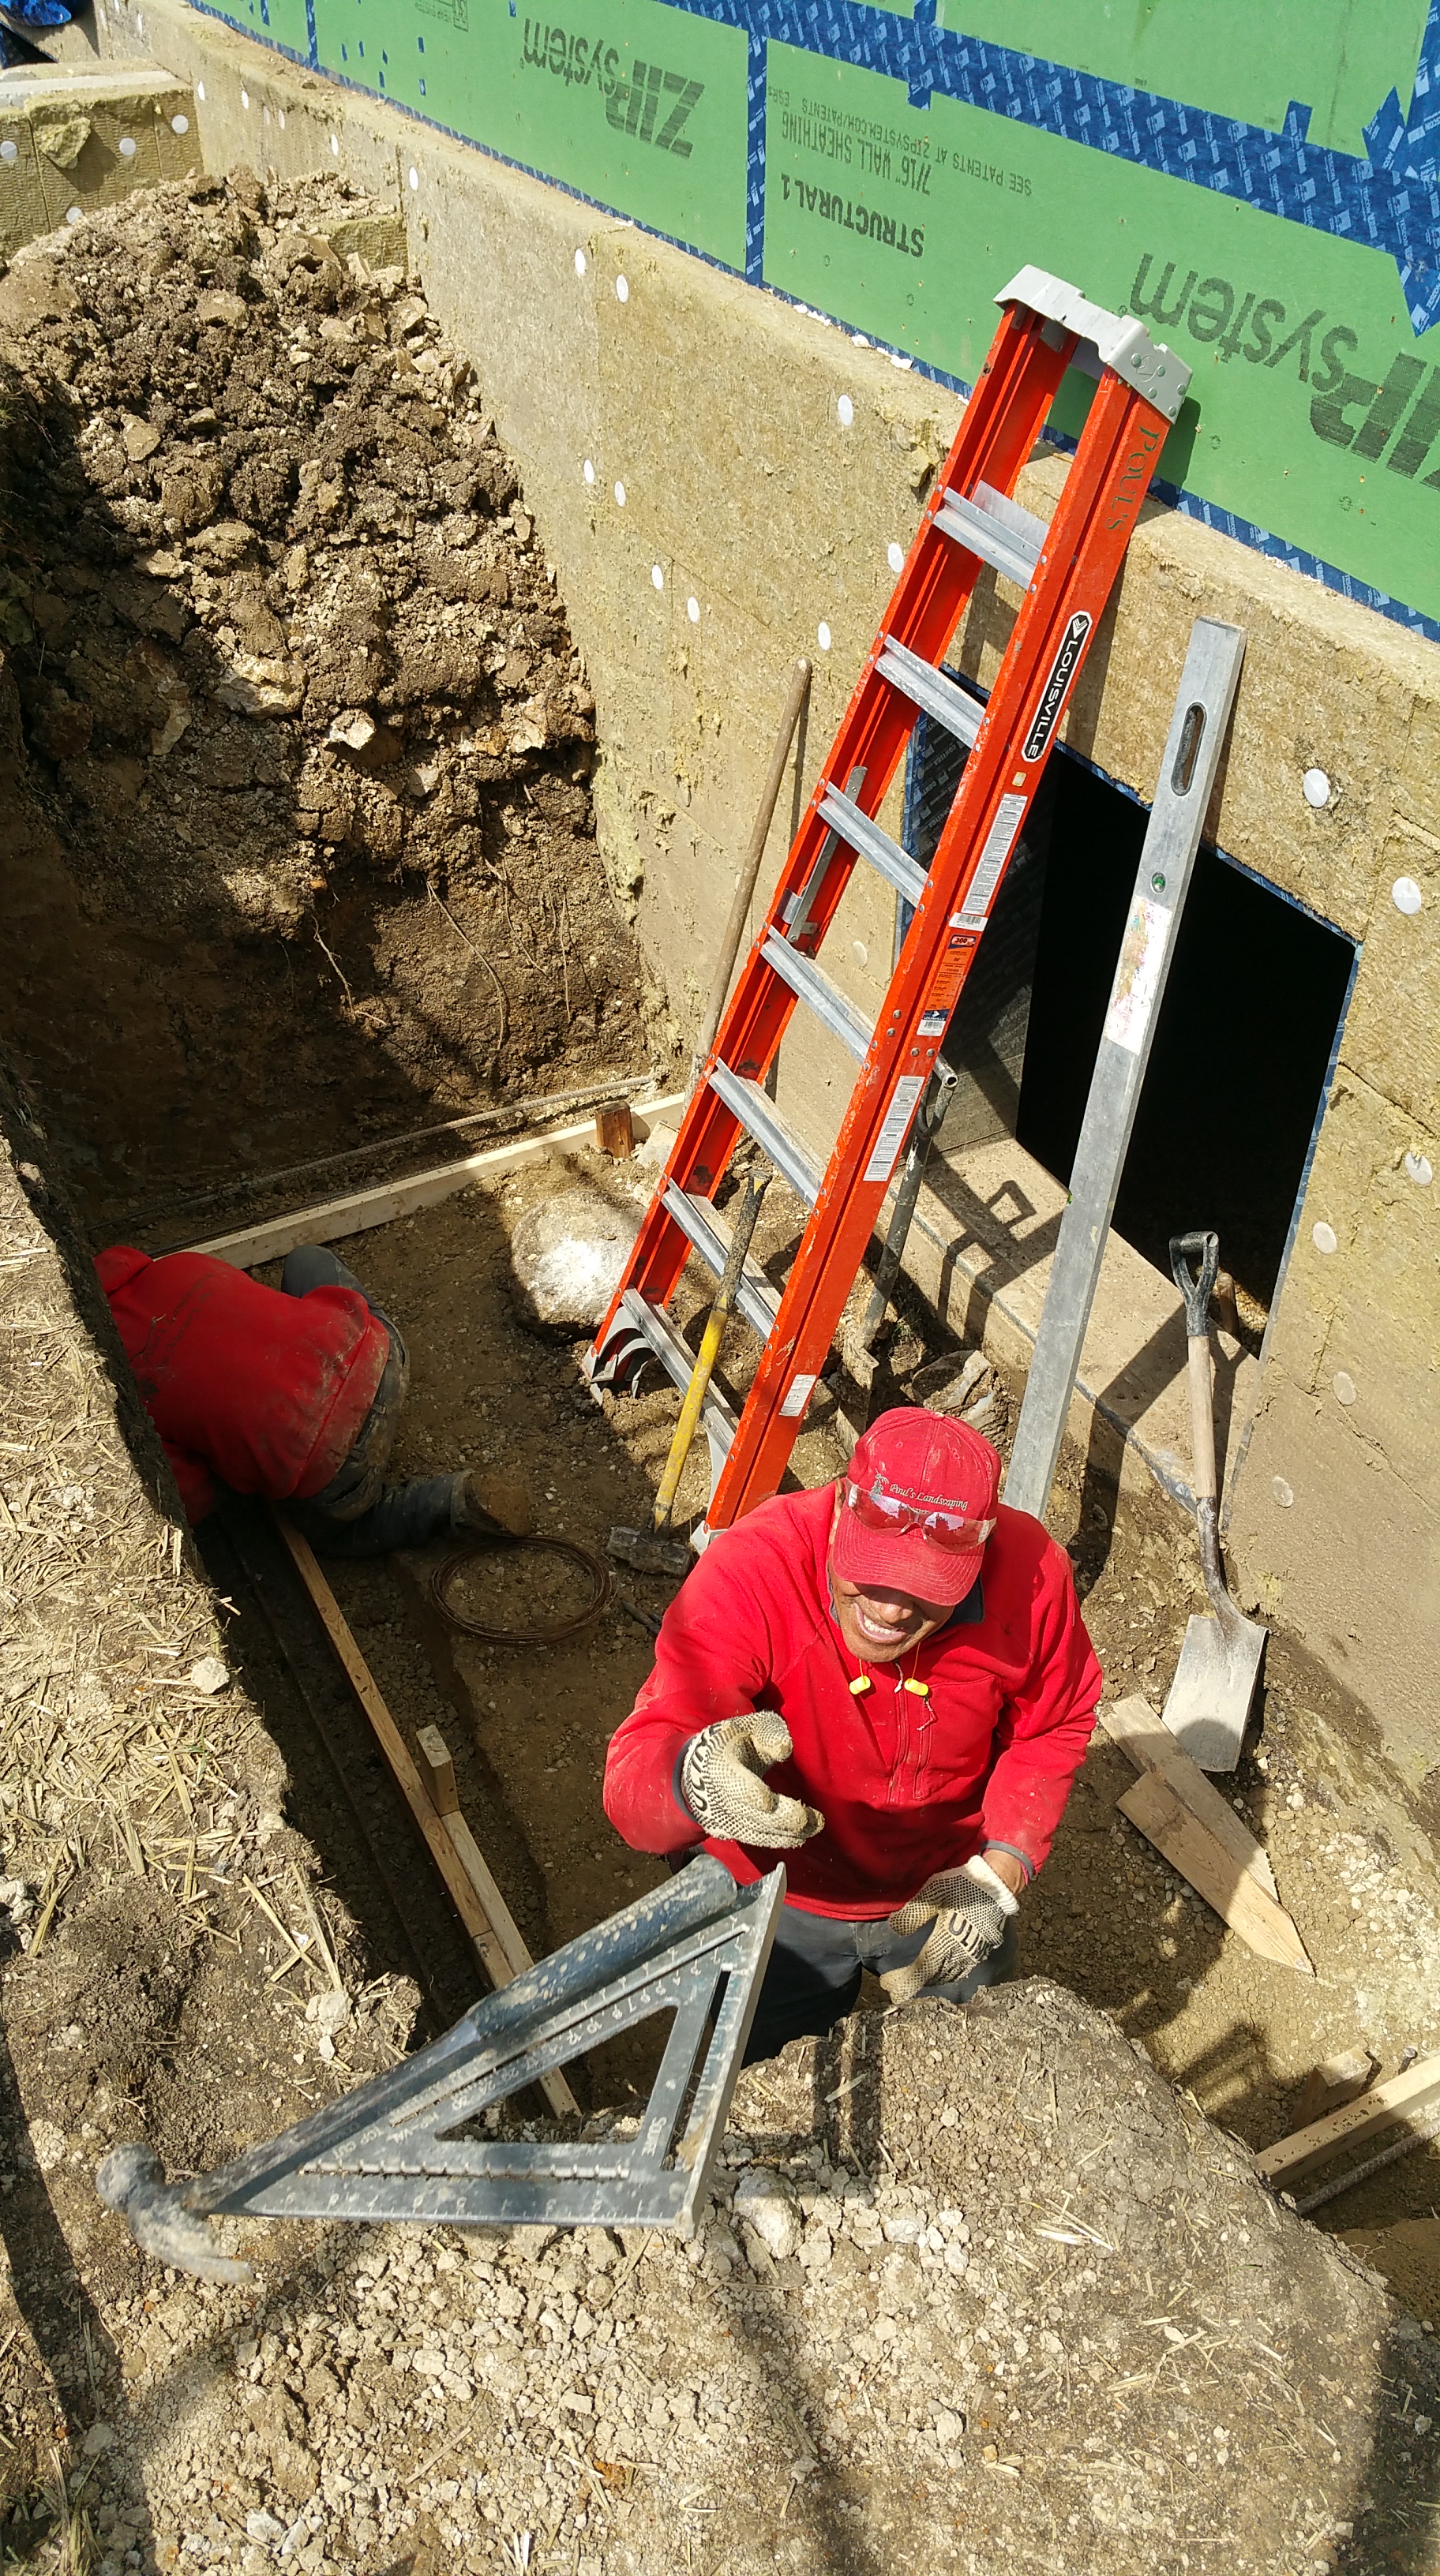
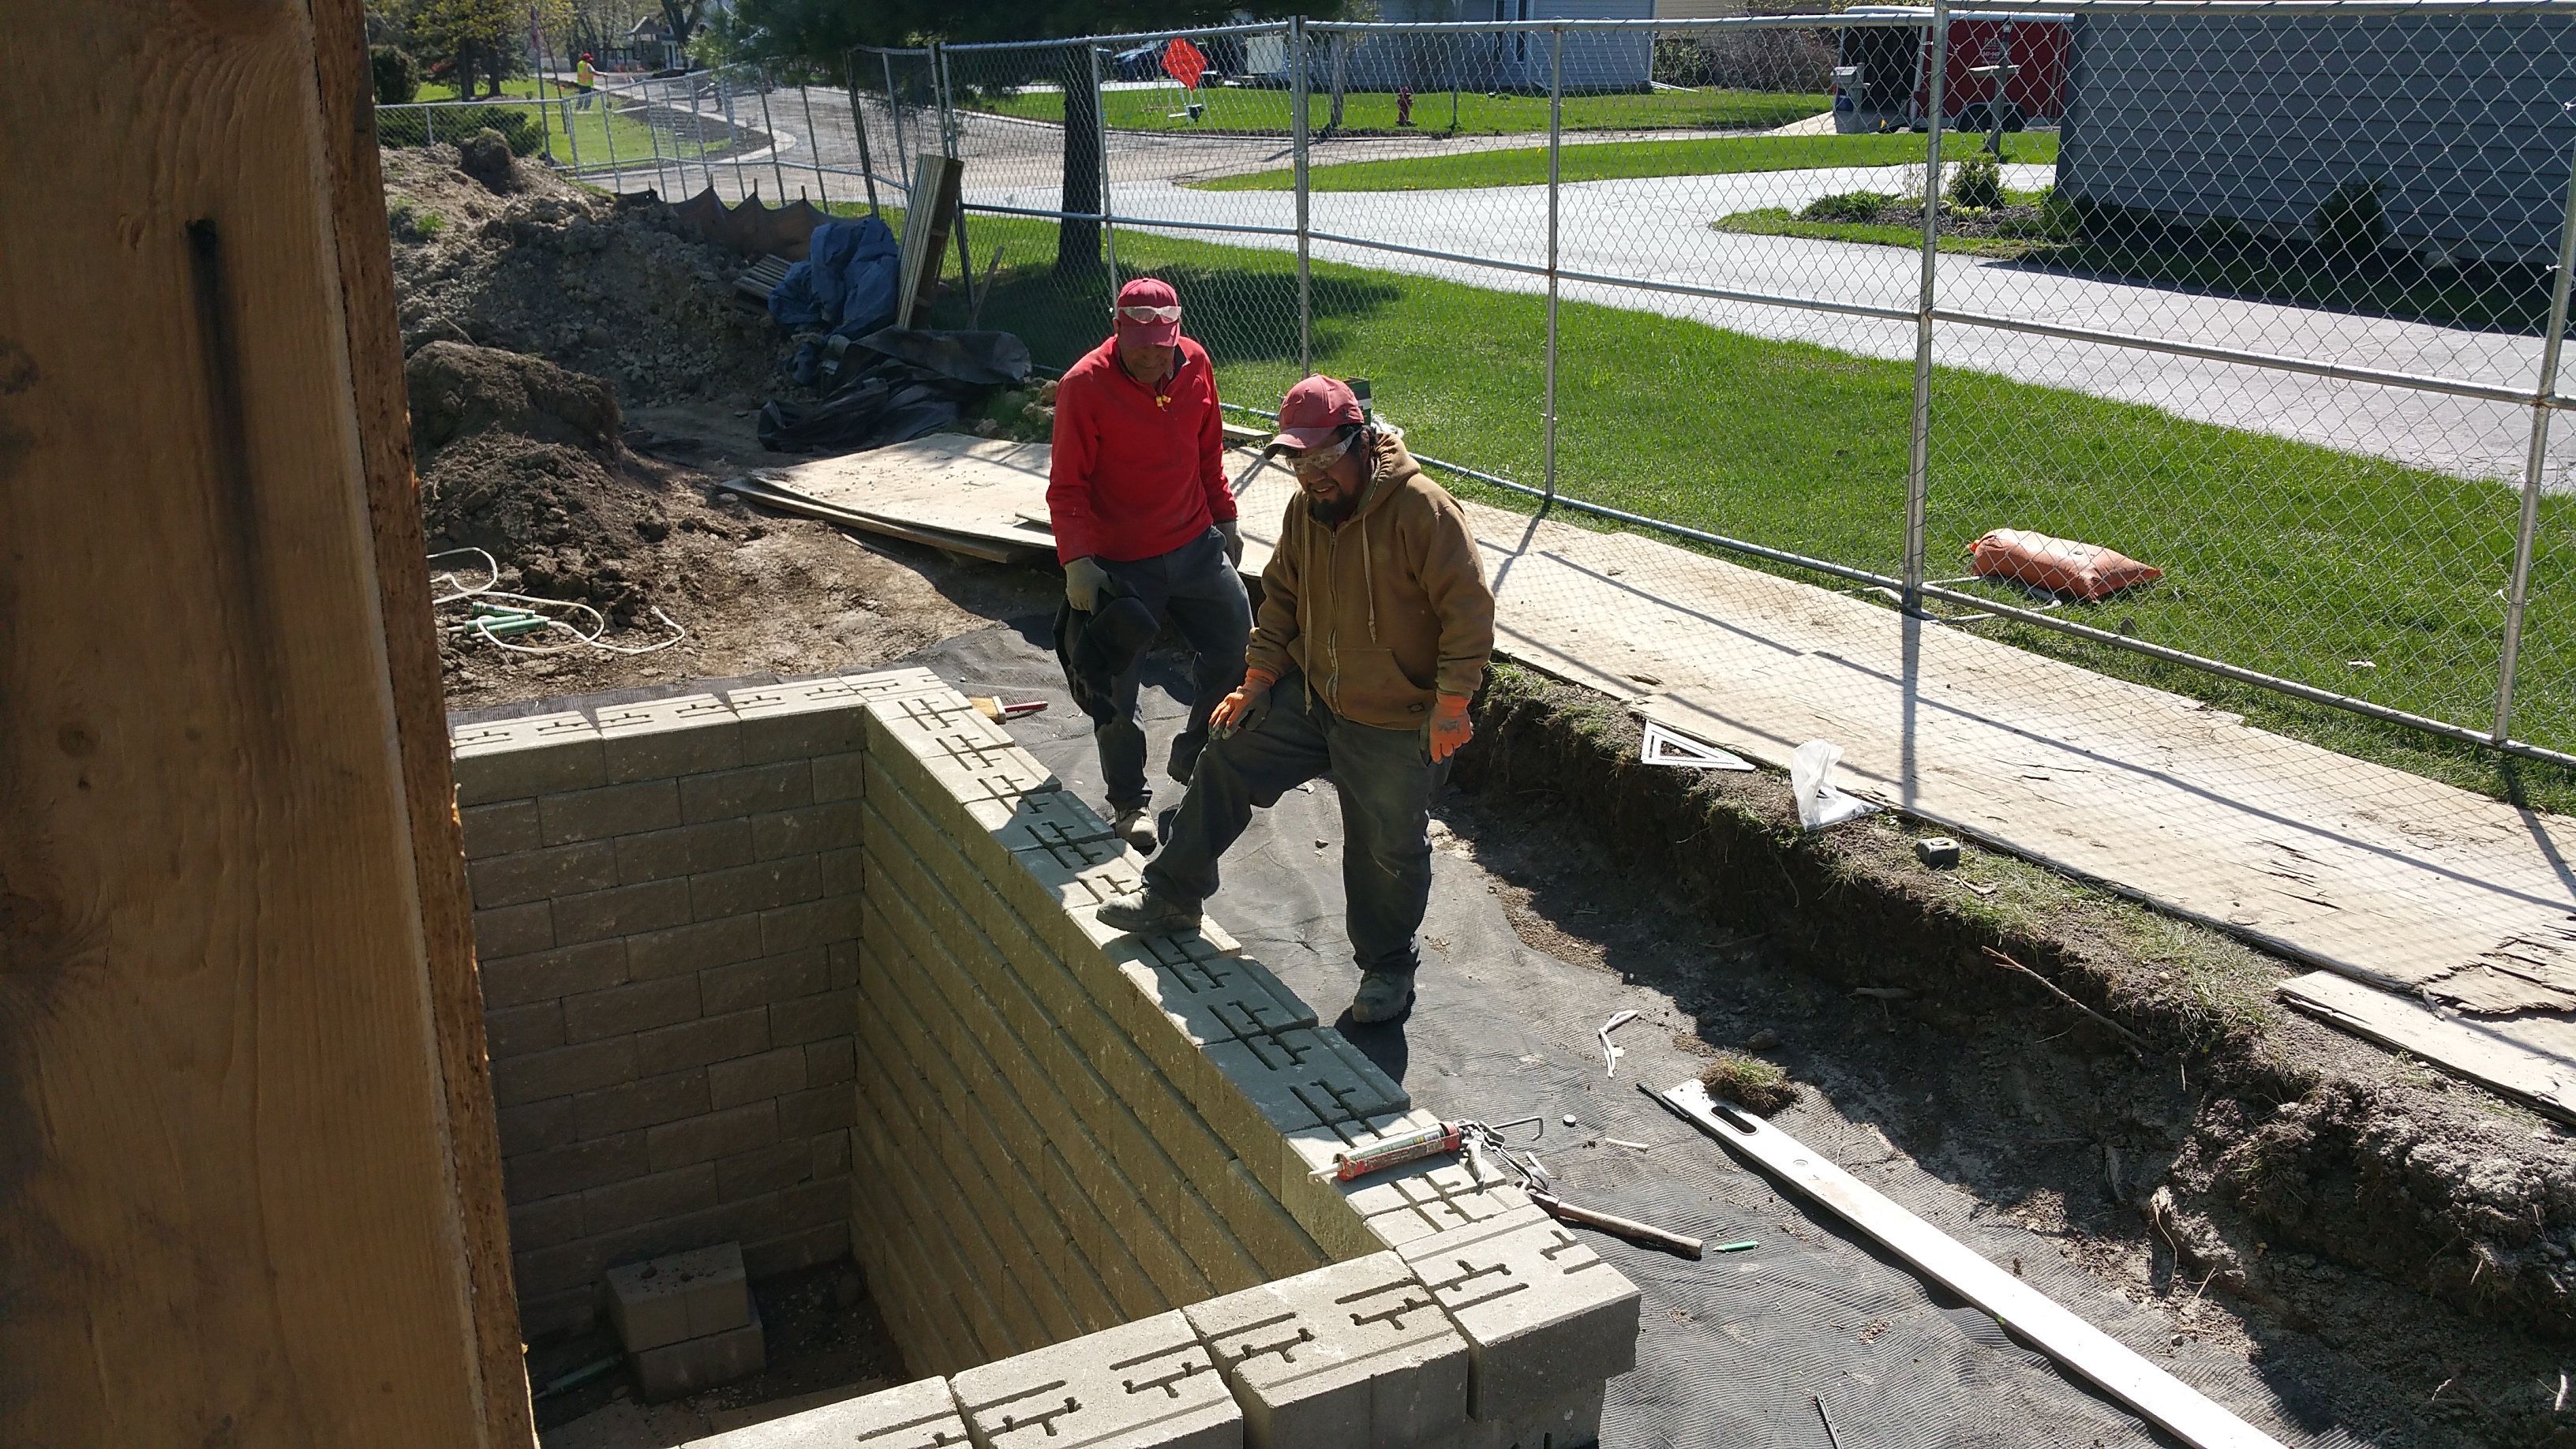
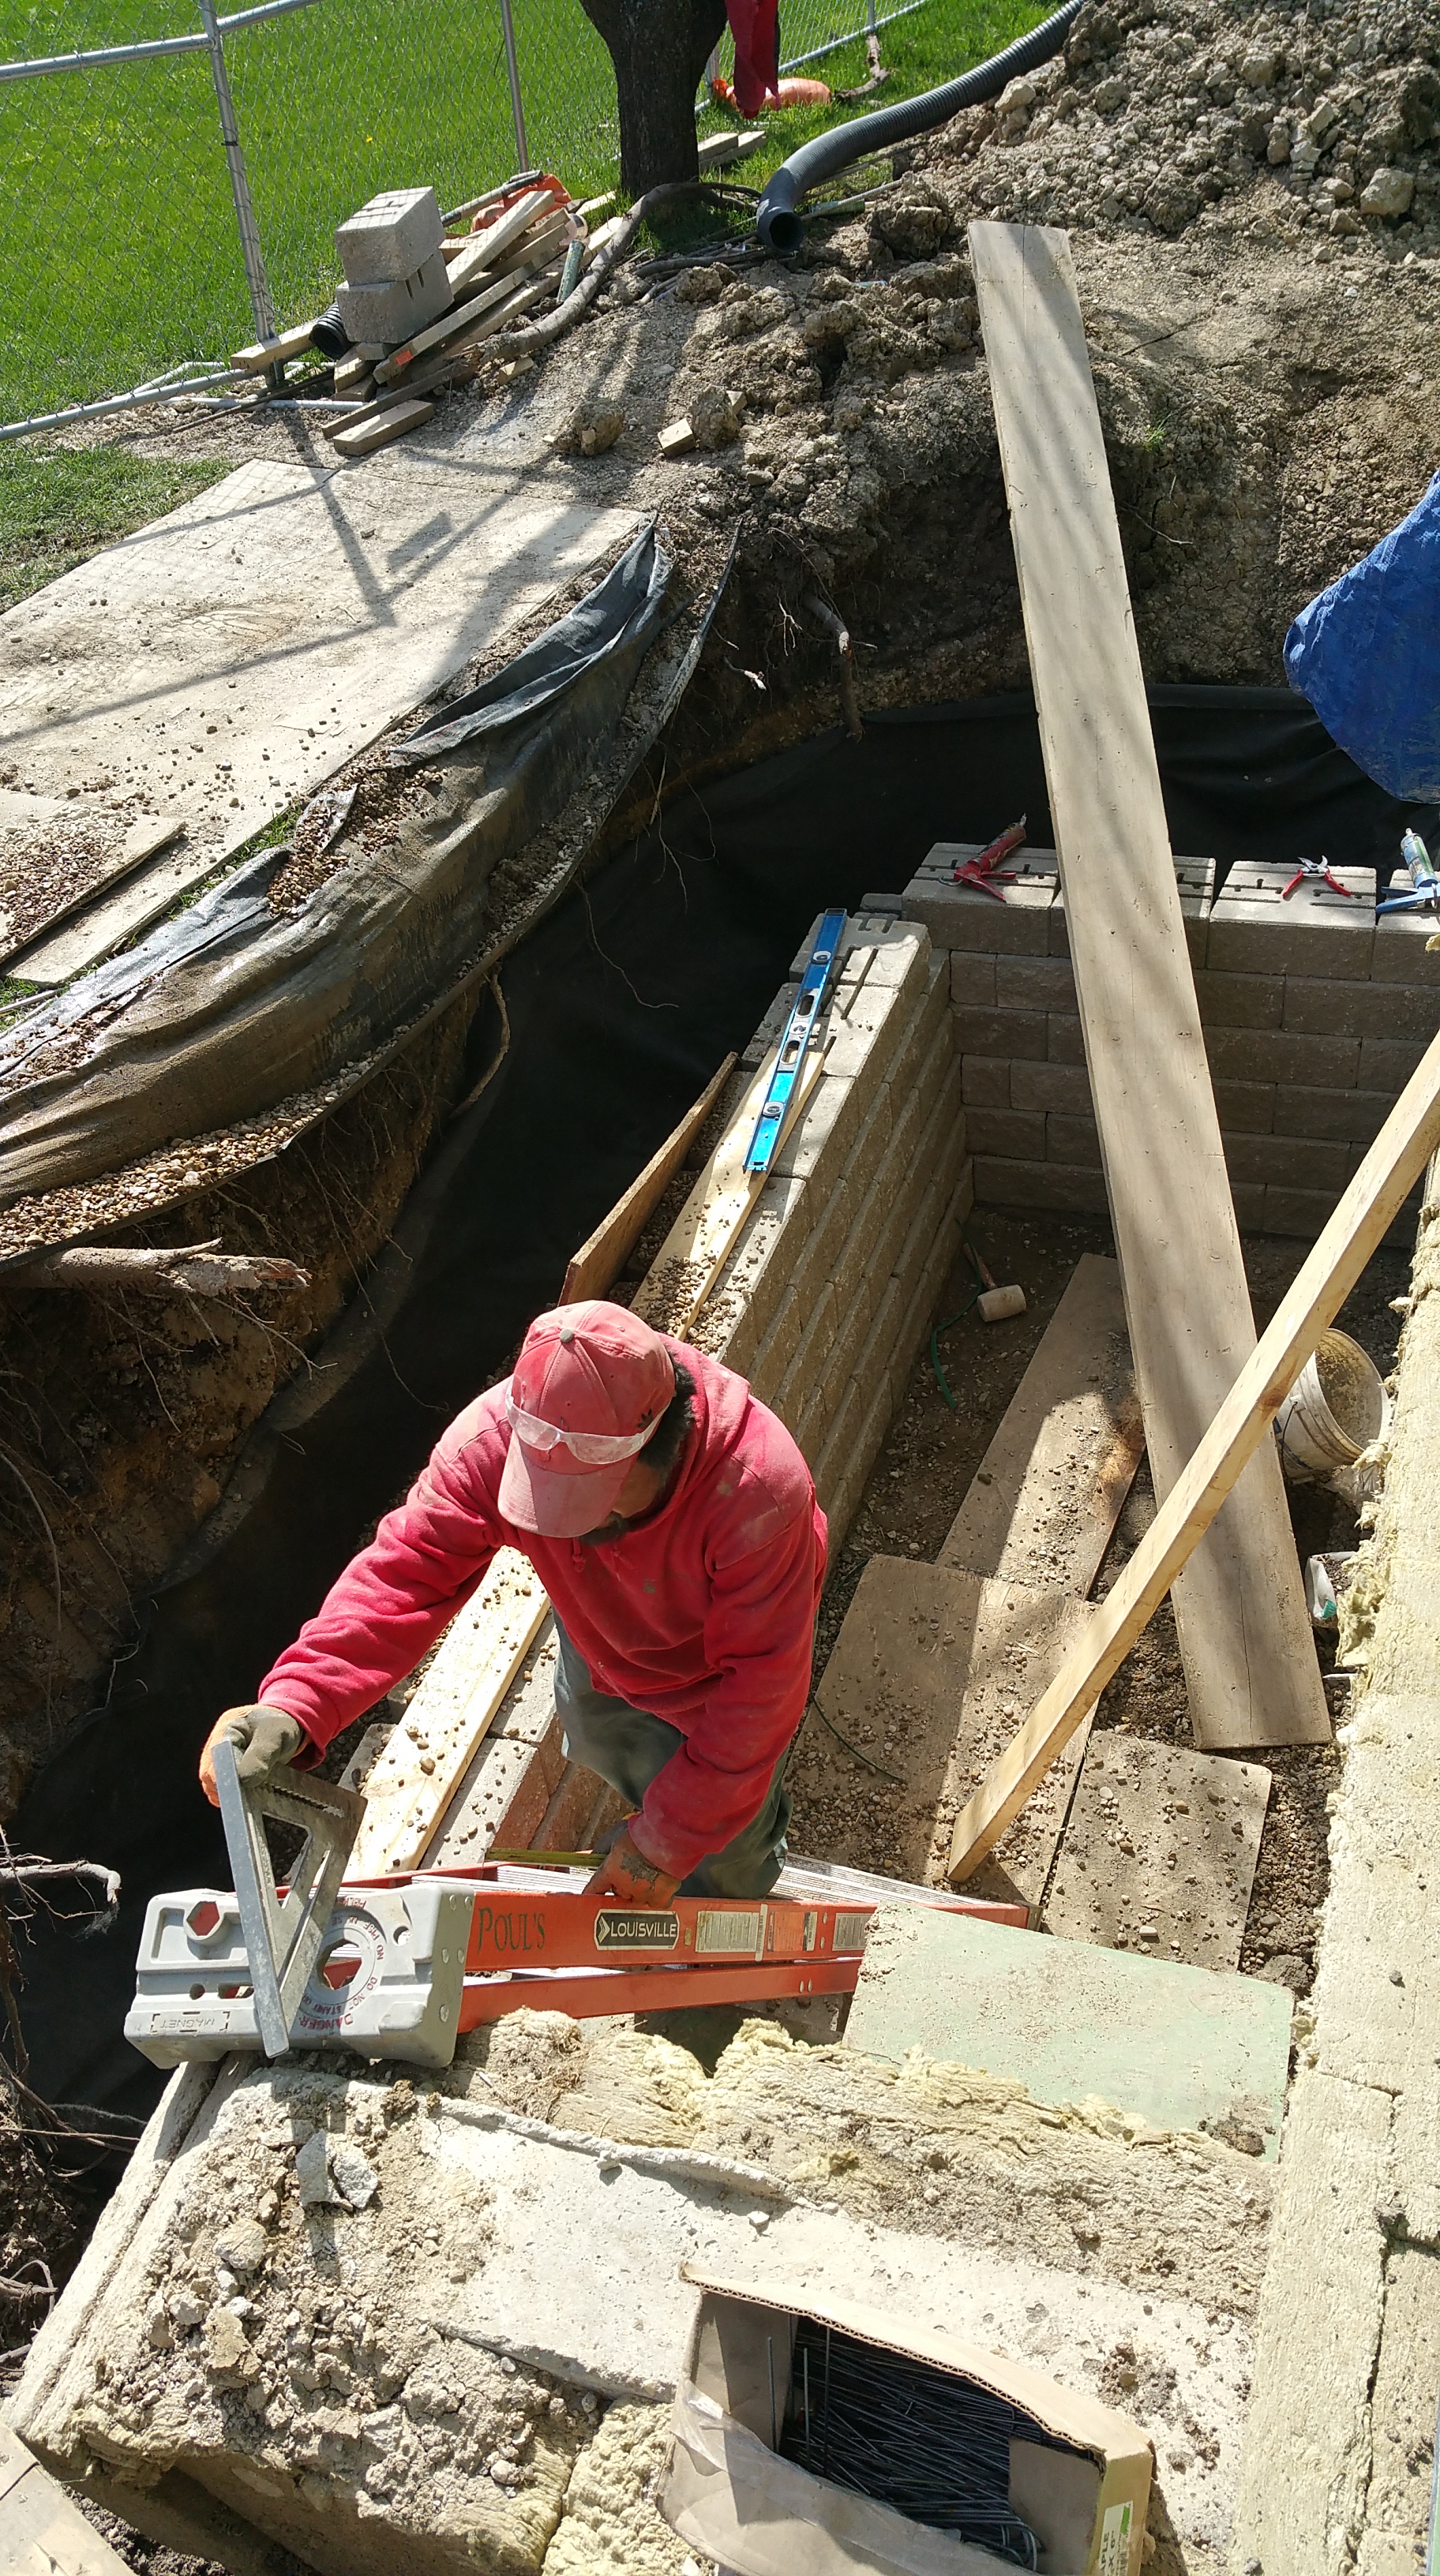
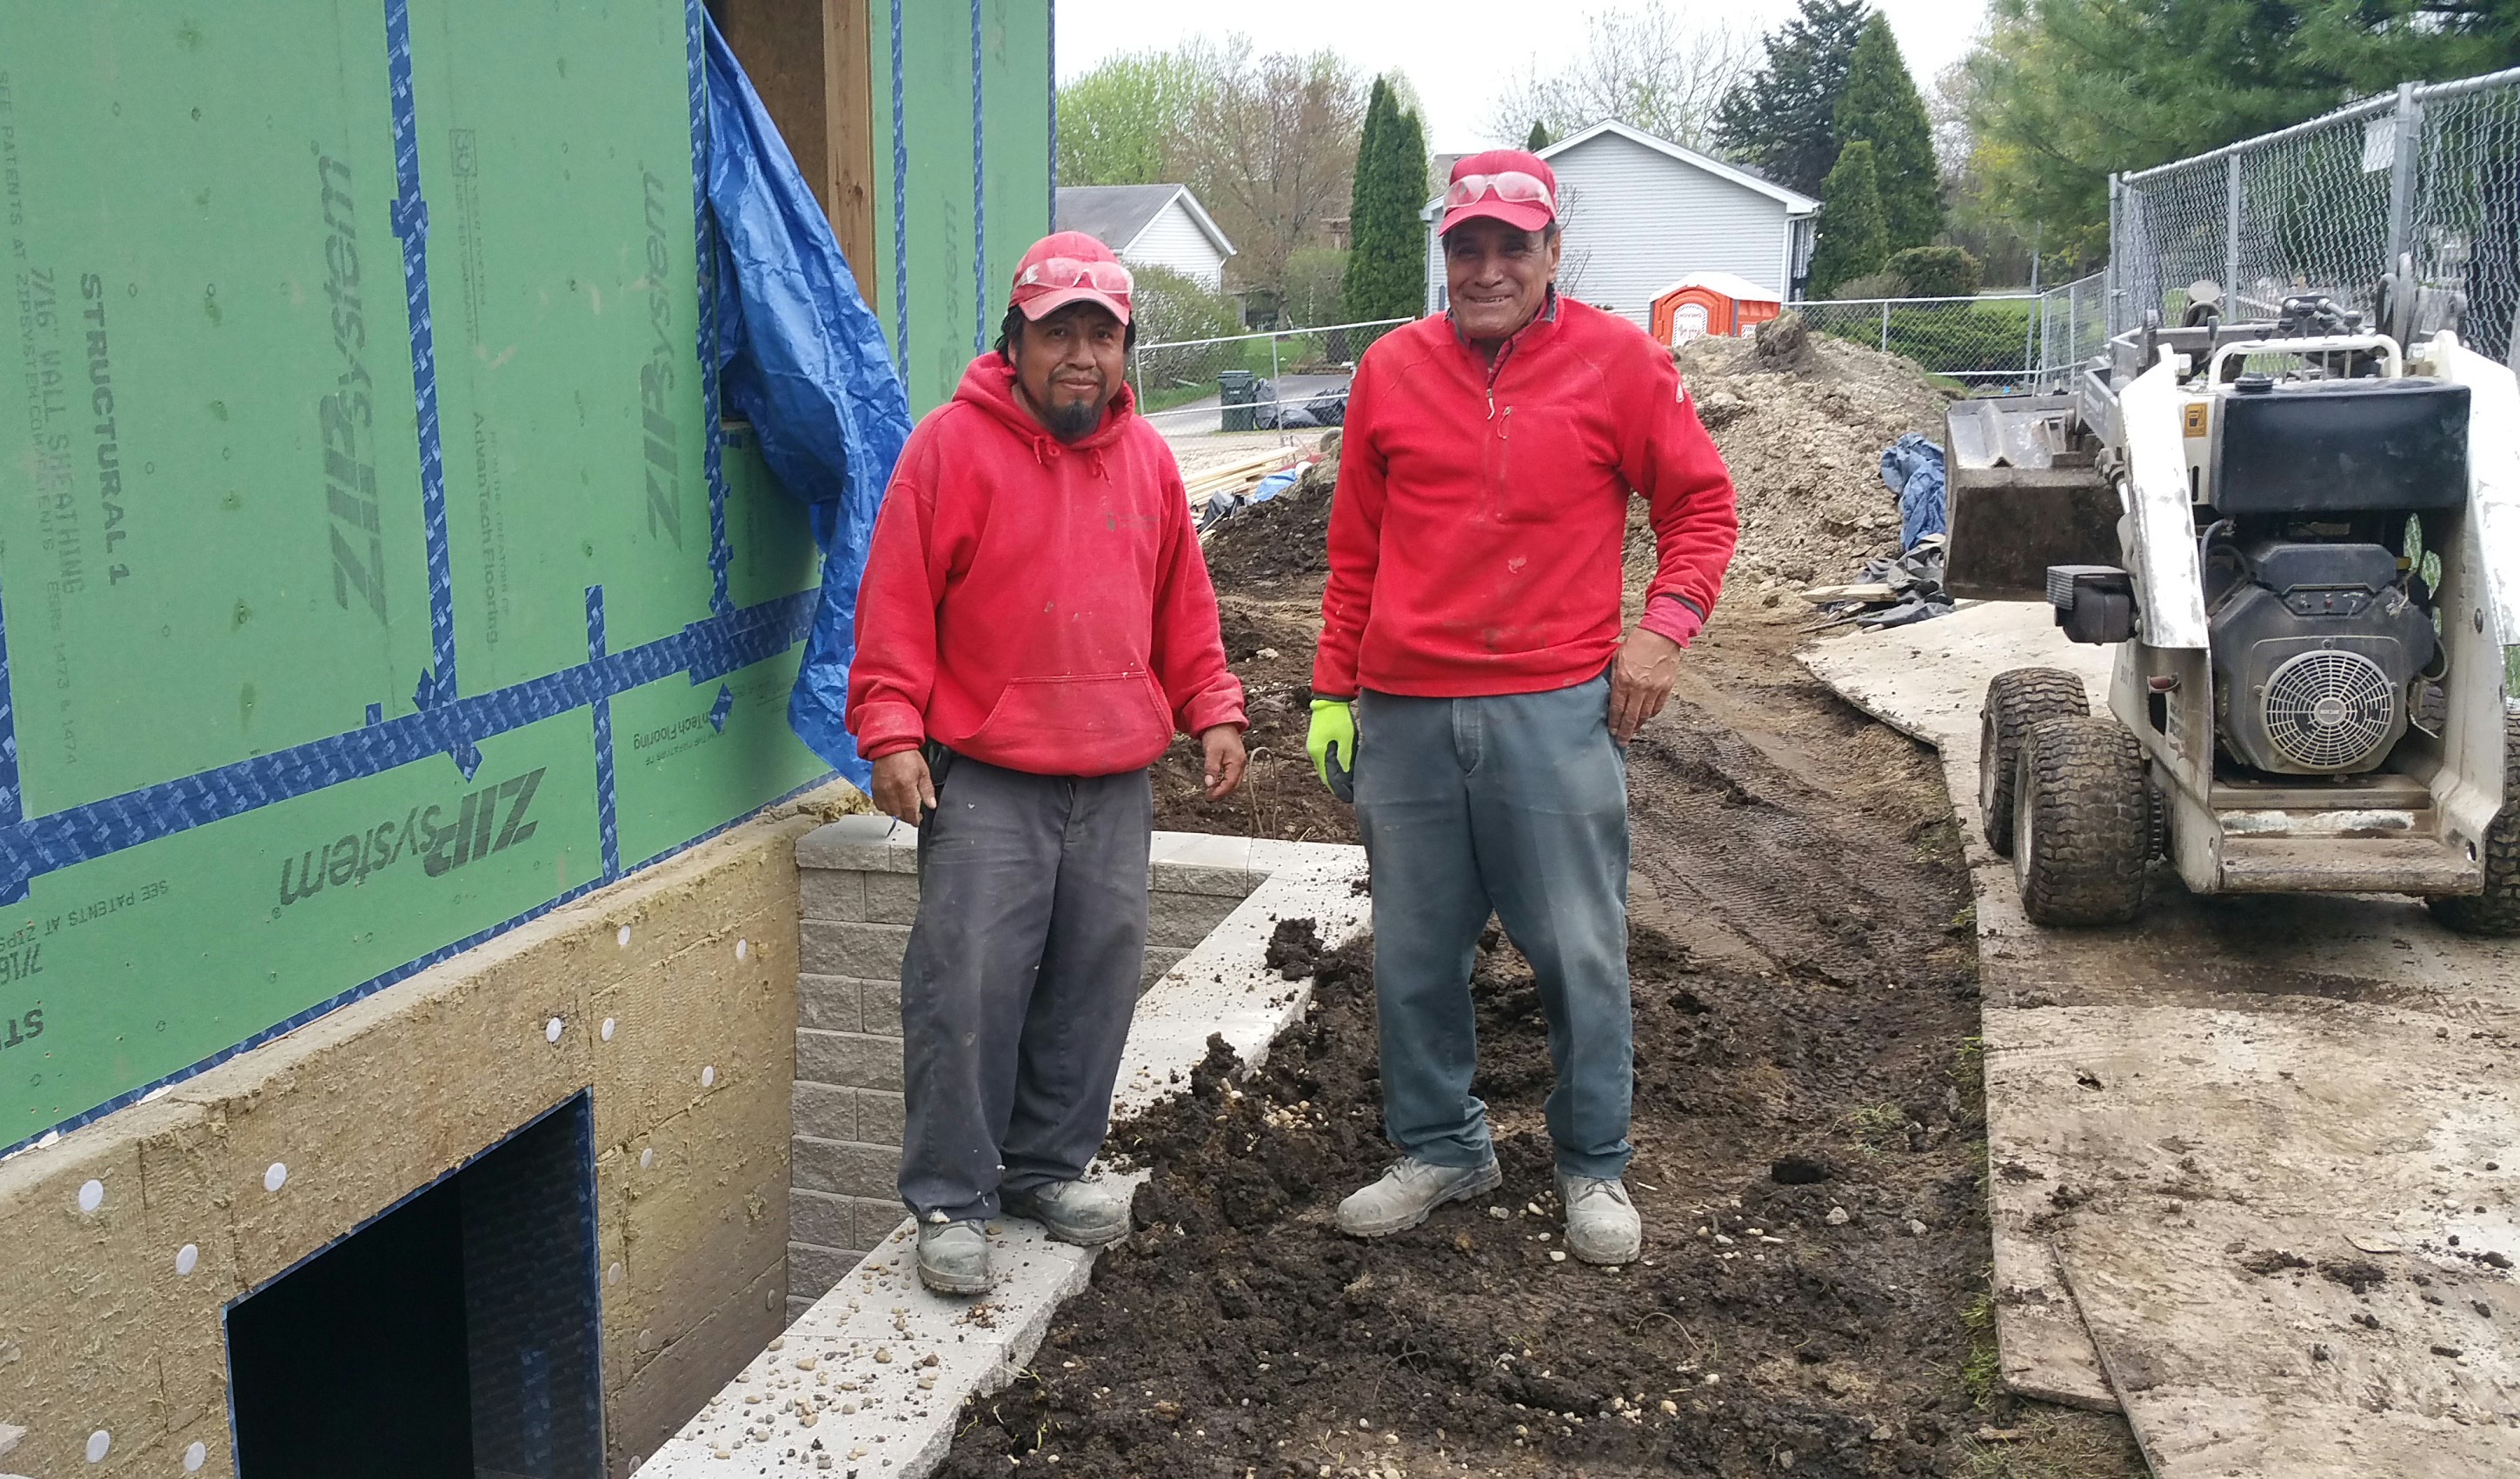
On the next to last day, Felipe and Candido could’ve rushed to finish up and leave, instead they came back for a few hours the following day to complete their work while also doing a really nice job of cleaning up — which we noticed and really appreciated. They even took the time to put back scrap plywood sheets that ran from the driveway to the front step so I didn’t have to.
Felipe has been working for Poul’s for 40 years (the company has been around for 50 years). Putting that into some kind of perspective, that means Felipe’s been doing this kind of work since the Jimmy Carter administration — that’s astounding.
Candido and Felipe make a great team: they seemed to really enjoy working together, they’re both diligent and conscientious, and it was fun to watch them do their thing — a mixture of back-breaking labor and skill.


looks great! I am planning to replace my old wood window well with something like this. My window well is probably not quite as deep about 4 ft . Is there any drainage behind the wall (i.e. drain to the foundation, weeping holes etc.) I know drainage is required for retaining wall. Not sure about window well and technically water can seep through the gaps between the blocks.
LikeLike
Thank you!
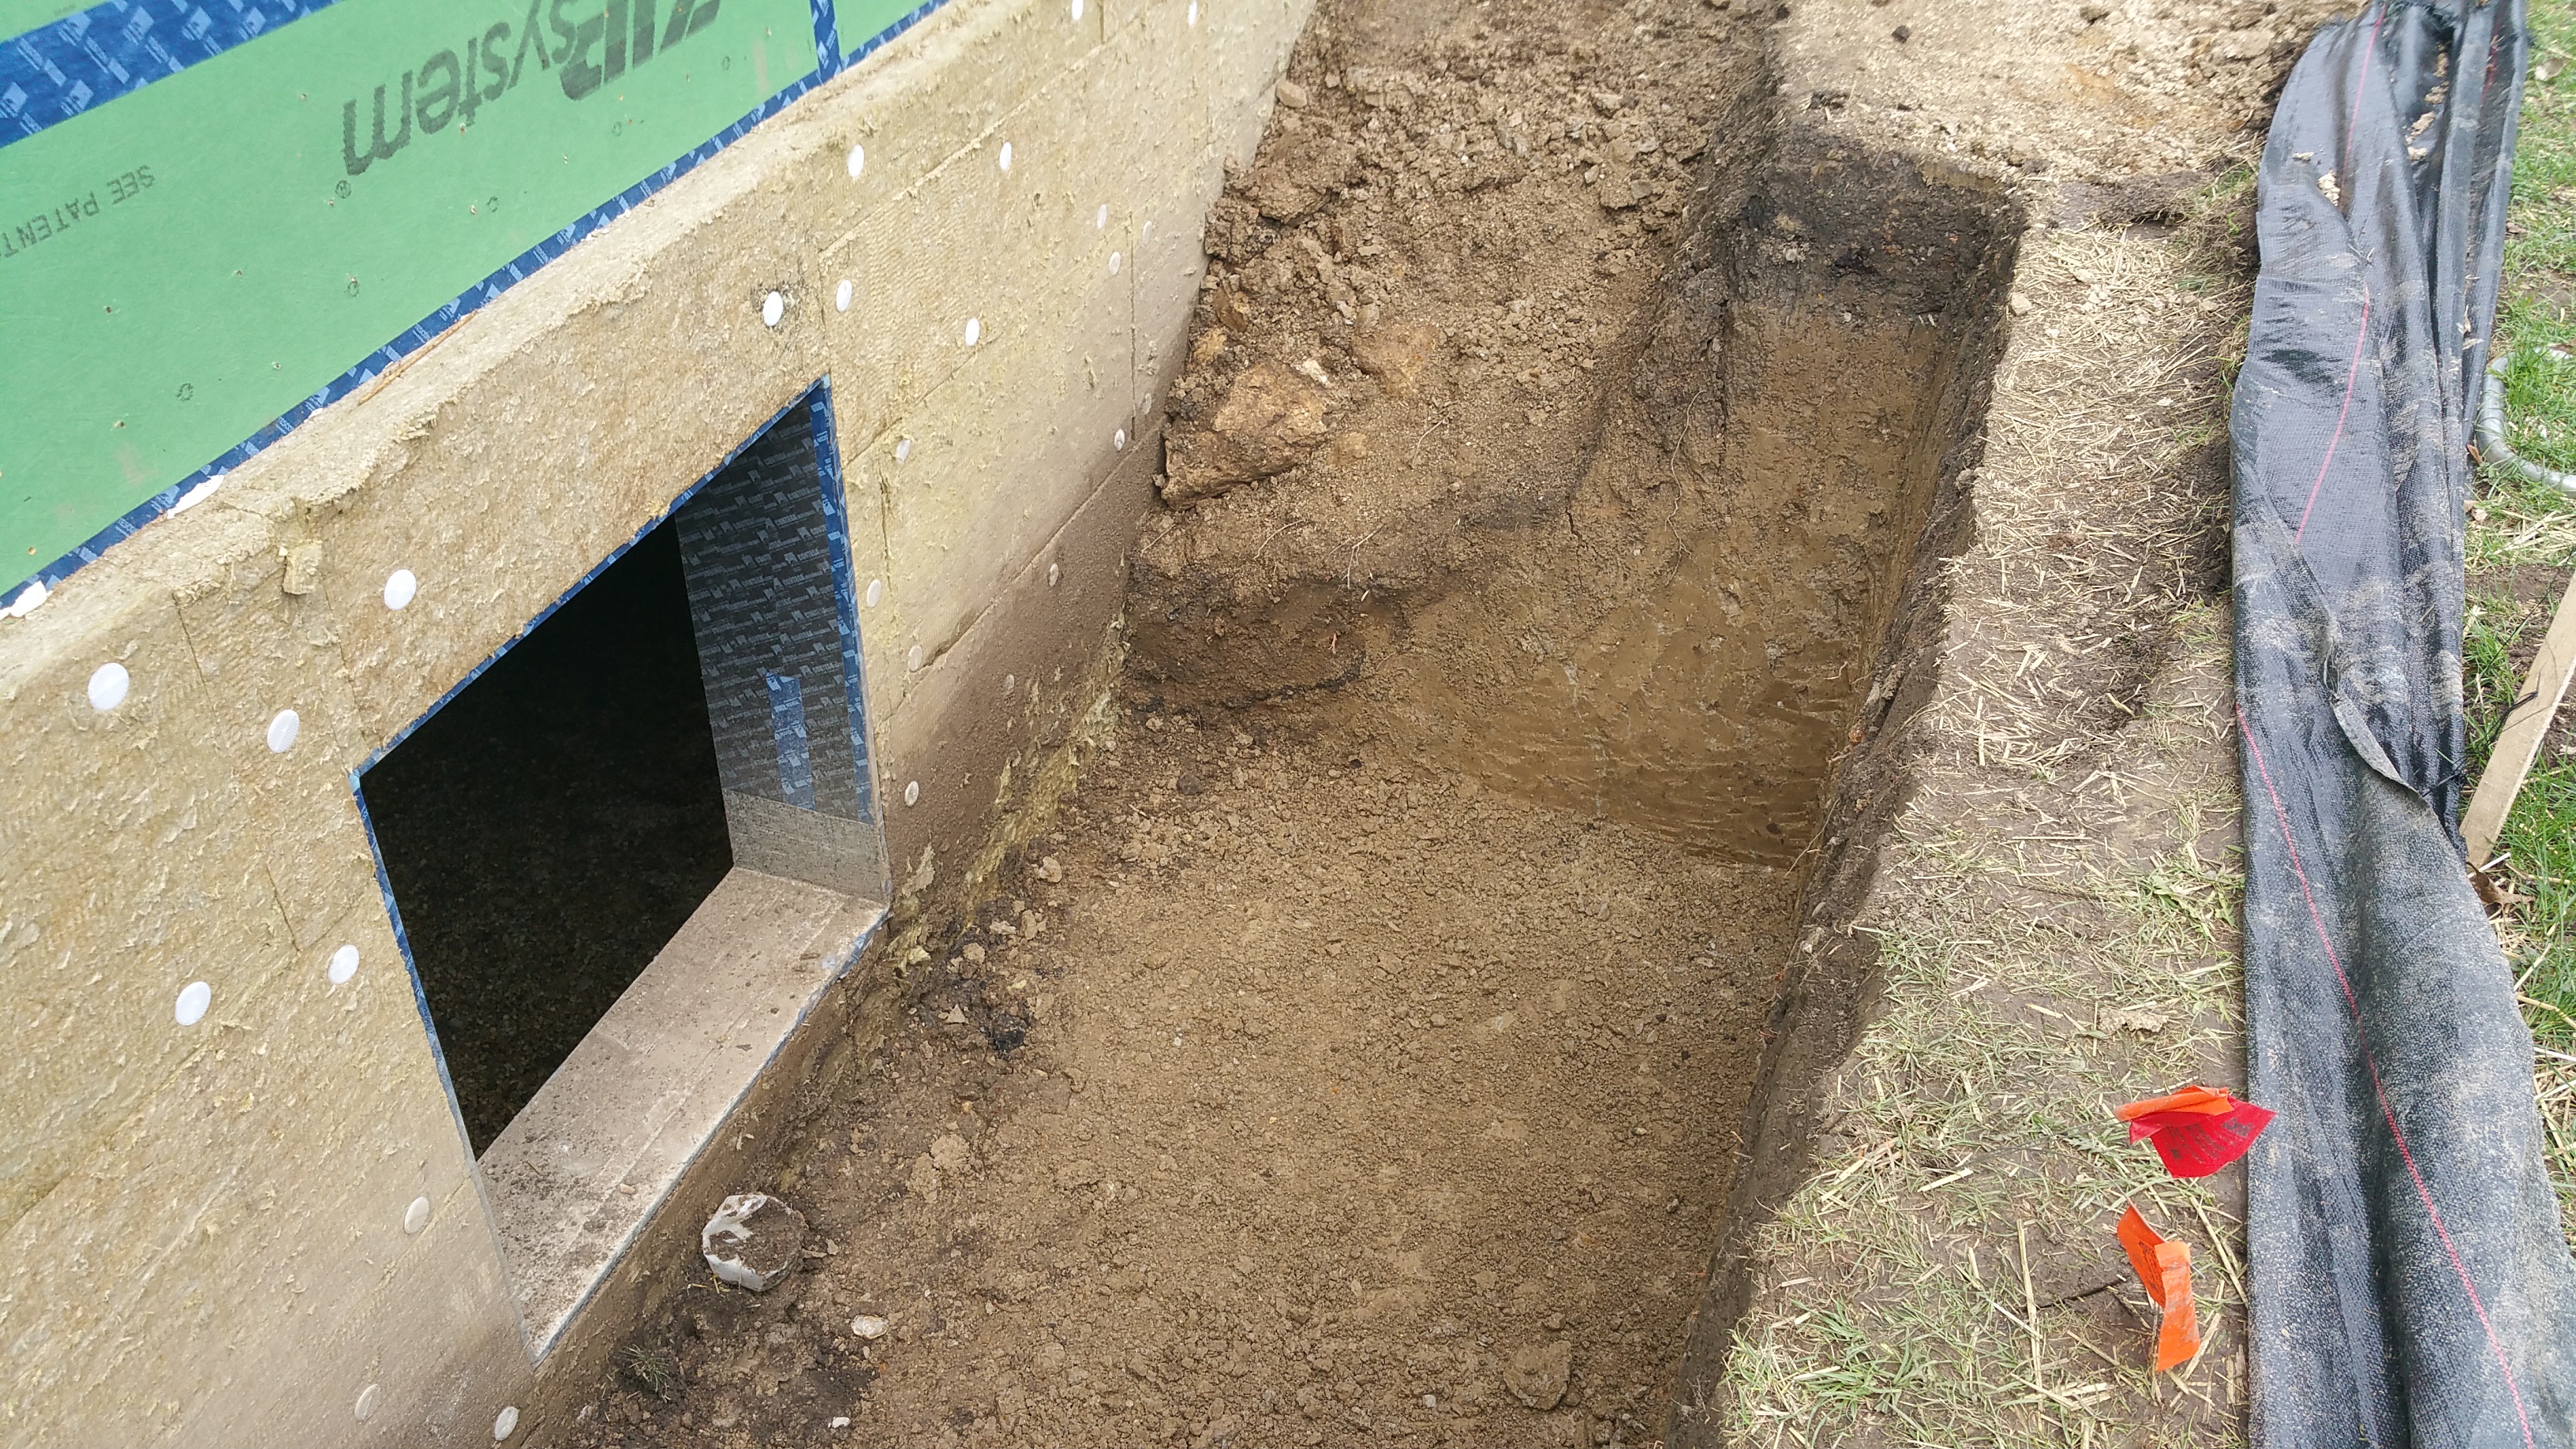
Yes, there is a substantial amount of washed gravel between the block and the surrounding soil (along with landscape fabric to keep the gravel and soil separated). The goal is to get water away from the walls of the window wells and down into our drain tile system around the foundation of the house, directing it to our sump pit where it can be safely ejected out and away from the house and foundation.
Good luck with your project!
LikeLike
will adding washed gravels and using landscaping fabric be enough or do i have to add a perforated pipe and somehow connect that to part of the drain tile system. I am assuming there is a drain tile system under the well but i have no clue how to physically connect a perforated pipe to that. Thank you so much for posting such detailed instructions. I’d rather have someone do this for me but in Vancouver, bc canada. cost of any type of reno is astronomical.
LikeLike
You’ll likely want drainage pipe from around the base of the walls tied into the drain tile system of your house. We even have an additional pipe/clean out inside each window well should water or debris build up inside the window well itself.
You could get an estimate from a landscaping company that does retaining walls. They may be willing to help just in regards to setting up the drainage part of the project.
For more details regarding drainage, a search online (like this one: retaining wall drainage), especially if you look through images or even installation videos, will help you picture how all the components and details come together.
Another option might be to contact a local landscape architect. They may be able to help you with details, or recommend an installer who will.
Good luck with your project!
LikeLike