
Before we purchased our empty lot we had been told that our subdivision has a fairly high water table, so managing underground moisture, especially with a full basement, was going to be a necessity.
In order to better control water below-grade we had our concrete subcontractor install drain tile on the exterior and interior sides of the foundation walls at the footings in order to maximize the amount of water that could be quickly and efficiently sent to our sump pump. Once our sump pump ejects the water outside it travels through an underground pipe to a culvert out by the street, moving with the aid of gravity, along with water collected from our neighbors’ homes, before ending up in the municipal system.
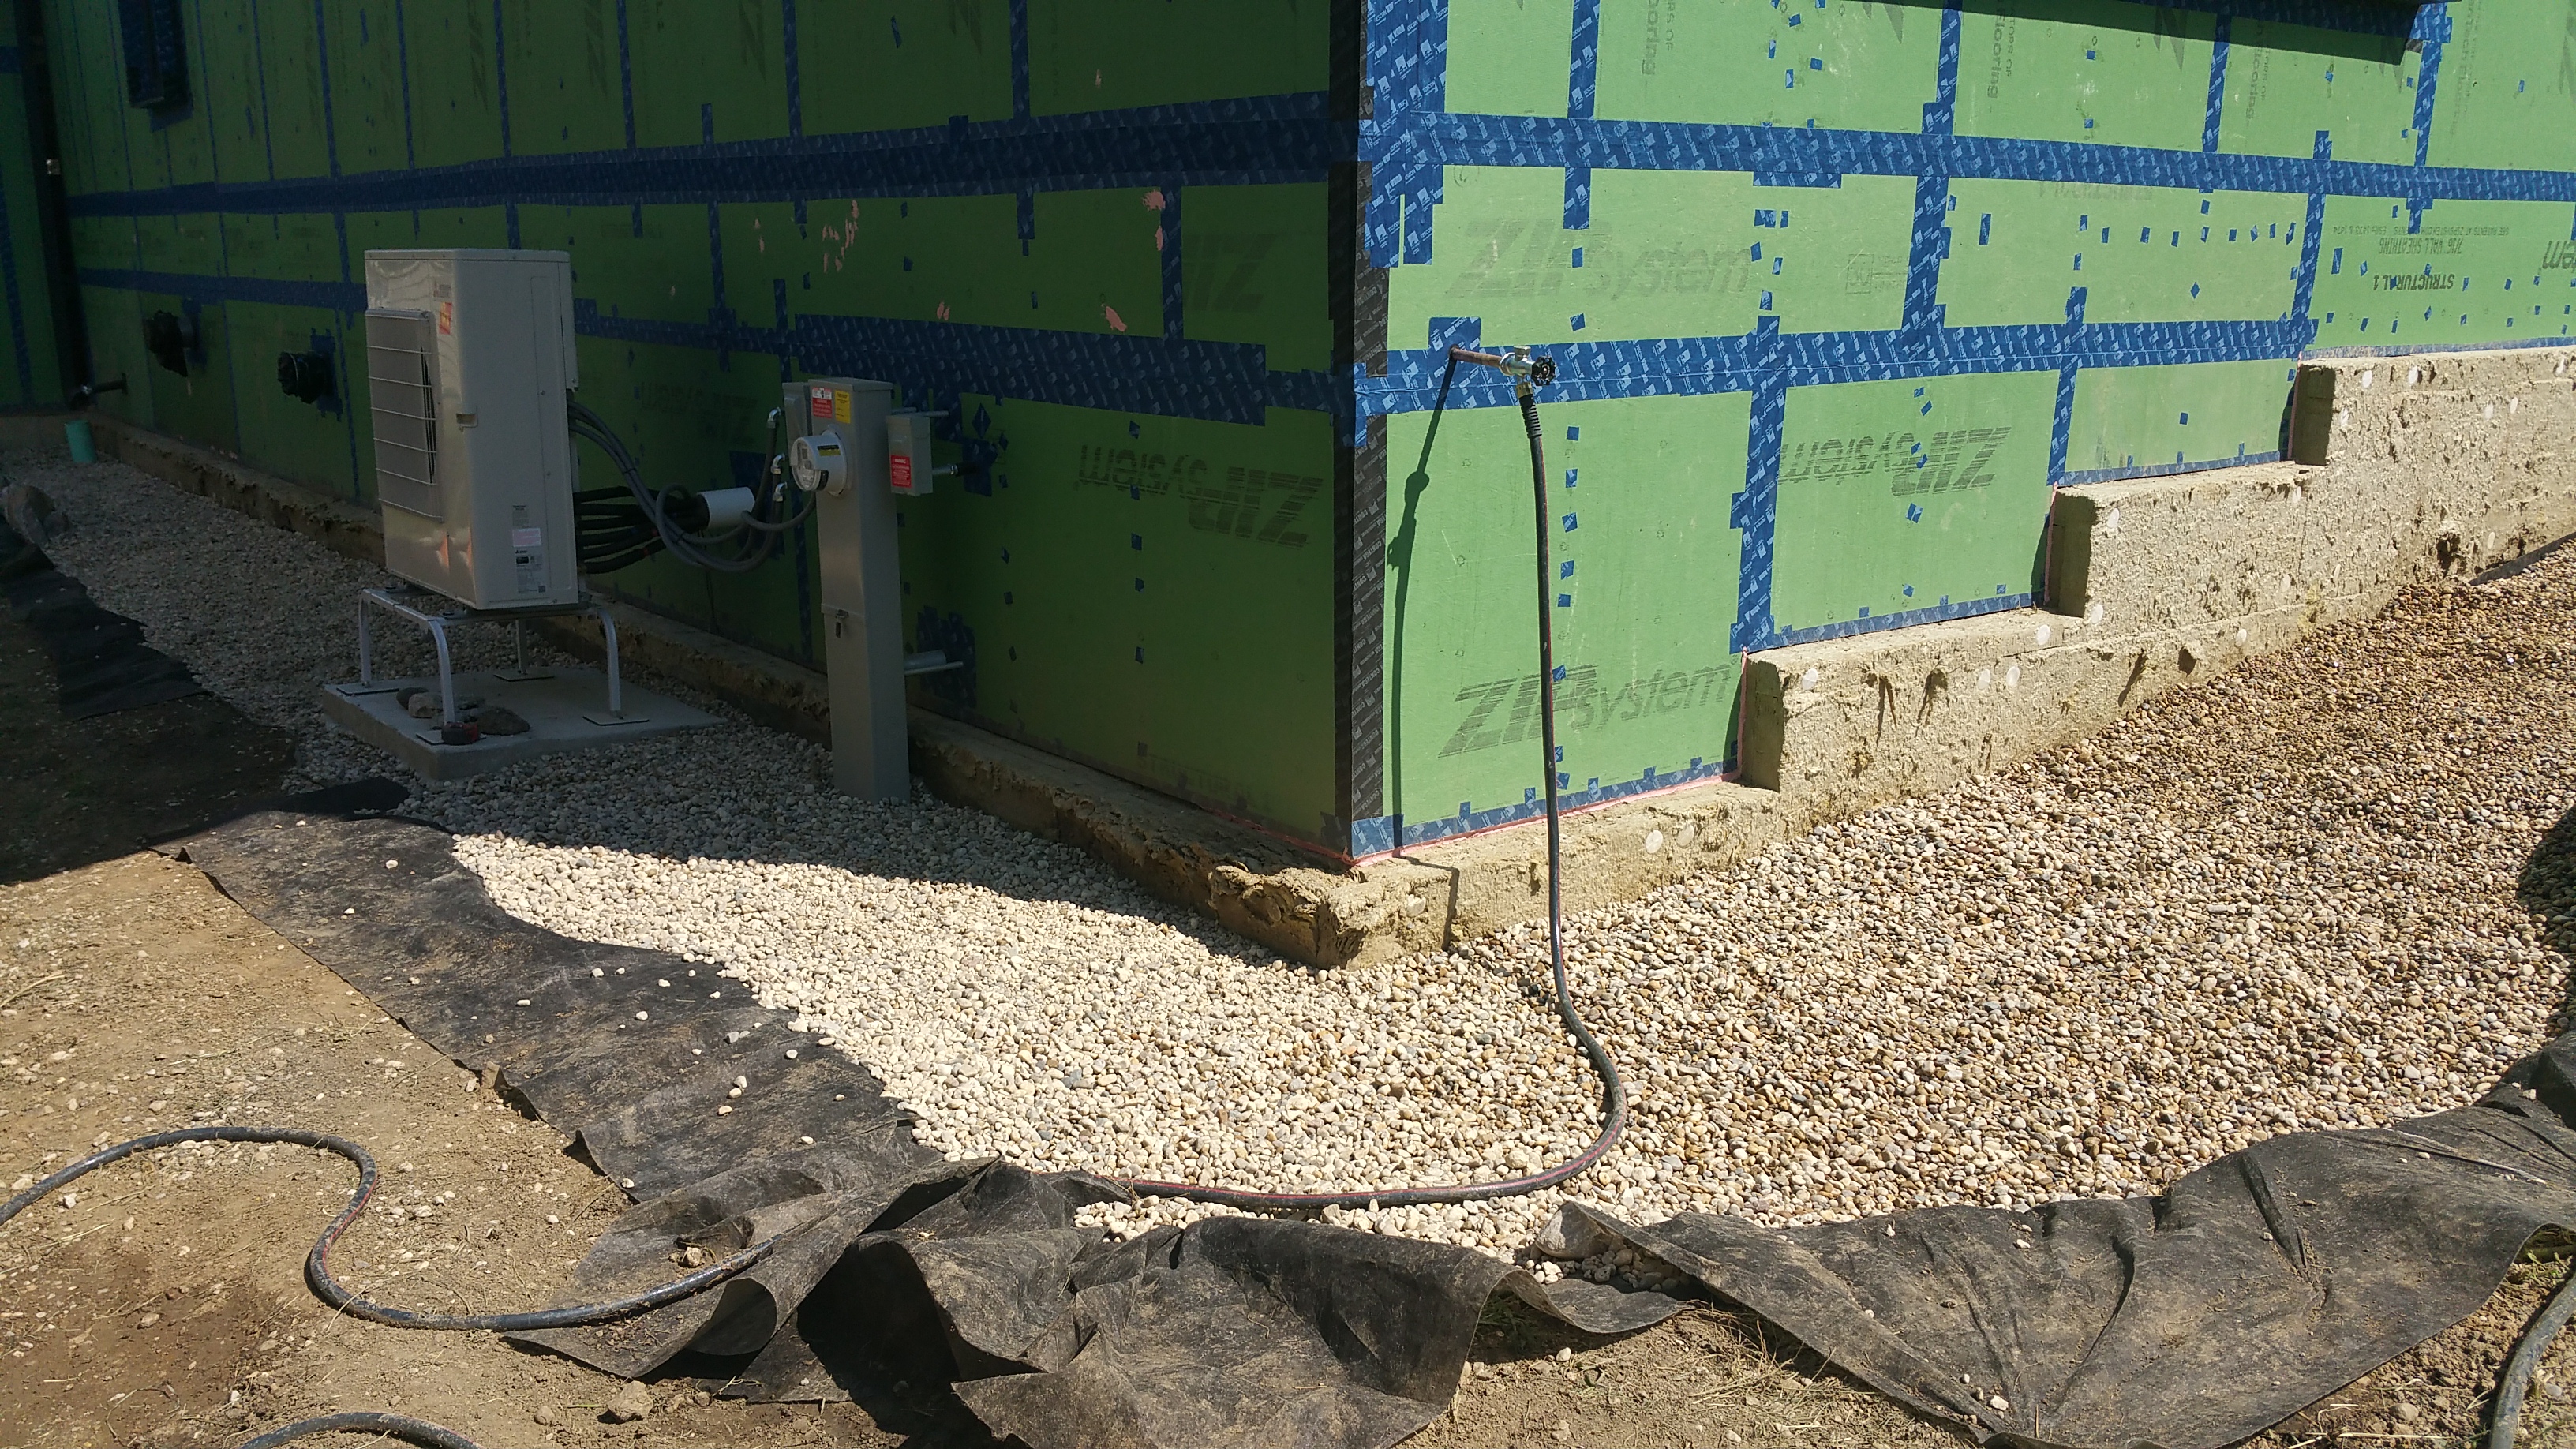
In addition to the spray-on damproofing applied to the exterior of our foundation walls, the 5″ of Rockwool on the outside of our foundation also encourages water to make its way down to the drain tile system before it has a chance to collect and sit, causing serious problems.
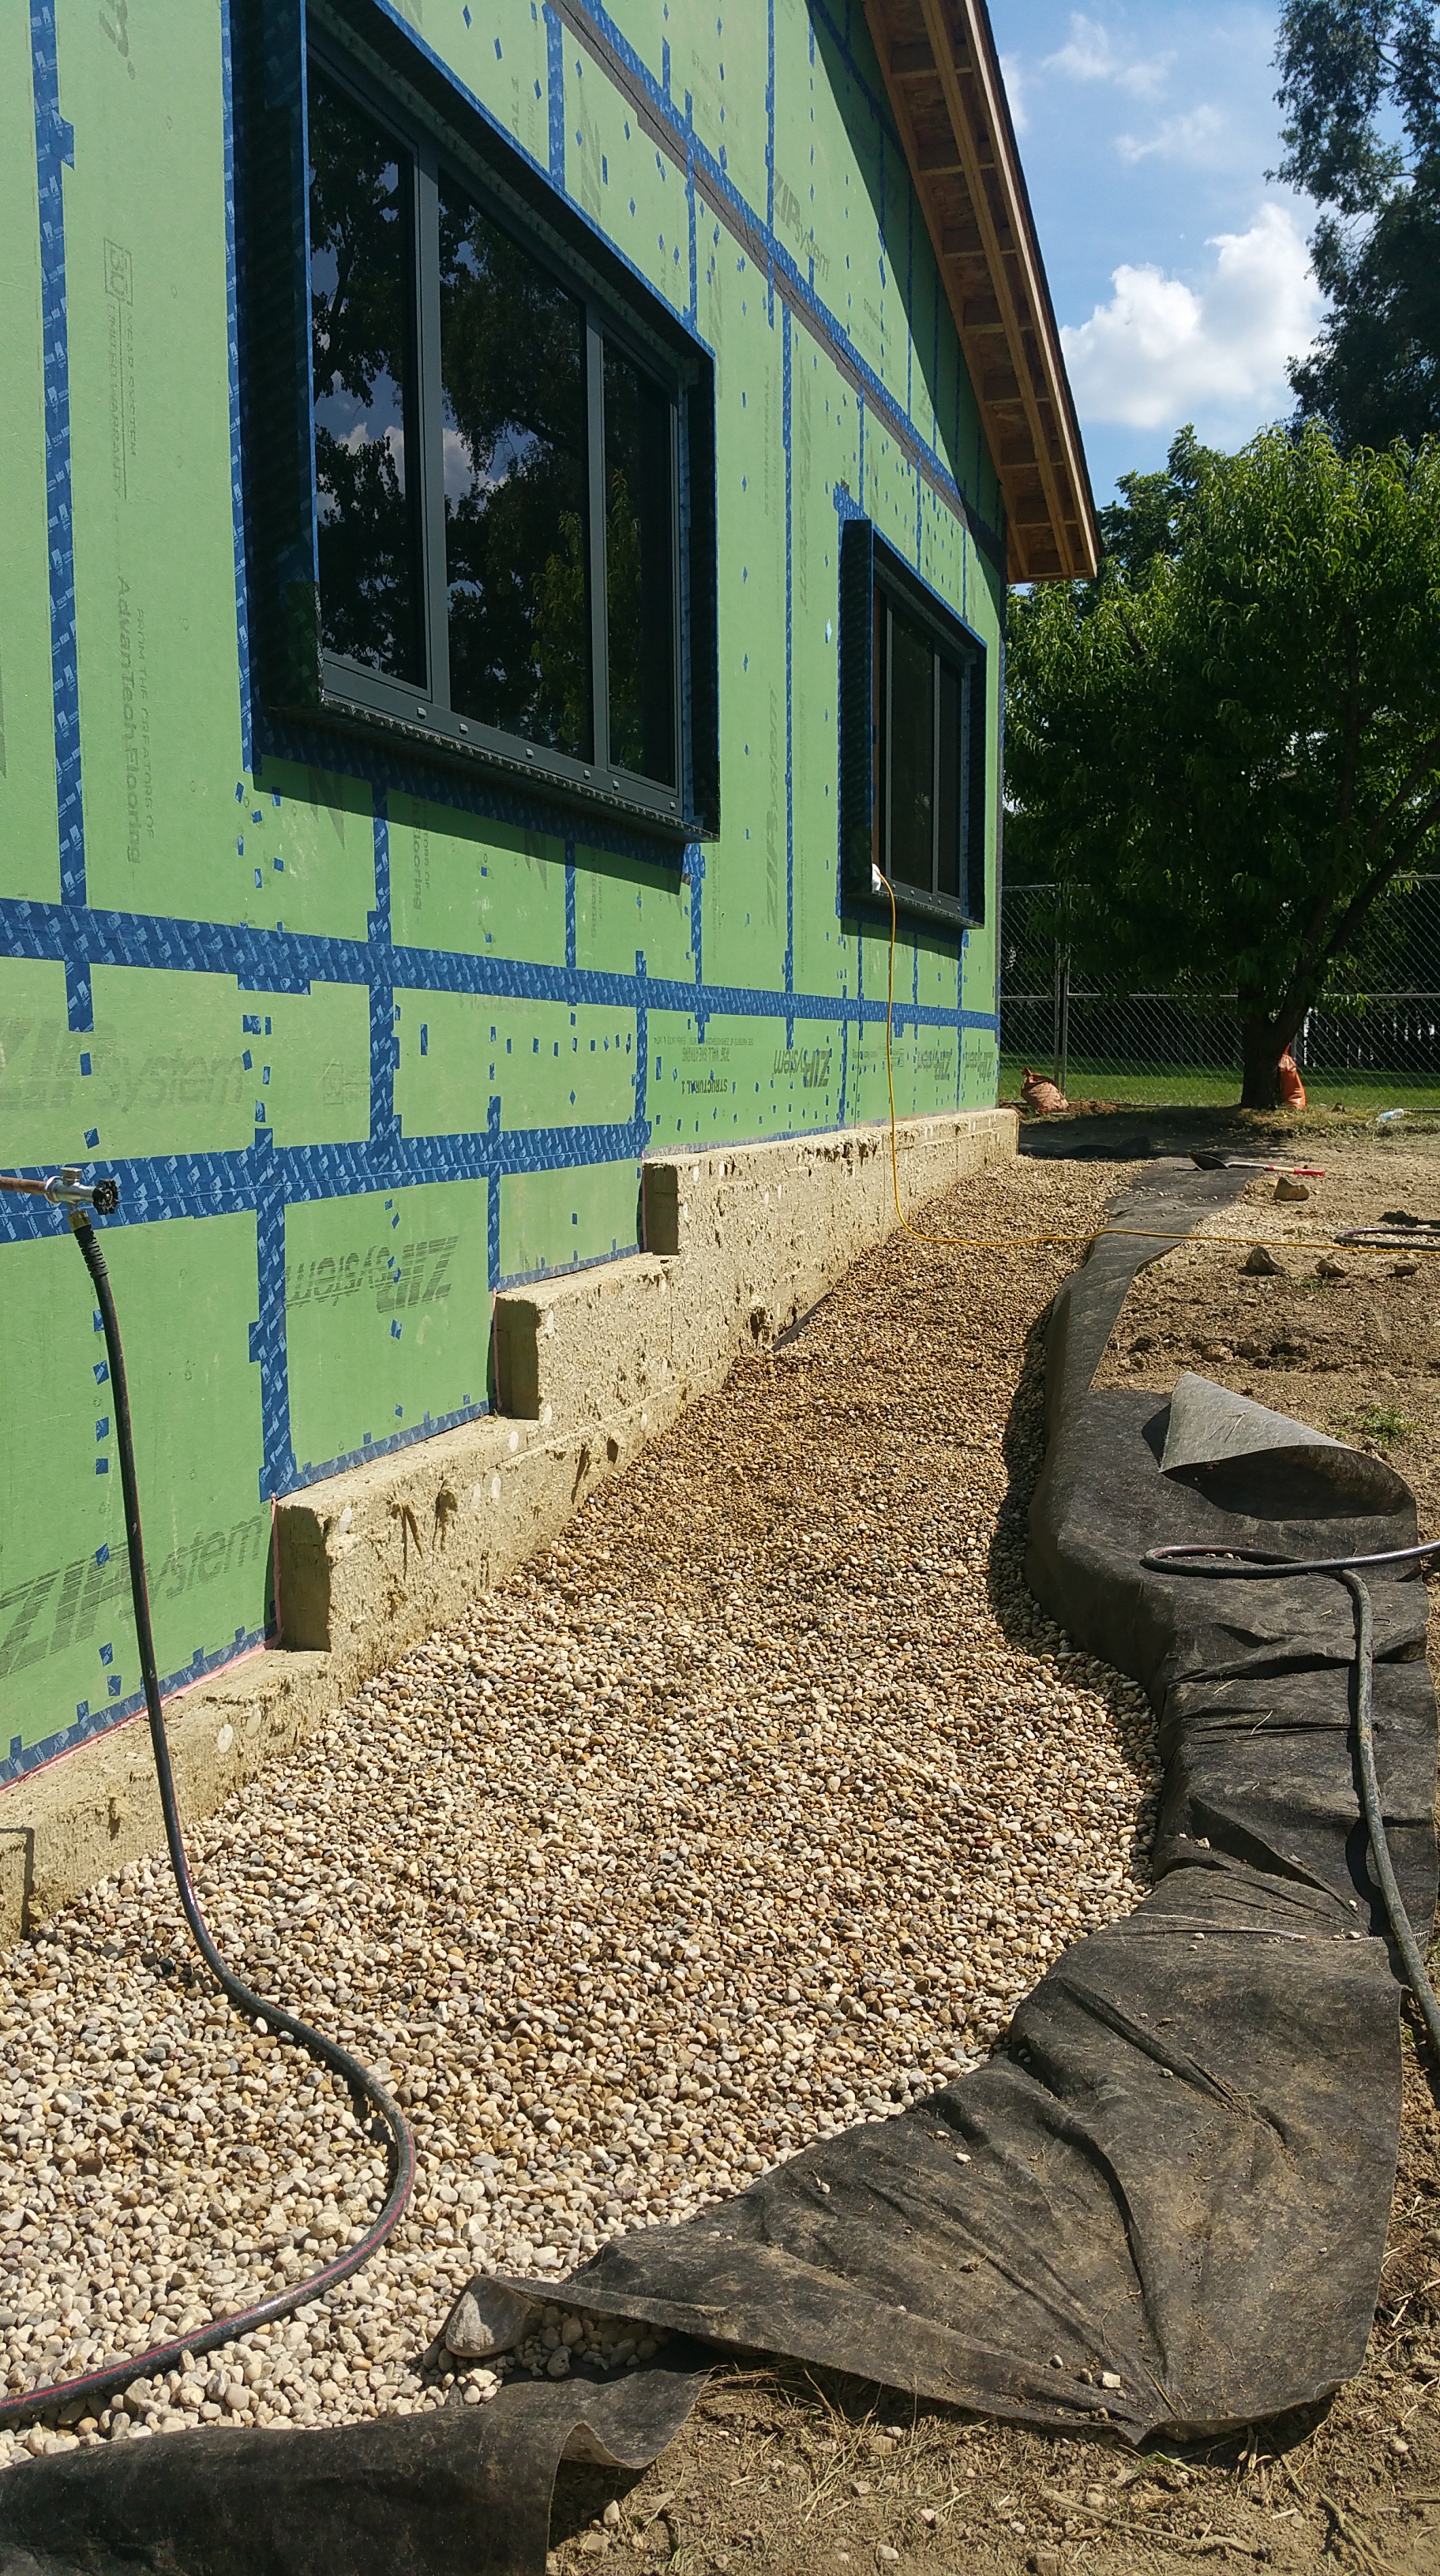
At grade, around the perimeter of the house, we also decided to install a gravel border, both for its decorative effect and its ability to encourage water to move away from the top of our foundation and down to the drain tile, particularly during periods of heavy rainfall.
We also considered various ways to protect and finish the top of the exposed Rockwool on the foundation. Here’s an older Green Building Advisor article discussing the issues involved along with possible solutions (as far as I can tell there’s still no single, obvious solution yet, although a parge coat or stucco finish is arguably the most attractive and durable, especially if combined with a gravel border as opposed to just top soil): GBA
After initially deciding to go with a combination of tile backerboard and Tuff II (giving the exposed insulation the look of finished stucco or exposed concrete), we ended up using metal flashing from coil stock instead (typically available in the widest number of options from a local roofing supply company).
It was only after construction began that I learned the tile backerboard manufacturers don’t honor warranties for this below-grade application (perhaps this will change in the future, or maybe they’ll develop a product for this specific application). Although I know the product is commonly used in this way (I couldn’t find an example of a bad experience, or a case of catsastrophic failure anywhere online), the lack of warranty protection doesn’t bolster confidence for its long-term durability.
In this regard, I imagine some kind of gravel border is probably essential, especially if the house would otherwise be surrounded by a lot of clay soil that likes to retain moisture. Also, just getting the backerboard attached to the foundation through the 5″ of Rockwool would have been time consuming (assuming you can find long enough flat-head concrete screws, which we unfortunately didn’t), so we opted instead for metal flashing mainly for its ease of installation and for some cost savings.
January, 2021 Update: Another option worth exploring is using sheets of PVC, as this project in Minnesota has done with Azek’s exterior grade PVC:
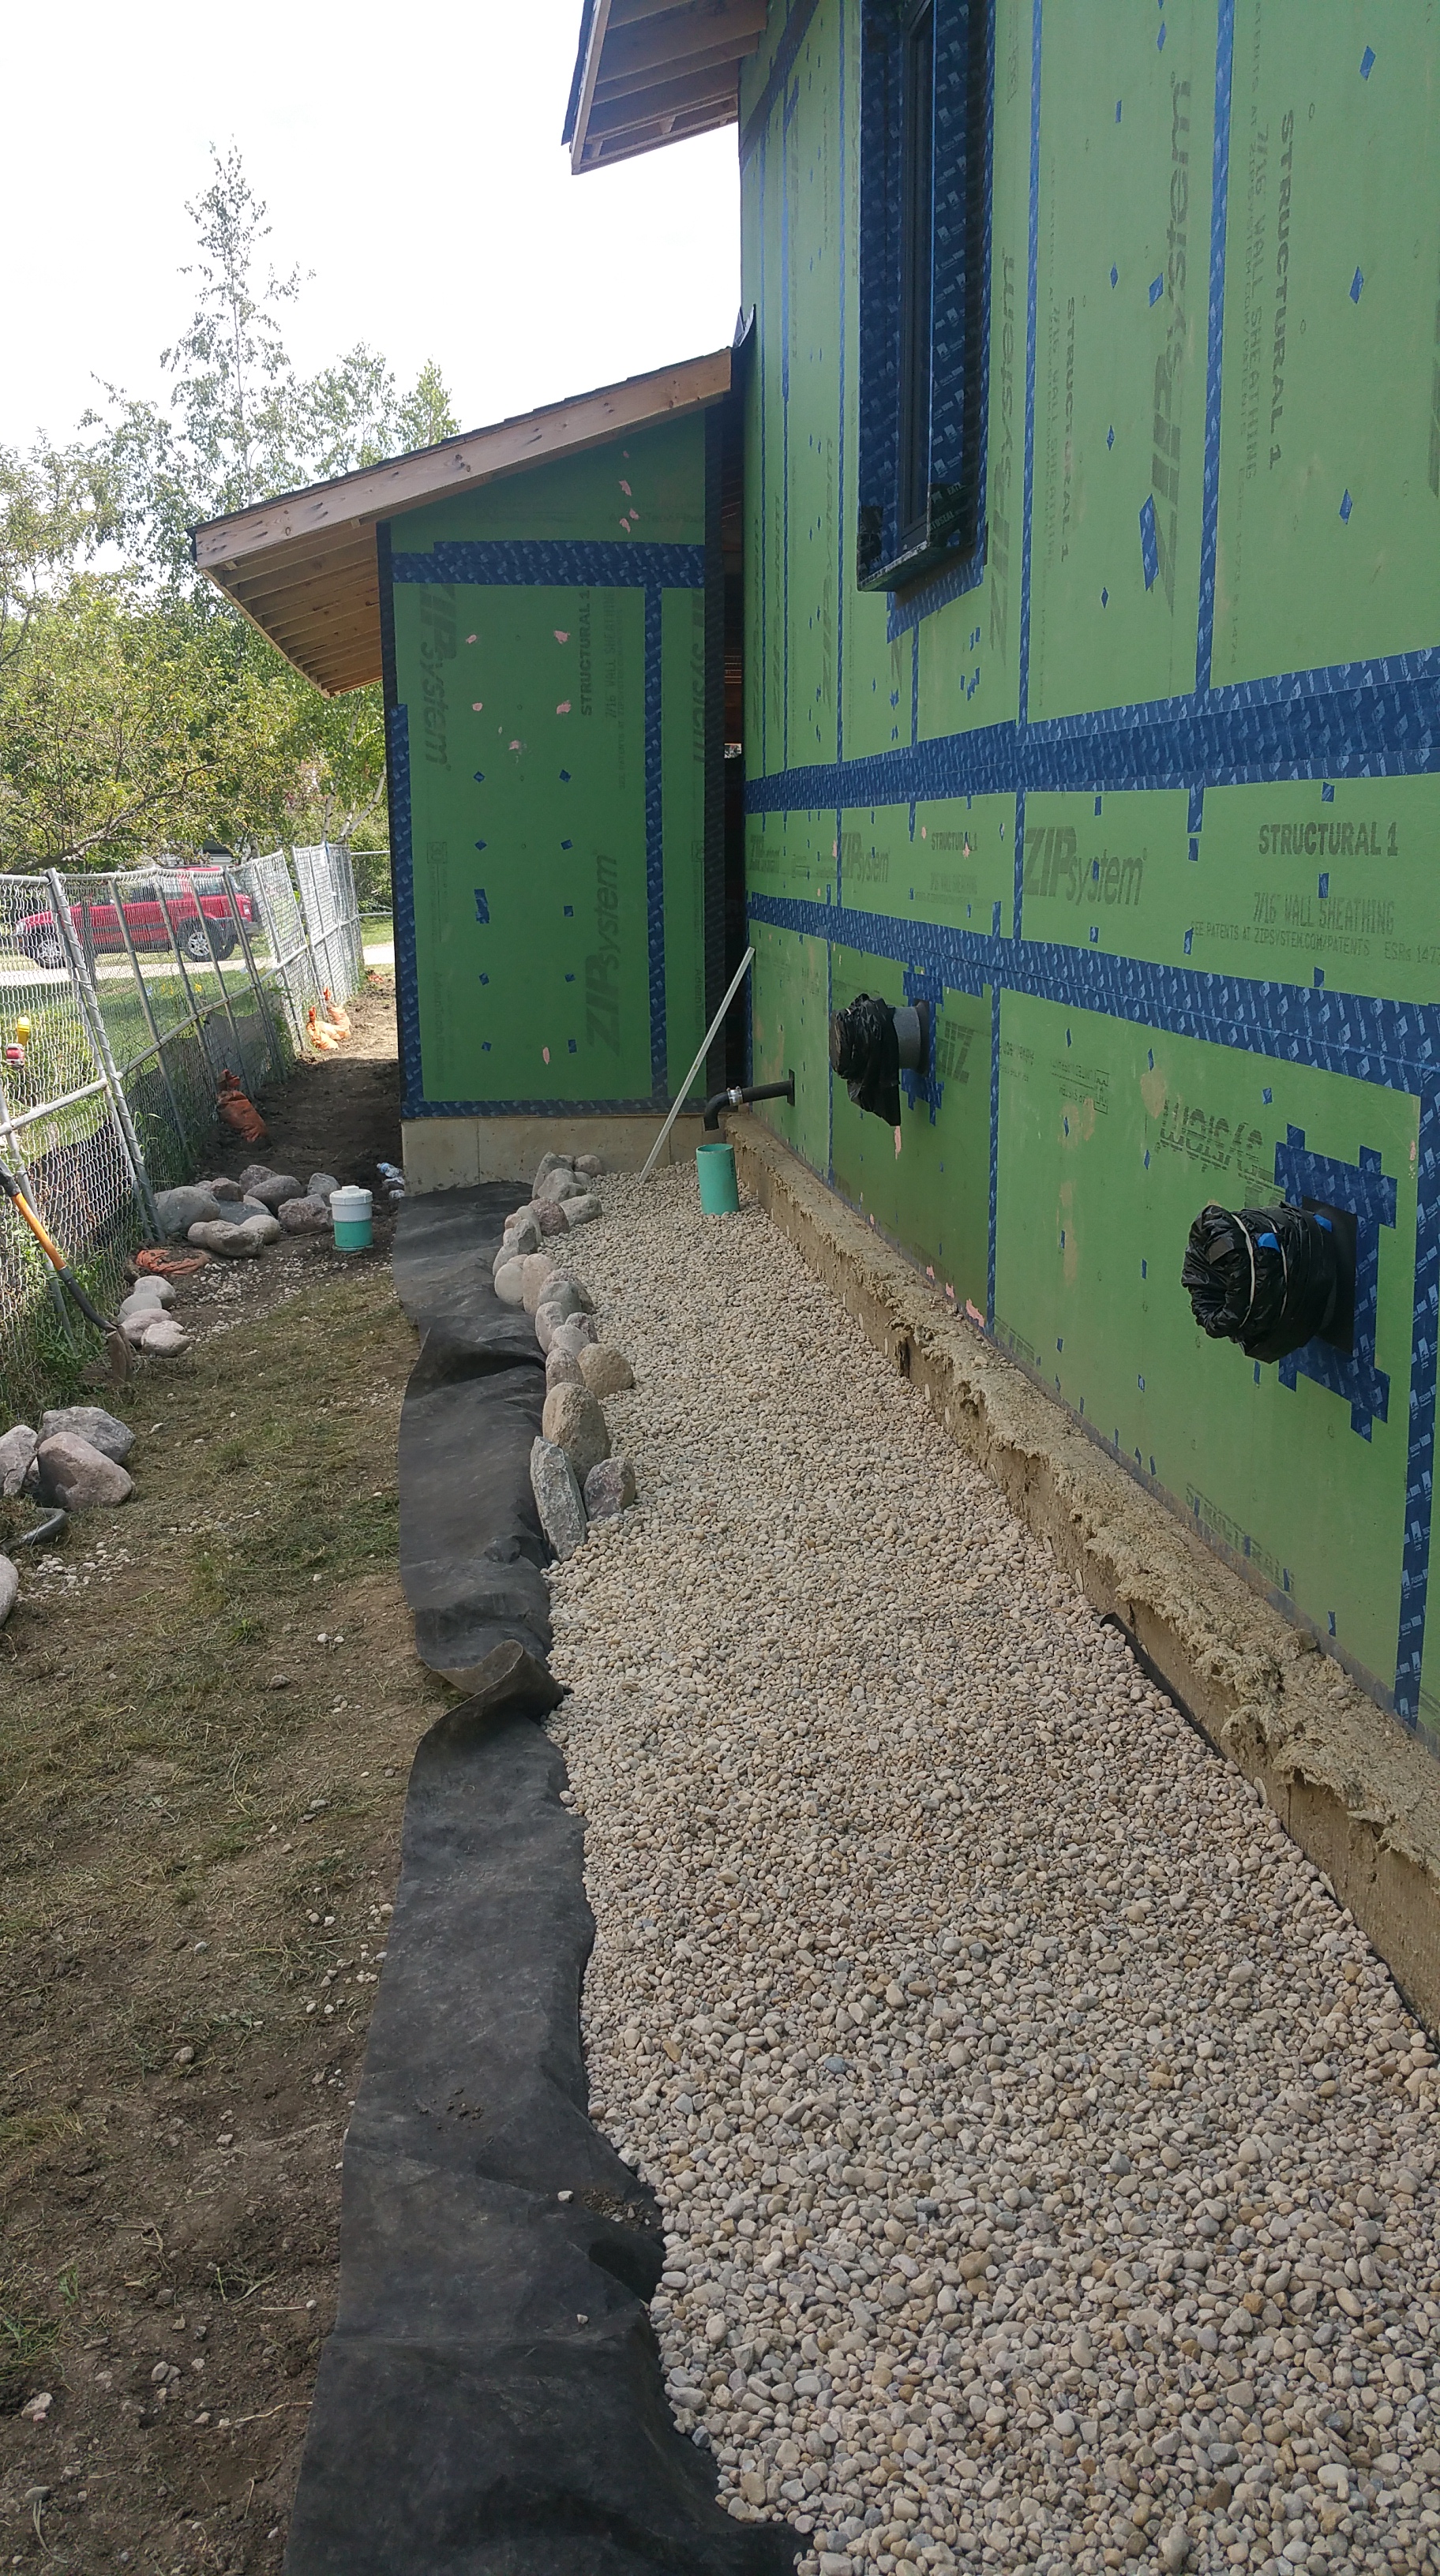
Starting on the green Zip sheathing as if it was a typical Z-flashing, we had the siding guys just continue the metal flashing down the face of the Rockwool on the foundation below where we knew the level of the gravel would end up (more on this in a future blog post regarding siding installation details). So far this has worked out well, with the metal flashing avoiding damage, and without much “oil canning”, even on the west side of the house, which has the largest amount of exposure. It probably helps that the metal flashing in this area around the house is the same color as our siding, helping it to ‘disappear’ visually to some extent.
When our excavator did backfill, knowing we were going to have to cover the Rockwool around the top of the foundation, we had him hold back on the top 16″ or so. With this ‘trench’ left exposed, we first applied landscape fabric in order to try and control weeds in the future, and to better contain the washed gravel that we would be putting down inside the trench.

As with many other areas of the house, we decided to opt for a more informal look, avoiding a perfectly consistent and squared-off border, preferring more of an undulating path as the outside edge makes its way around the house.
And instead of moving around endless loads of gravel with wheelbarrows, we rented a compact front loader, in our case a Ditch Witch (sometimes referred to generically as a ‘dingo’), which made the project go much faster while also saving everyone’s back.
We had watched Felipe move gravel and other materials around during the construction of our stone window wells, so we knew just how versatile and useful these machines can be — and they just look like a lot of fun to use, which they are.
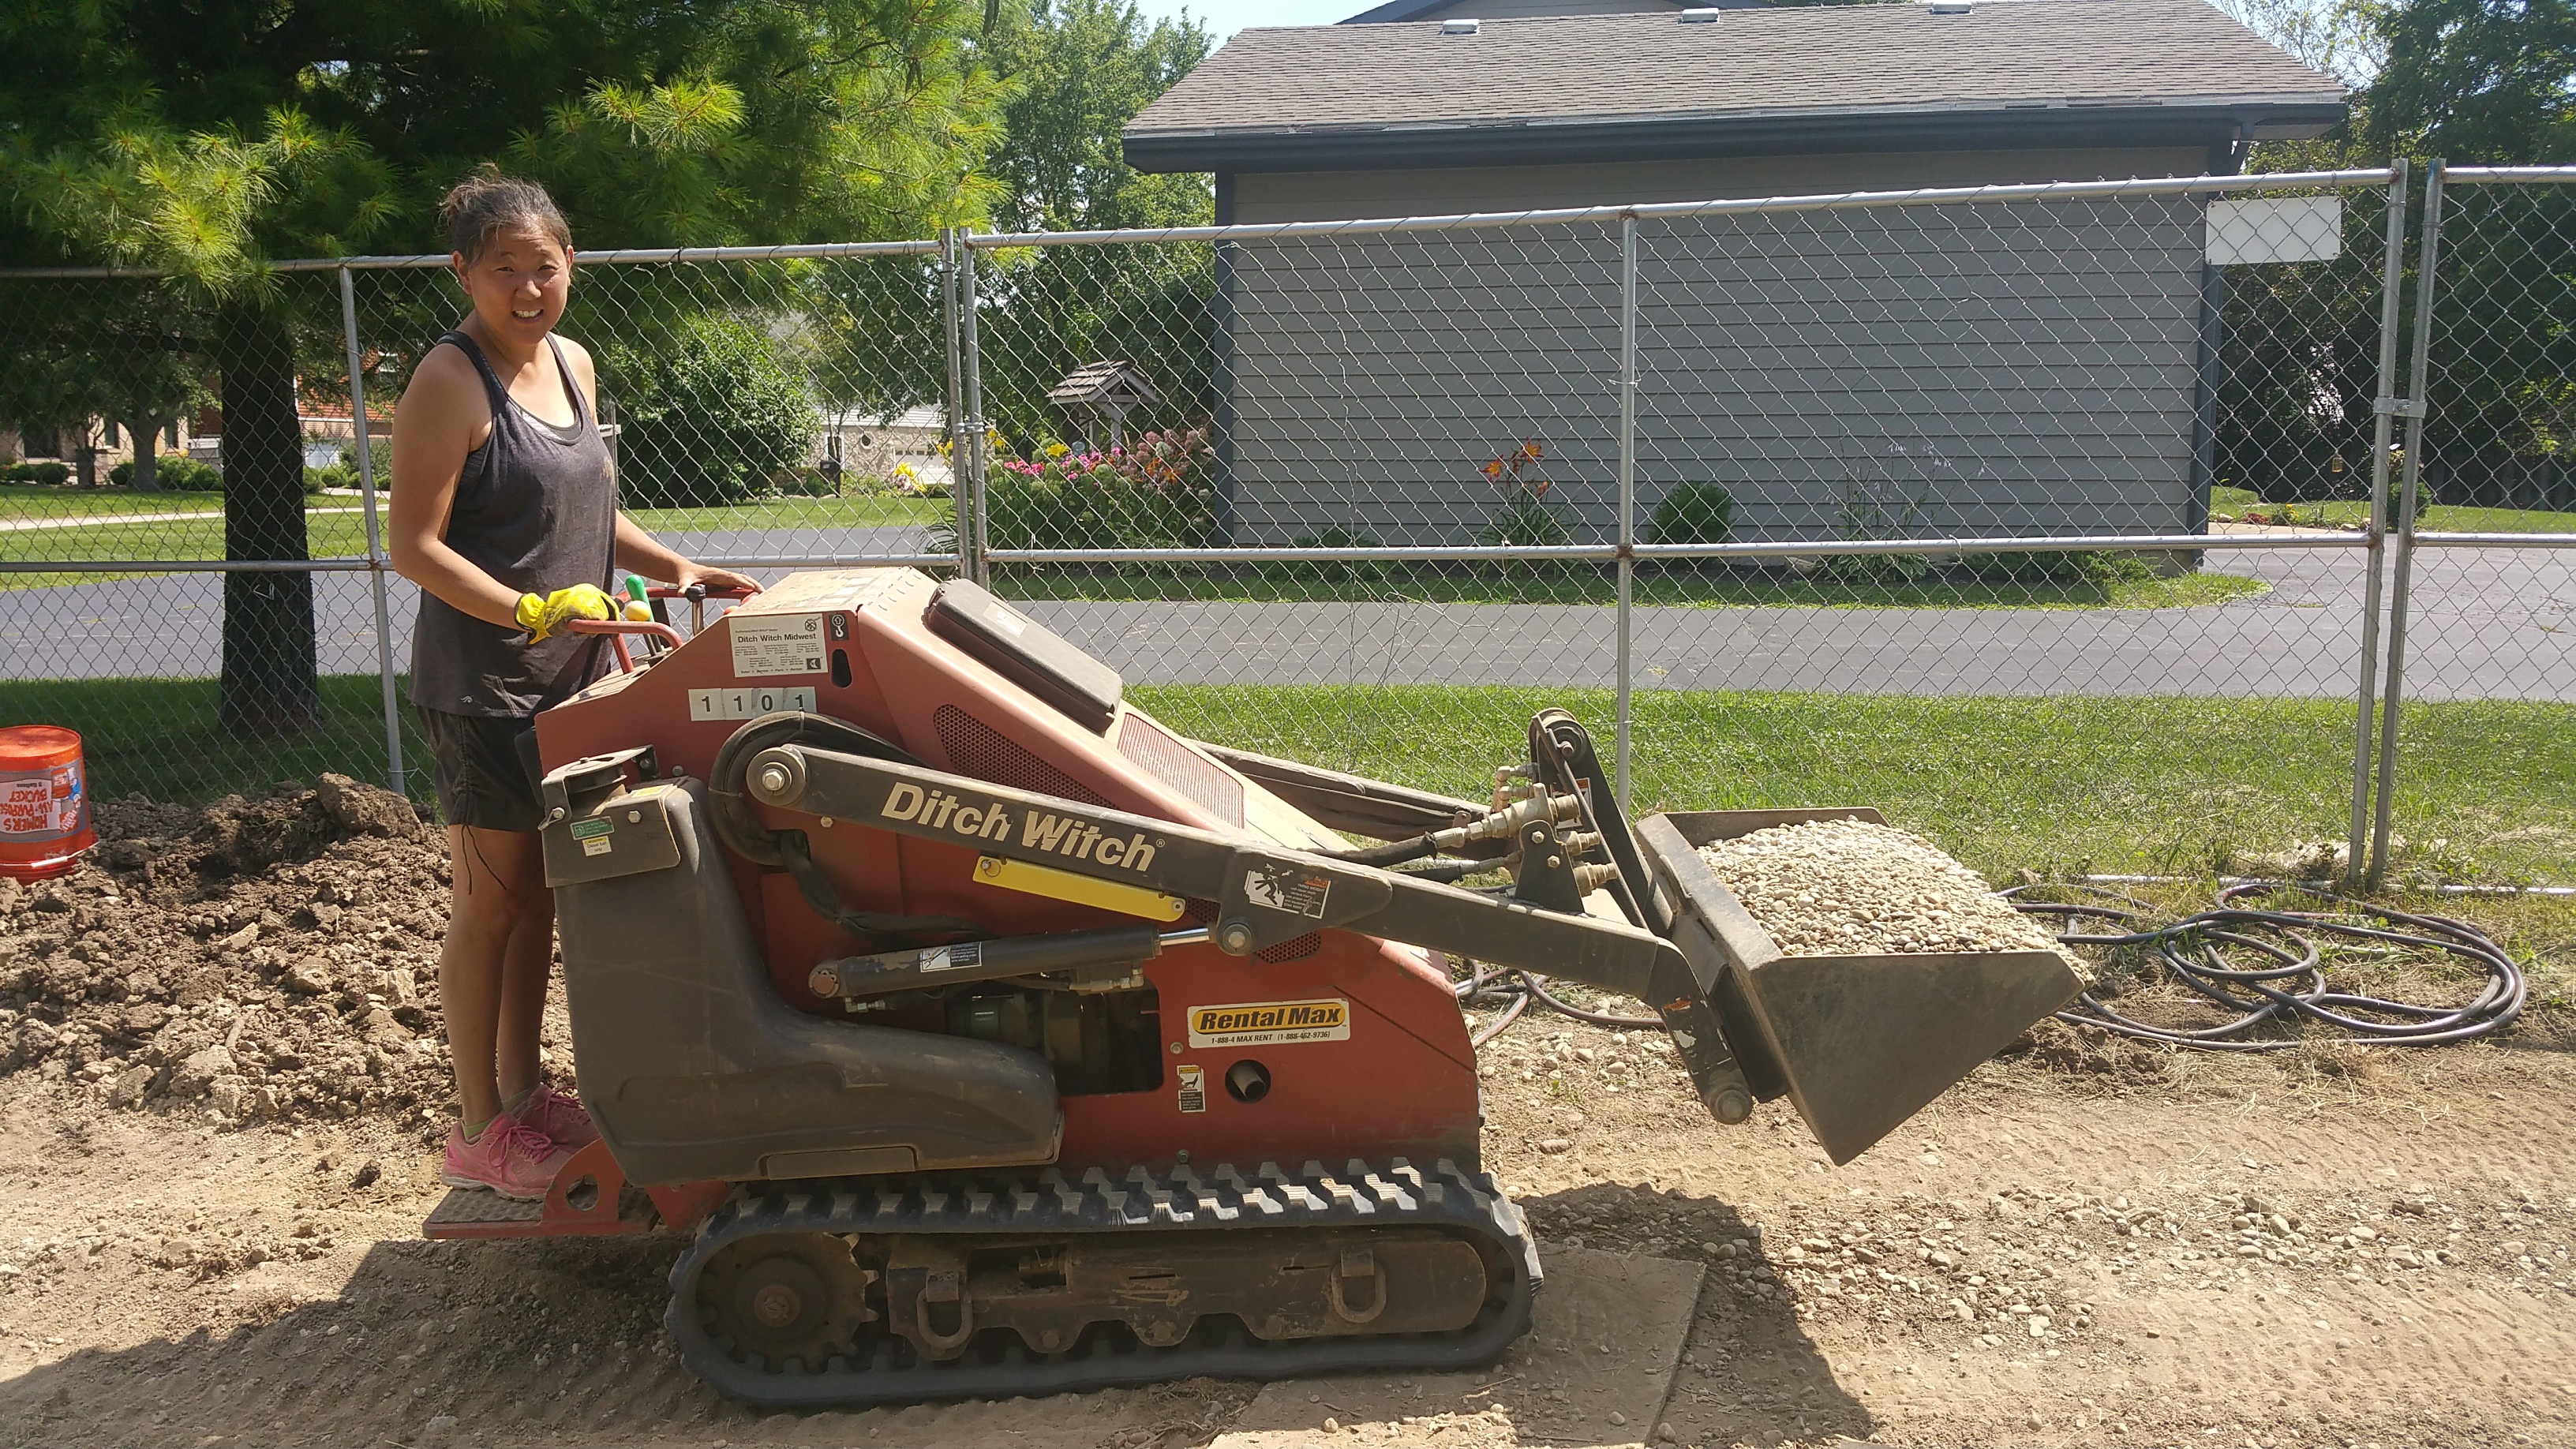
We rented the machine from a Rental Max location near us, which wasn’t cheap, but we definitely felt like we got our money’s worth, as it saved us from having to endure many hours of hard labor. My wife loved using it, in part because the controls mimic those used in video games, so it was fairly intuitive for her as she quickly learned to precisely and accurately move the machine around exactly where it needed to go, including some fairly tight spots around the house.
We think the machine is worth every penny of rental cost if you have a significant amount of landscape material that needs to be moved, especially if a wheelbarrow is your only other option, or if tight spaces preclude the use of larger machines.
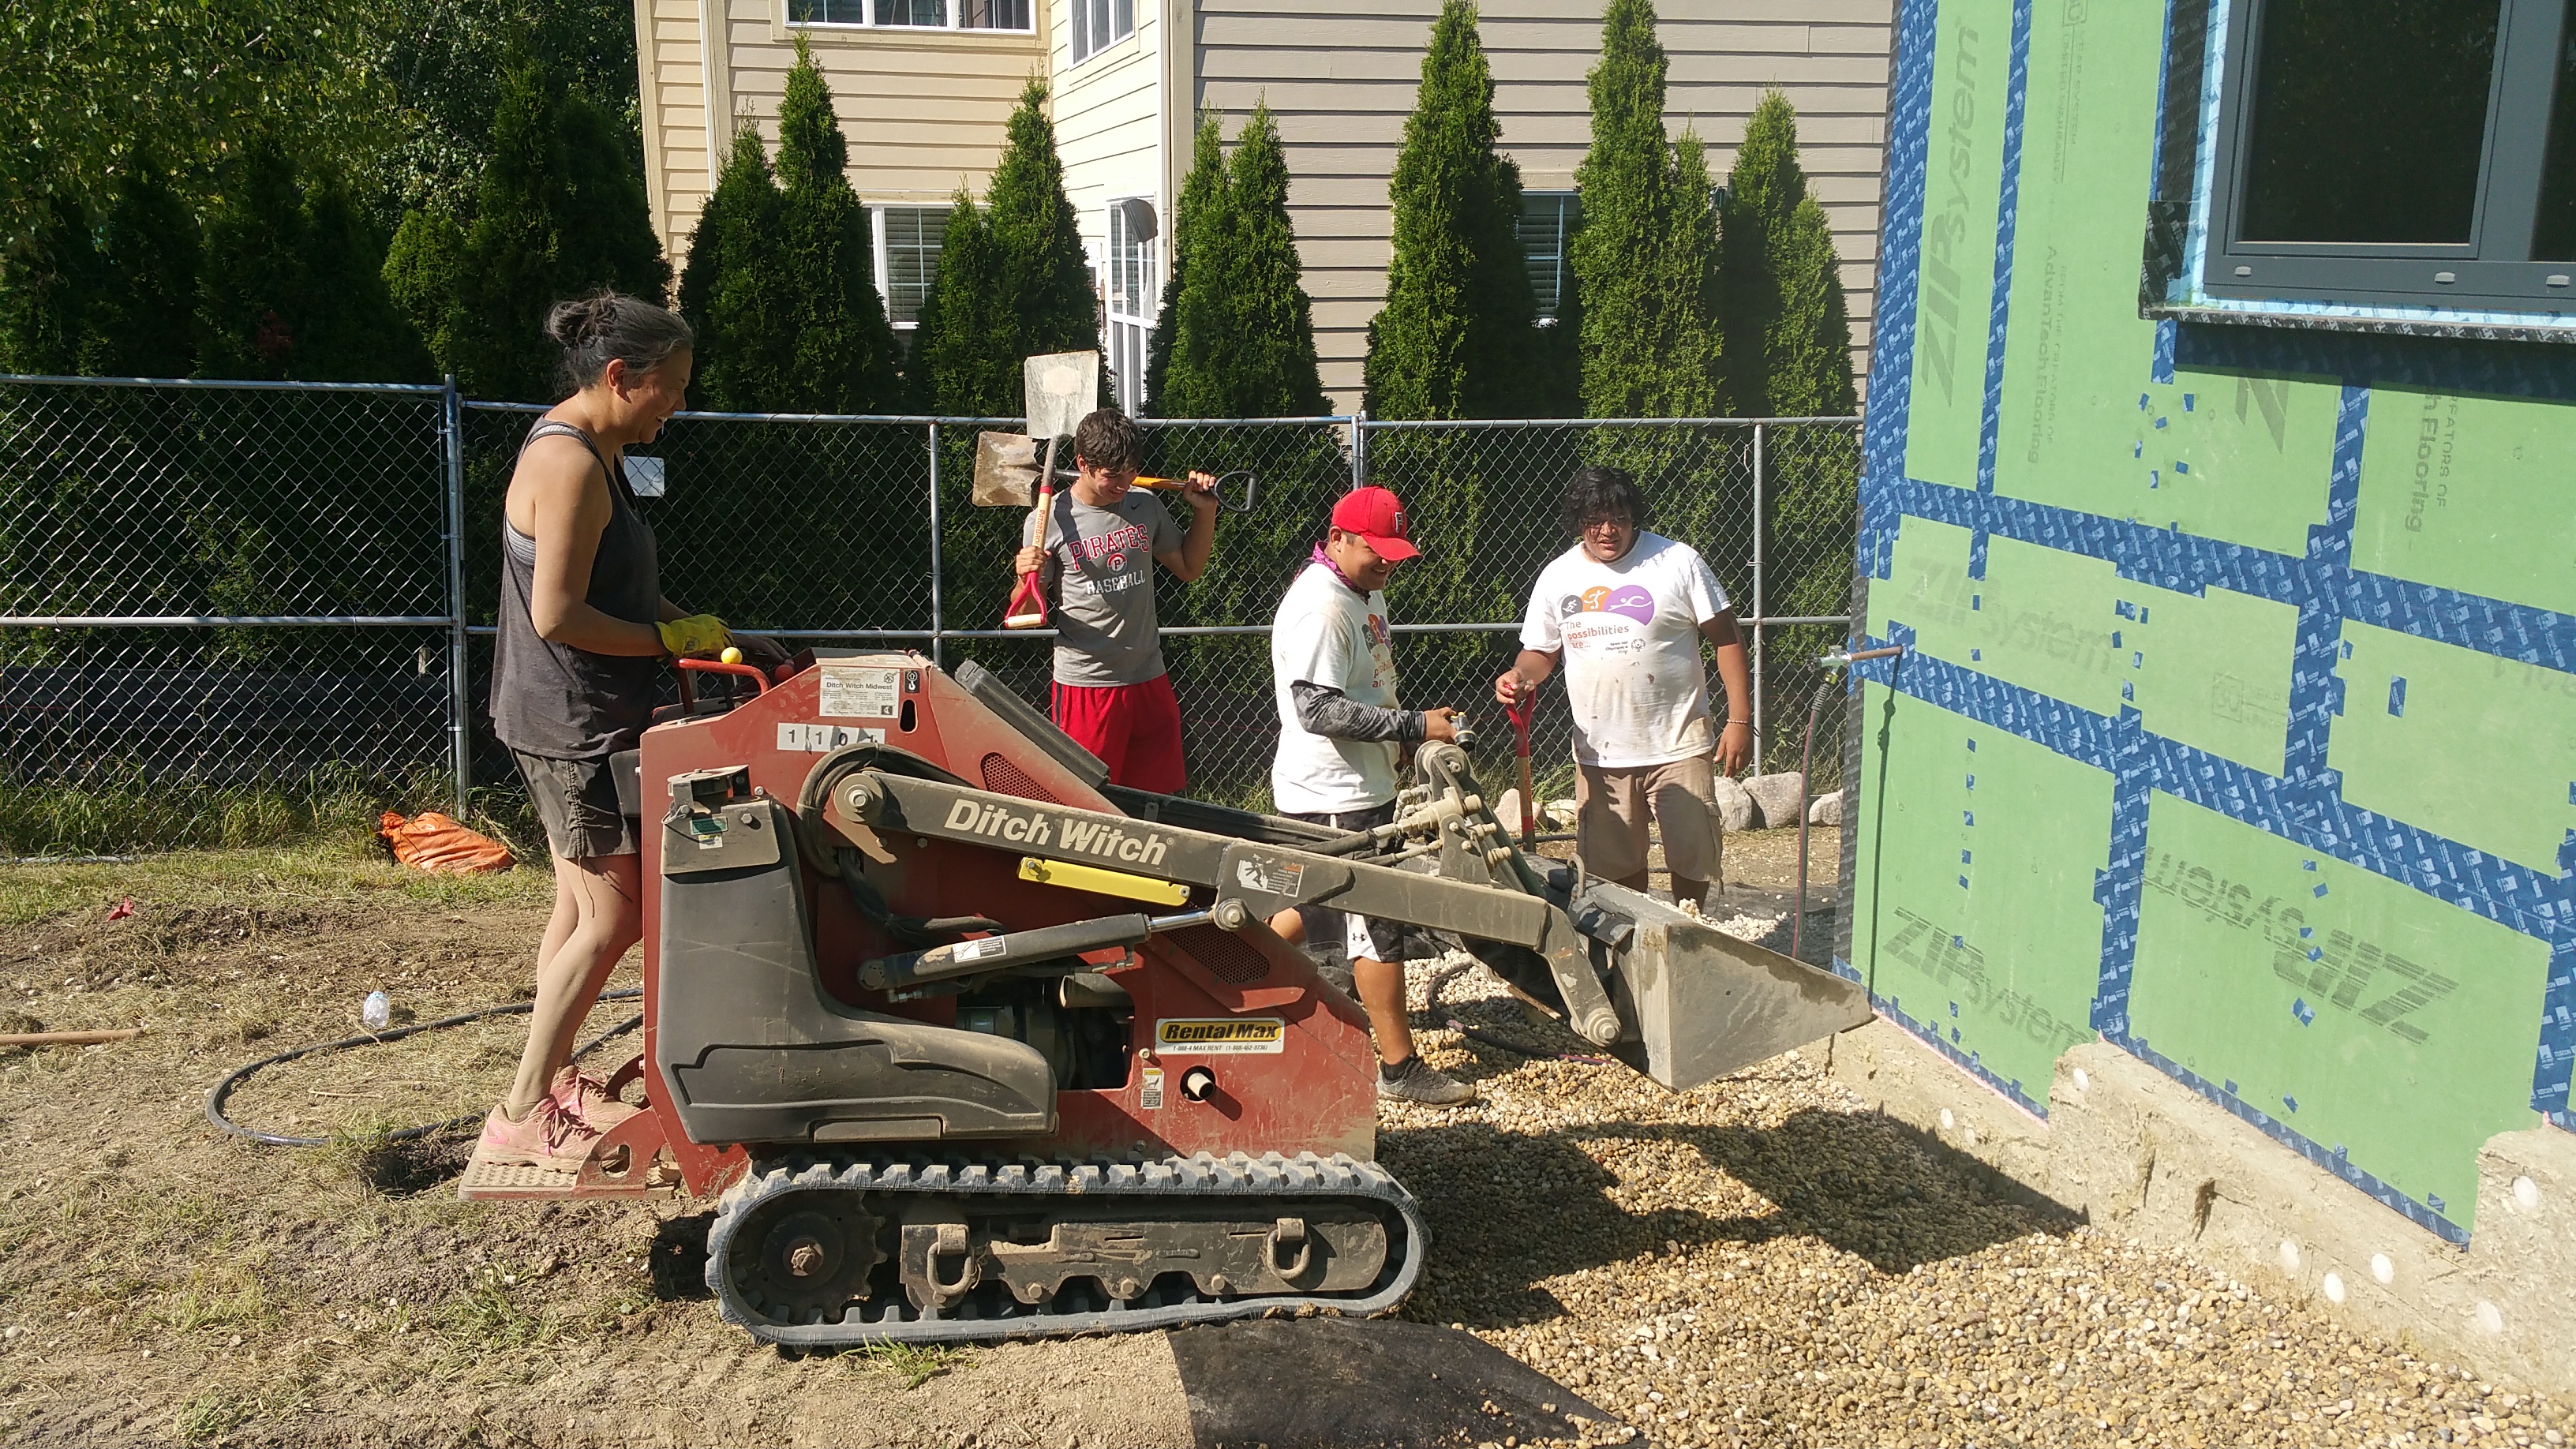
The boys were profoundly disappointed that they were never given a chance to operate the dingo, especially when they saw how much fun my wife was having using it.

On the west side of the house we decided to add some boulders where there’s a drop-off in grade. In addition to adding some visual interest, we thought the boulders could help with surface run-off during the heaviest rainstorms.

We purchased the boulders locally from Lurvey. They have a nice selection of boulders and flagstones in a wide variety of styles and sizes. We would’ve chosen even larger boulders, but we were somewhat limited in this regard, having to base our selection on what we thought the dingo could safely handle.
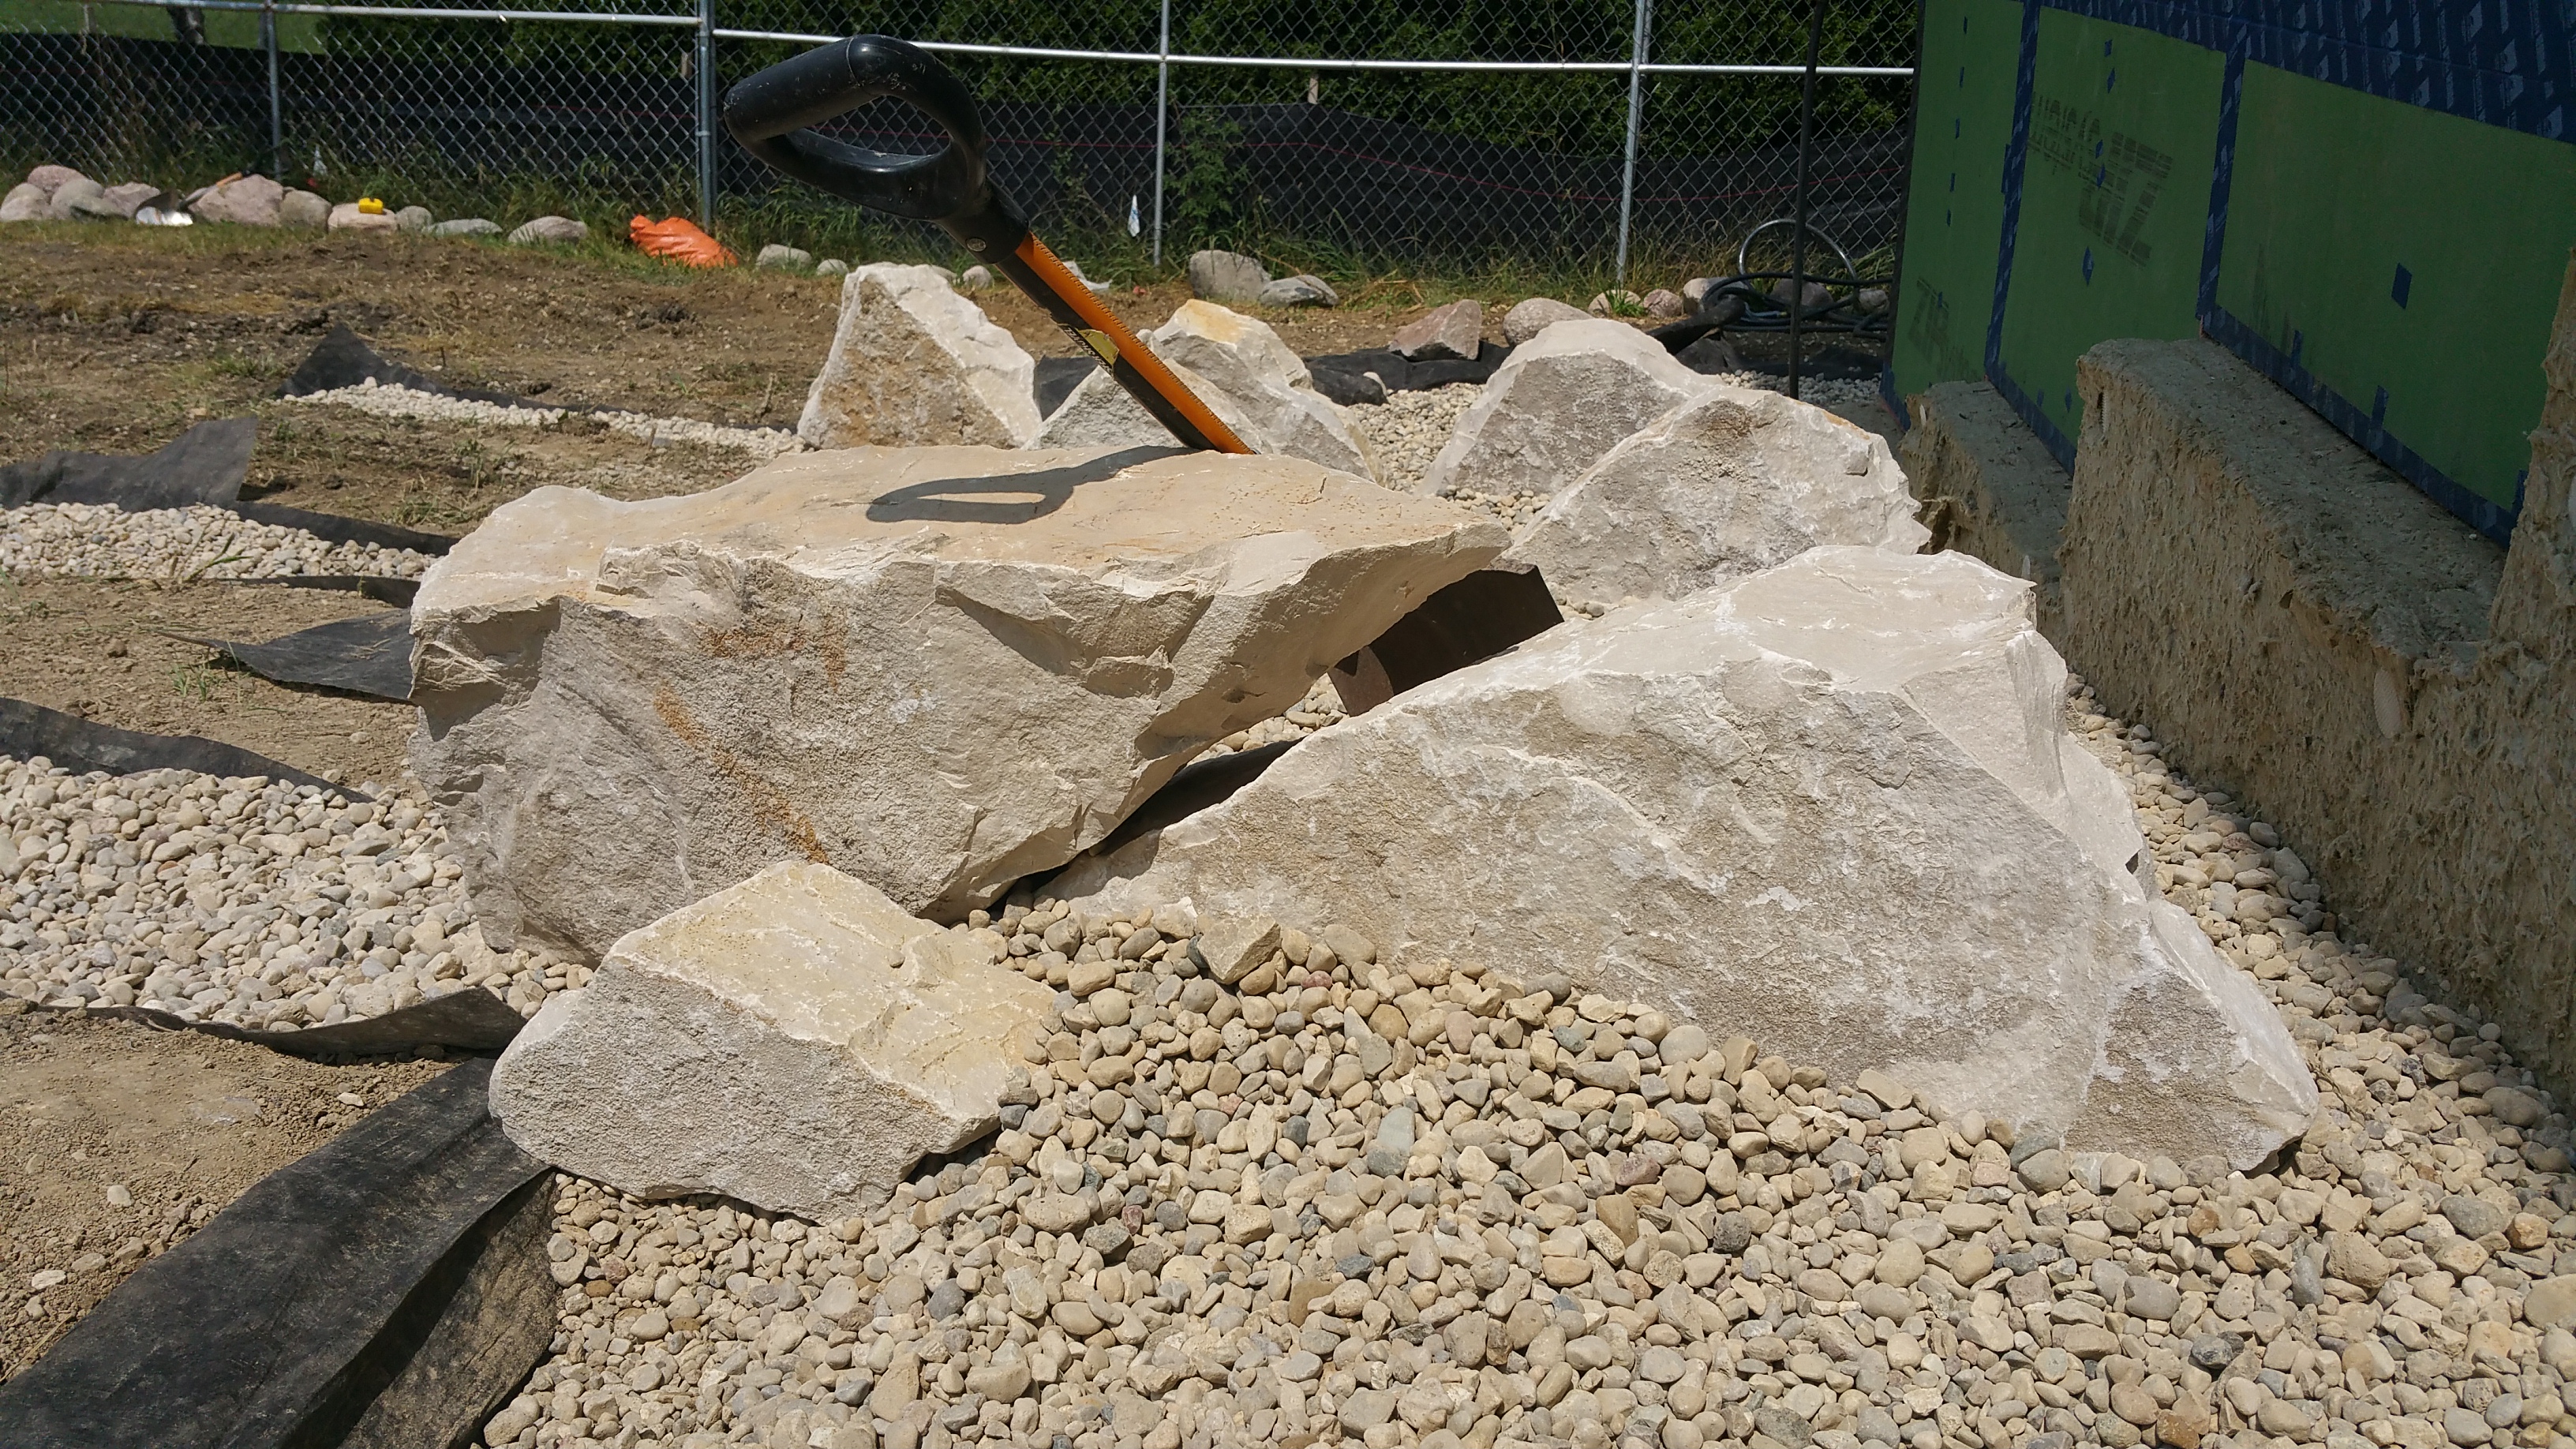
In addition to the boulders, once mulch and plants are added to this area we shouldn’t see any erosion in the future.
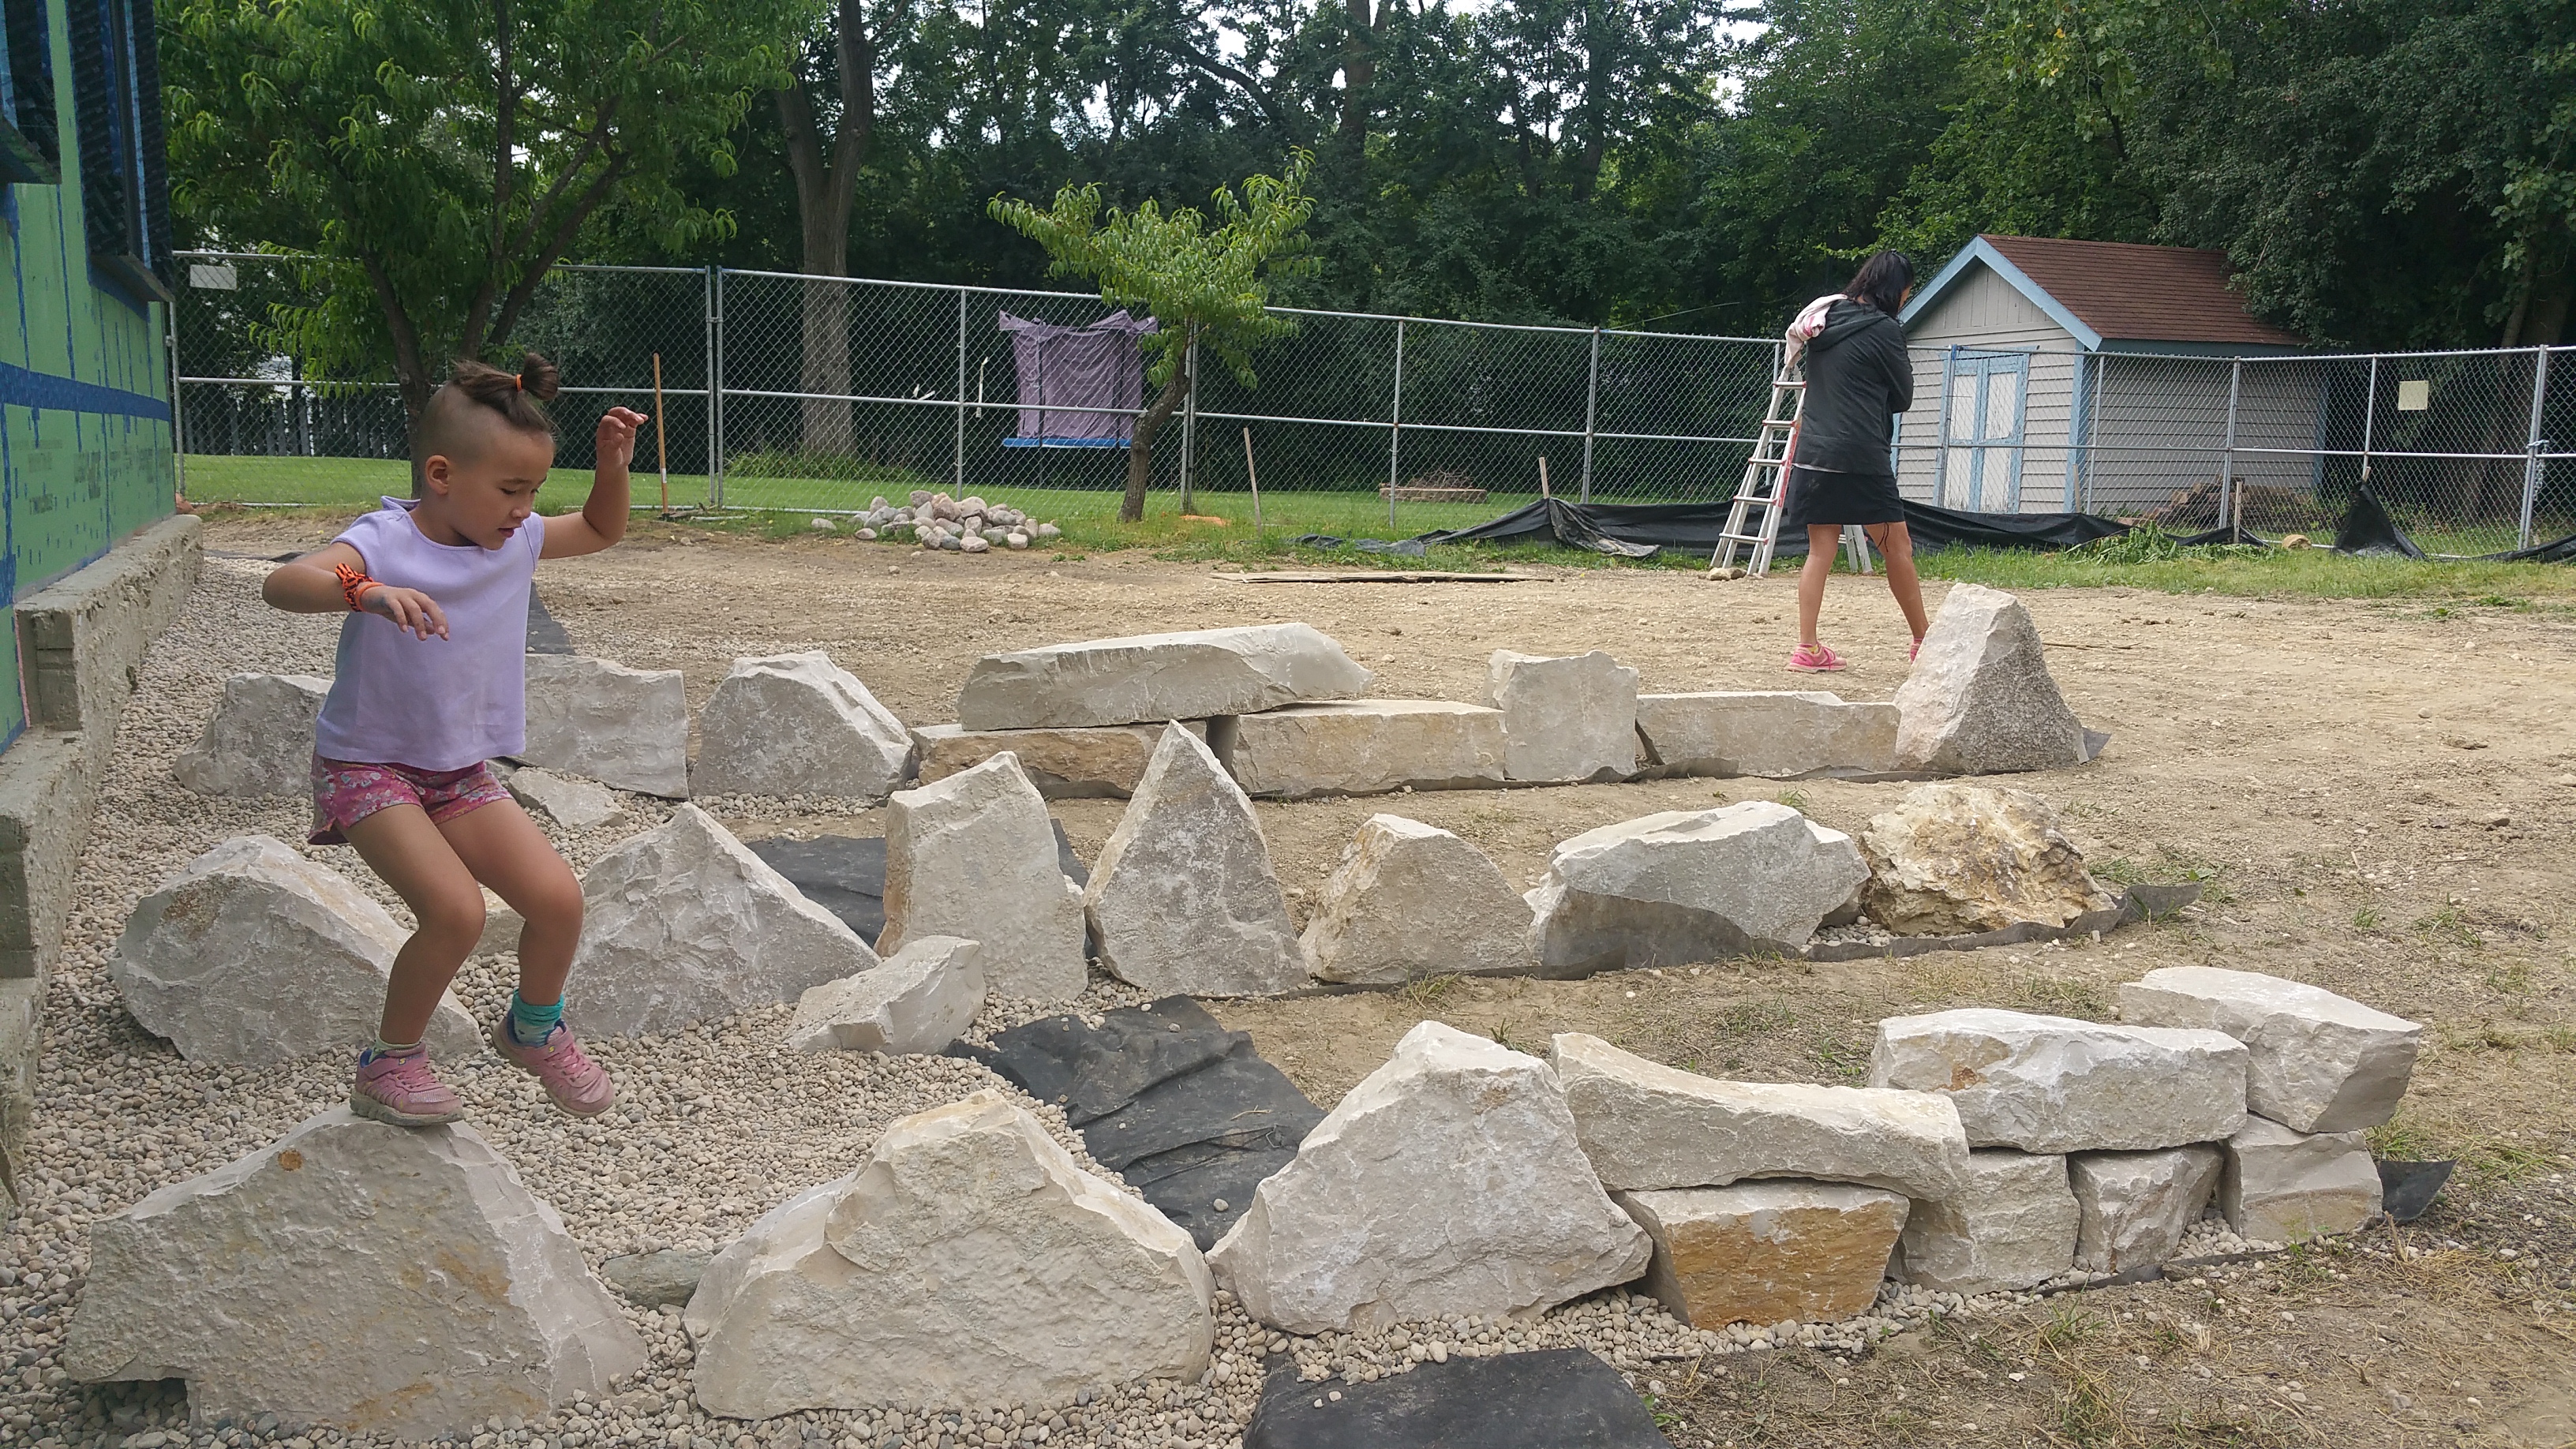
Setting the larger boulders in place, and selecting and arranging cobblestones around the edge of the gravel border, while it was a lot of work it was also a lot of fun. I can see why someone like Lew French, or Dan Snow, gets so much enjoyment from their work:
And apart from their decorative function, and their ability to help prevent erosion, kids can’t help but try out their balancing skills on the boulders.
There will be more photos showing how the gravel border turned out in a future blog post on the installation of the siding.

With the clay soil left exposed around the house for many weeks, mother nature didn’t hesitate to fill the void with a wide variety of ‘weeds’, some quite beautiful in their own right.


I am thinking of doing hardipanel to cover the EPS on my foundation. Comes in up to 12″ height. That or go with sheet metal – what gauge were you thinking? Have you finished covering up your comfoboard?
LikeLike
We used 24 gauge galvanized, painted black. So far it’s been holding up well.
I hope to have a post up soon regarding exterior continuous insulation, with furring strips and flashing details, along with the installation of the charred cedar for our overhangs and siding.
LikeLike