
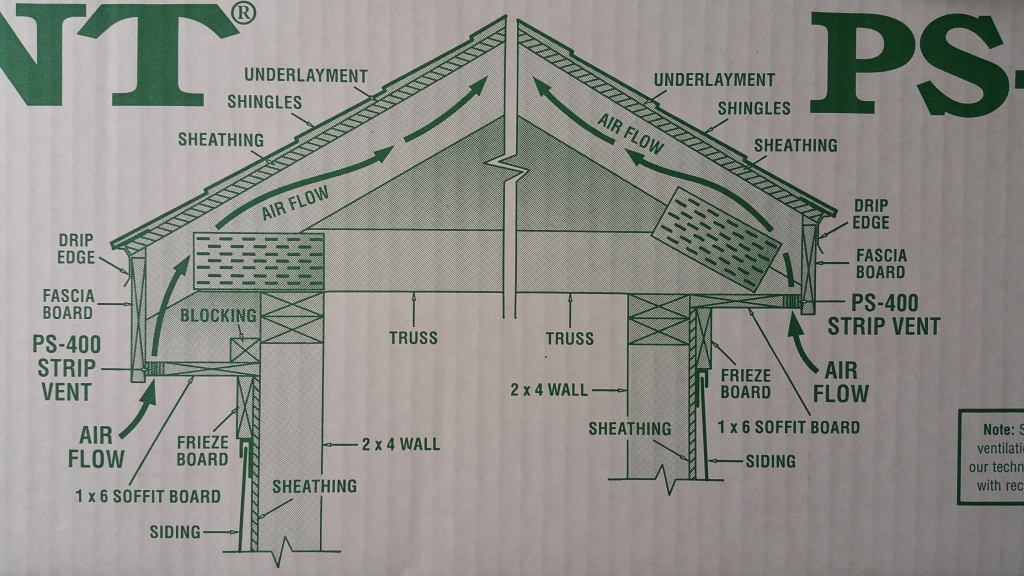
Our structure was designed with a “cold roof”, or ventilated roof assembly. By having continuous ventilation in our north and south soffits, with a ridge vent on the top of our roof, outdoor air can freely enter the soffits and exit out the roof’s ridge vent. The benefits of this set-up are explained in these comprehensive articles:
BSC – Roof Design
All About Attic Venting
FHB Roof Venting
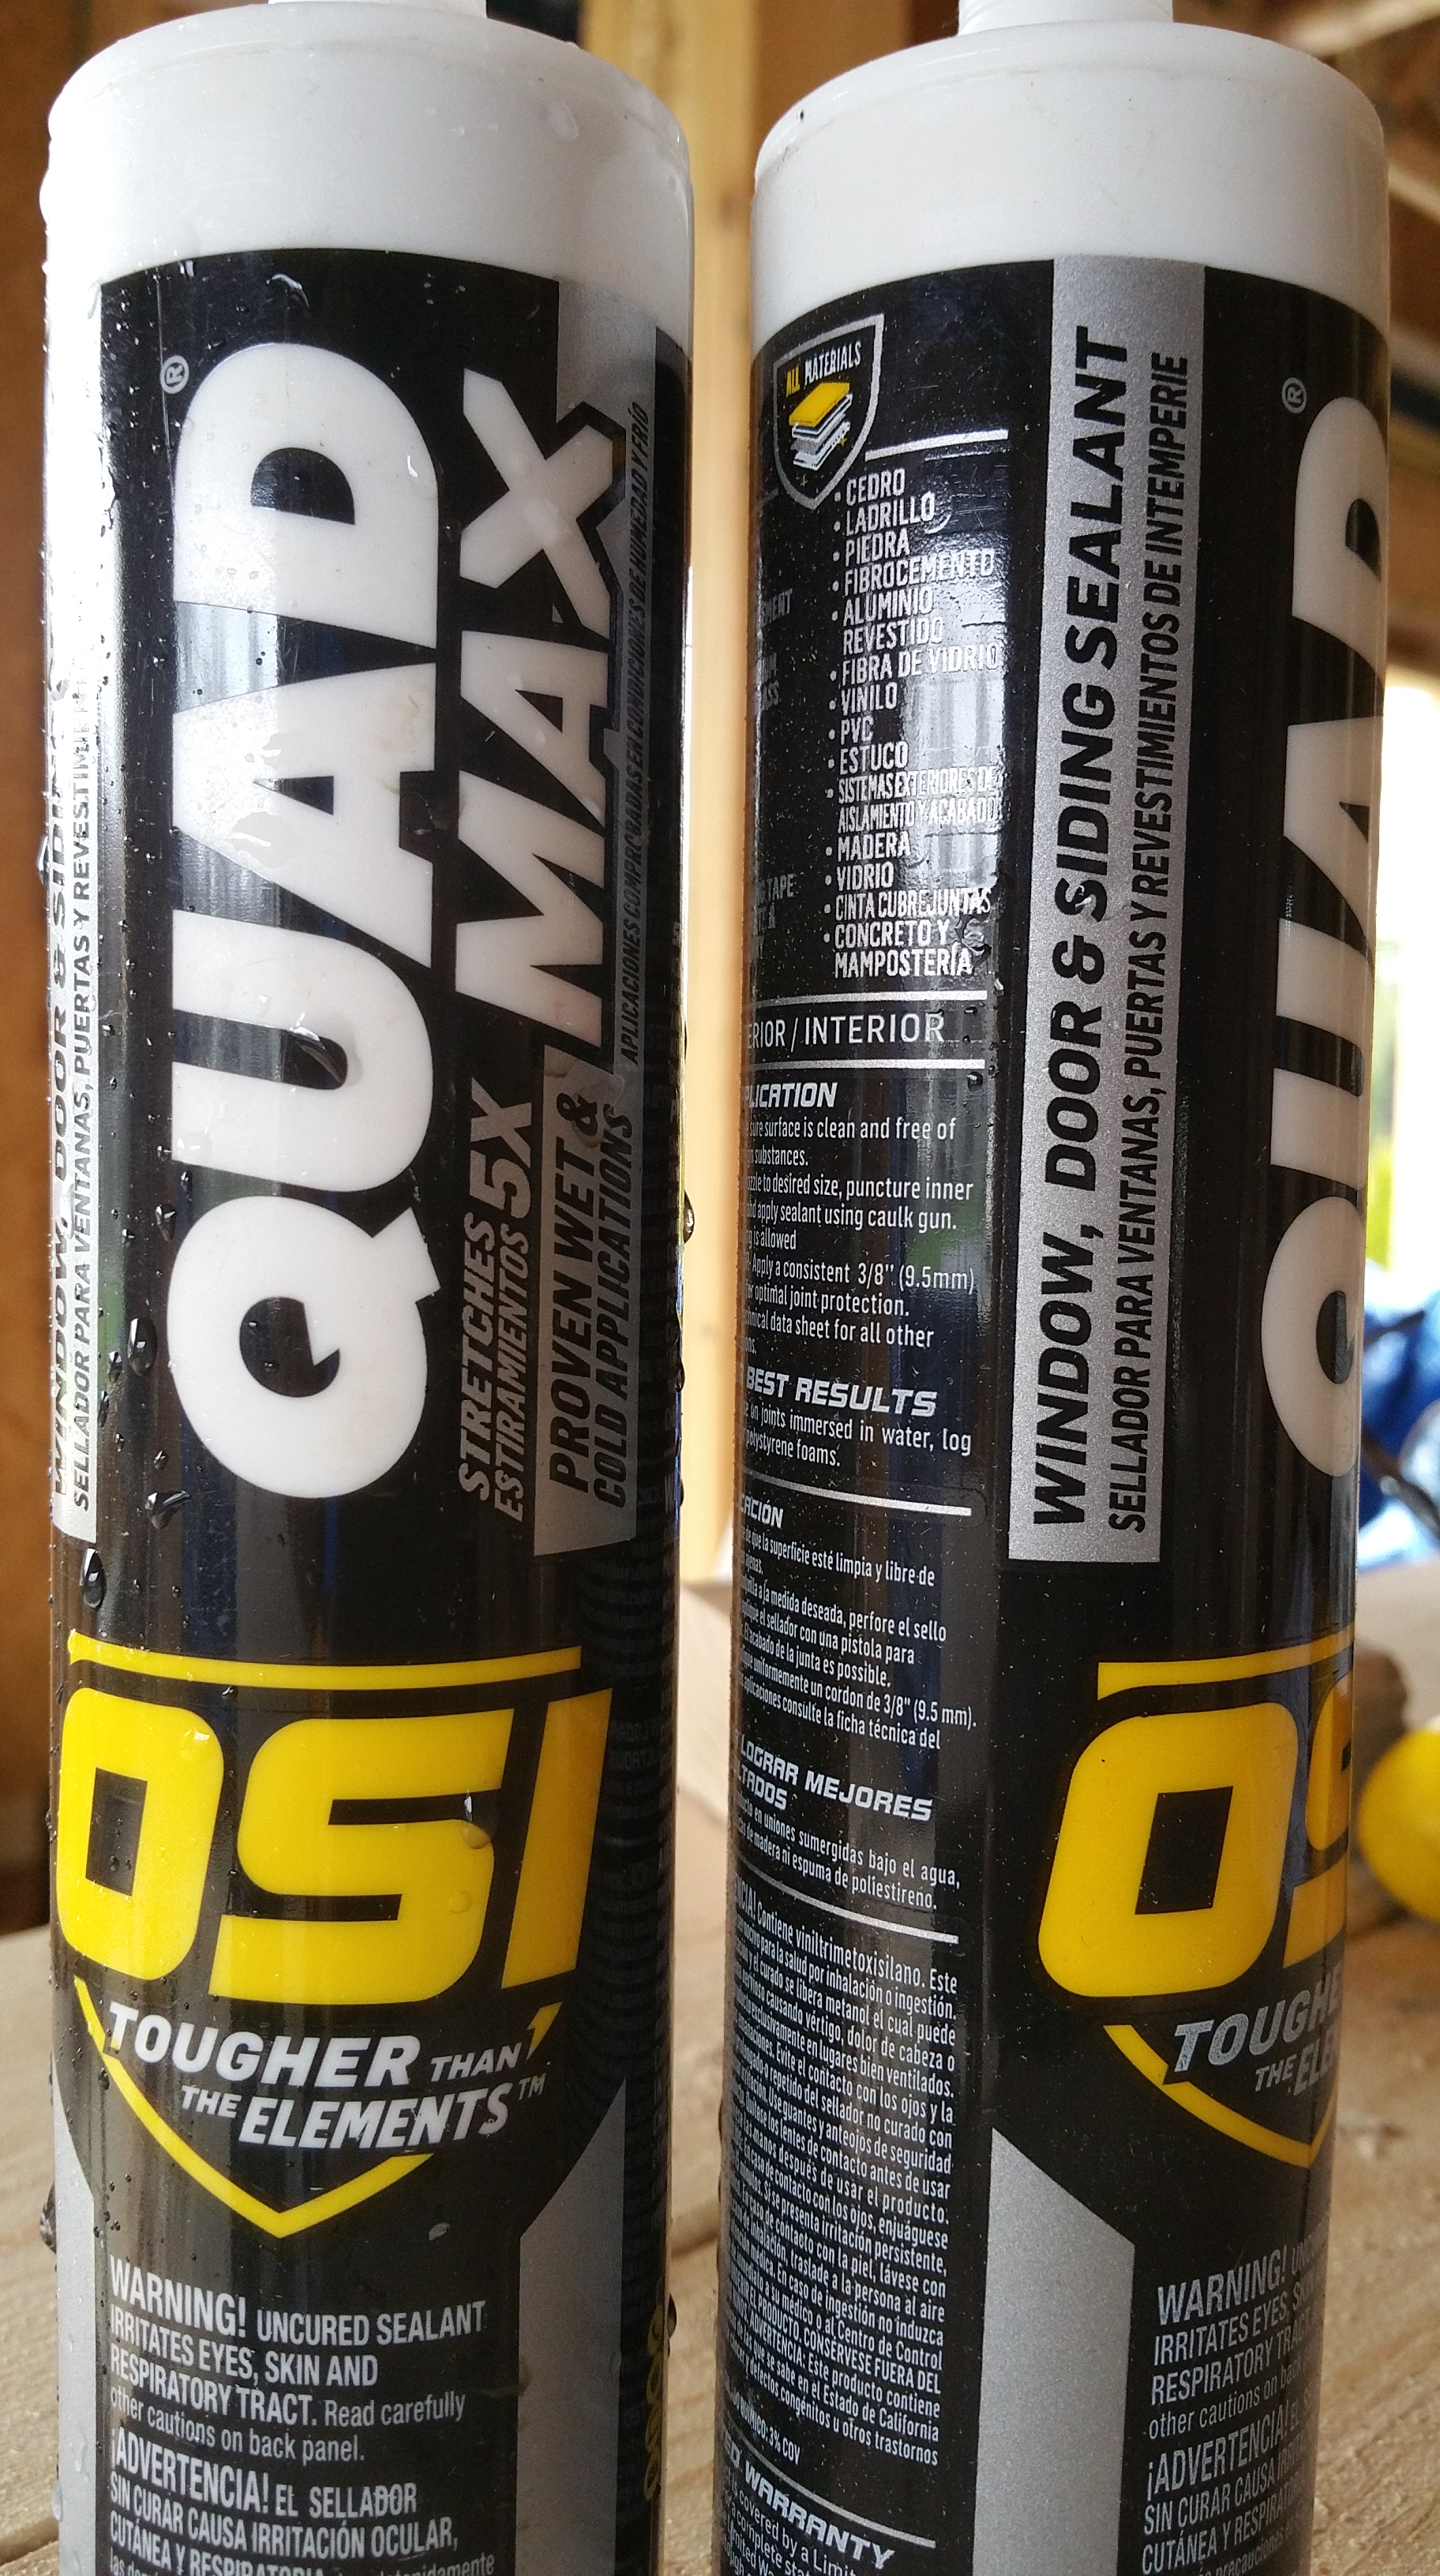
Here is the product we’re going to use in the soffits:
In order to make this kind of roof assembly work, insulation baffles or insulation chutes are necessary, especially if the attic is going to have any kind of significant amount of insulation, in particular blown-in insulation that could potentially move around and block off the soffit ventilation from the attic, thereby short circuiting air flow from the soffits through the roof’s ridge vent.
When it was time to install the insulation baffles, I assumed I could just go to one of the big box stores and (thankfully for a change) just buy something off the shelf. It didn’t work out that way.
At Home Depot they had Durovent (a foam based insulation baffle) and an AccuVent baffle (black plastic). Both were a disappointment.
I didn’t buy the Durovent — even just seeing it on the shelf and handling it in the store, it looked cheap and unimpressive. It was hard to imagine it holding up under the pressure of any significant amount of blown-in insulation pressing against it.
The AccuVent product Home Depot carried only worked in a straight line (no curve to wrap over the back of the Zip sheathing at the top of the wall assembly), ideal for a cathedral ceiling application. After looking around online, I found this other AccuVent product:
Seeing the video made me think it would be an easy installation, but once I had the product on the job site and tried to install one, the realization hit that they would be a pain to properly air seal, and again, I had concerns about blown-in insulation pressing up against it for years.
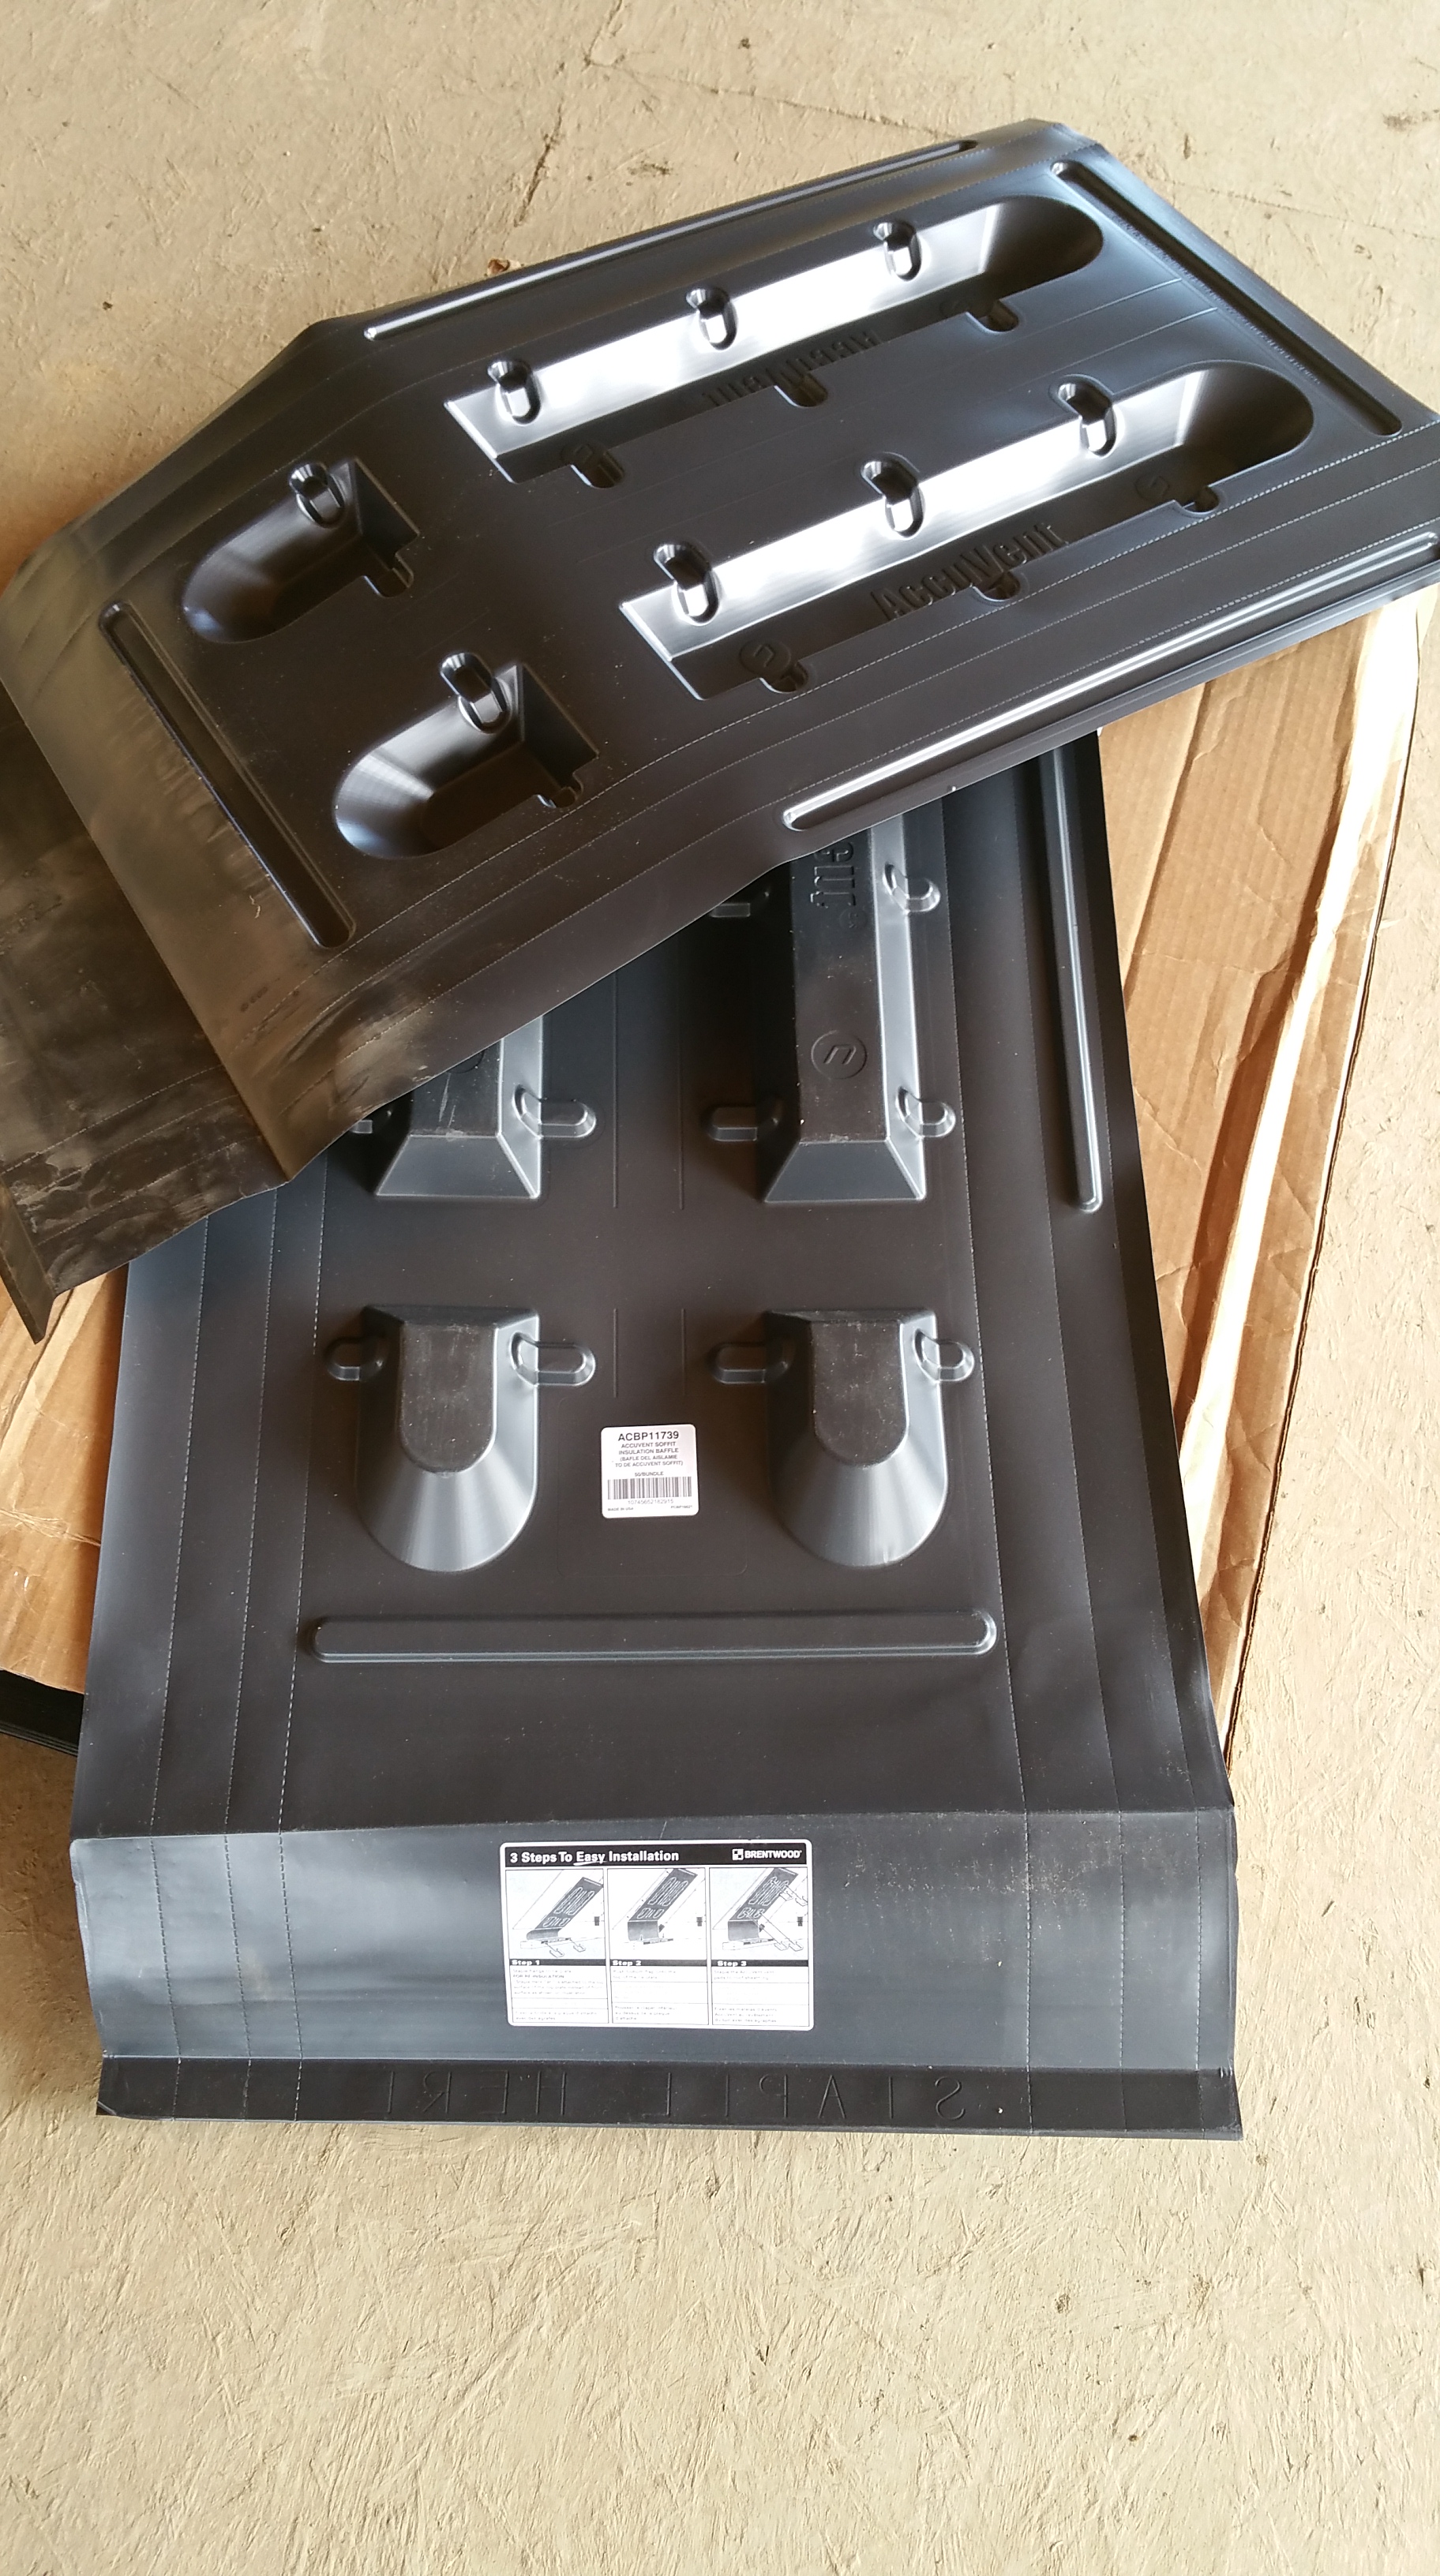
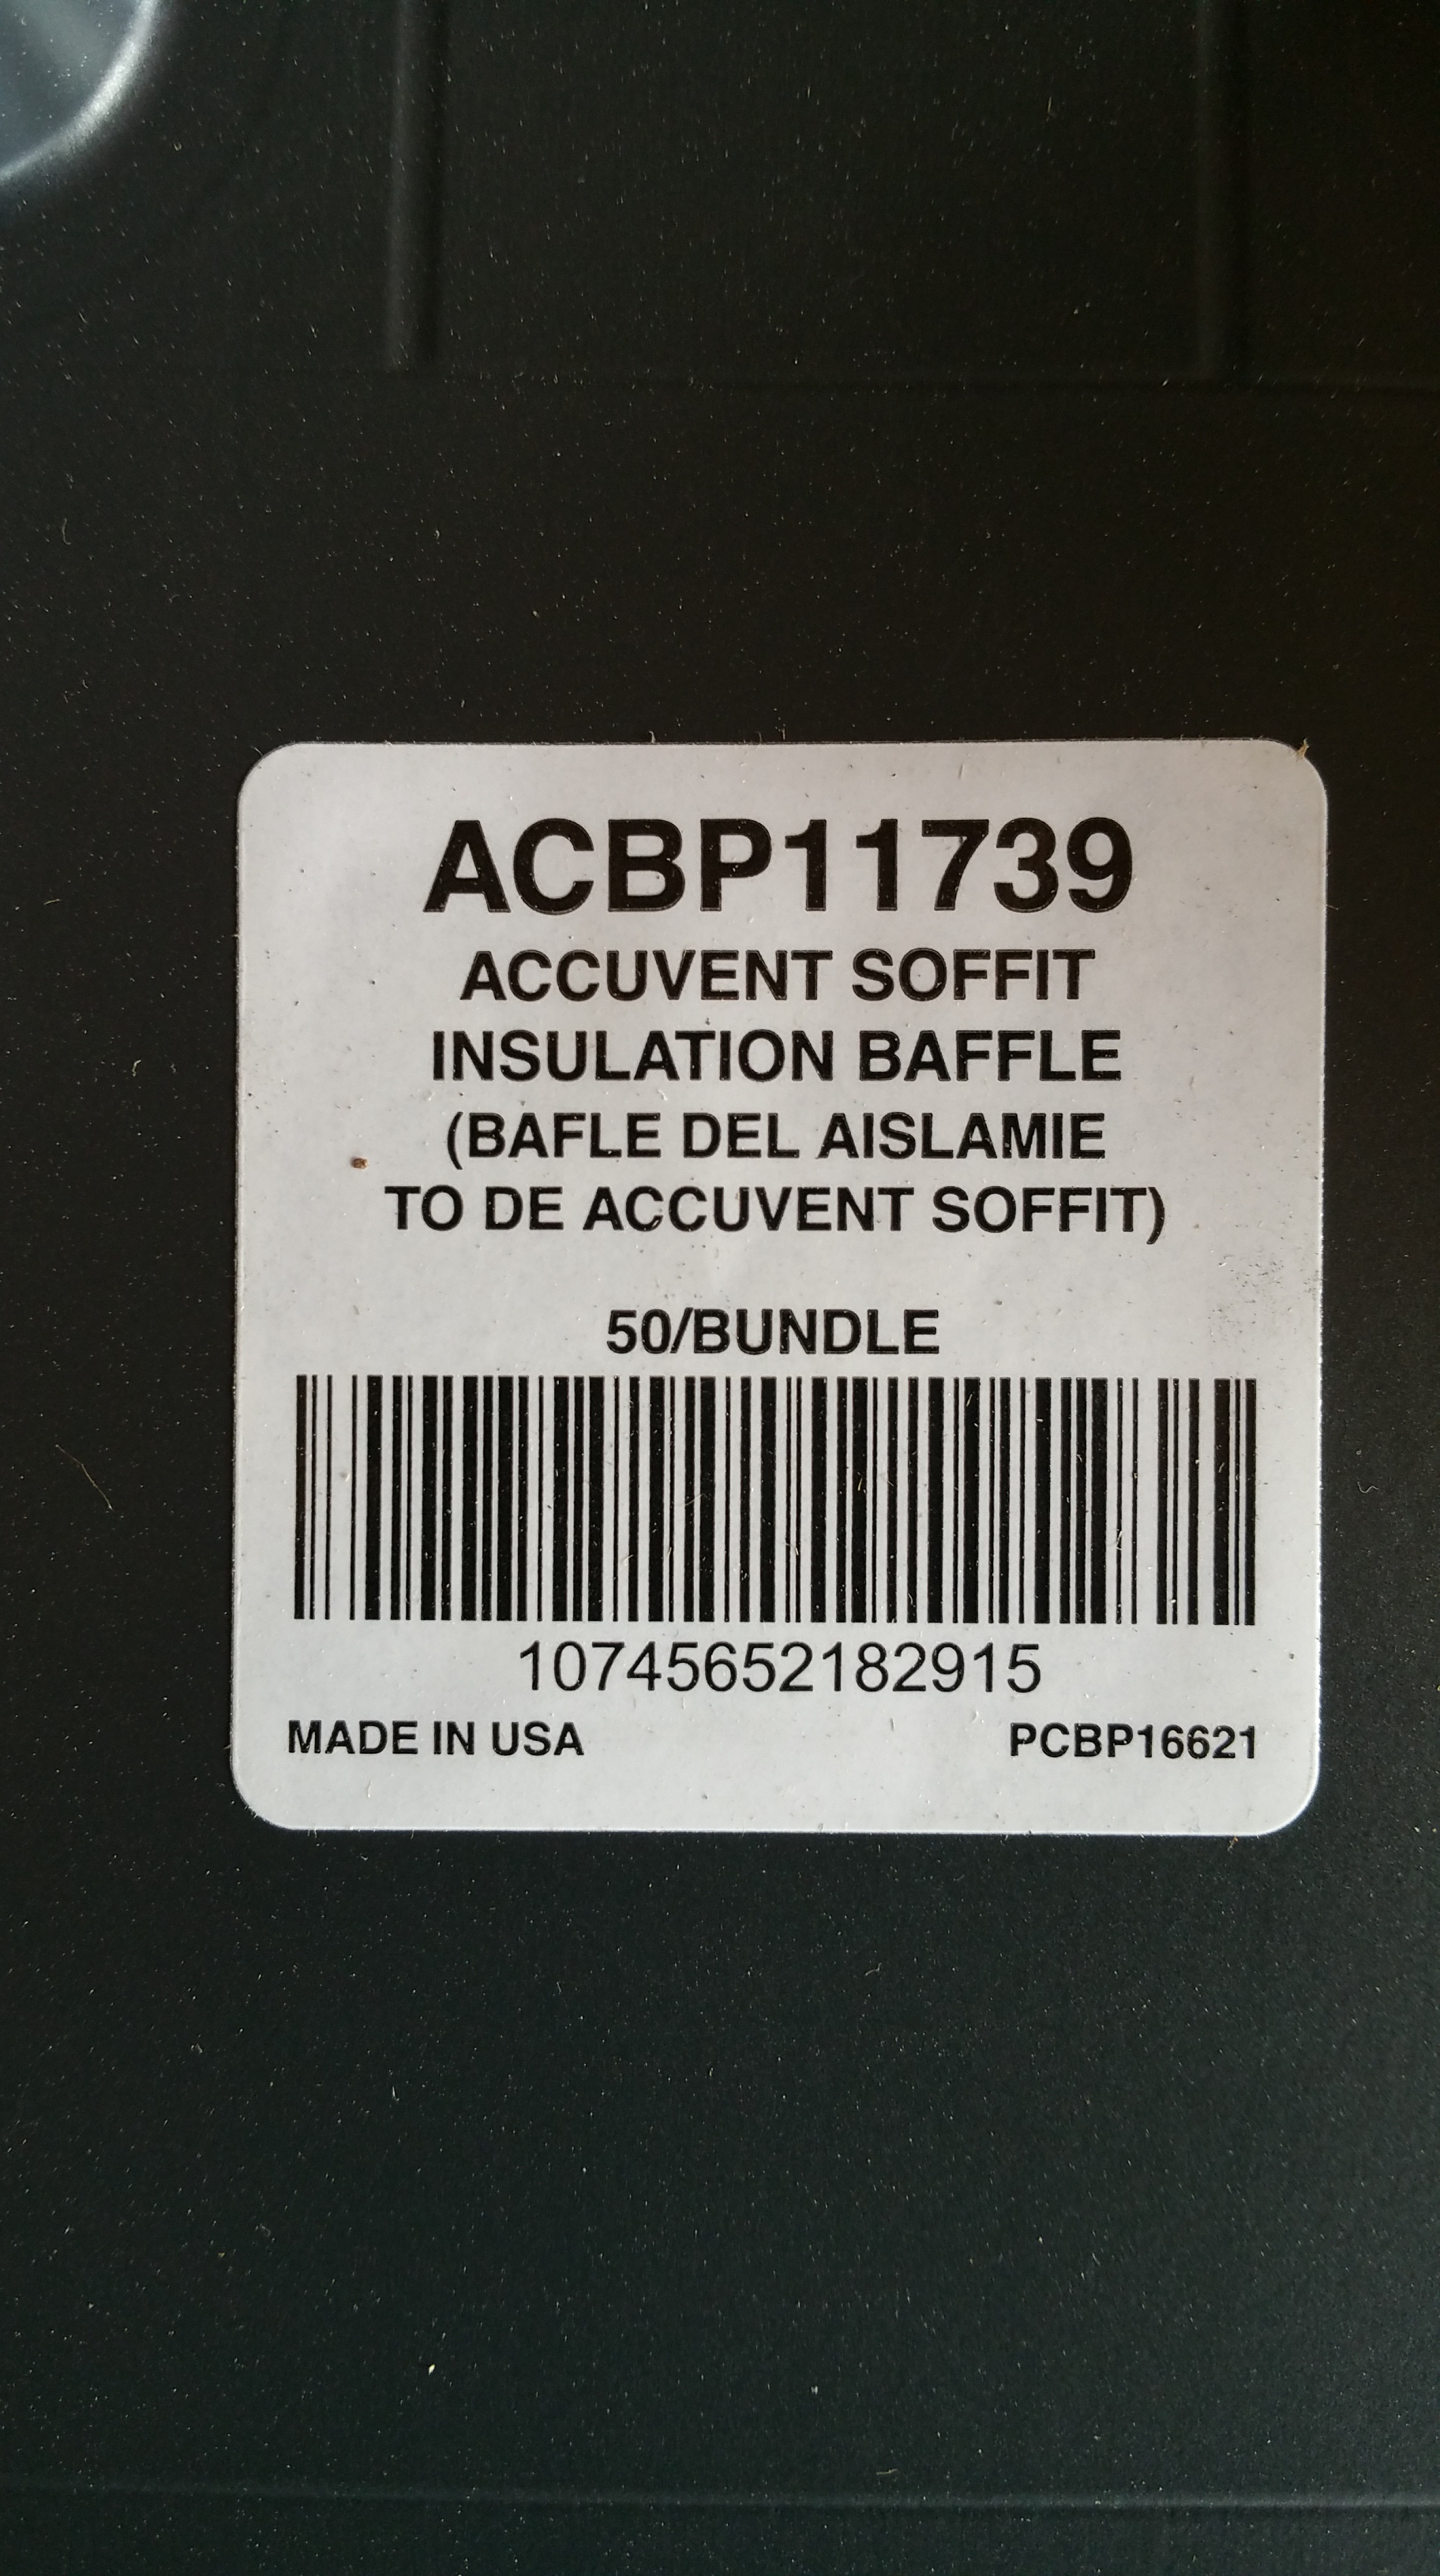
Here’s the specific product info:
And here are the installation instructions:

When I realized the AccuVent wasn’t right for our project, it was a moment of, “Uh-oh, now what the hell do I do?”
I assumed there must be a sturdier plastic baffle, but I never found one. Instead, I came across this article:
Site Built Baffles
As usual, GBA — had already addressed the issue.
It was nice to have a solution, but I also knew it would be time consuming and back breaking (also neck straining) — the only thing worse than working with sheet goods is working with sheet goods above your head on a ladder. Nevertheless, I would sleep better knowing it was panels of OSB rubbing up against 2 feet of blown-in cellulose insulation rather than sheets of flimsy plastic. Long term solutions do wonders for peace of mind.

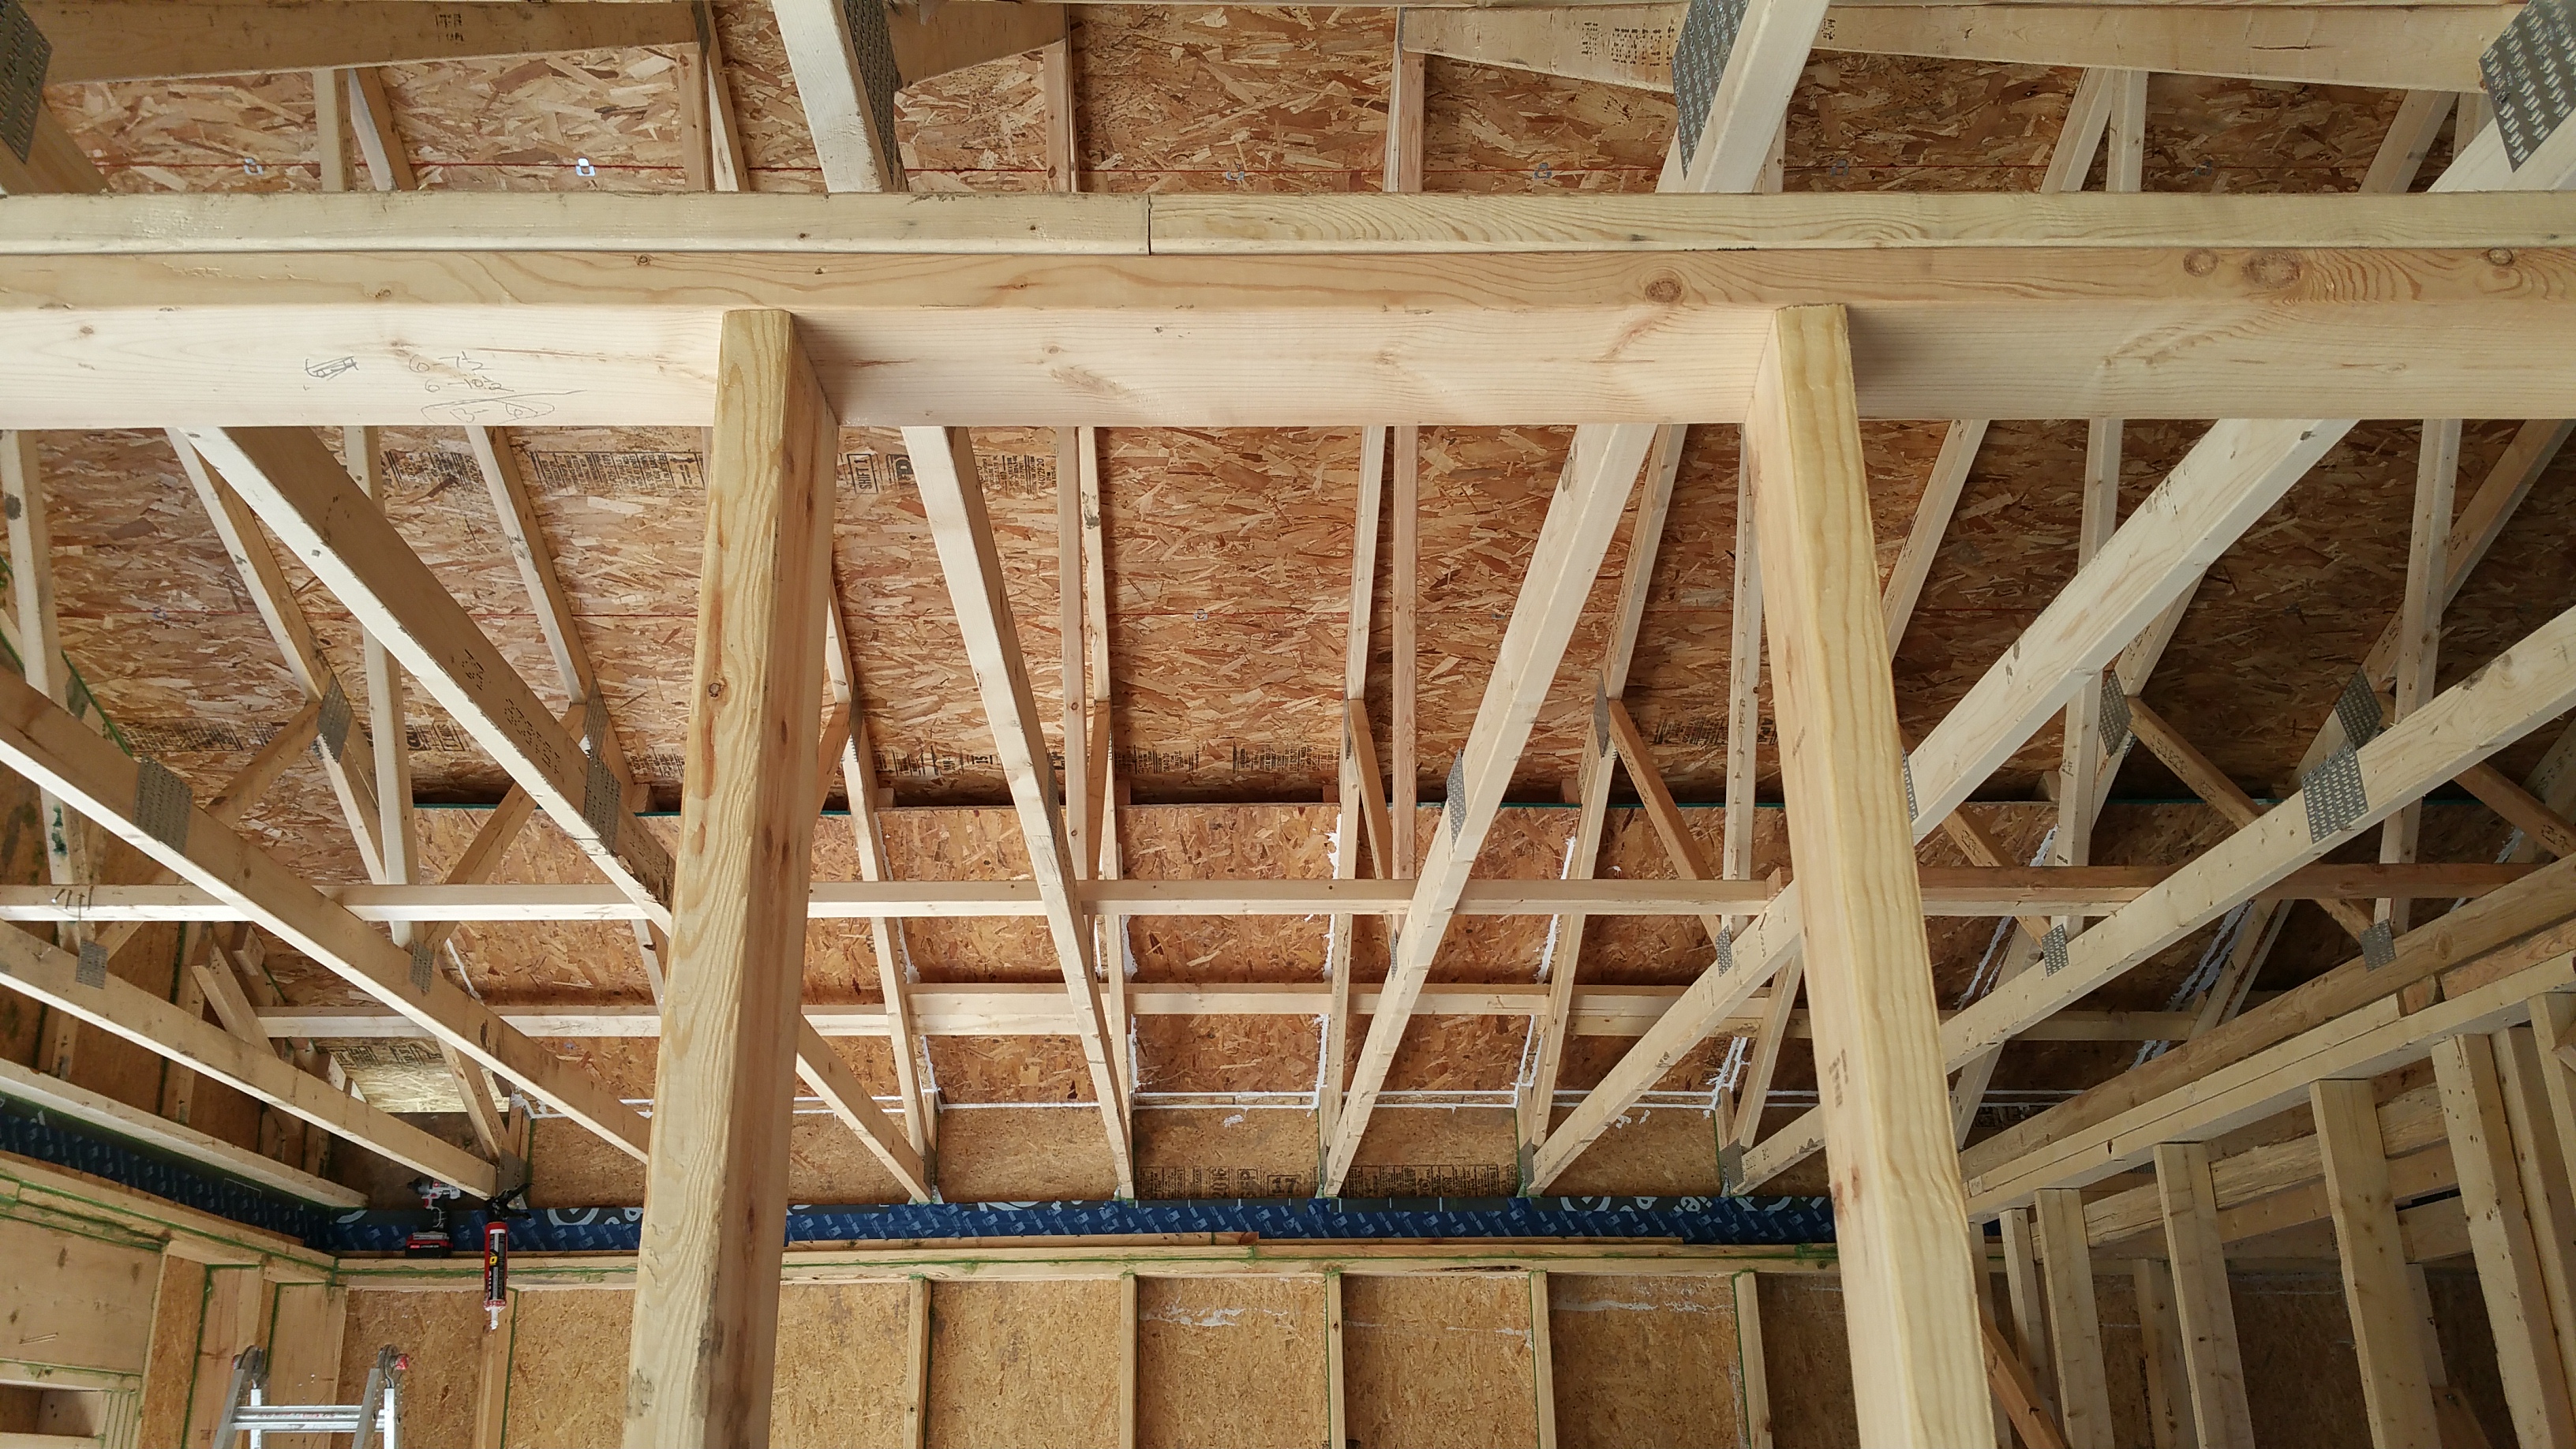
I used small, cut pieces of 2×4 (six per OSB sheet) as a screwing base (visible in the photo below) to install each insulation chute — screwing the blocks first to the roof trusses, then, after putting the OSB into place, screwing through the OSB and into the bottom of each 2×4.
Then, after installing each sheet of OSB, I went around the perimeter sealing all the gaps. Here’s the product I used for that:
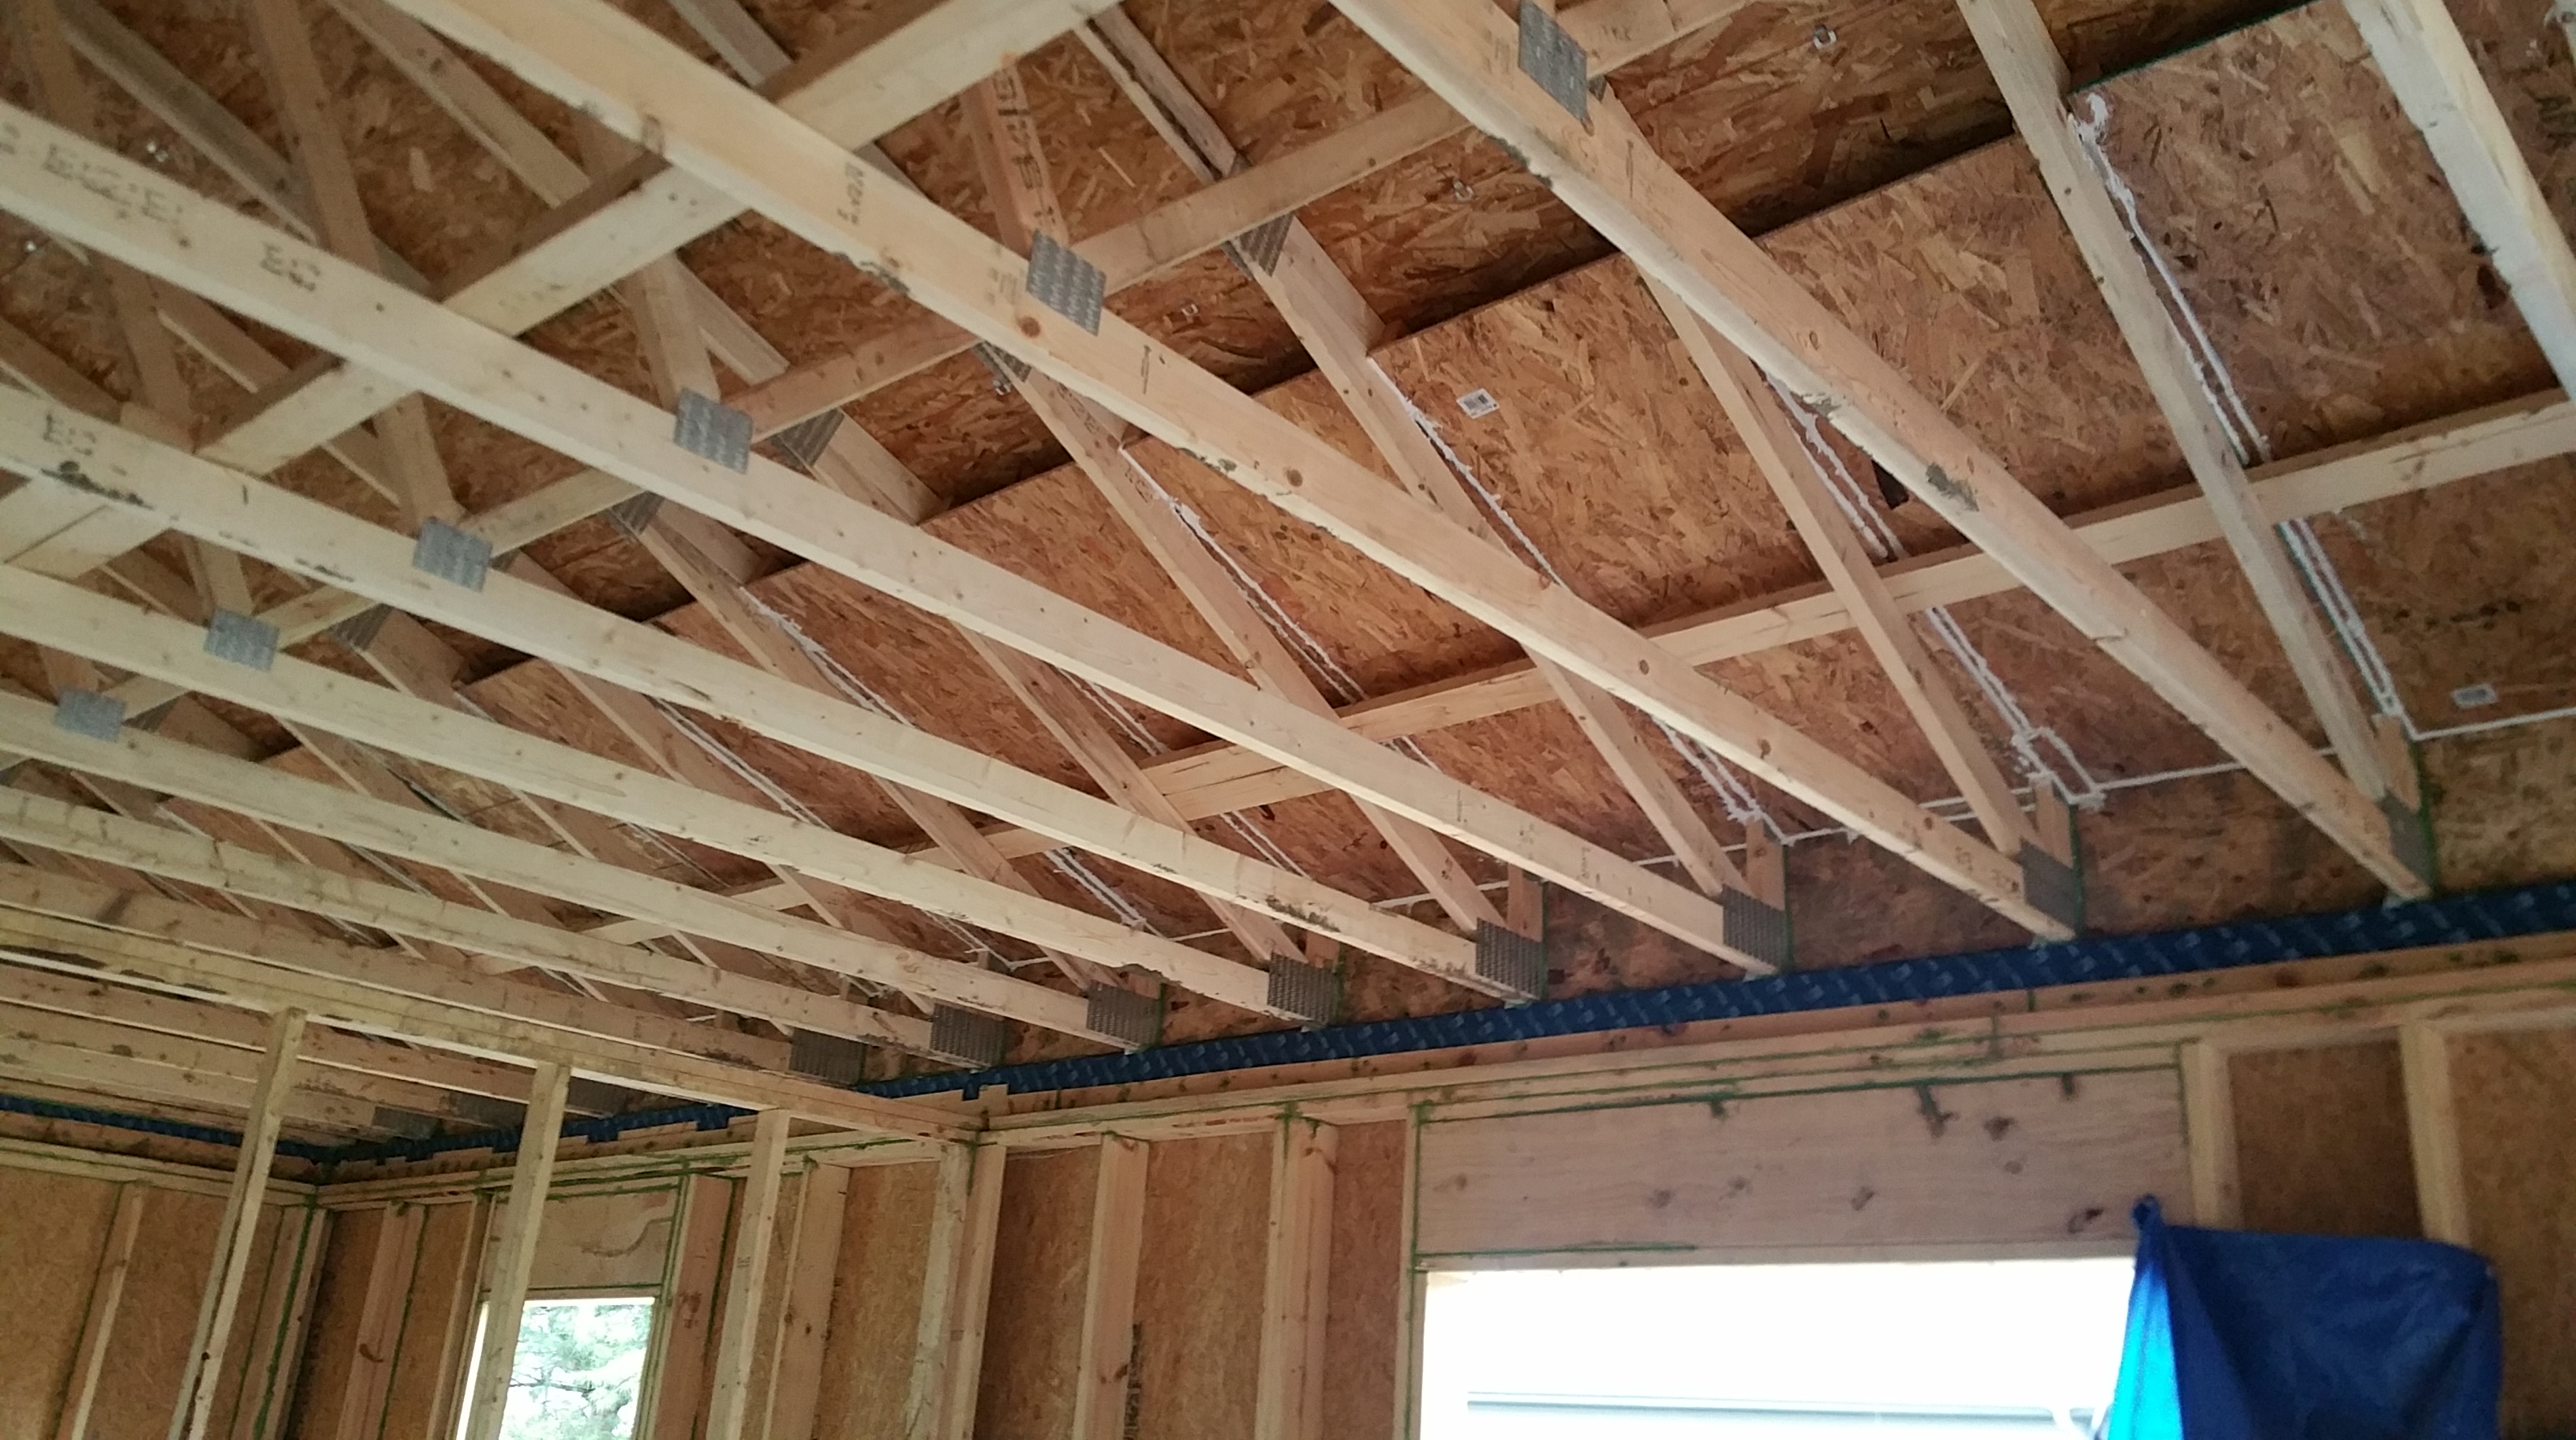
Here’s what the chutes looked like once they were installed on the south side of the house:
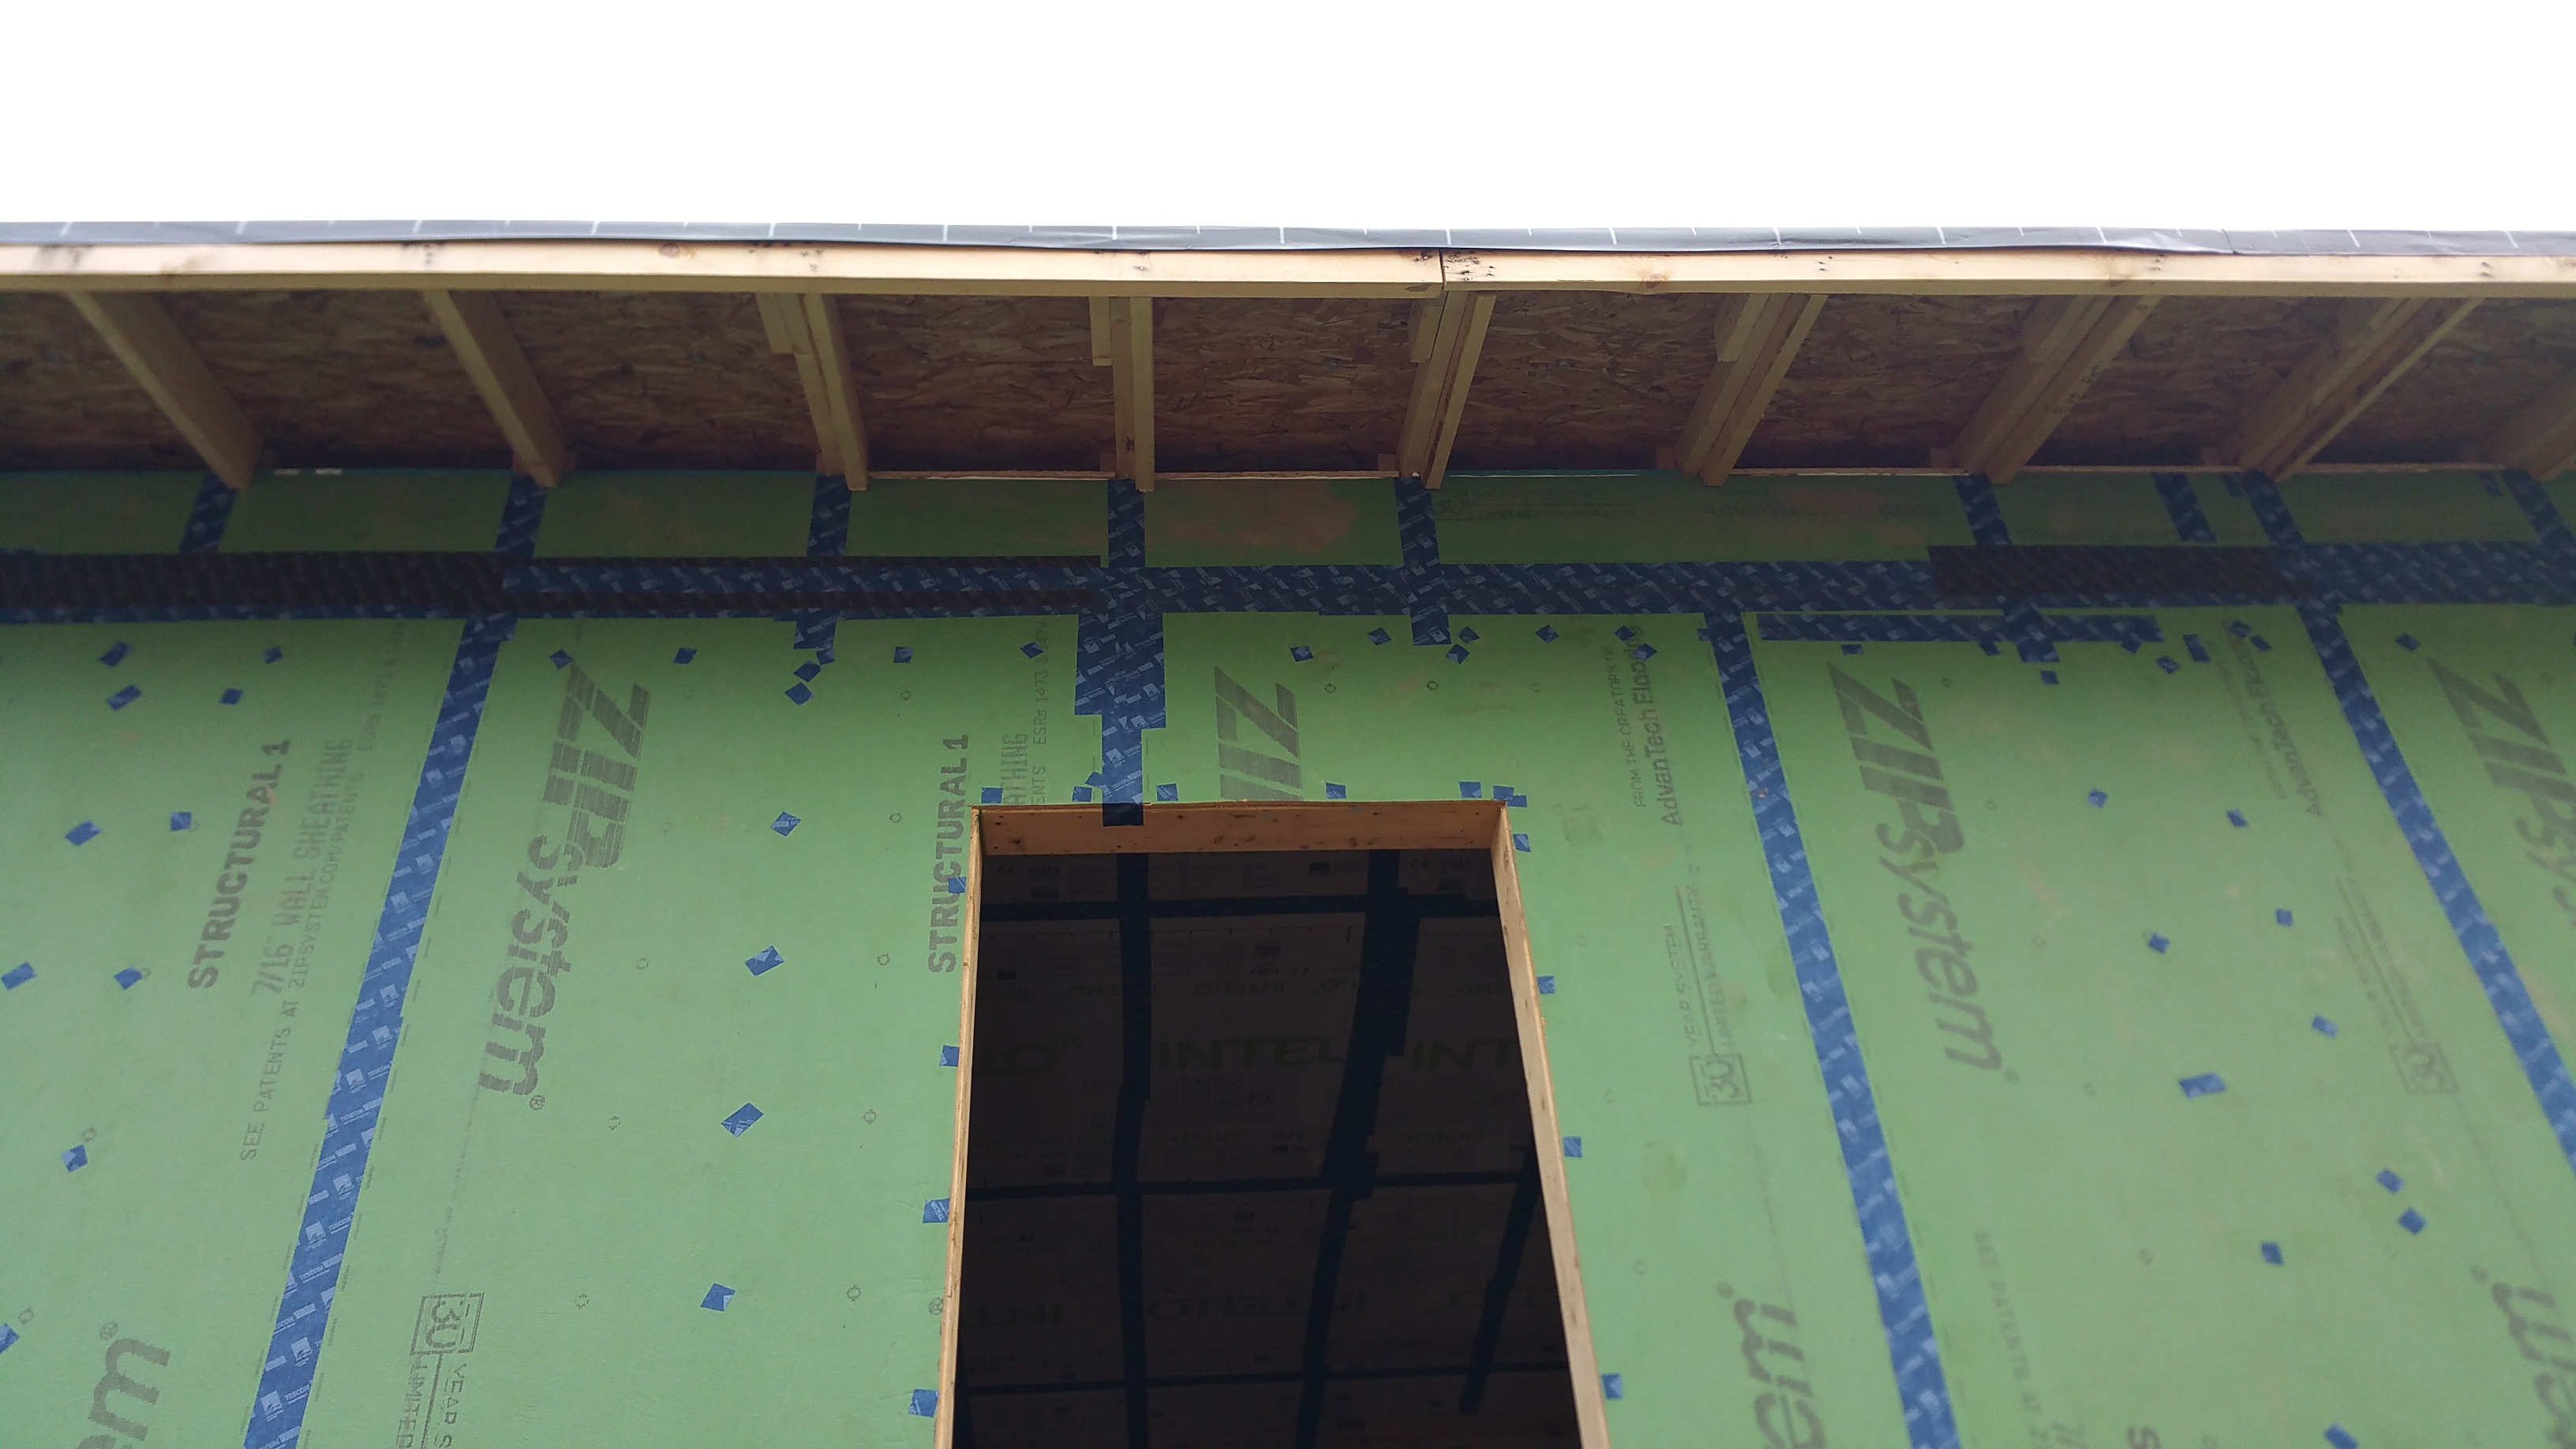
And this is what the chutes looked like when completed at the top of the Zip sheathing:
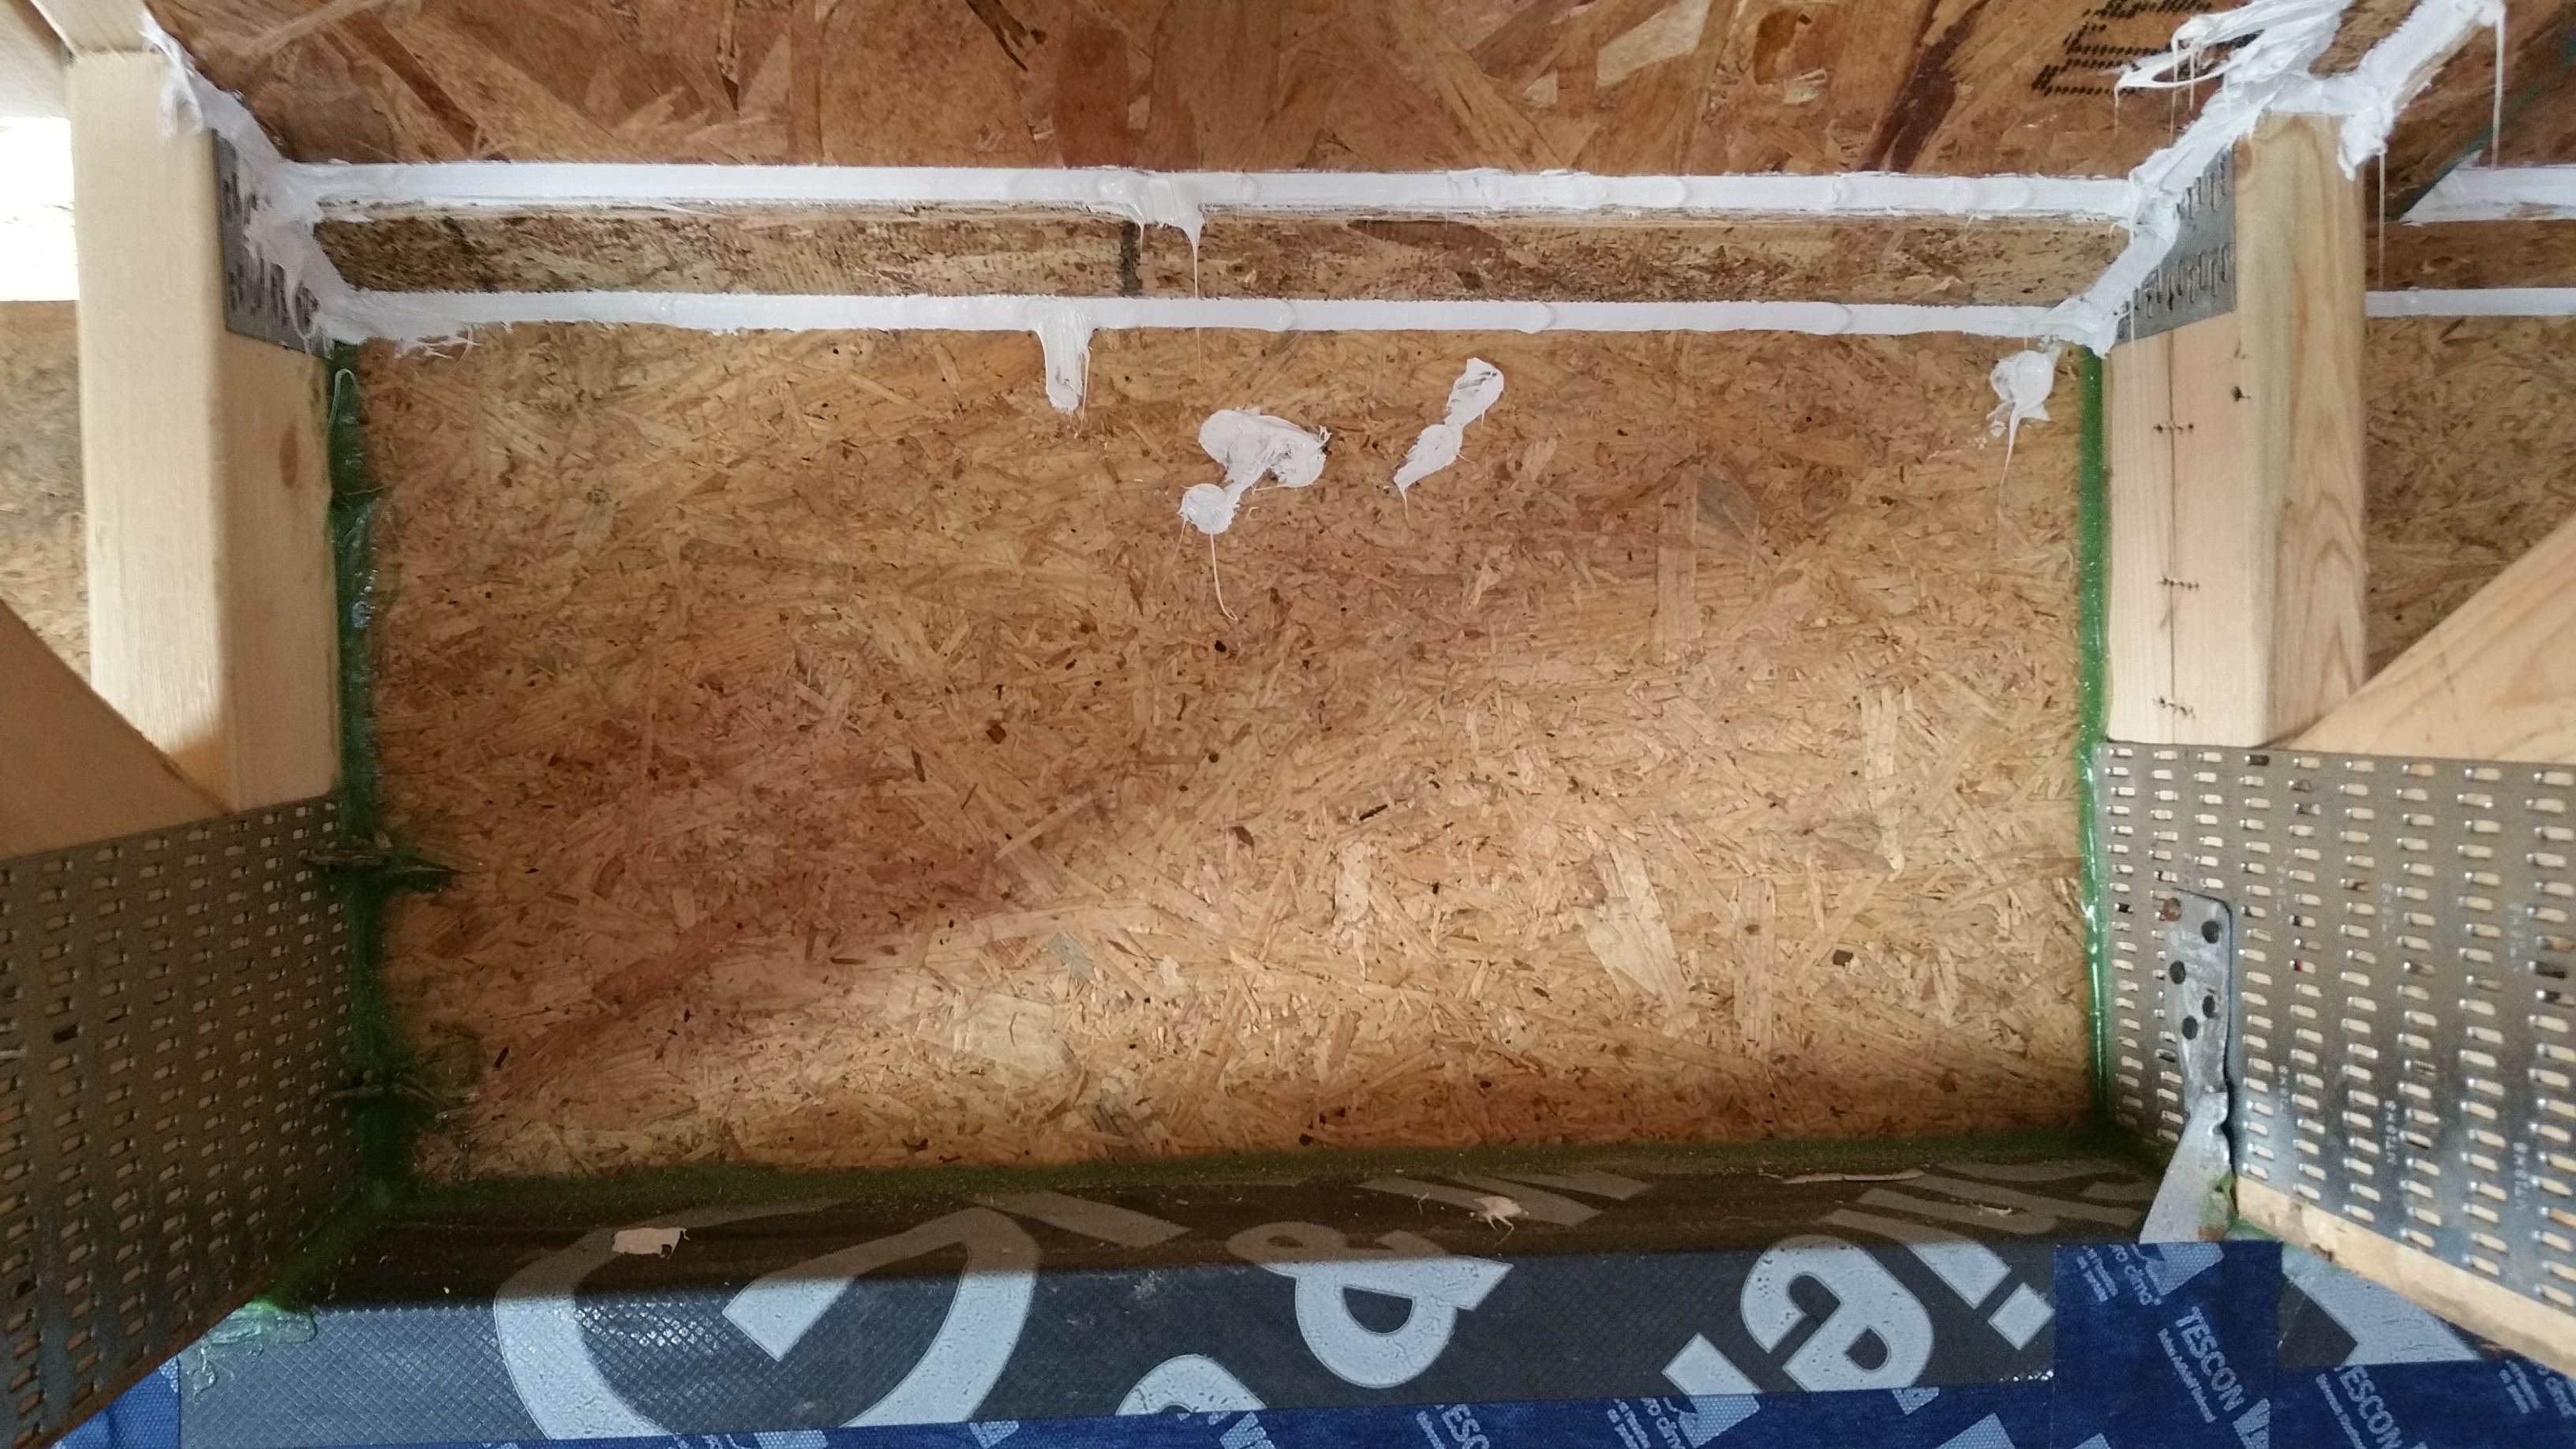
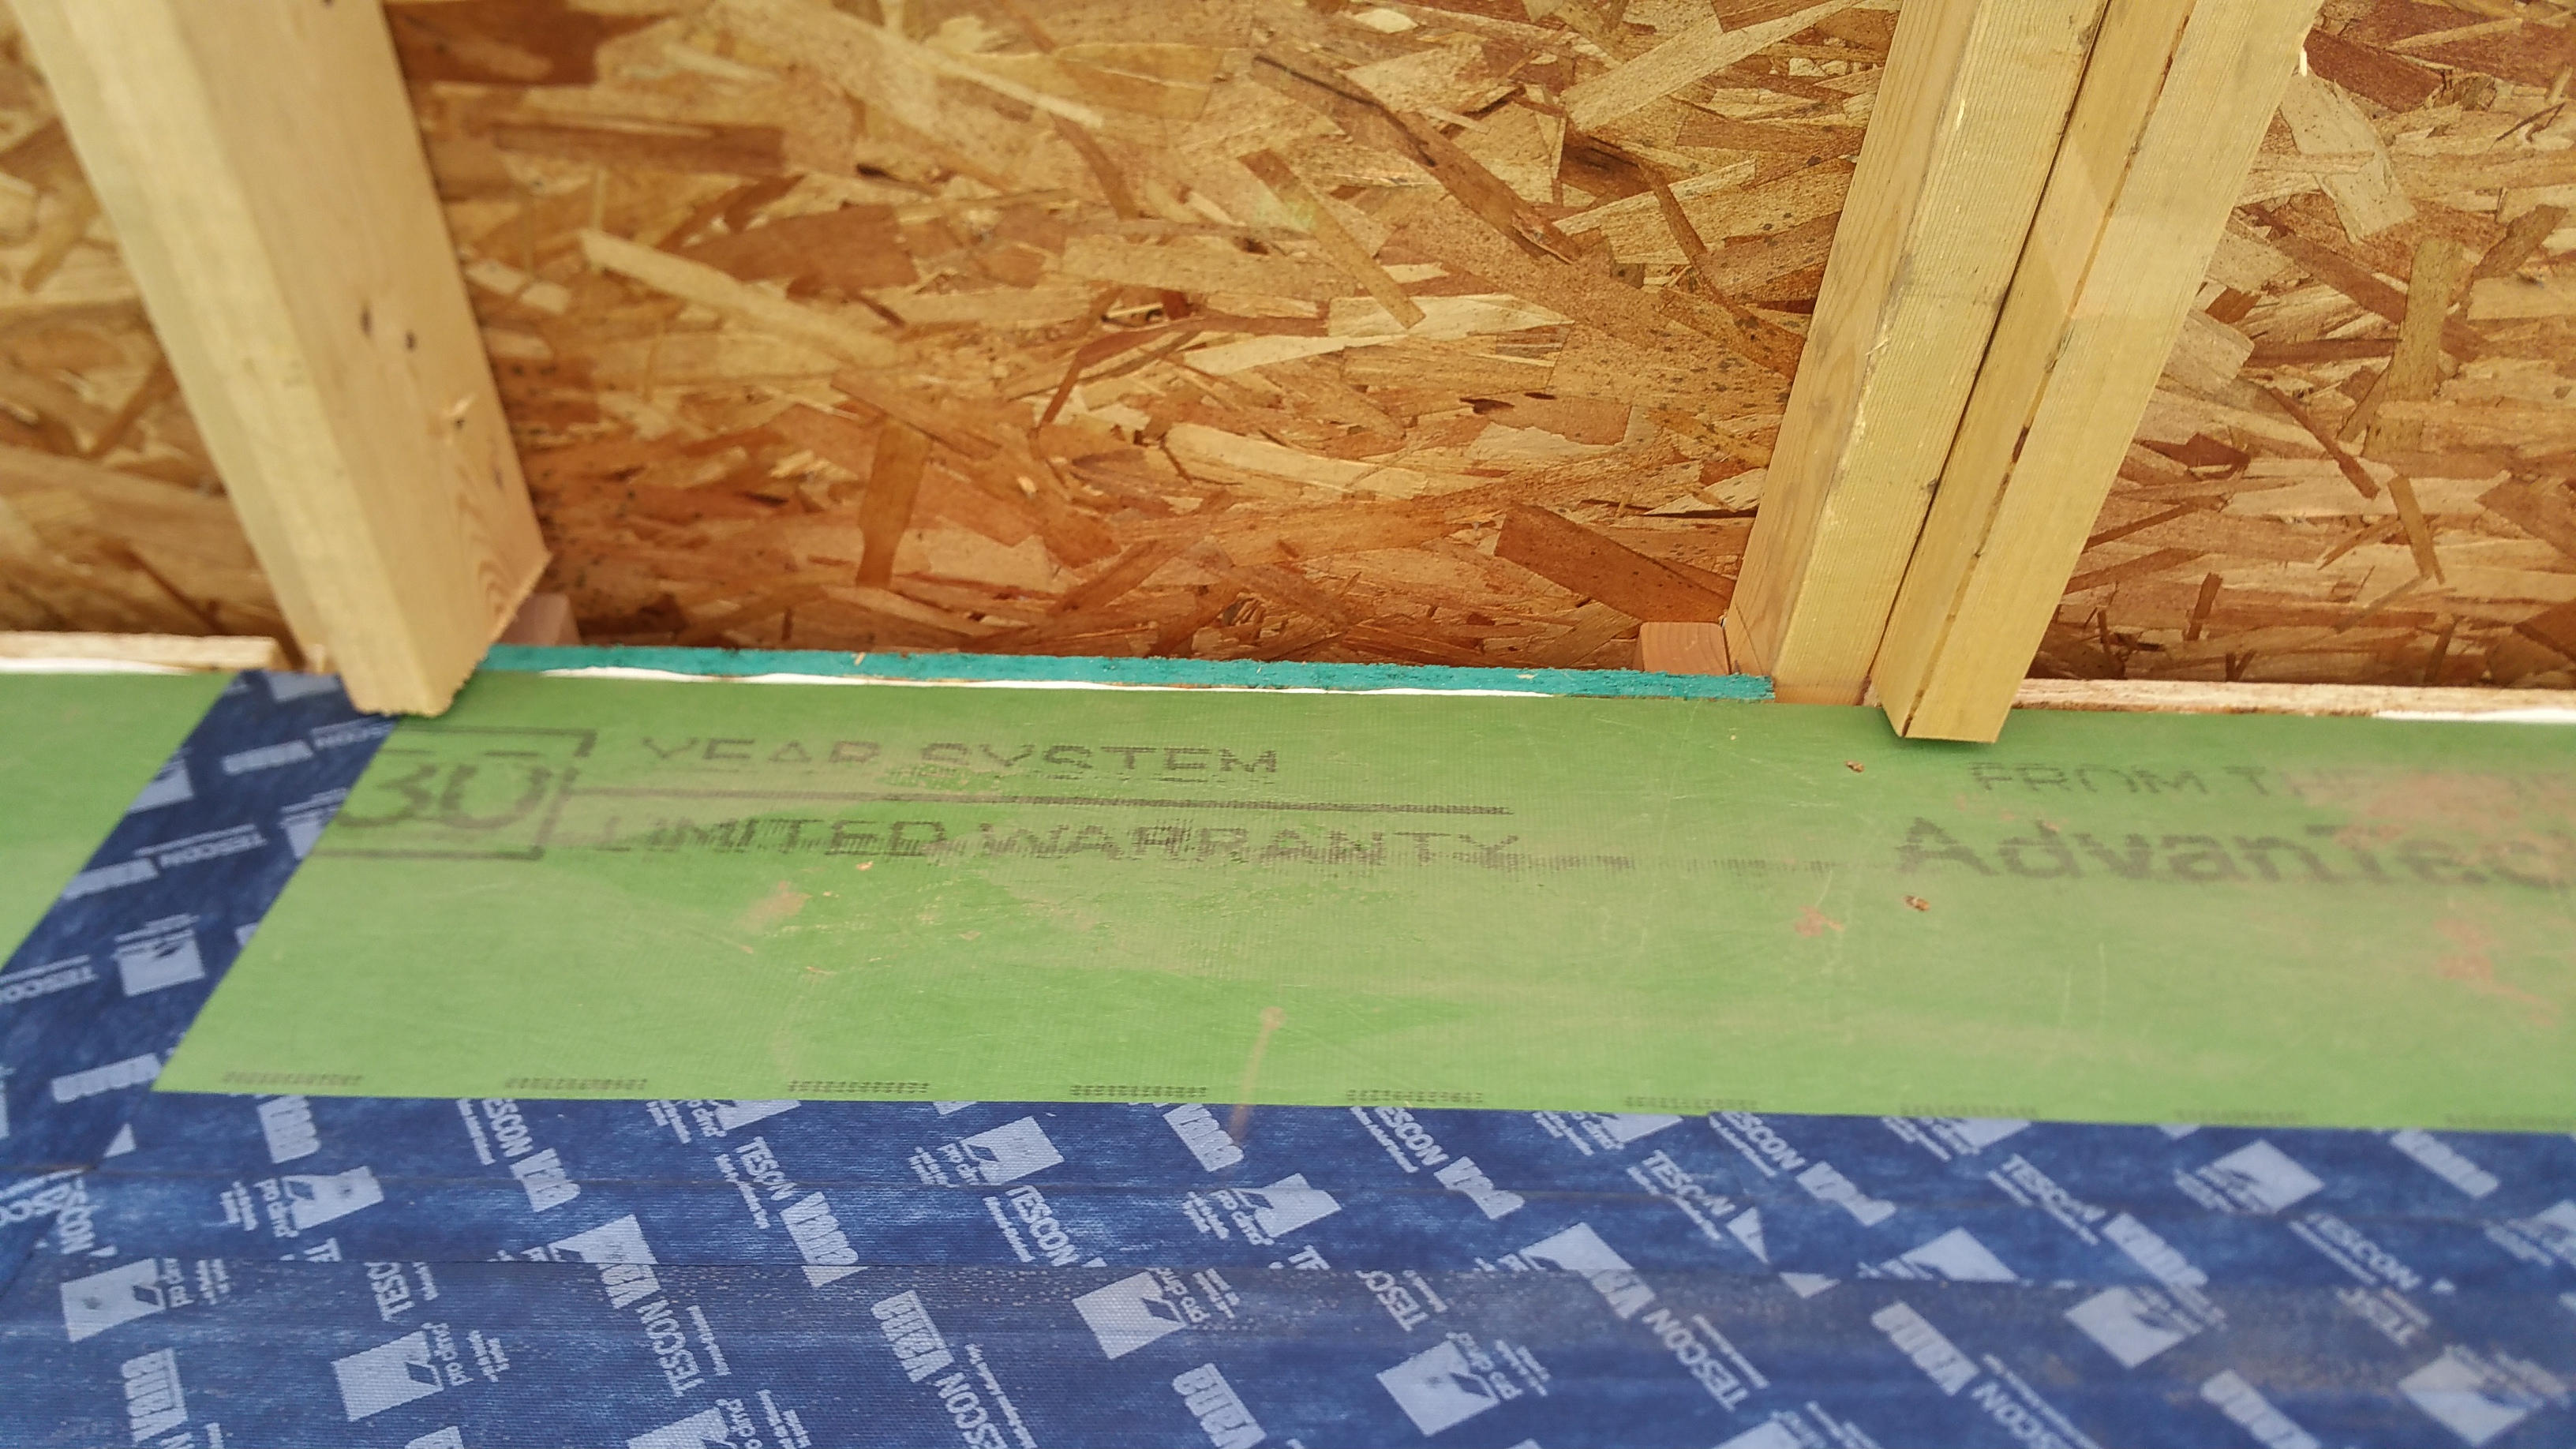
There weren’t always sizable gaps where the OSB chute met the top of the Zip, but when there were, this was pretty typical:

Same area after adding a thin piece of OSB to help cover the gap, and then sealing the area with the OSI sealant:

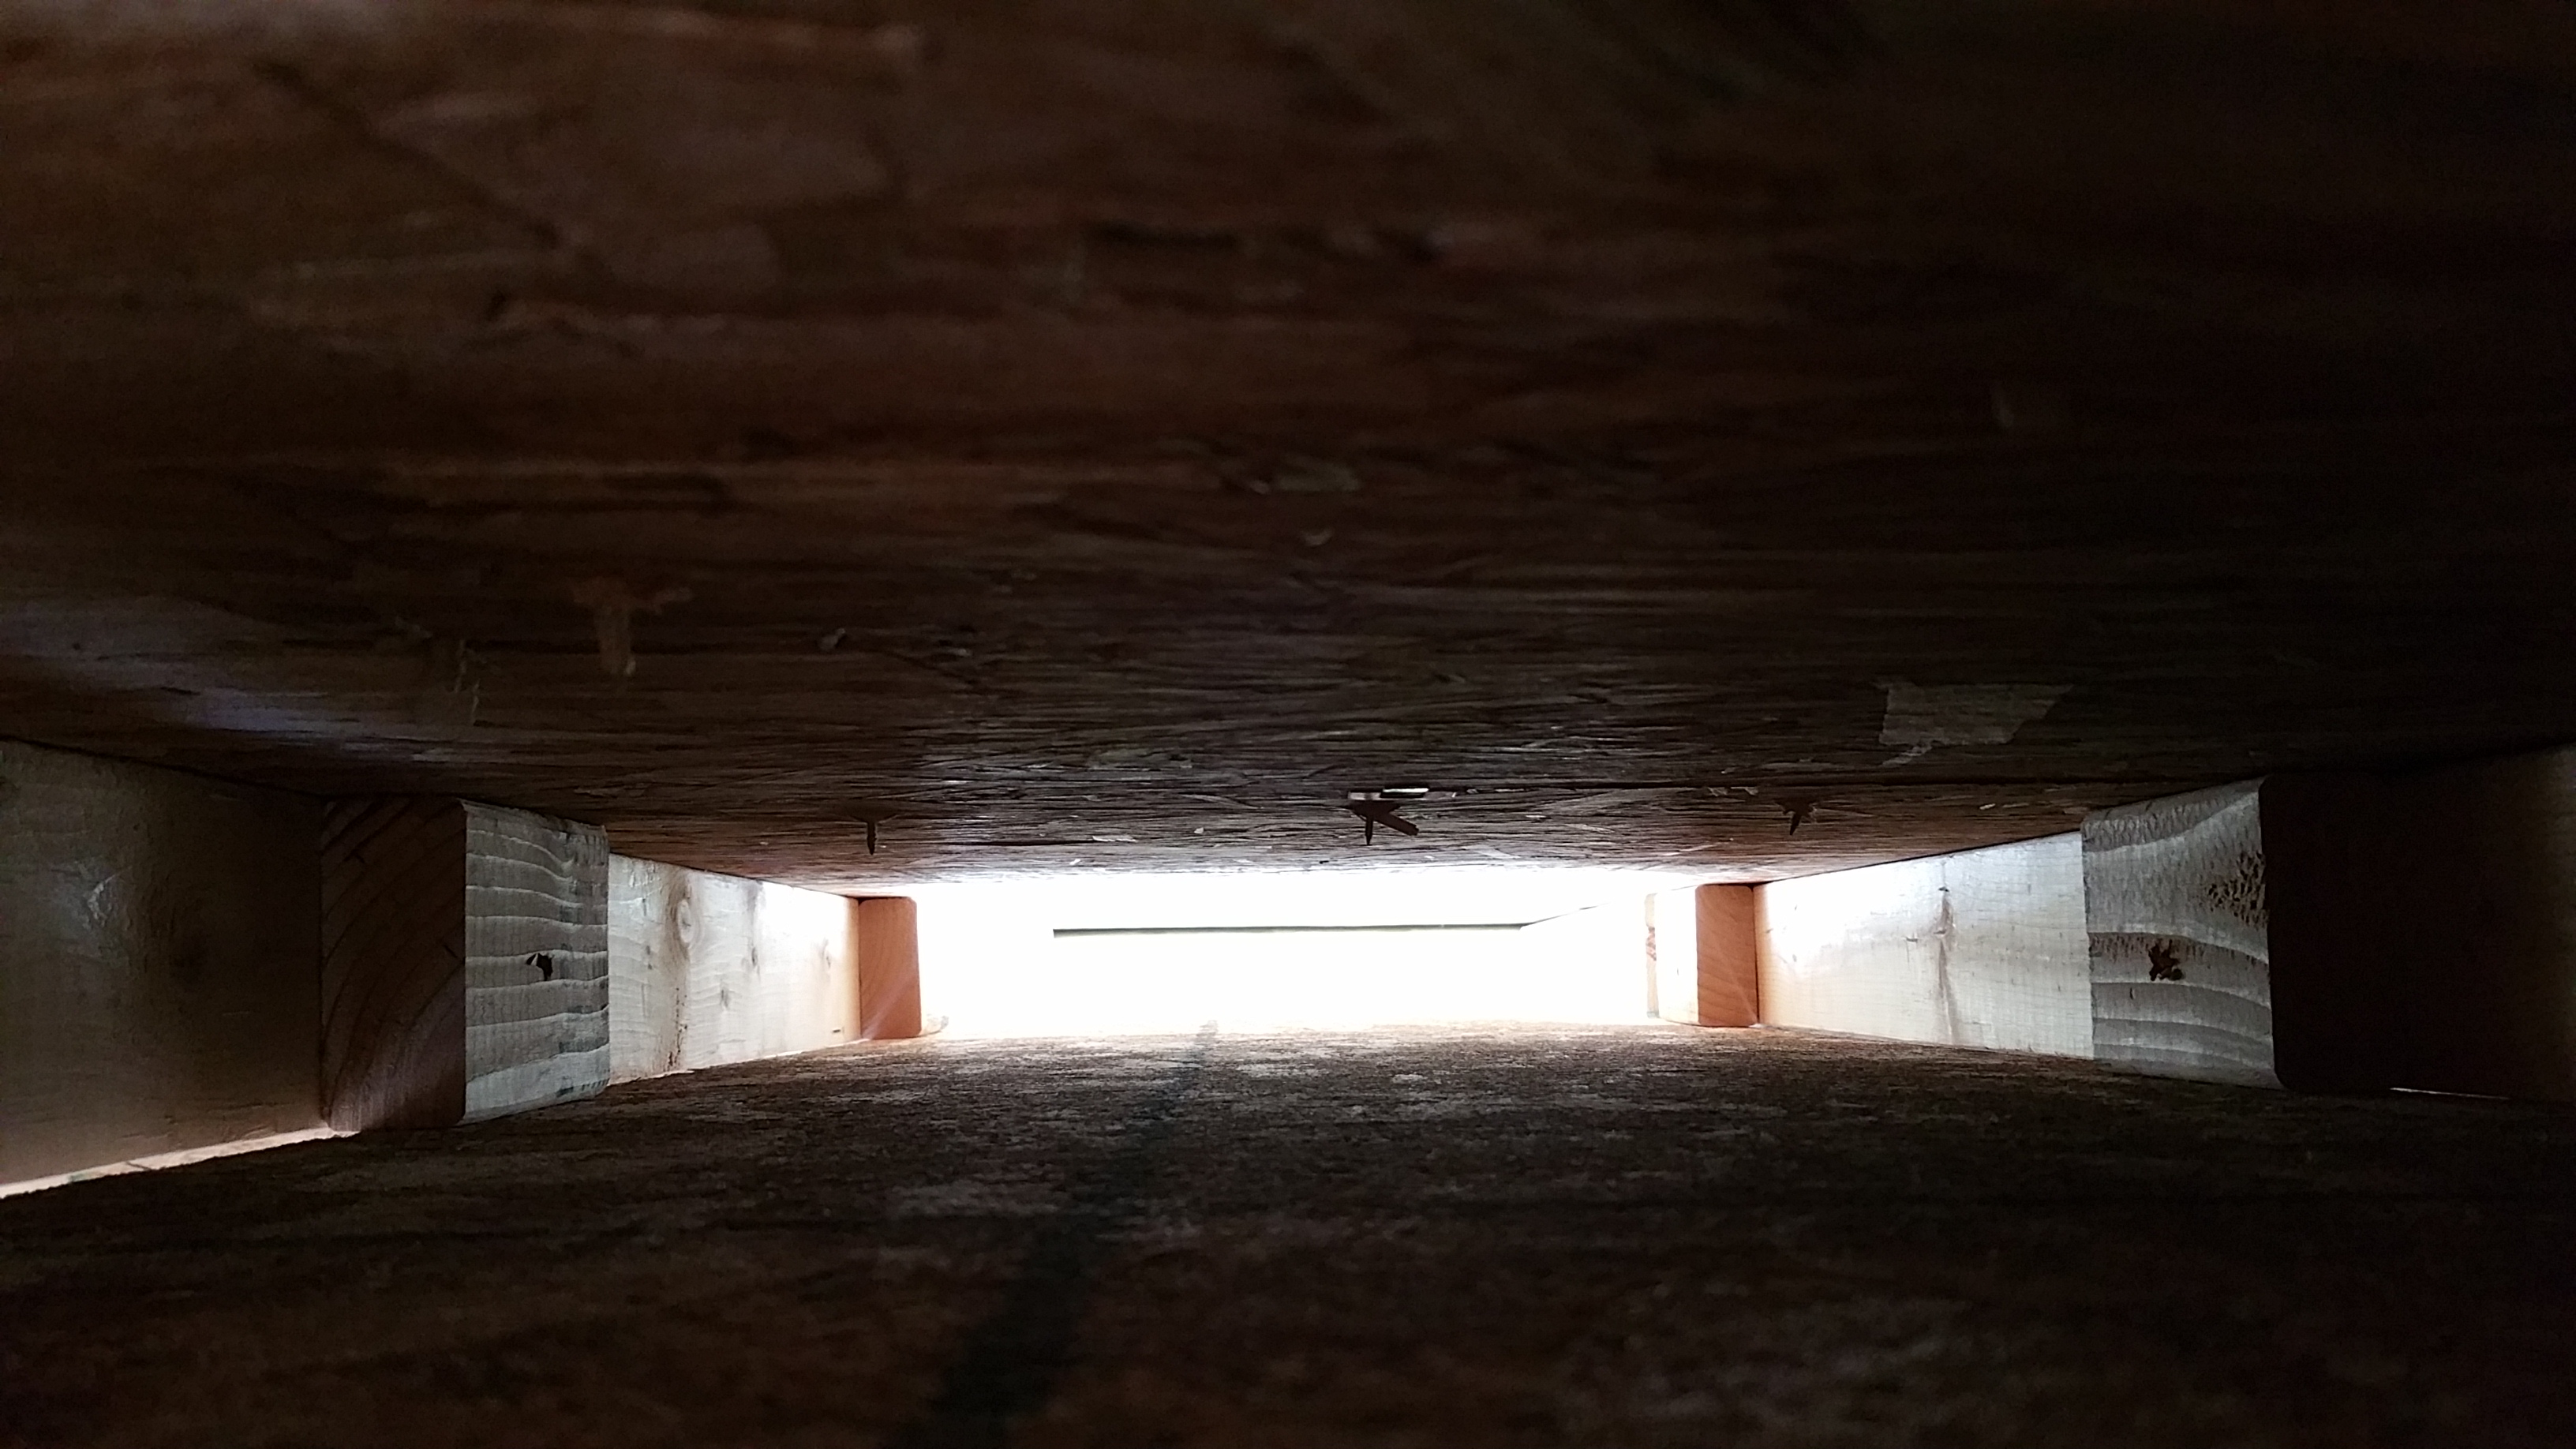
Looking down a chute before sealing with the OSI:

Same view after sealing up the gaps:

I showed up on a rainy morning to continue installing the chutes, and this picture shows the dramatic before and after view of without chutes and with chutes installed and sealed:

Here’s a long view of the chutes:


Once the chutes were installed, I was finally ready to put the Intello on the ceiling, which thankfully I didn’t have to install by myself.
[December, 2020 Update: If you’re trying to avoid the time and materials associated with installing site-built plywood chutes, a newer (at least to me) product like Smart Baffles is probably worth considering:
https://dciproducts.com/smartbaffle/
Although, as with any new product, it’s worth the time and effort to do a mock up, in this case with a roof assembly (much like the one shown in their video), along with a partial wall assembly, in order to see how the product works (evaluate the durability of the product, ease of installation, final fit, etc.), especially where (and how) the baffle will meet up with the top of the outside walls. With a mock up, you can avoid (or work through) any issues with the product before you’re on the job site actually installing them (when time and money really matters).]


You must be logged in to post a comment.