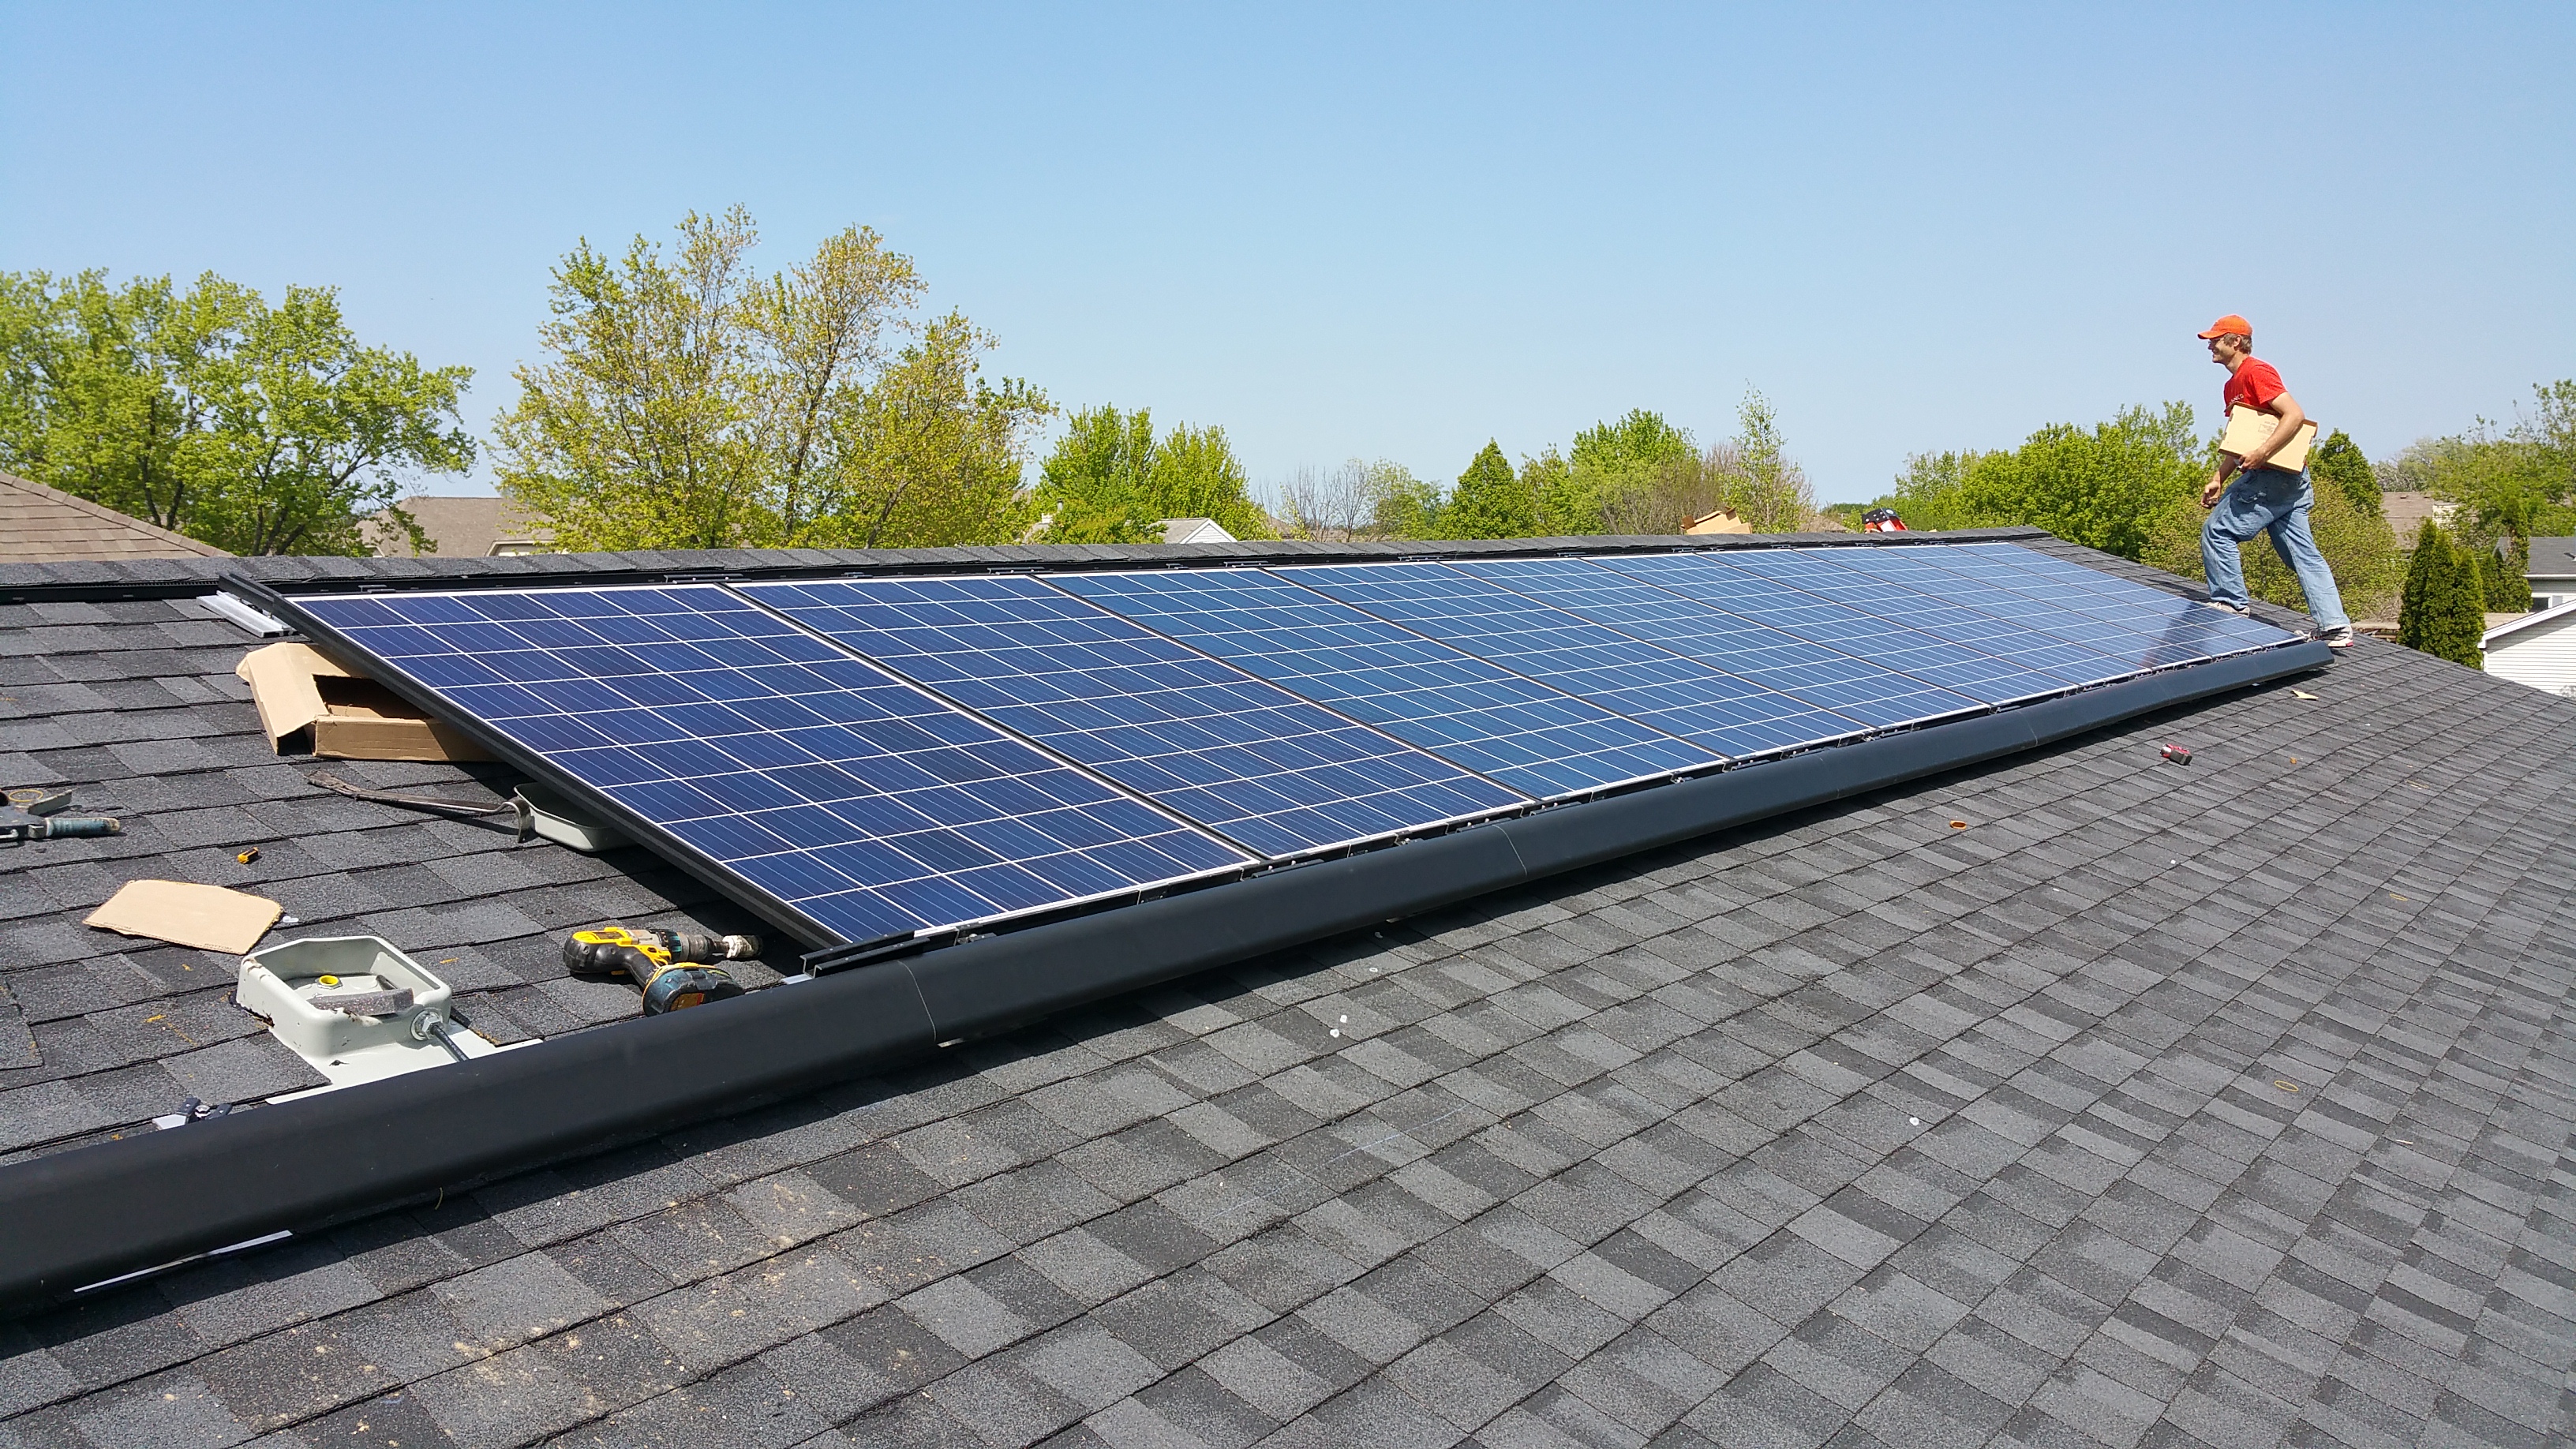
After deciding to pursue a combination of Passive House and The Pretty Good House concepts, which entail careful planning and attention to air sealing, along with a significant amount of insulation, we knew we could have a shot at Net Zero, or Zero Net Energy (ZNE) — meaning we could potentially produce as much energy as we use by utilizing solar panels on the roof.
To find an installer in our area, we utilized the website Energy Sage. In addition to useful articles and information about solar, they also work with installers who can provide consumers with competitive bids. It didn’t happen overnight, but in about a week or two, we ended up with 3-4 bids before deciding to go with Rethink Electric.

The System
Based on the suggestions from Energy Sage and Rethink, we ended up going with the following system:
-
2.915 kW DC System
-
4,059 kWh of system production
-
11 Canadian Solar panels
-
265W Module Enphase M250 (Microinverter)
-
Also includes web-based monitoring of the system’s production
In theory, this system could produce more energy than we use (it’s just my wife, my daughter, and myself who will be living in the house), particularly if we stick to all LED lighting, use Energy Star rated appliances, the heat pump water heater works as advertised, and we’re careful about avoiding using electricity when it’s unnecessary (e.g. turning off lights after leaving a room, or trying to address phantom loads).

Based on other projects I’ve read about, even homes initially built to the ZNE standard sometimes fail, in terms of overall performance, based on actual occupant behavior, so only time will really tell what impact our solar array will have on our utility bills. It looks like worst case scenario would be needing to add 4-6 more panels to get to ZNE or even carbon positive.

Installation by Rethink went really well, and they were happy to work with me on properly air sealing the conduit that runs from the basement at the main panel before going up into the attic, where it eventually terminates on the roof when connected to the panels.


Marking another big leap in the progress of the build:


It was only after the installation that I realized what’s wrong with the following picture:

I was so worried about getting the air sealing details right on the interior, from the main floor to the attic, I completely forgot to let Anthony know about extending out his disconnect box 6″ to what will be our finished surface (once two layers of Roxul and two layers of 1×4 furring strips, along with cedar siding are installed). The day after they installed, I came walking around the corner of the house, saw this, and literally slapped my forehead (while spitting out a few choice expletives), as I realized my screw up.
Thankfully, Anthony was able to come back out and make the necessary adjustment:

The Cost
Here’s the cost breakdown on our system (if trends continue, a similar system should be less expensive in the future):
$12,519.50 Initial Investment
$(-3,755.85) Federal Tax Credit (ITC) 30%
$8,763.65 Net Cost of First Year
$(-3,816.00) Solar Renewable Energy Credits (SREC’s)
$4,947.65 Net Cost After All Incentives
It will be interesting to follow the performance of the solar panels over the course of a calendar year or two, just to find out exactly how well they perform. I’ll come back here and post monthly utility statements, noting output of the panels and our use, to give people a better sense of actual performance — hopefully this will help others in the planning stages of their own project to decide if solar (and how much of it) is right for them.


You must be logged in to post a comment.