
Porcelain Tile
We chose porcelain tile mainly for its durability, plus we found a collection of tile that mimics aged concrete, which we felt would work really well with our Urban Rustic theme for the house.
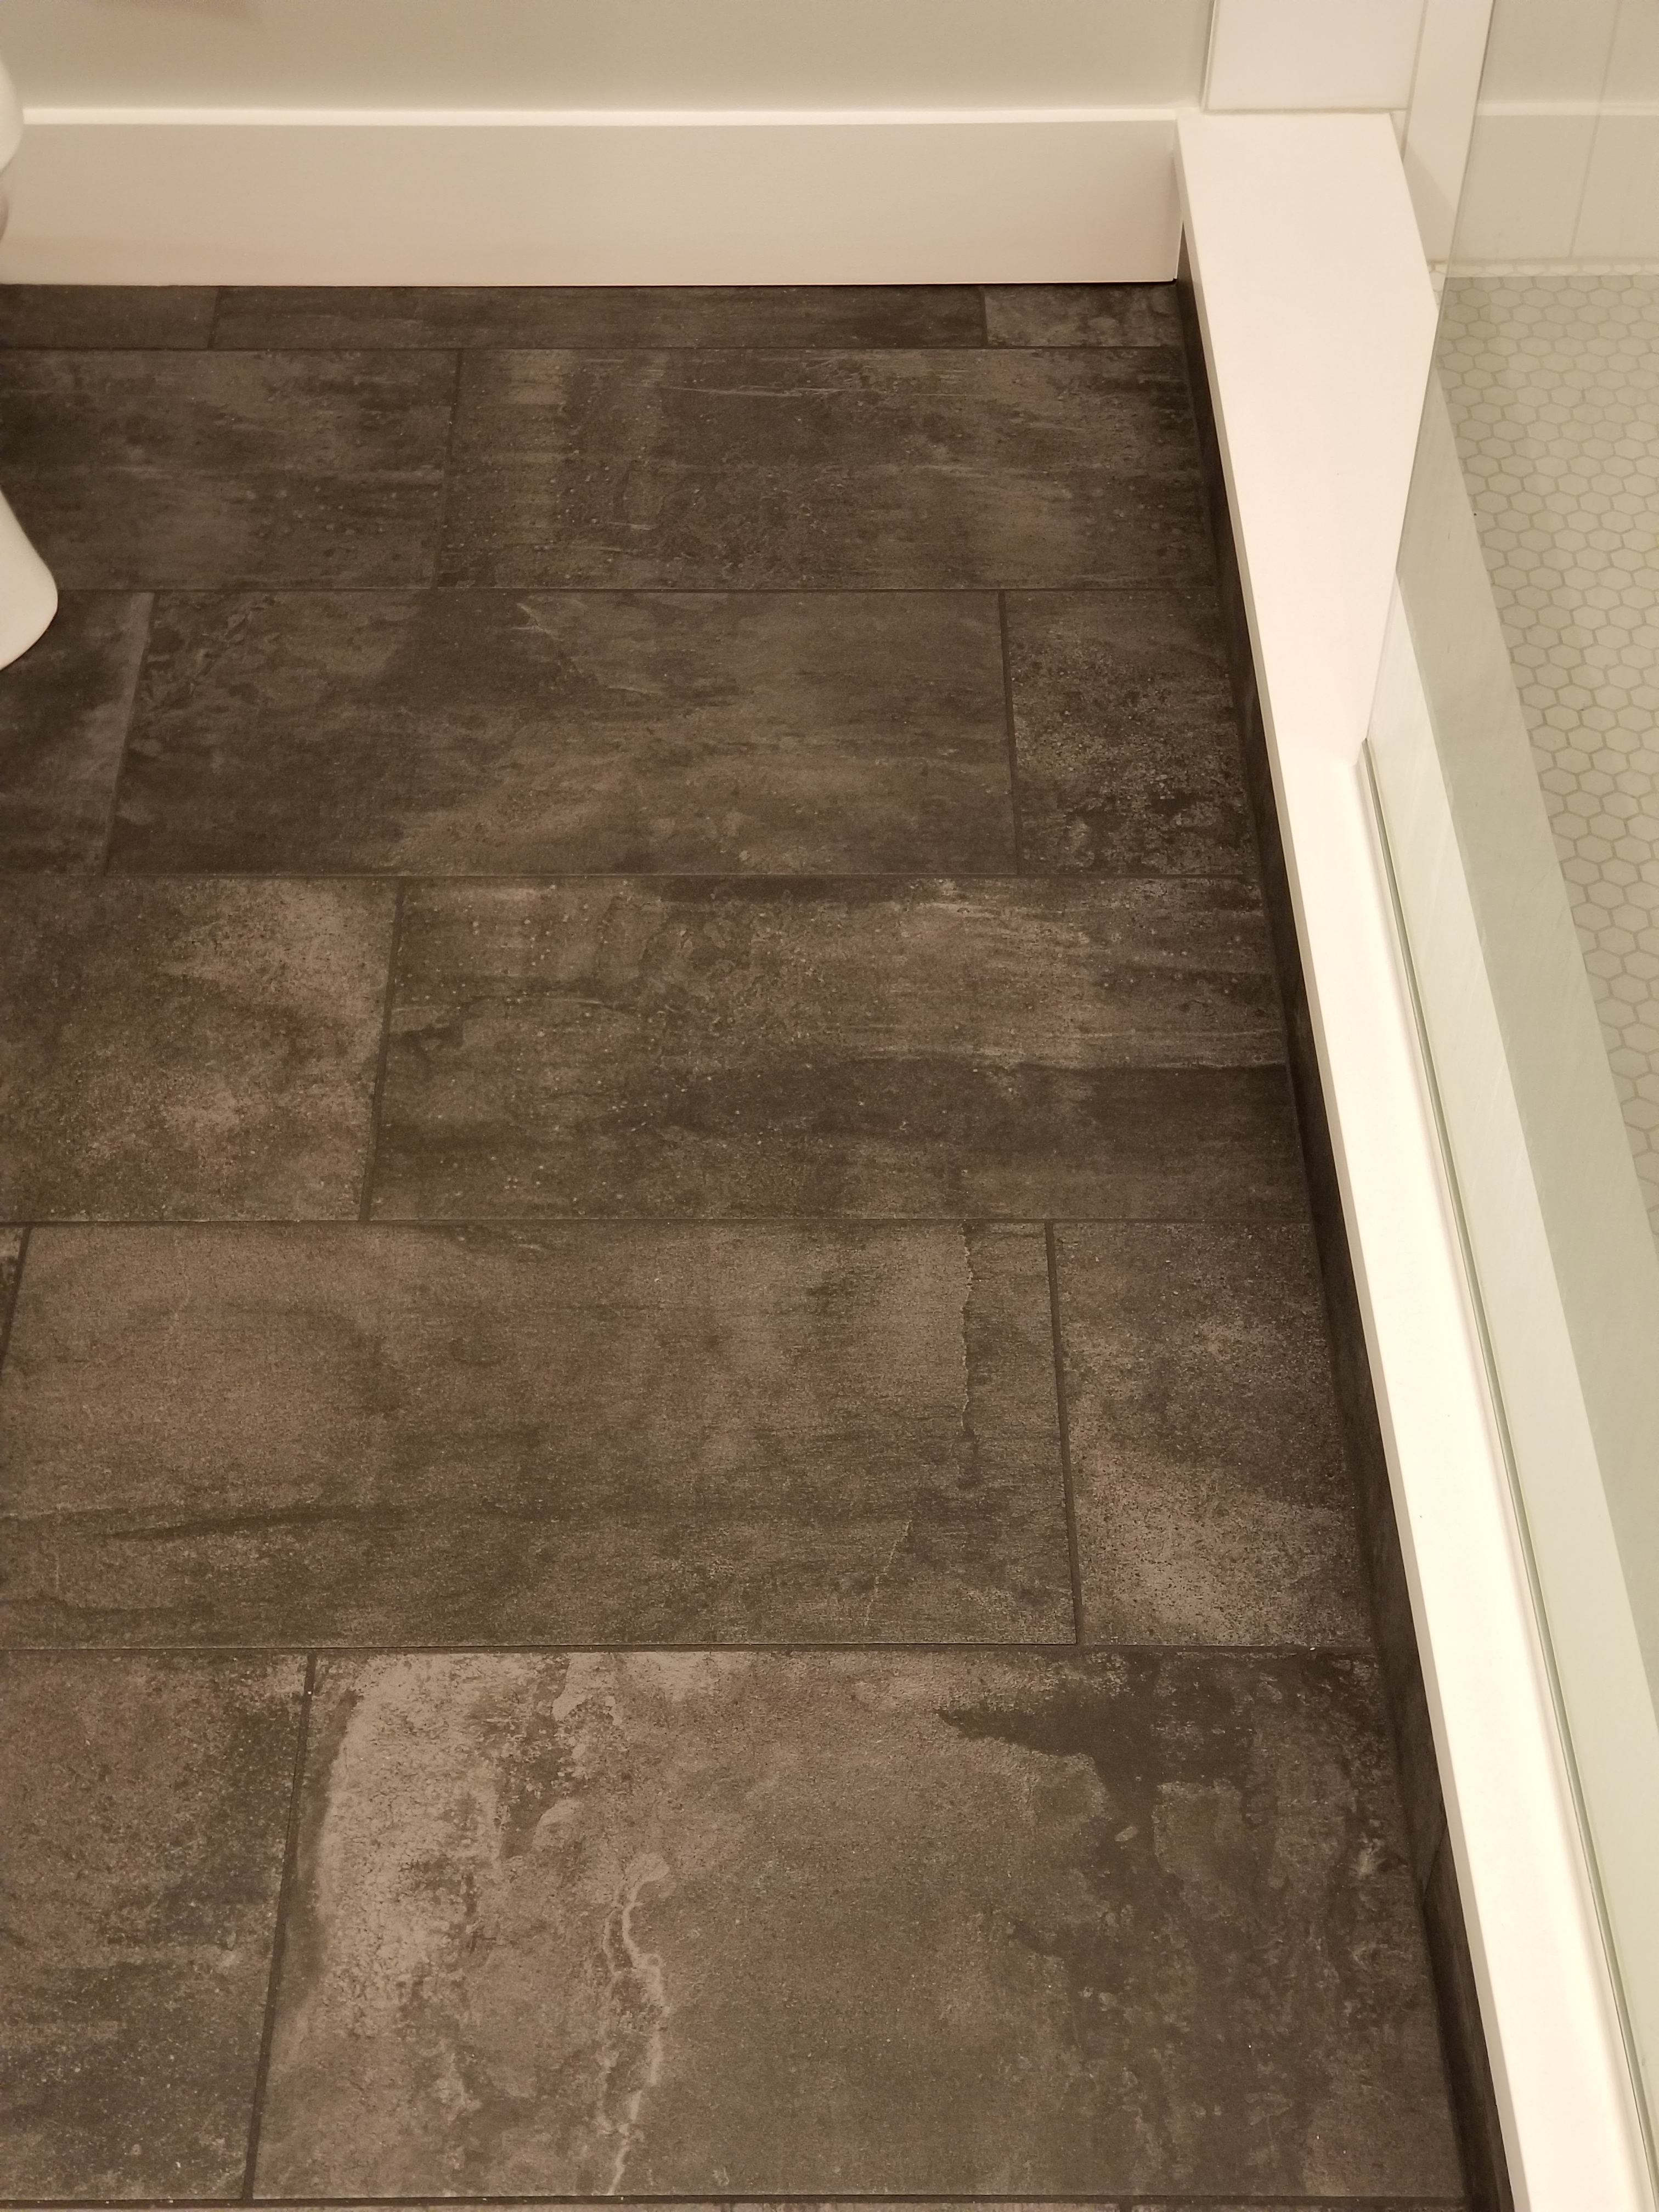
The Iris US Ecocrete collection allowed us to use two different colors while maintaining a consistent overall look through the house. For example, in the kitchen, entry, and utility room we went with the Sage color; a nice mix of green, gray, and even some spots of very dark green or black. For the master bath we went with the Weathered Black since we were going to have some red accents and we wanted to play with color a little bit.
The Ecocrete tiles are also Greenguard certified, and they have a slightly rough surface texture to help prevent slips or falls.
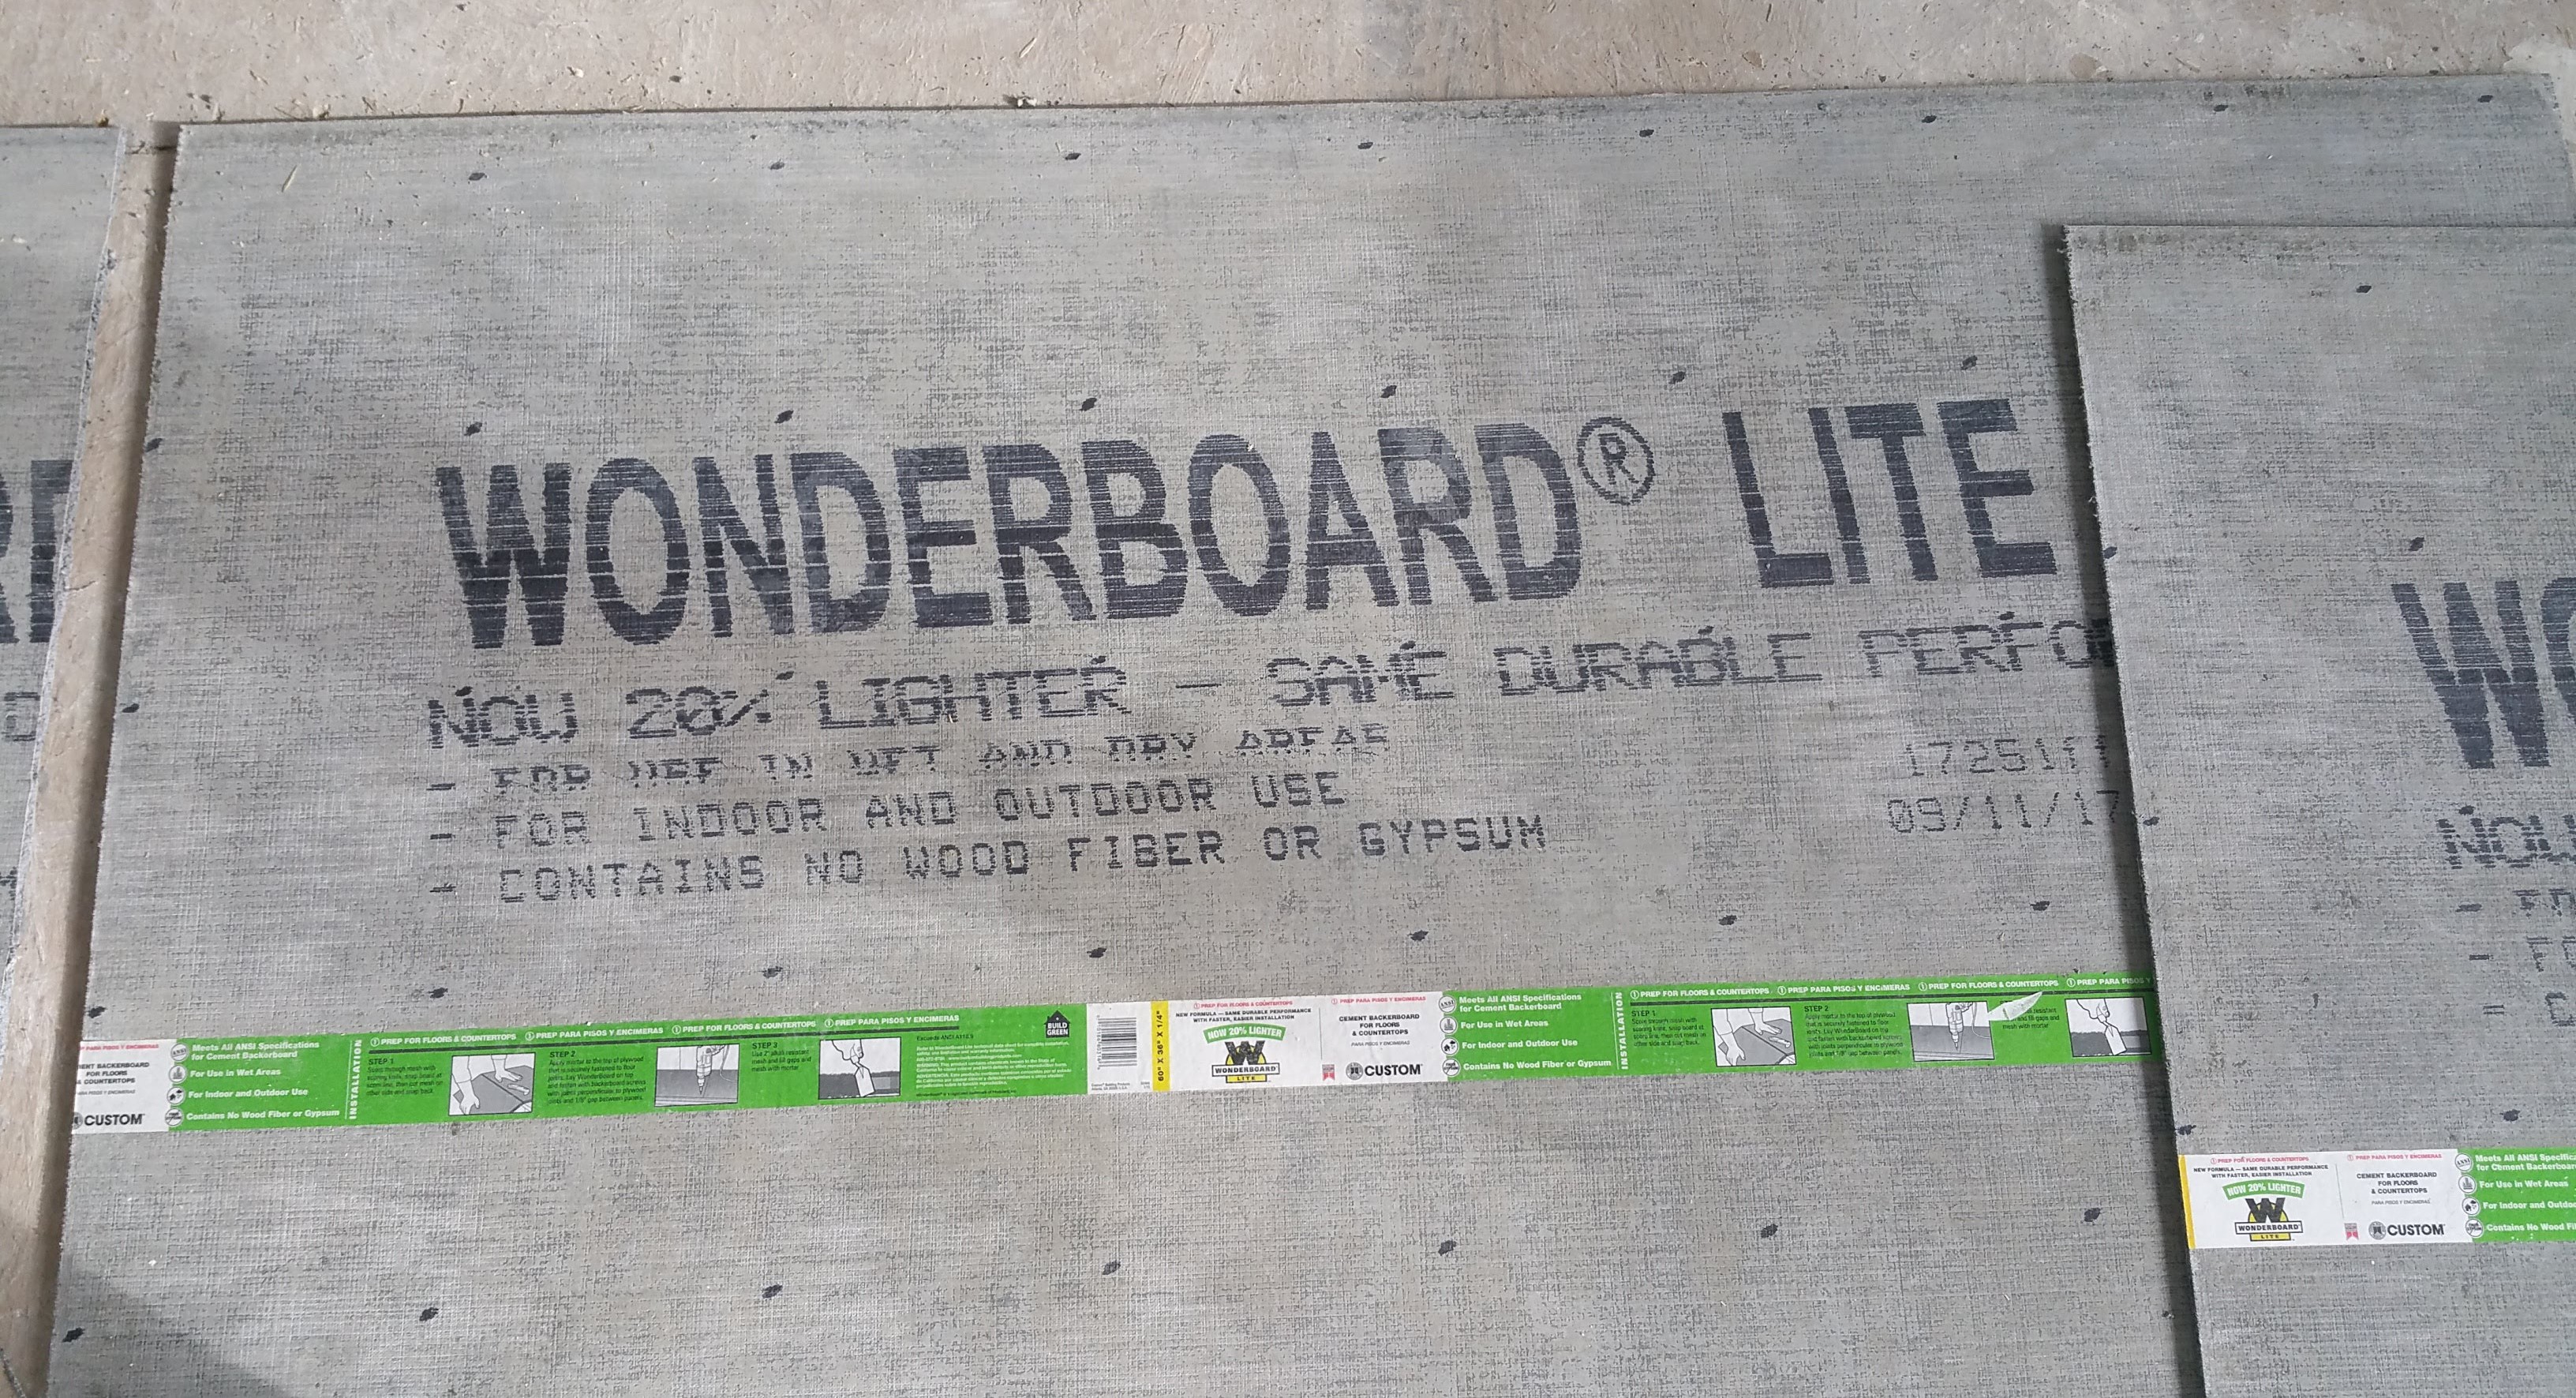
For tile underlayment, Wonderboard Lite was our base.
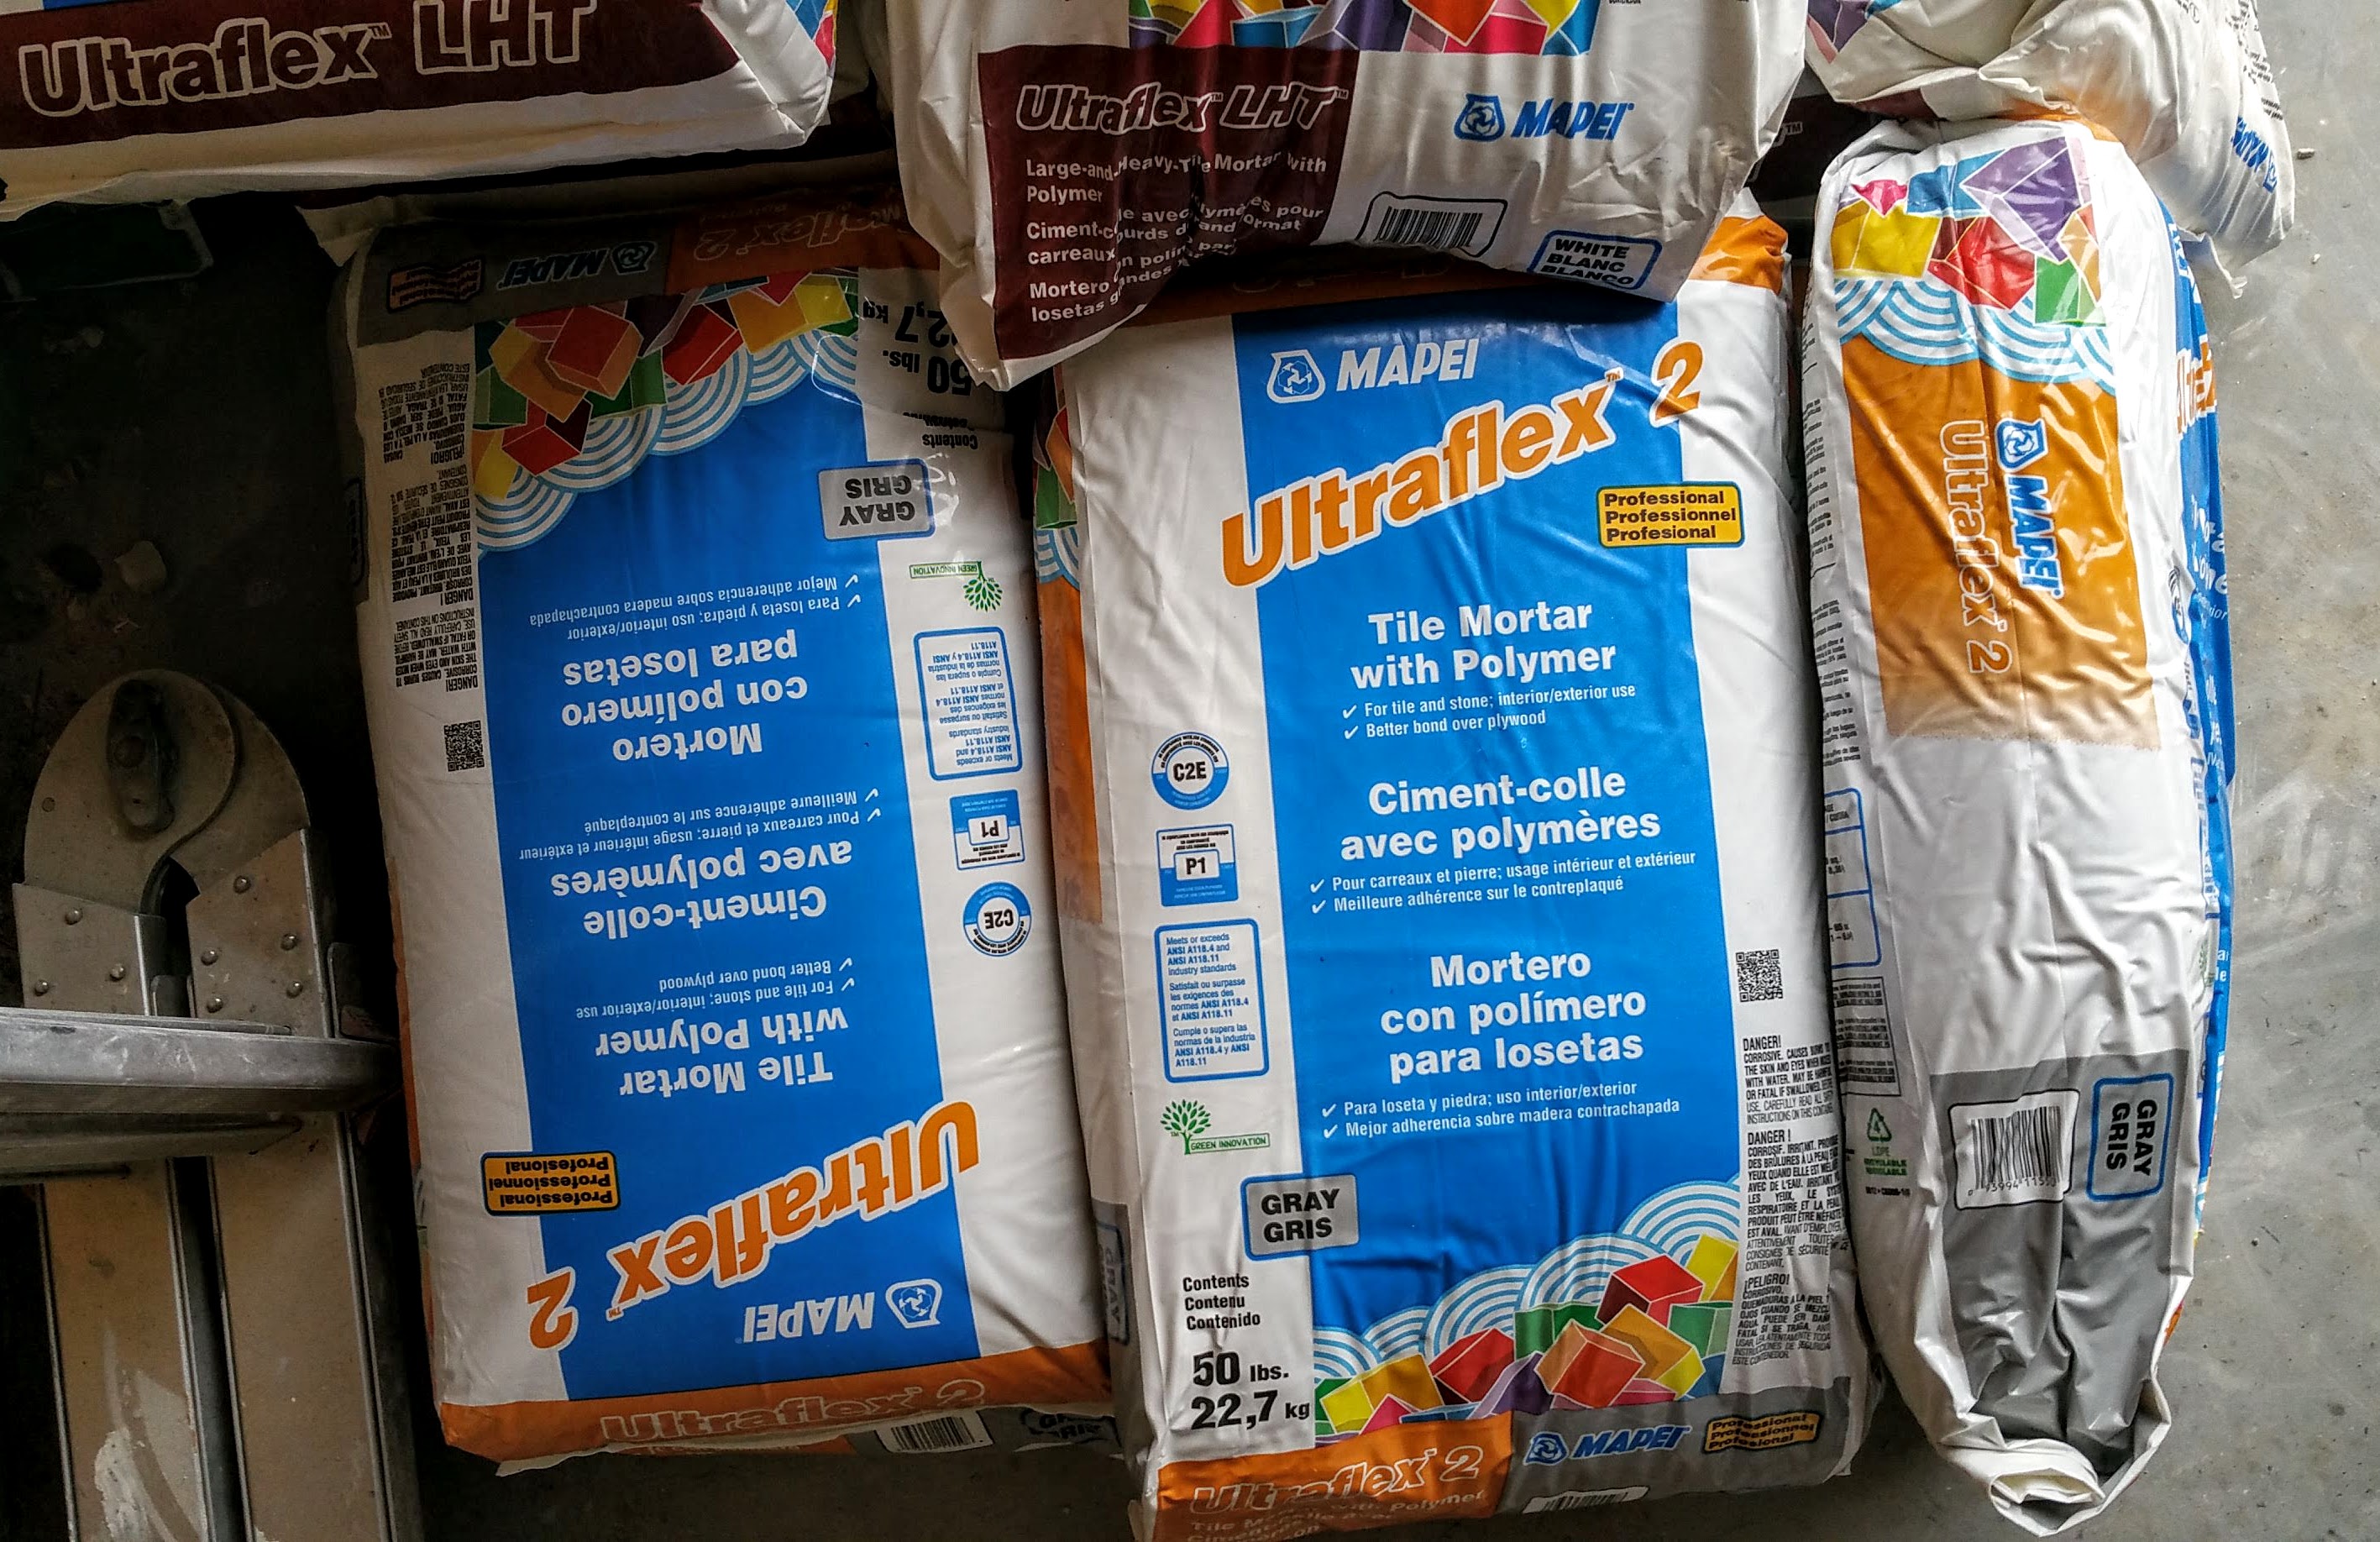
For thinset and grout, Mapei products were used, readily available from Floor and Decor.
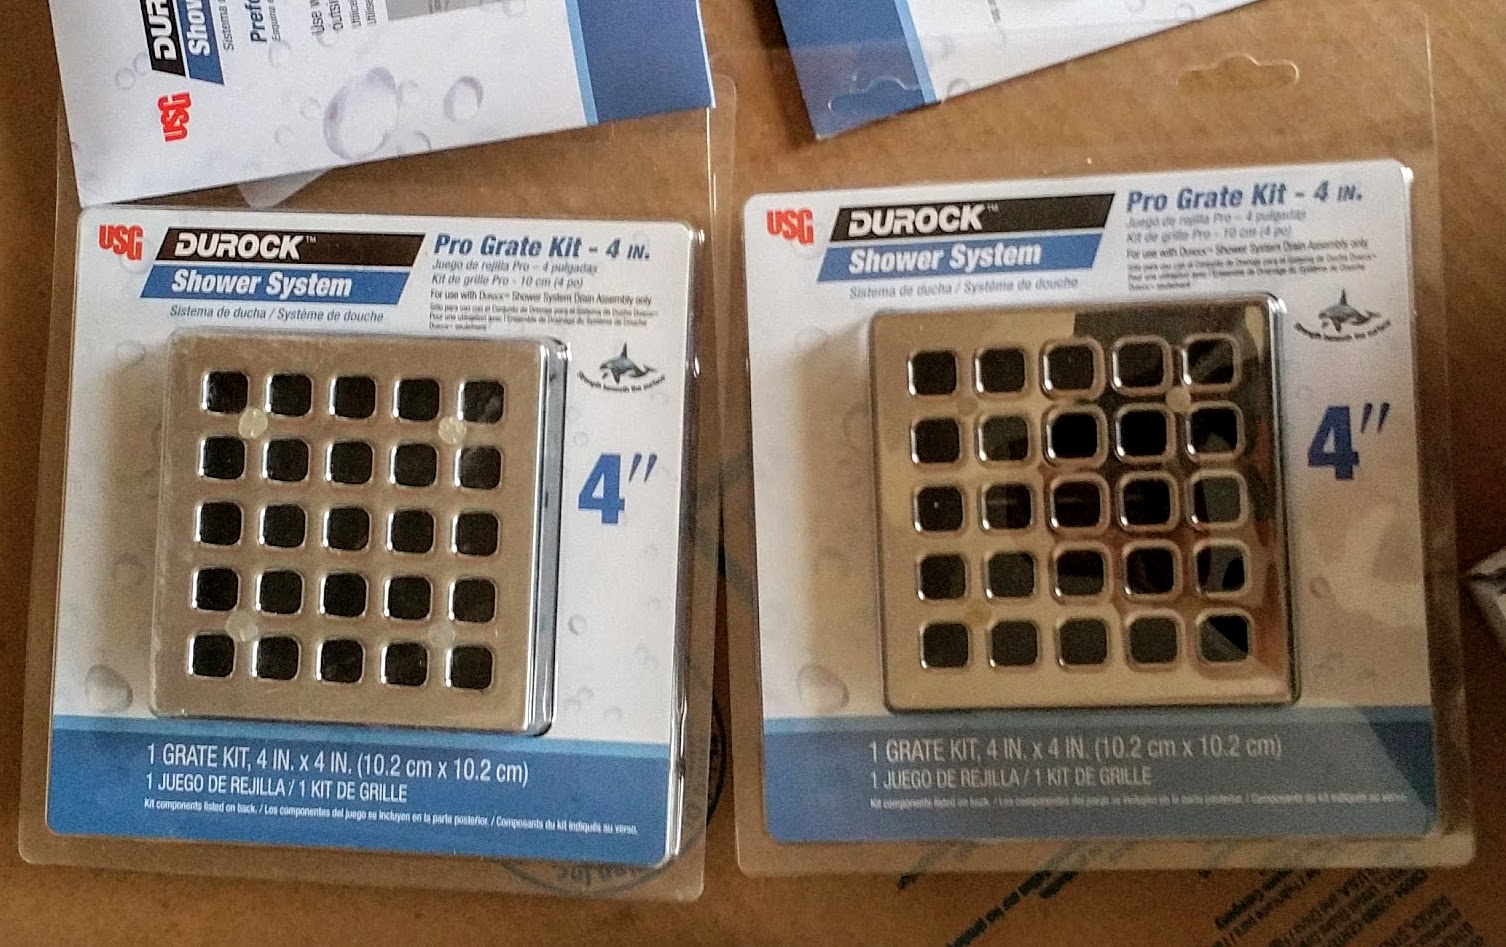
For our shower walls, we used a newer system from USG, their Durock Glass-Mat backerboard. For the floors we used their pre-sloped shower tray system.
The shower kit also came with all the drain components.
Colors and Textures
In the photo below, all of our tile selections are laid out in preparation for deciding on grout colors.
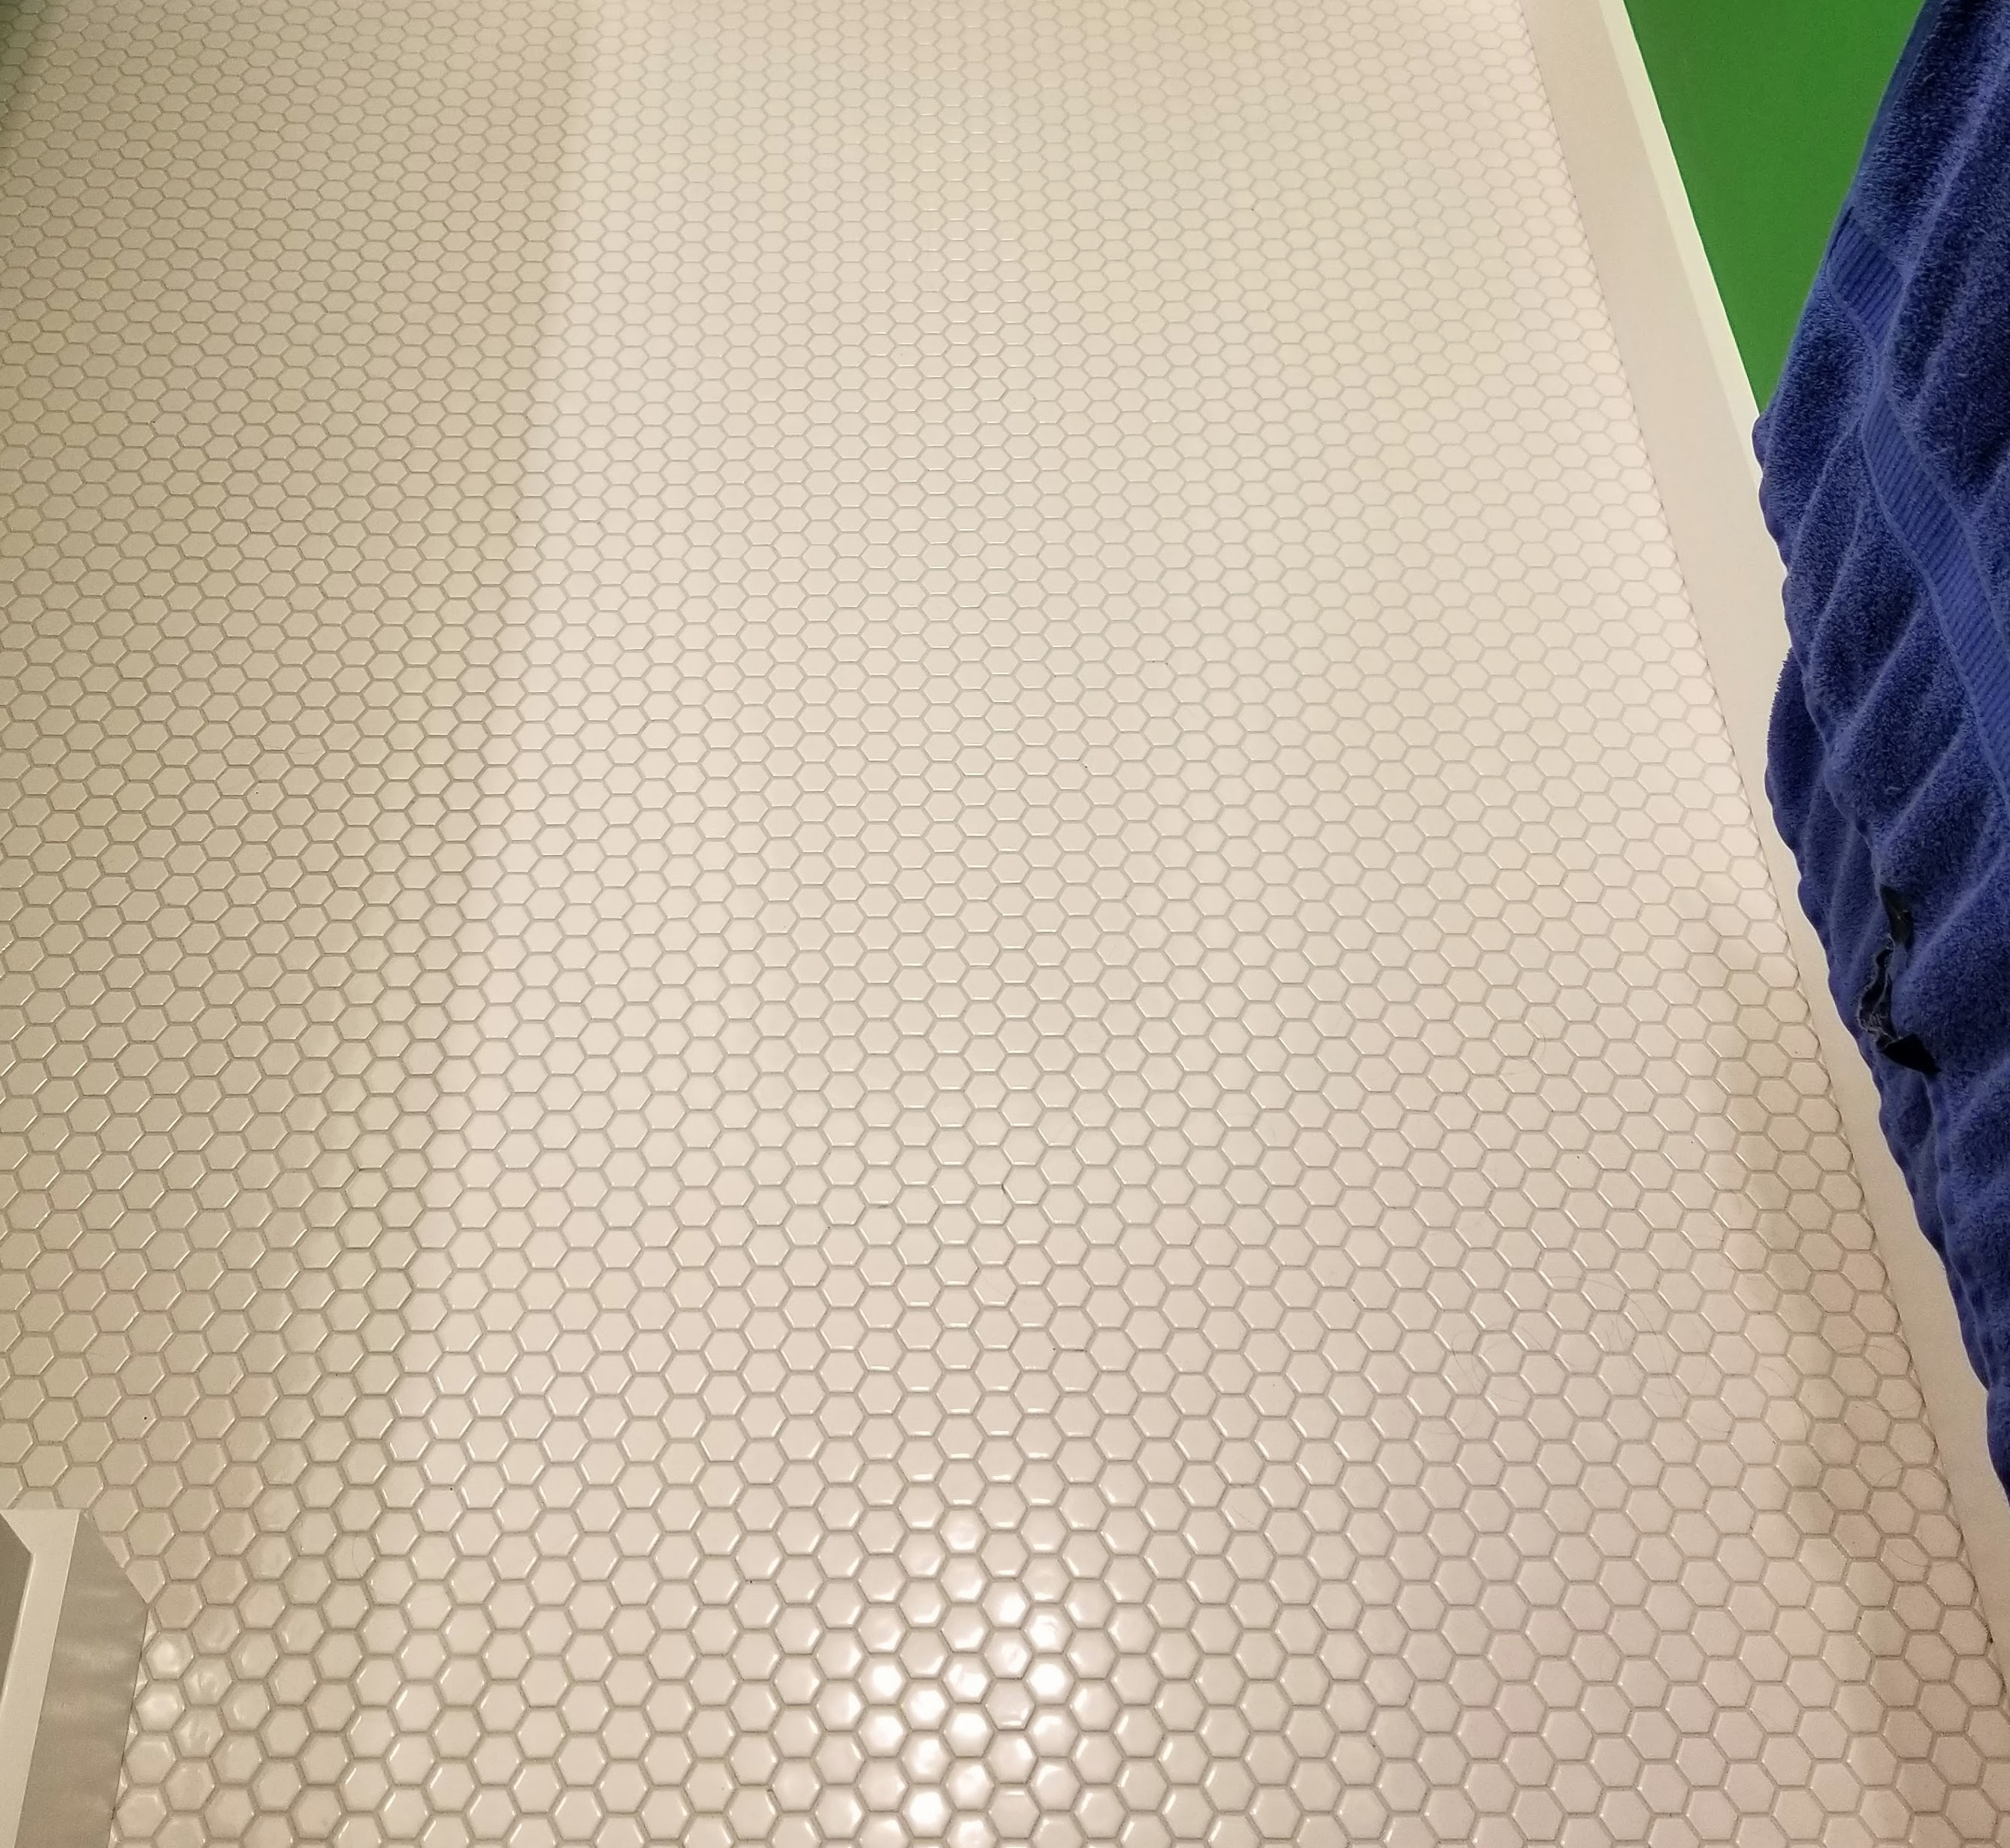
The porcelain hexagon tile was used on the floor of our second bathroom, in addition to the floor of each shower. These were the only areas where we didn’t use the Ecocrete tiles.
The blue glass accent tile was used in our second bathroom shower, while the red glass was used in our master bath shower.
The white subway tile was used in both showers for the ceilings and the walls.

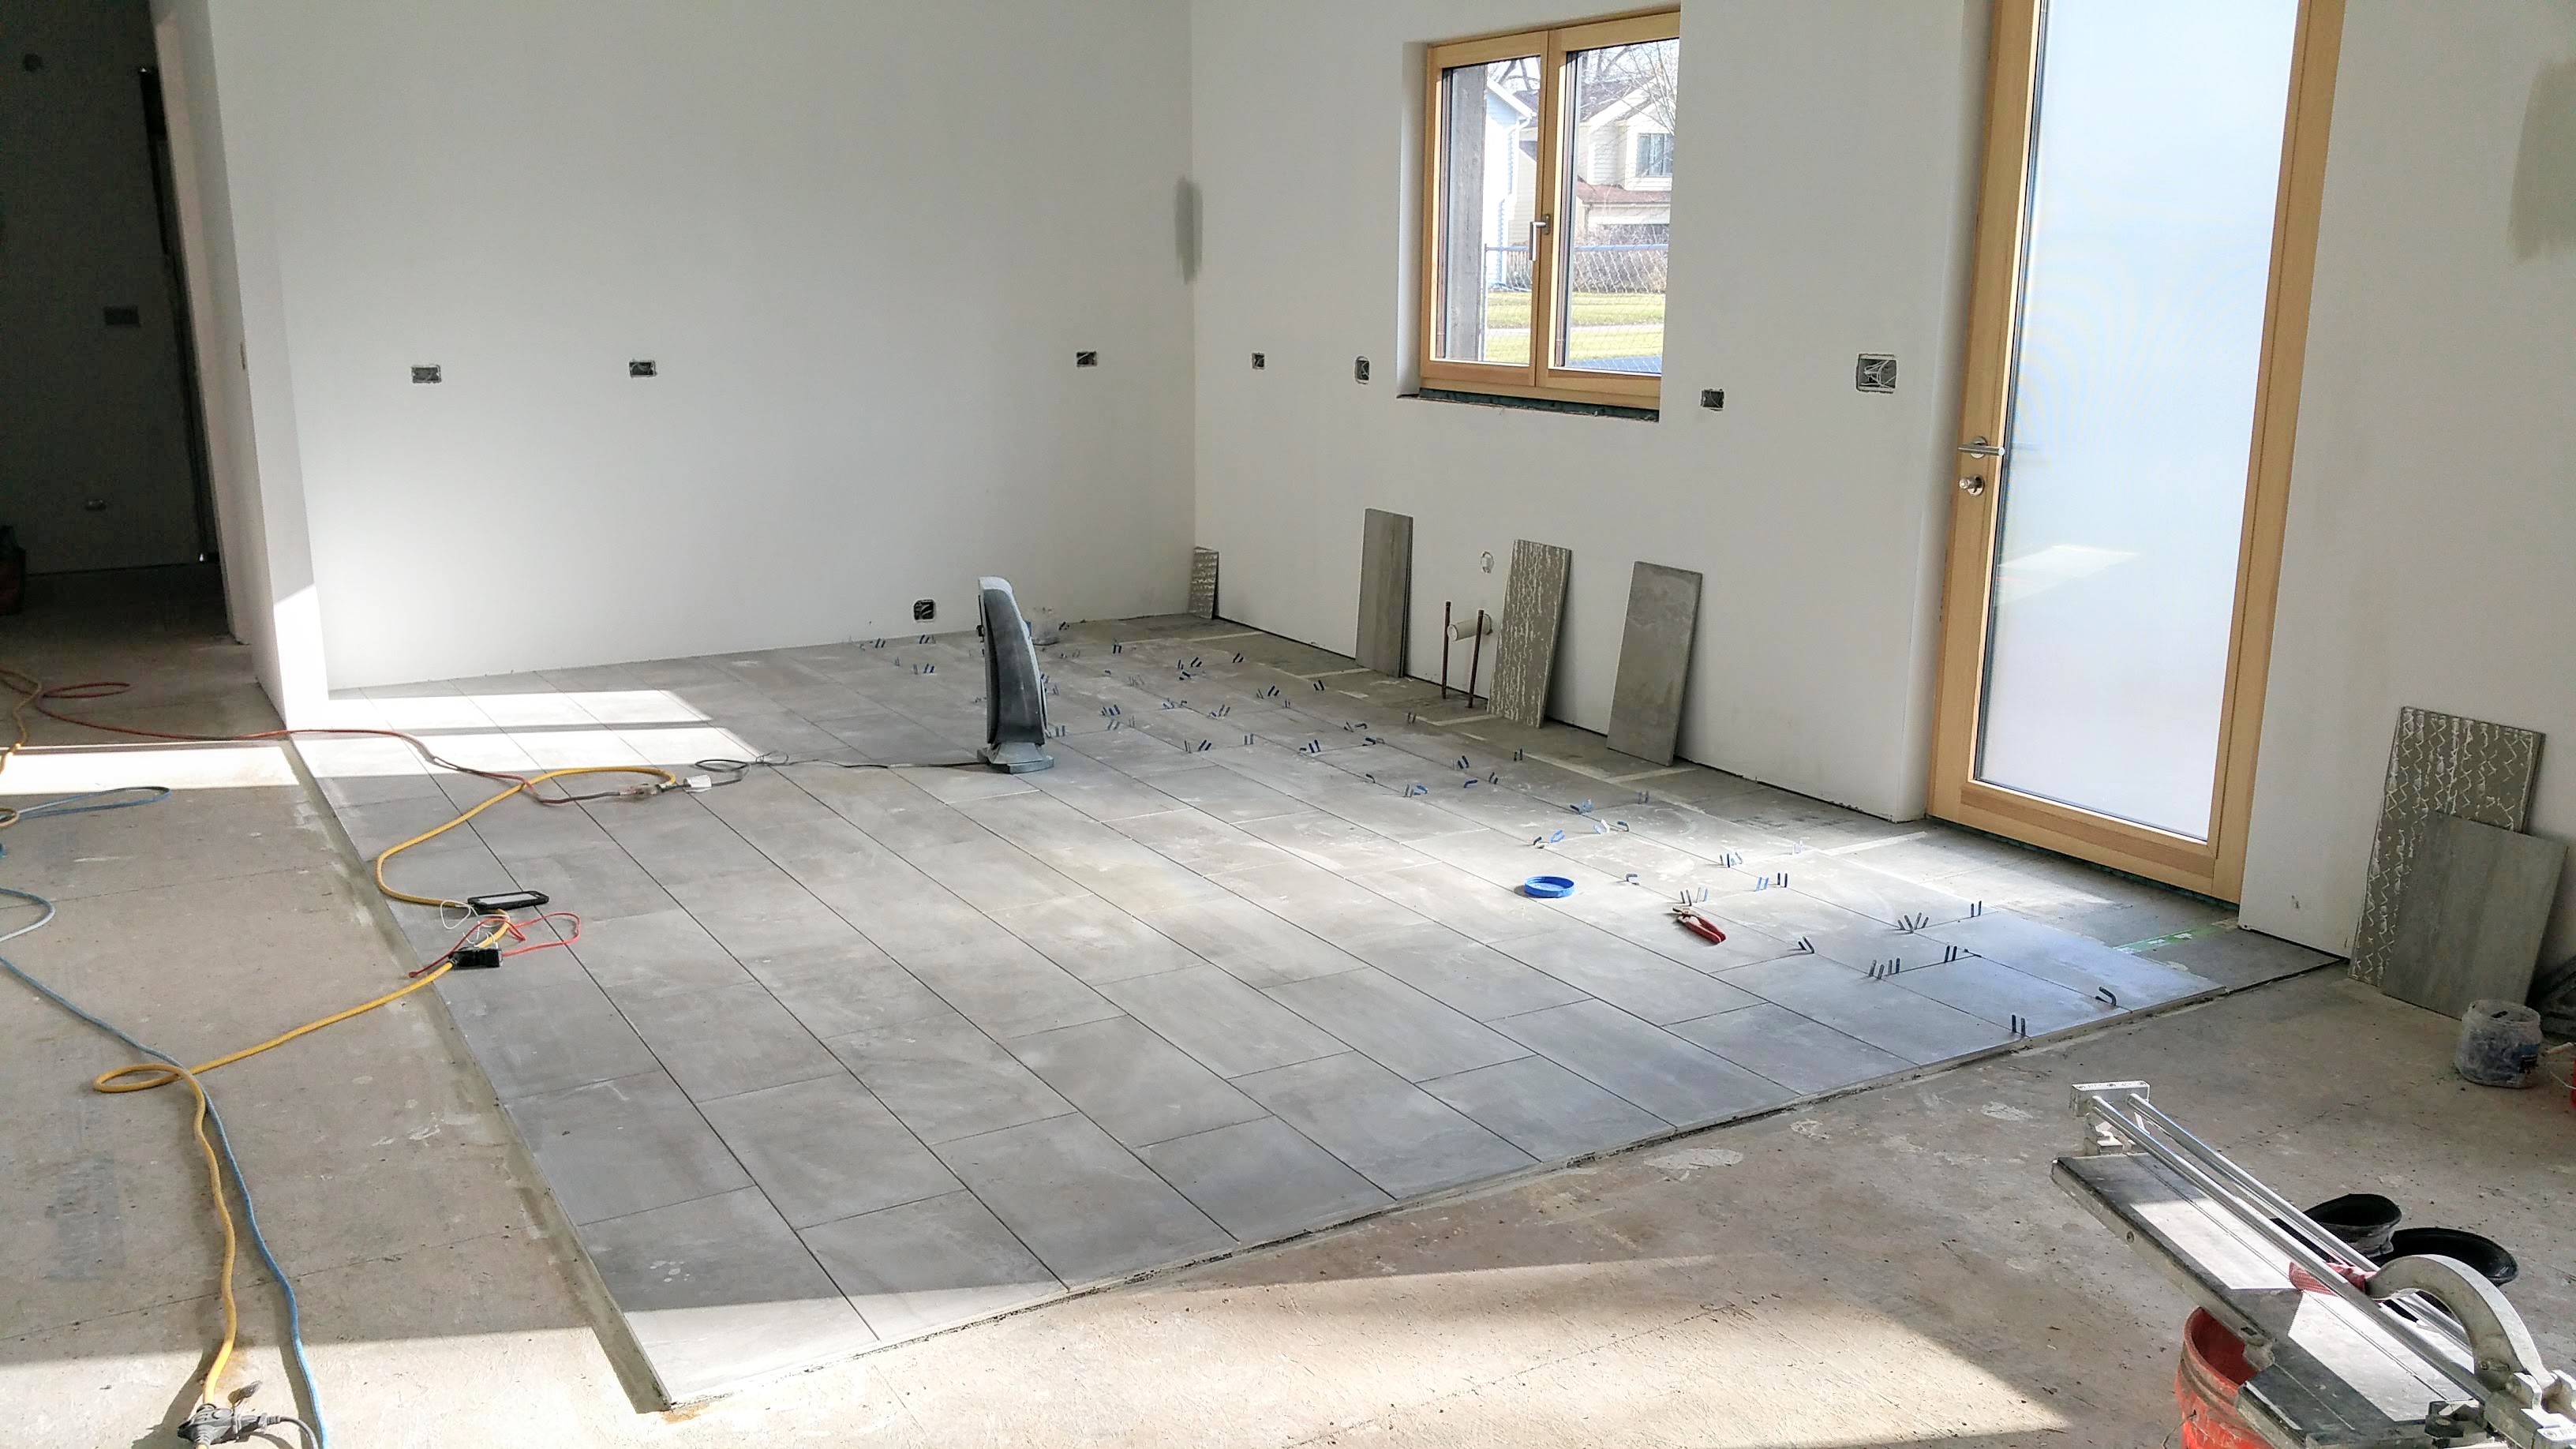
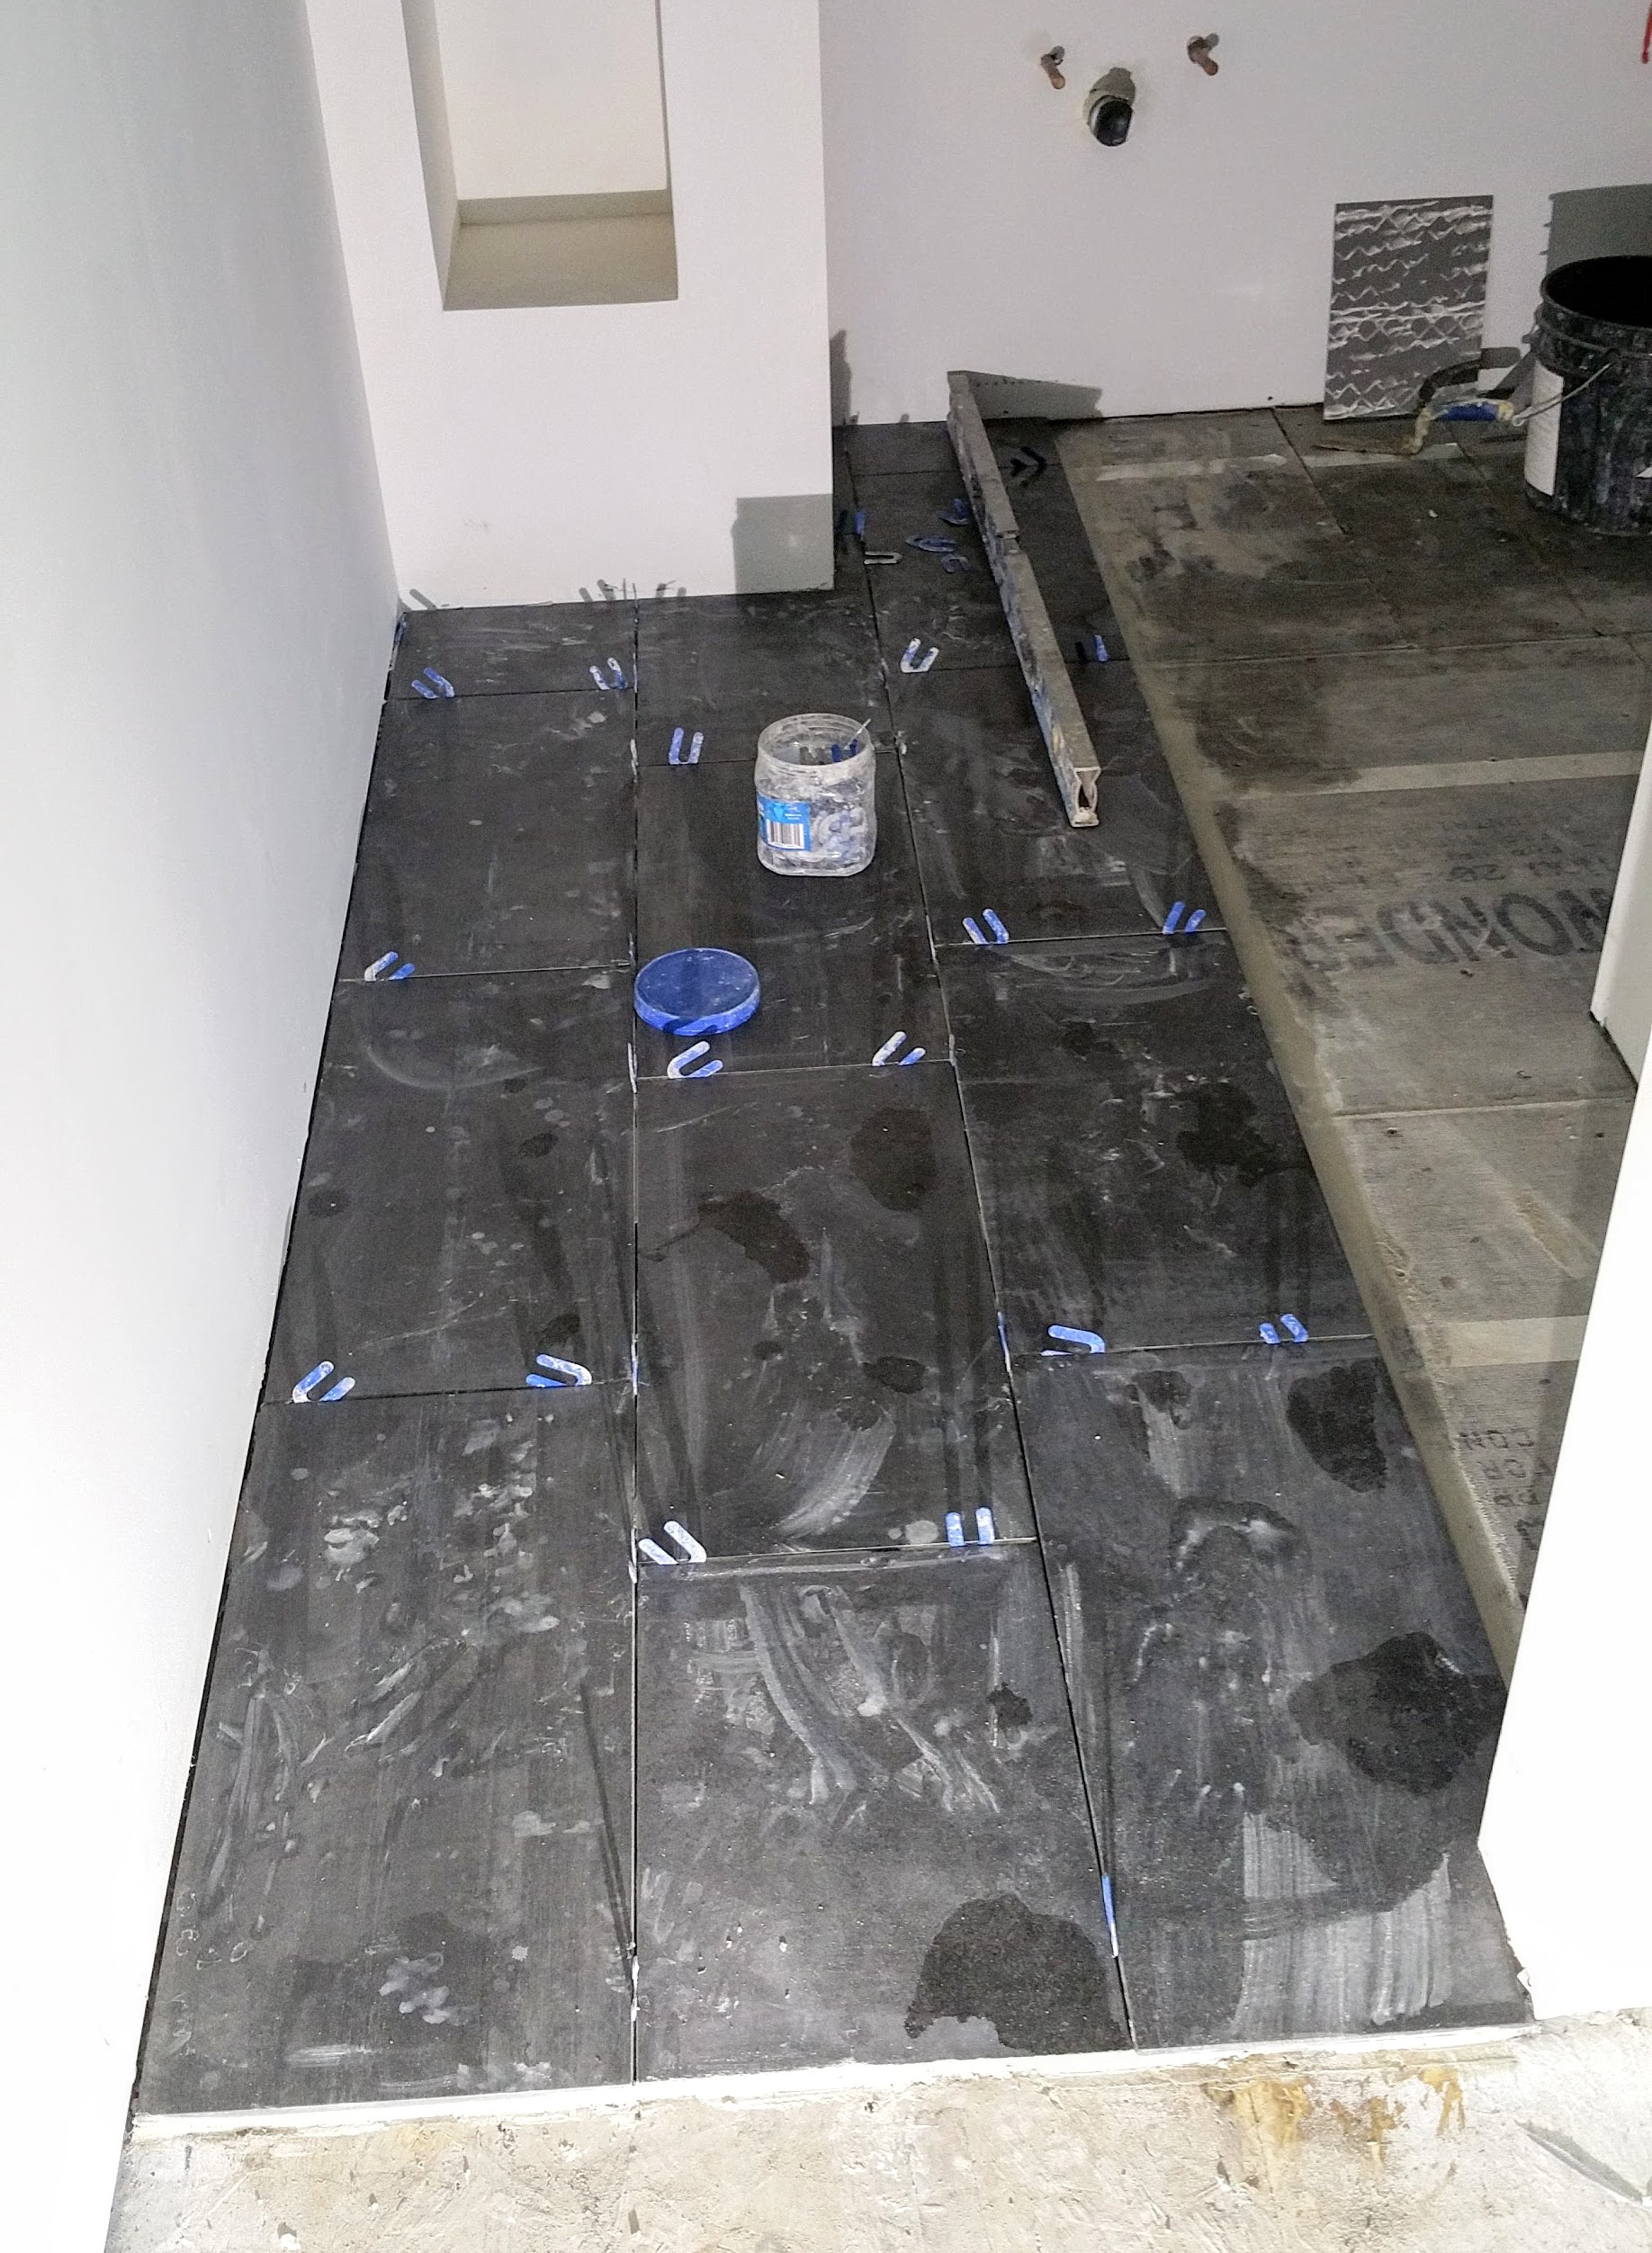
Tile almost complete in the kitchen:
Tile started in the master bathroom:
For the two showers we decided to orient the slightly larger than traditional subway tile in a vertical pattern, a subtle repetition of the strong vertical lines of our charred cedar siding.
In the second bathroom shower we used a 4″ x 10″ subway tile, while in the master shower we went even larger using tile that measured 6″ x 17″.
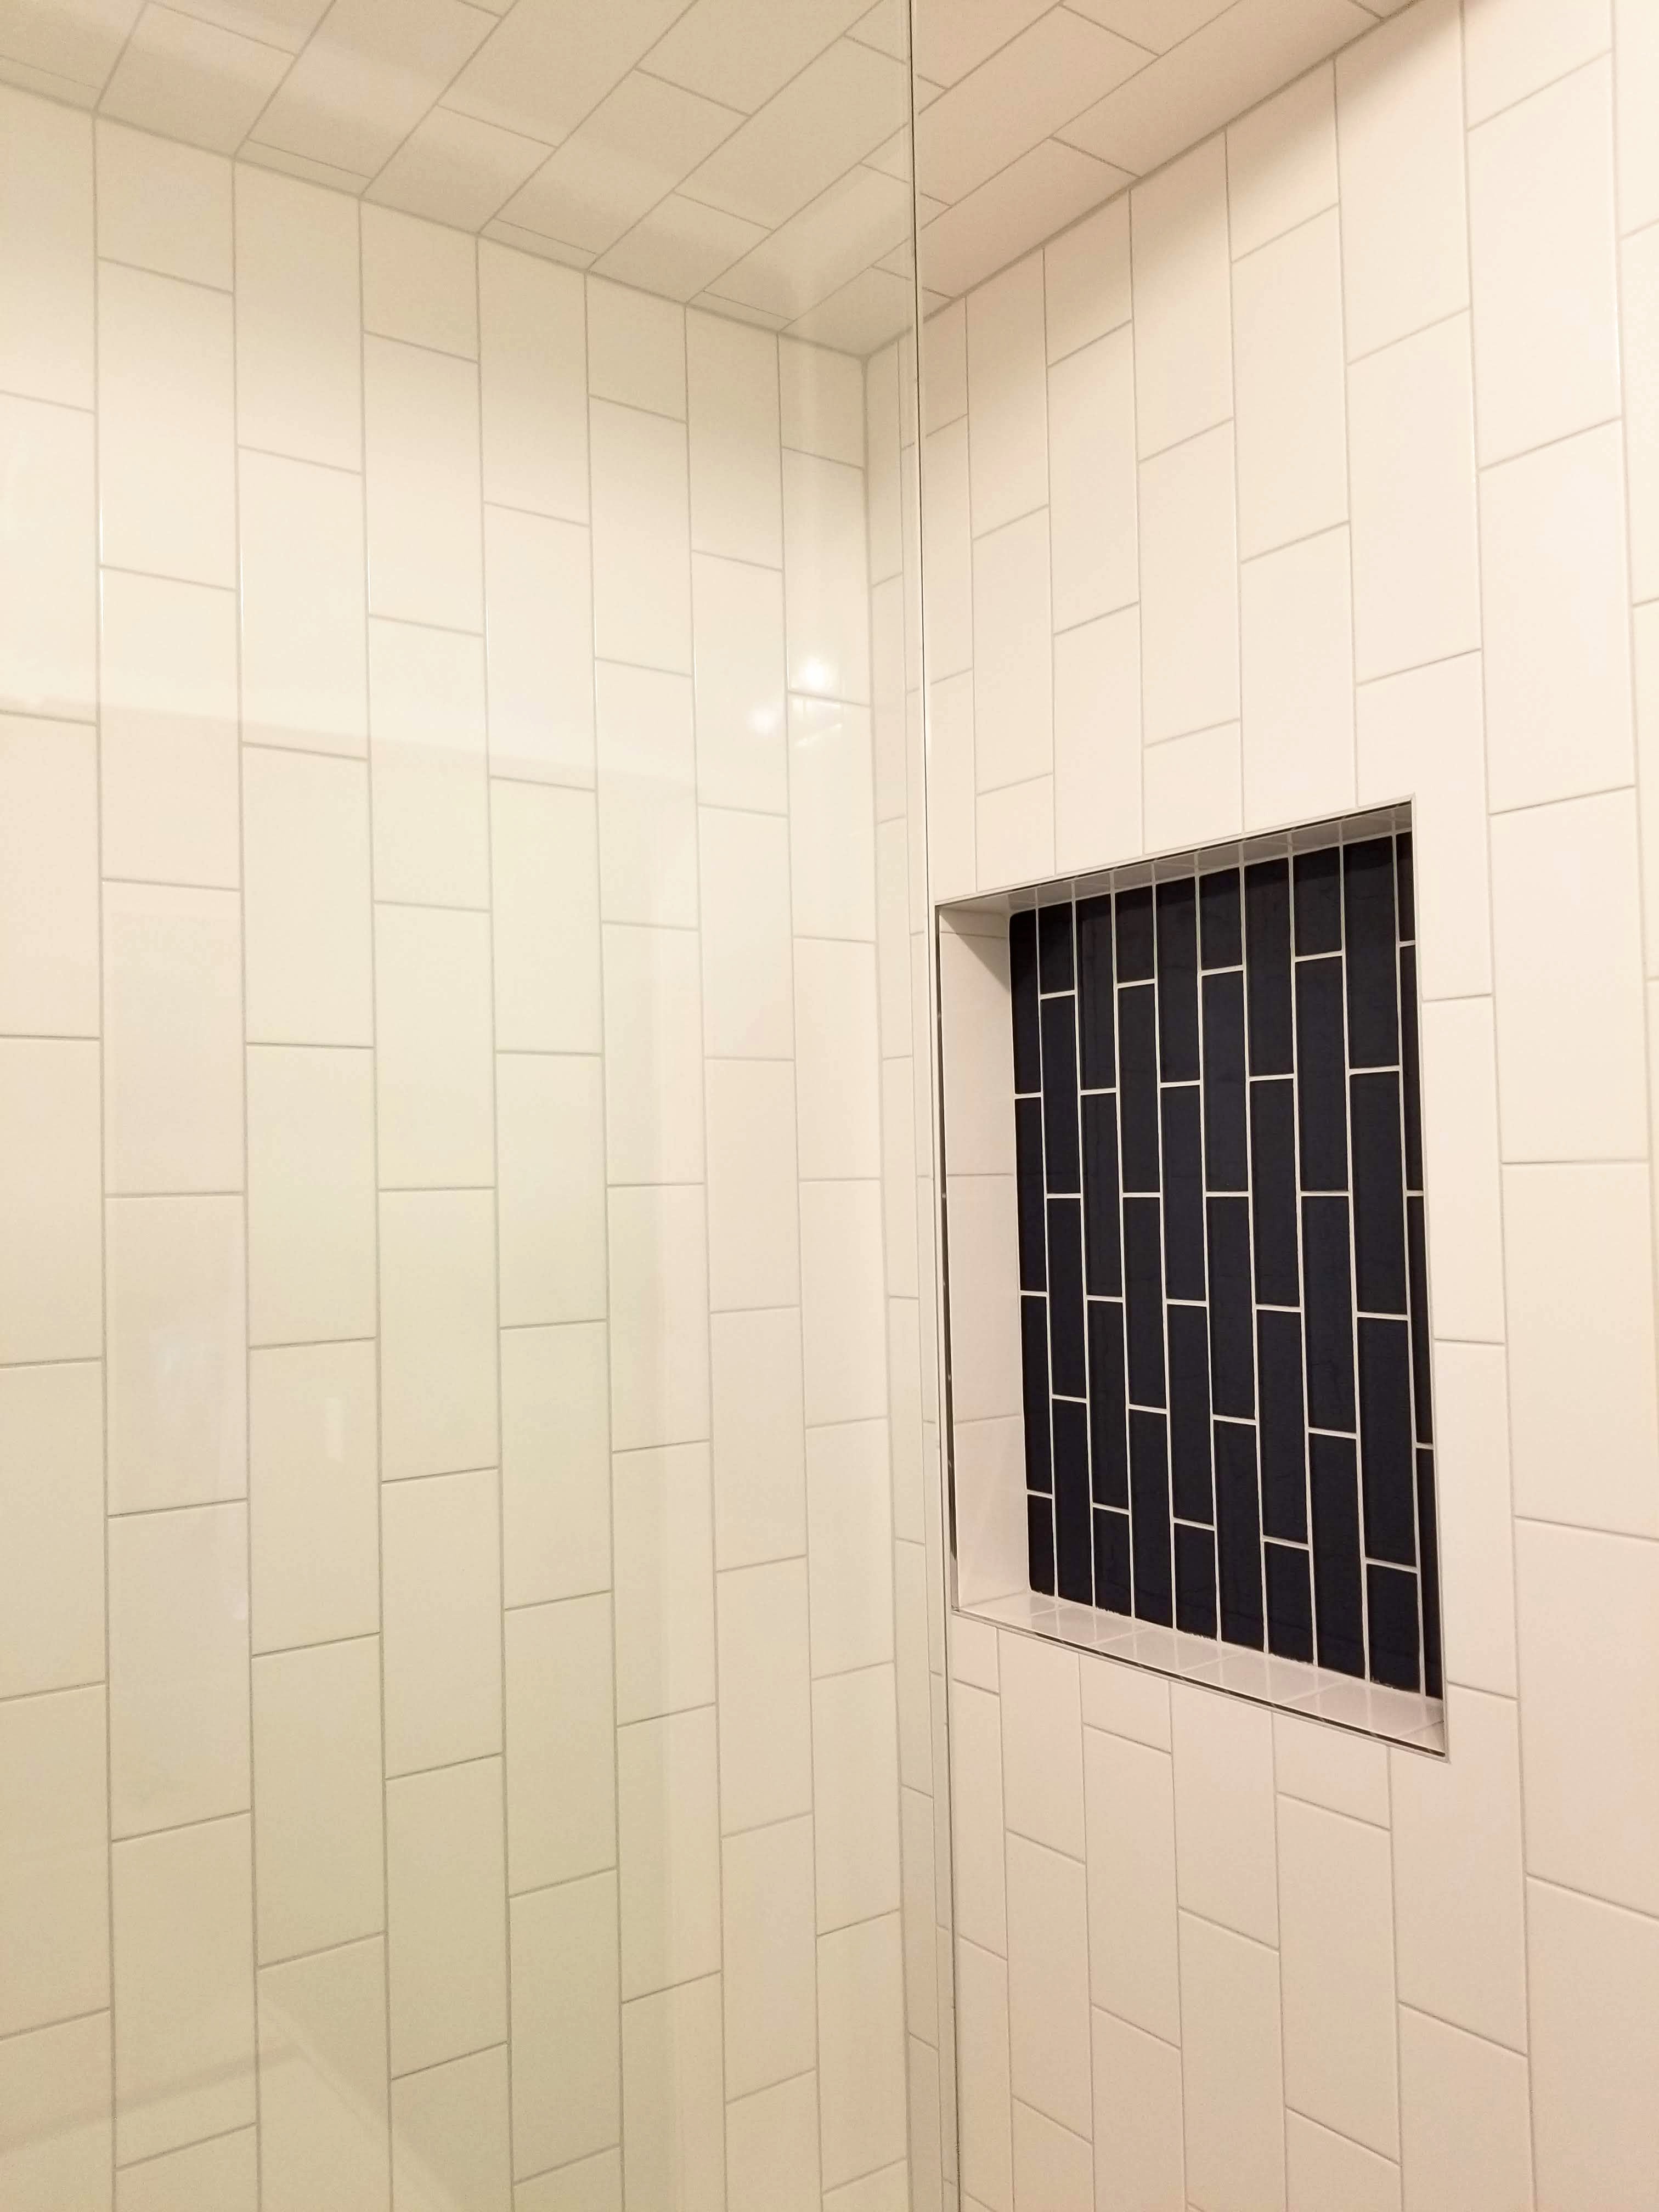
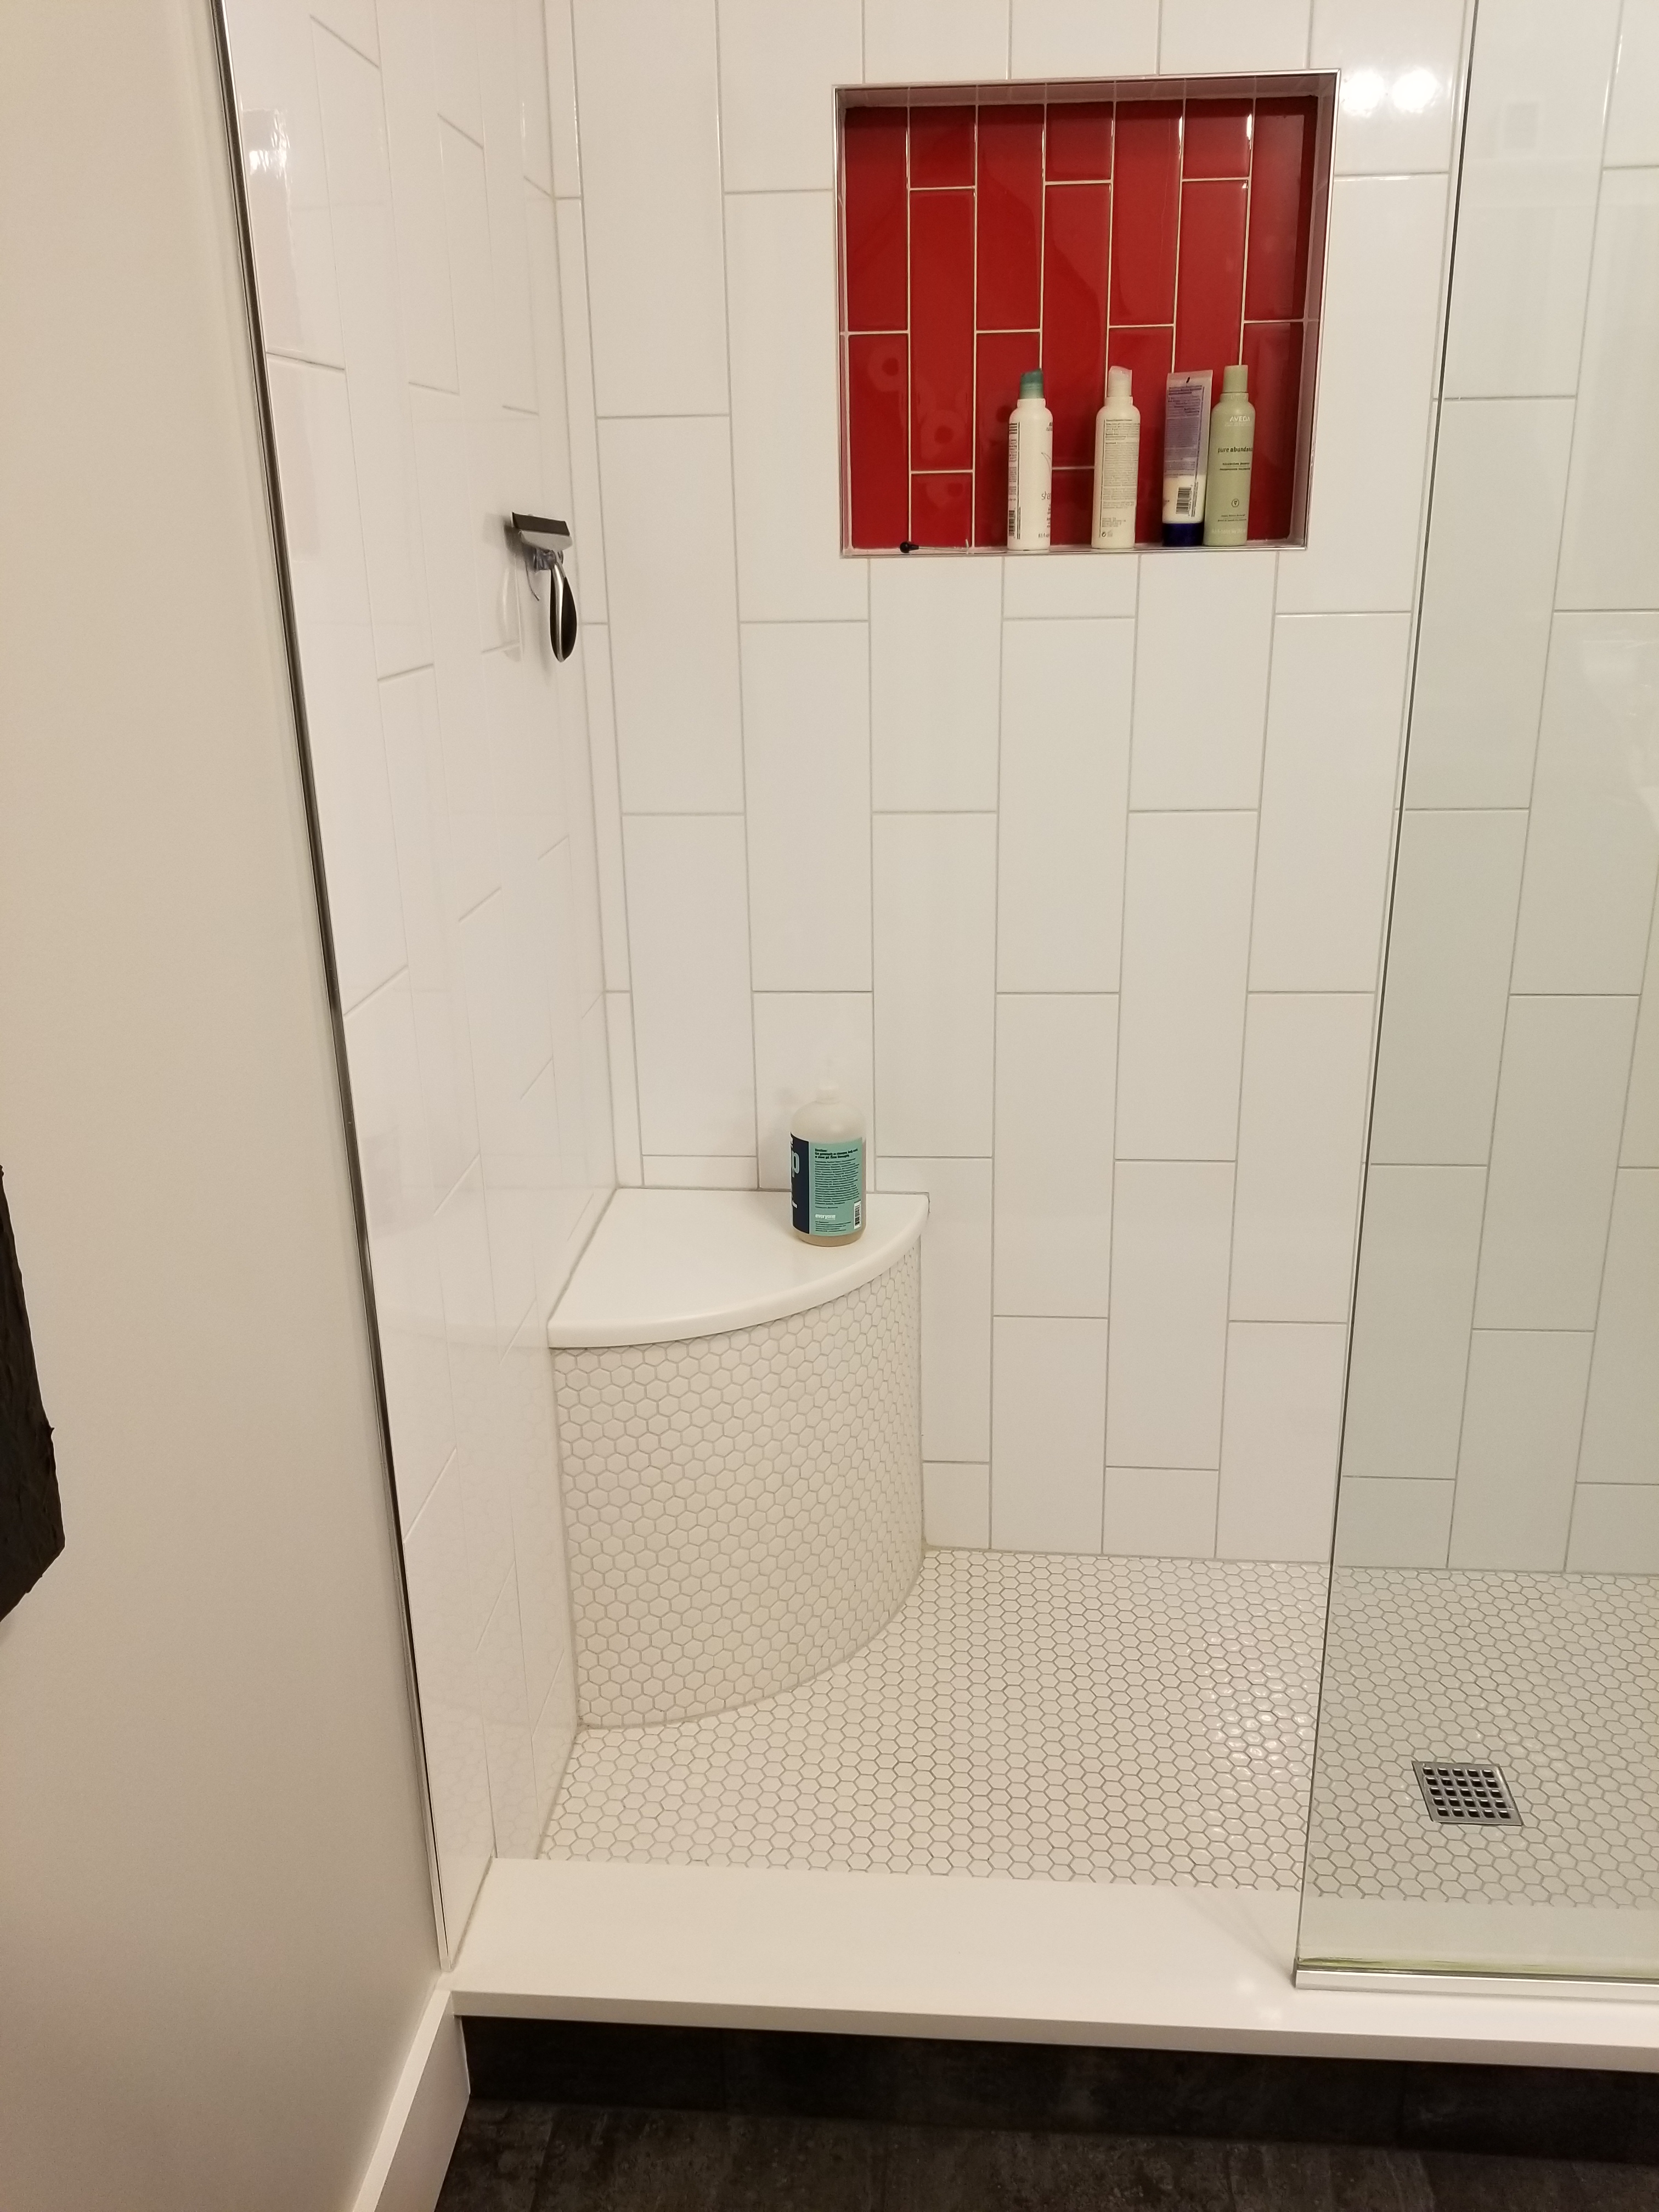
We kept the glass accent tile to a minimum, utilizing it inside each niche and next to the shower head and valve.

Using a frameless fixed panel of glass without a door keeps each shower more open and easier to access. It also means one less thing to have to clean, maintain, or eventually replace.
By covering the curb with a towel before turning on the water, very little water escapes to splash on the nearby baseboard or drywall. A small price to pay, we feel, in order to keep the shower area more open.
In terms of size, the second bathroom shower measures 3′ wide and 5 1/2′ long, while the master shower is slightly larger at 3′ x 5′ 10″. Both spaces are very comfortable to shower in.

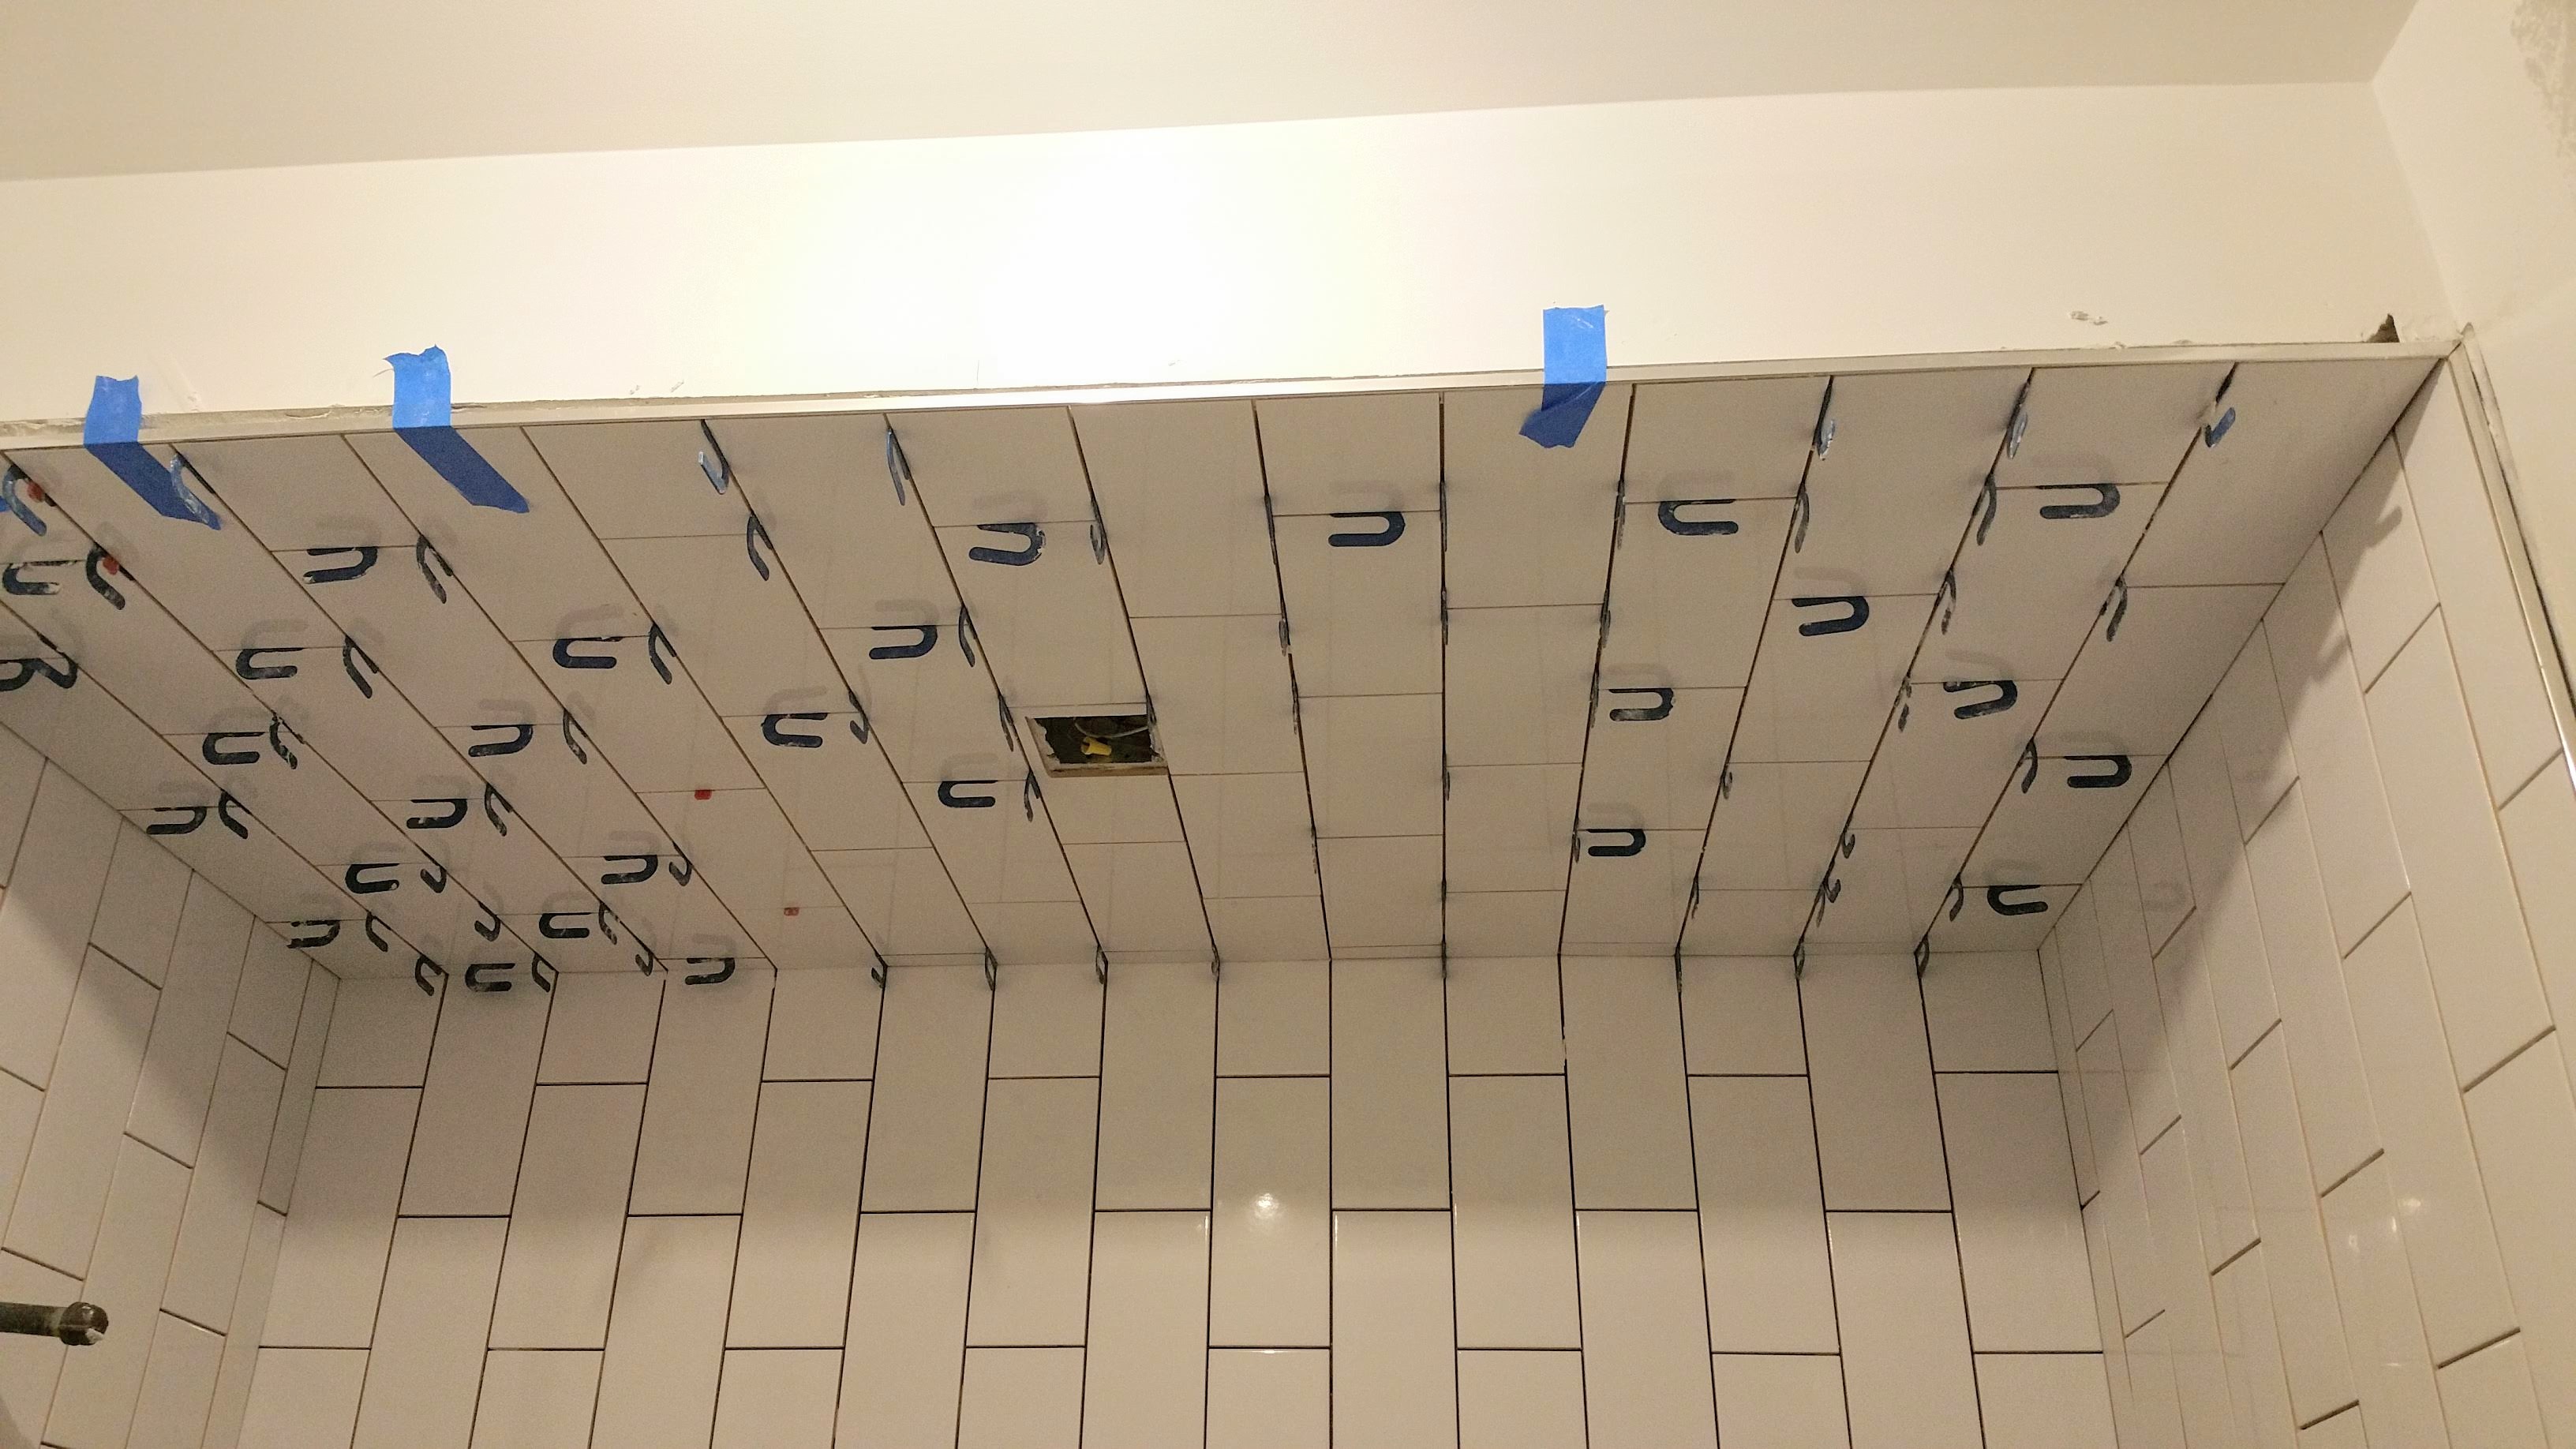
We chose to tile the ceiling of each shower since, in our experience at least, drywall doesn’t tend to hold up very well in this area, instead flaking or peeling off over time. By combining the tiled ceilings with their lower height than the room, visually we like how it makes clear that the shower area is its own dedicated space.
We liked the look of the traditional hexagon pattern, plus it feels nice underfoot, both in the showers and on the floor of the second bathroom.
Finished main bathroom shower with glass panel:
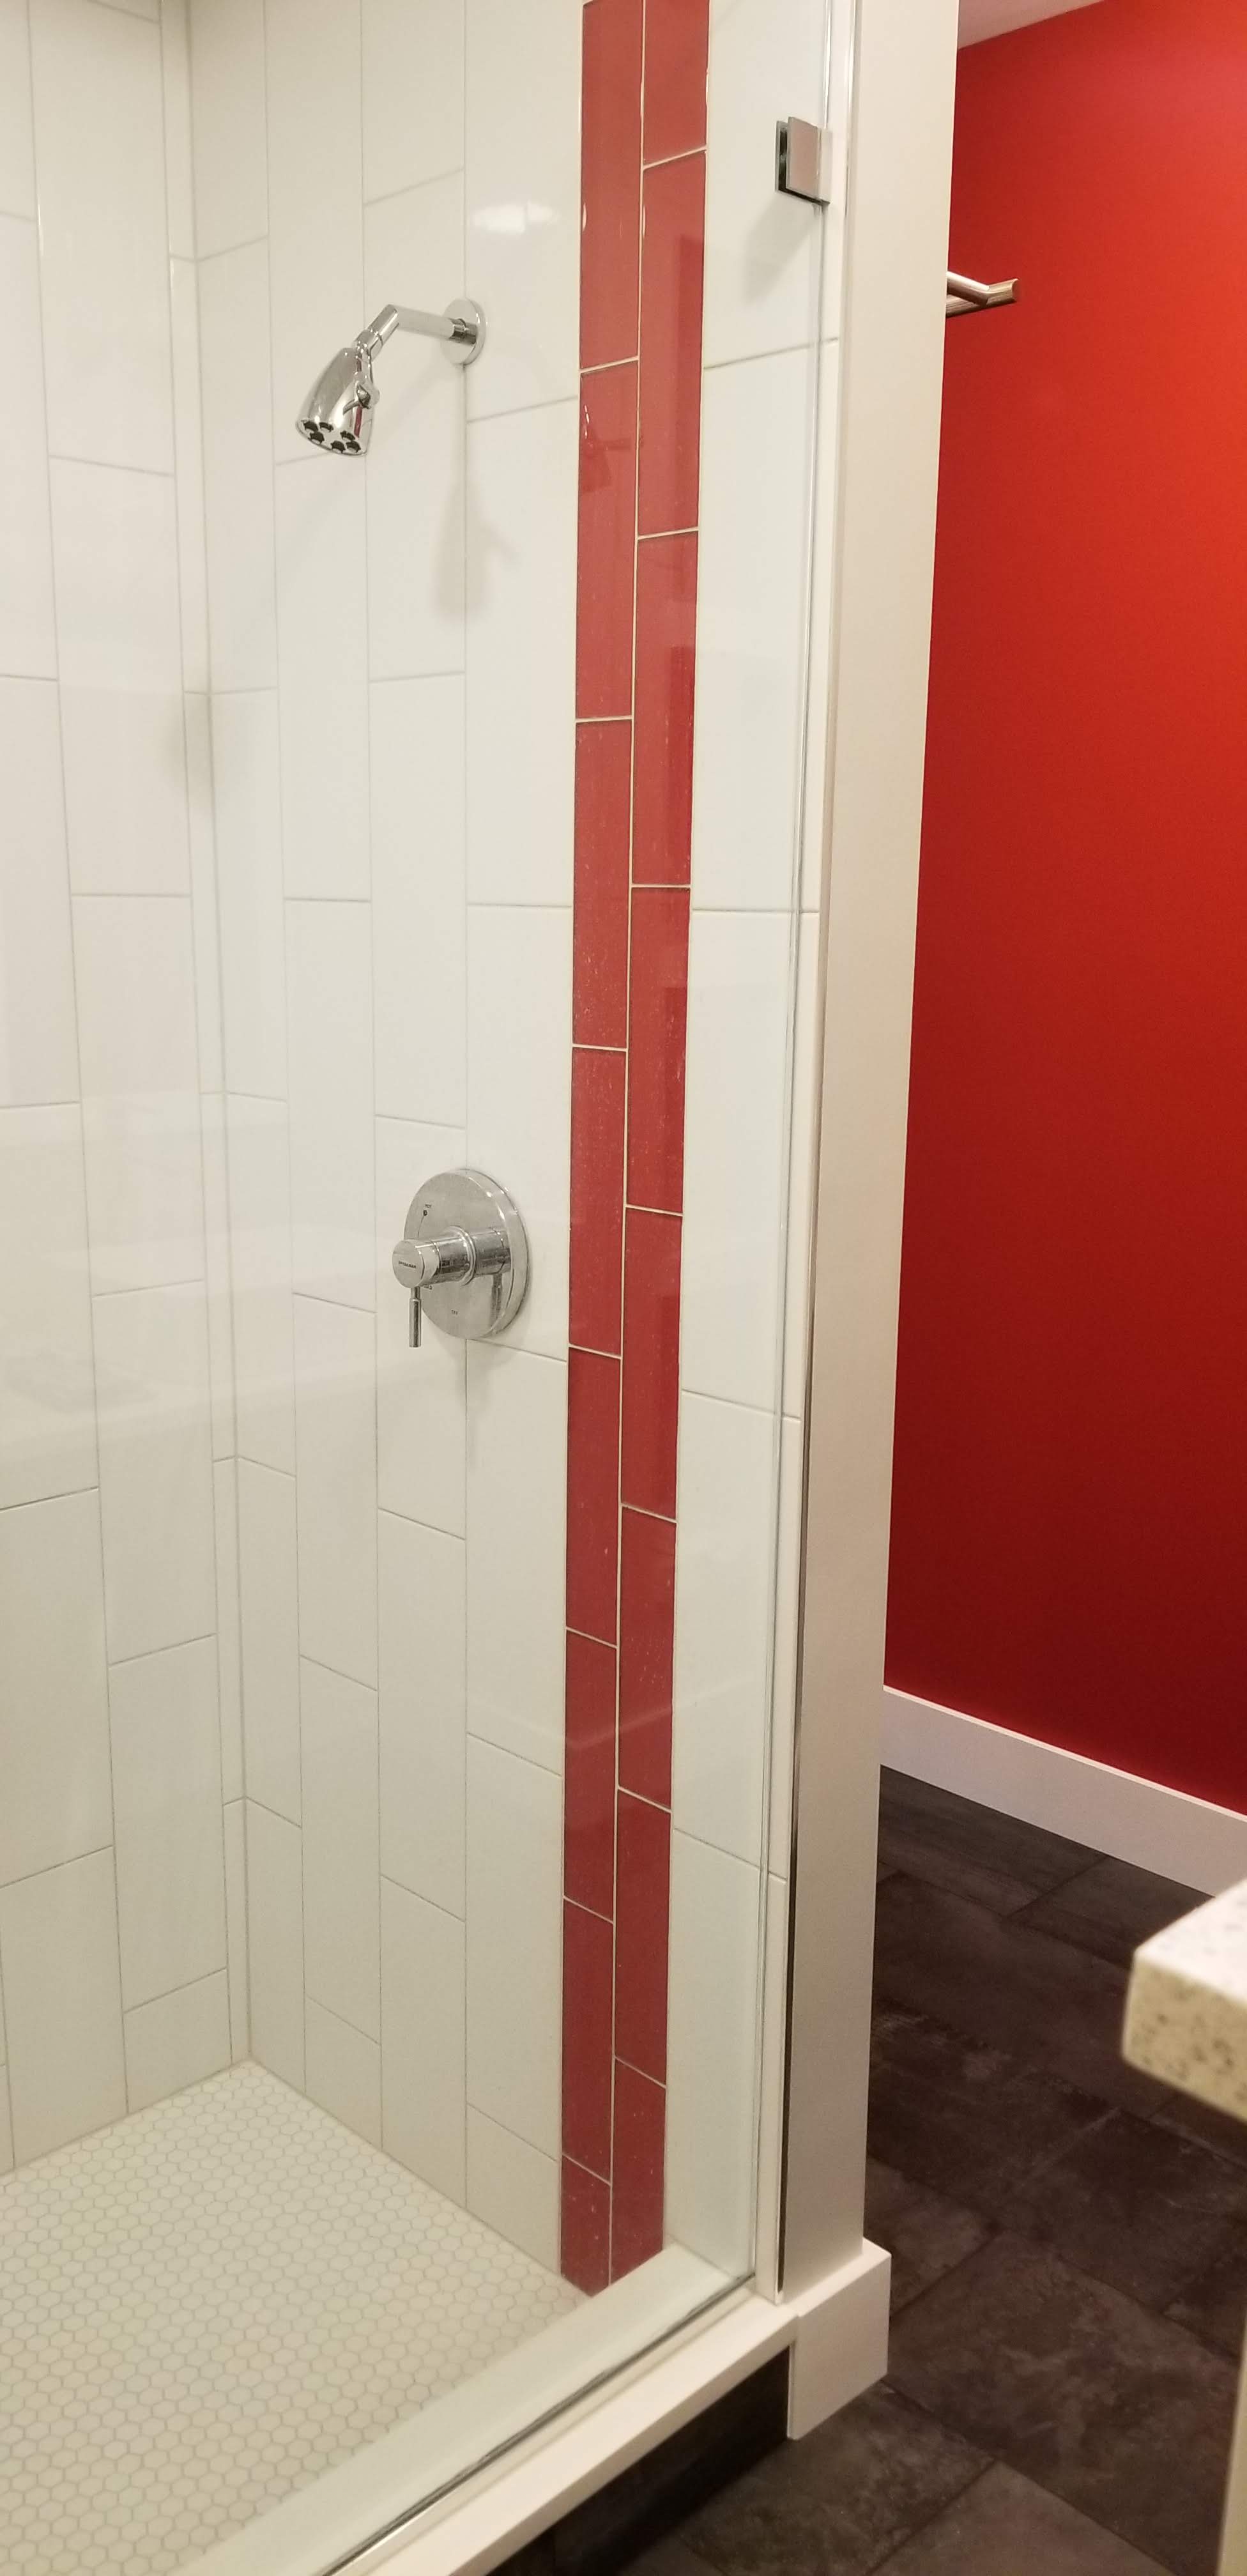
In both showers we used a Speakman shower head and valve. They’re reasonably priced, and they have a good reputation for durability. We had seen them used in hotels on a couple of vacations prior to our build. We were surprised by their quality, especially for a brand we had never previously heard of before.
All of our plumbing fixtures, including these shower heads, are Water Sense certified in order to keep our total water usage to a minimum, while also hopefully reducing our annual water bill.
Although I’ve read complaints from users online about their dissatisfaction with a lower flow shower head — some even going so far as to remove the flow restrictor inside the head in order to increase the flow of water — we couldn’t be happier with our shower heads, faucets, and toilets. So far, at least, we’ve had zero issues with any of these Water Sense certified fixtures.
Main bathroom niche with red glass accent:
Main bathroom floor in the weathered black tile:
A second view of the black tile as it meets up with the hickory flooring in the main bedroom:
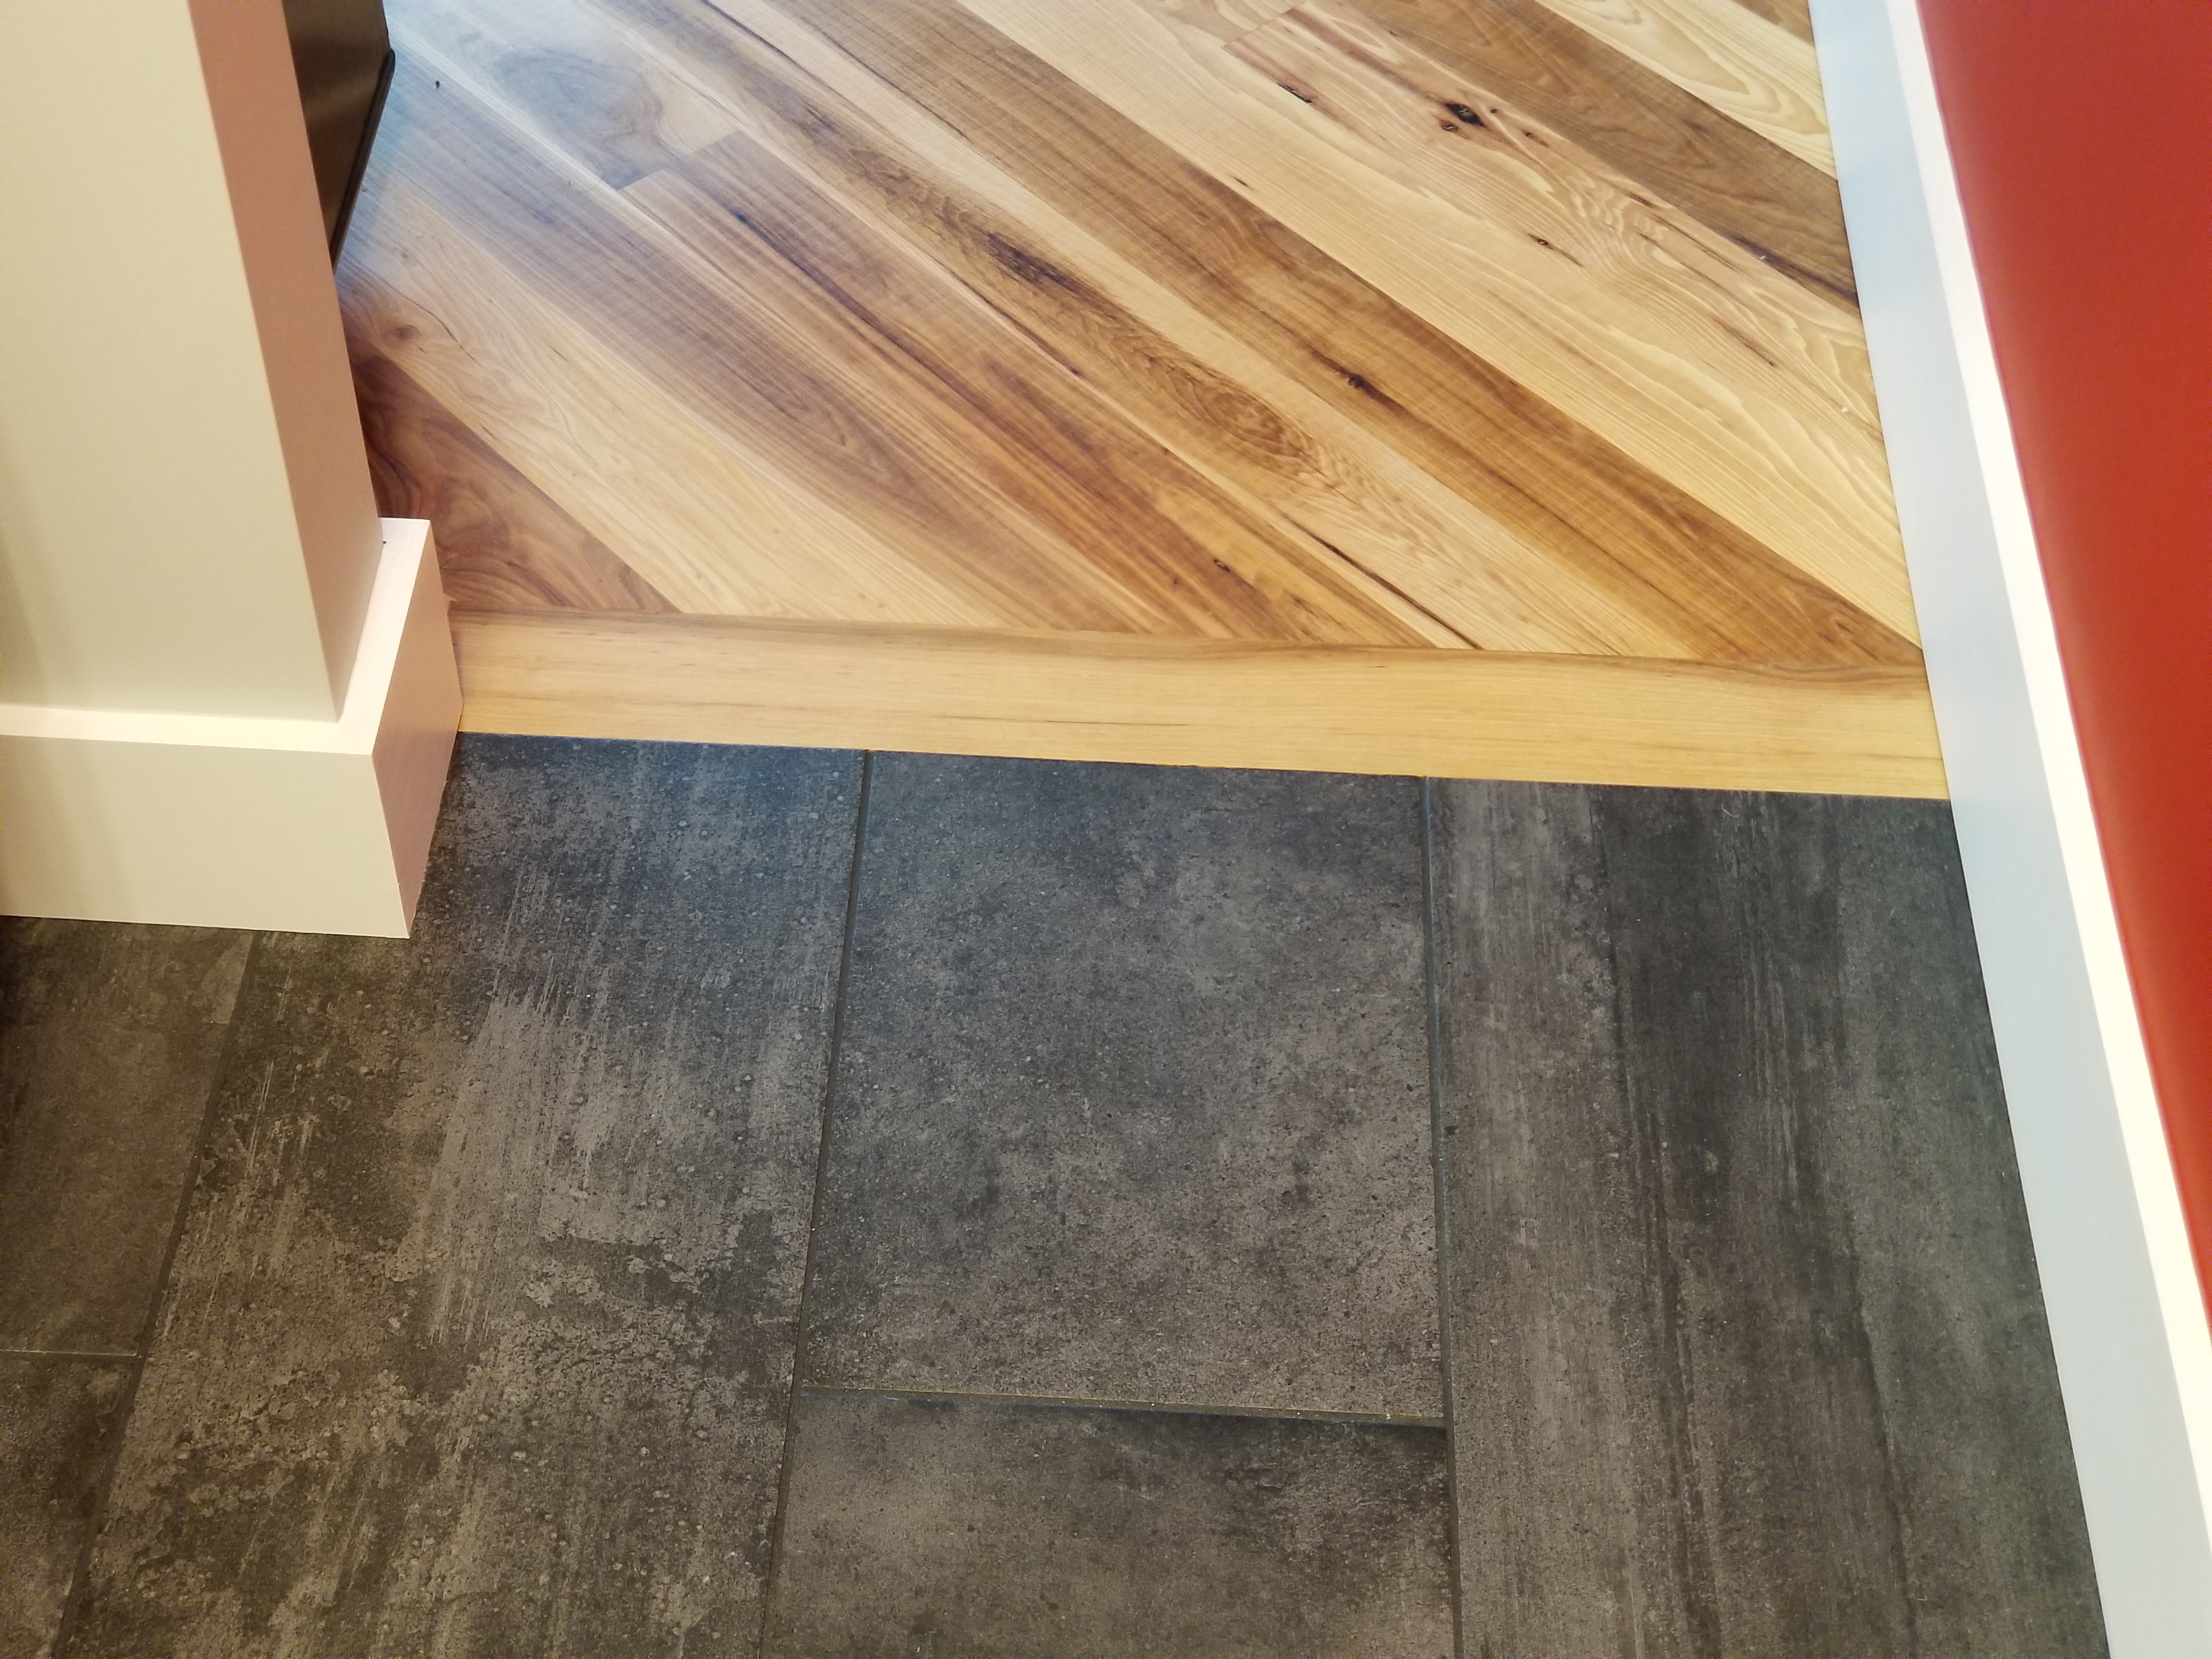
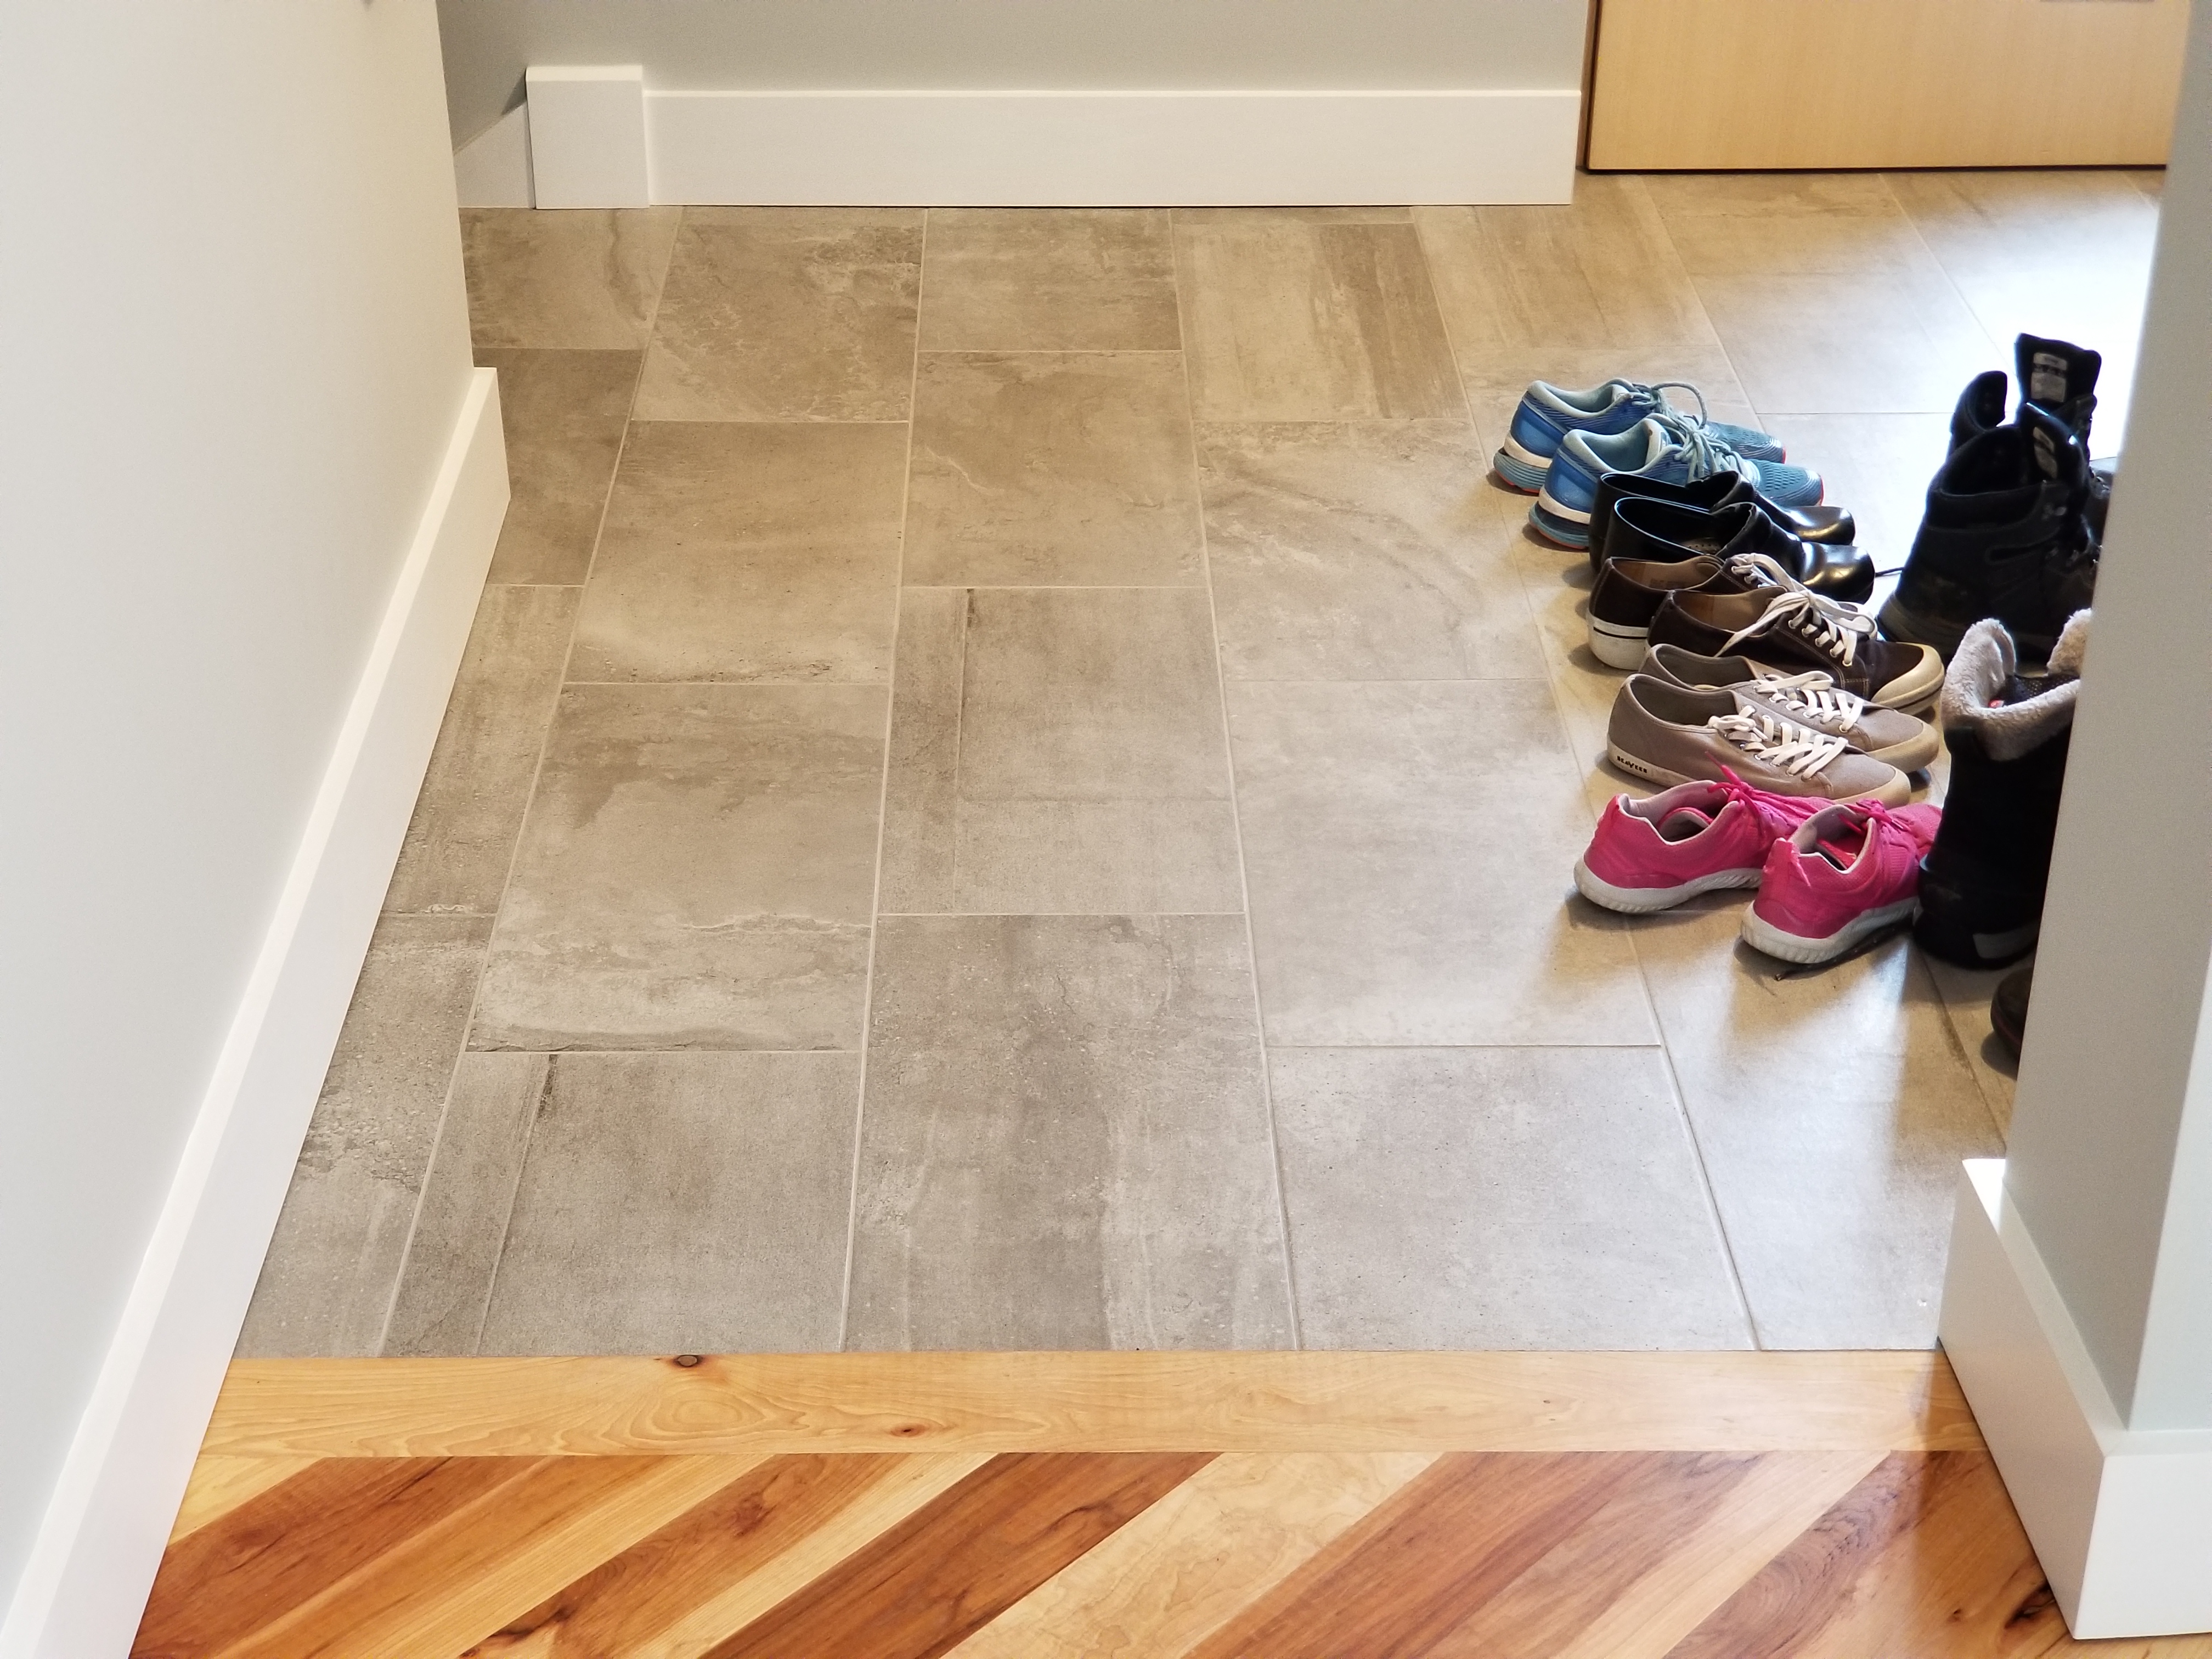
The tile in the entry area as it meets up with the hickory wood flooring:
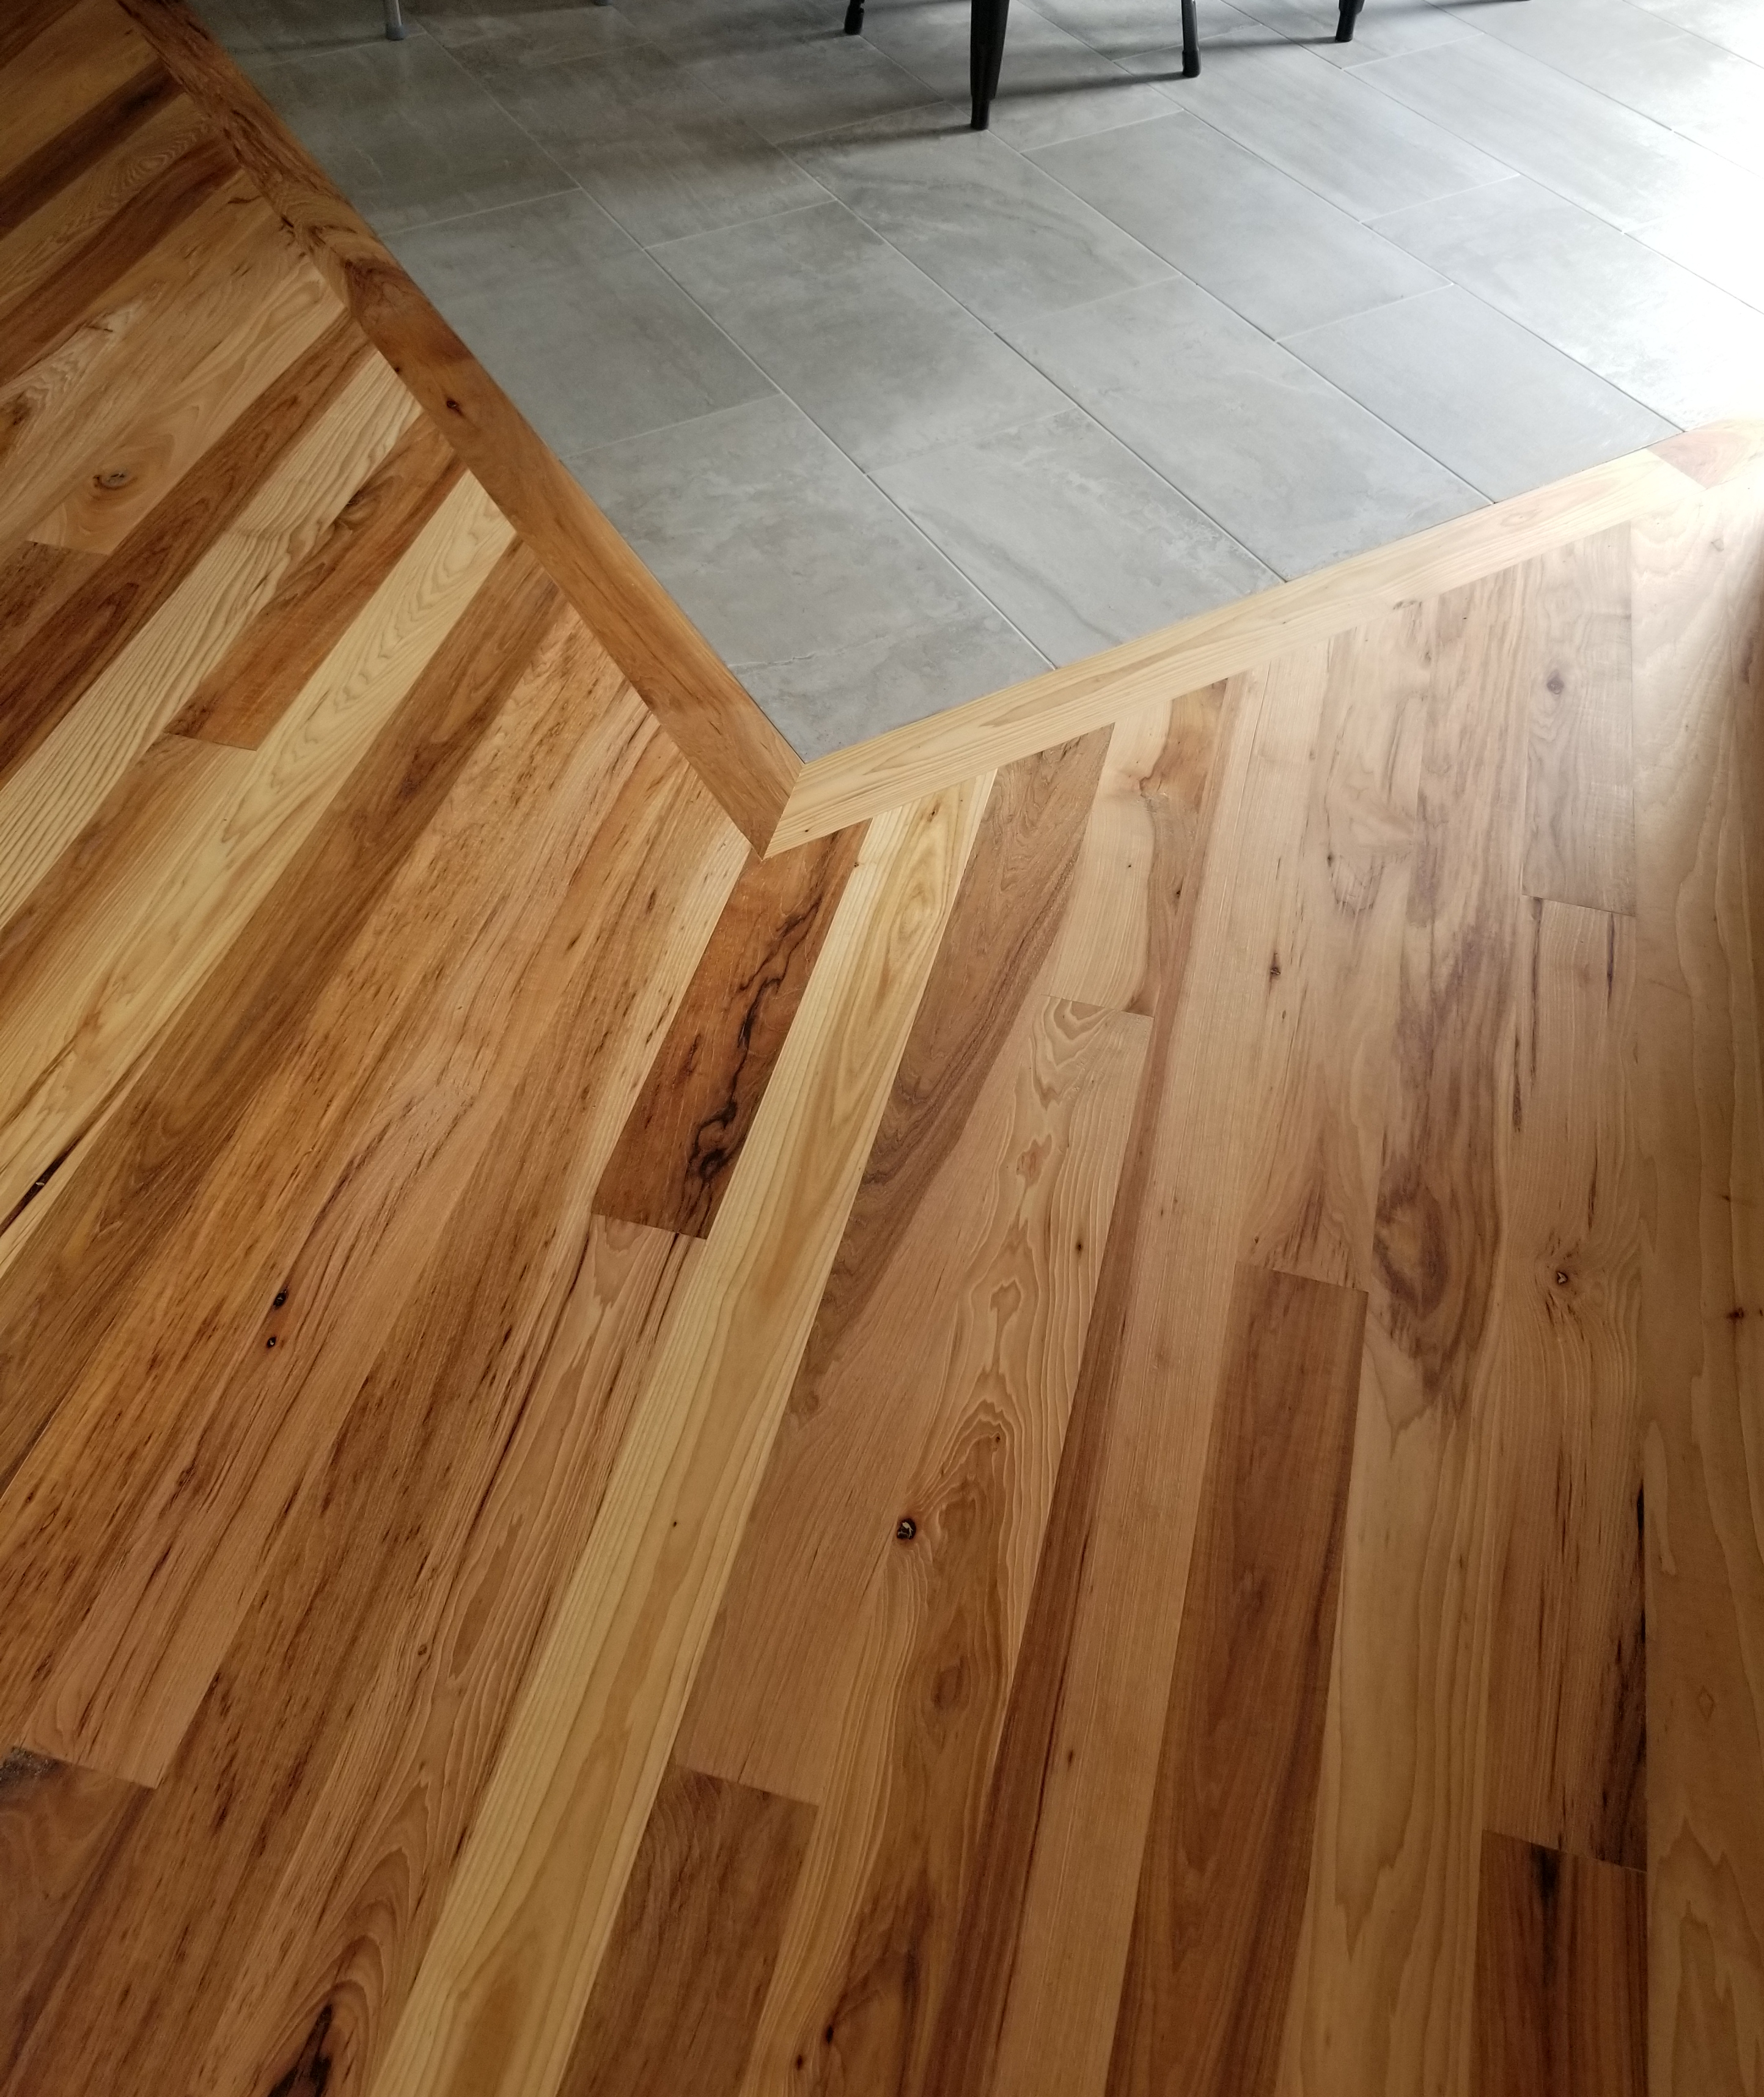
The hickory meeting up with the kitchen tile:
With all of our flooring complete on the main floor, the only area left to finish up was our basement floor. I’ll discuss the decorative finish we came up with for the concrete slab in the next blog post.


Did you do all the tiling and underlayment yourself, or did you subcontract it out? If you did it yourself, what was the most challenging parts?
LikeLike
We hired someone to do the tile work, but I did tile work in our last home. The toughest part is getting tiles to lay flat without lippage, and cleaning up the grout without weakening its strength.
LikeLike
Great post as always.
What was your waterproofing system in your showers? Was it poly behind concrete backer? Did you use epoxy grout or keep to the normal? I have concrete board without poly but I am looking at using ardex 8+9 on walls and the schluter fleece membrane with ardex on the seamed membrane for the floors.
LikeLike
Thank you!
We used the USG system, which is basically just a copycat product of the Schluter system — rigid foam board with a waterproof face. Rigid foam shower pan for each shower floor as well.
I haven’t heard of the Ardex 8+9 system, but it certainly looks like it would be a durable solution. RedGard would be yet another option, one that’s readily available in my area:
https://www.custombuildingproducts.com/products/surface-preparation/waterproofing-membranes-underlayments/redgard.aspx
The last time I looked it up, the USG system wasn’t available nationally yet. During construction I had heard that someone from Schluter had moved over to USG to help them develop a competing line of tiling underlayment products. They certainly look very similar.
We didn’t use the epoxy grout, instead sealing the grout after it was installed. So far the sealer is holding up well.
Green Building Advisor had a recent article about polyurethane grout as another durable option (the epoxy has a bad reputation in terms of ease of installation):
https://www.greenbuildingadvisor.com/article/whats-the-most-durable-grout
LikeLike
Hi Eric, did you ever consider doing radiant heat flooring? Just curious. thanks
LikeLike
We didn’t consider radiant, even just for the bathrooms, mainly because I kept reading about Passive House projects and the consensus seemed to be that since the heating load is so low there wasn’t much benefit with radiant heat.
Also, the concern was that the system would run at such a low level that homeowners don’t get to enjoy the normal ‘warm toes’ effect usually associated with radiant heat.
Since our build, I have read about Passive House builds that did incorporate radiant heat in bathrooms. Sometimes people will use towel warmers as an option too. Either way, it wouldn’t take much supplemental heat to keep a bathroom warm.
LikeLike
Ok, thanks for clarifying. I don’t think I will push for passive house so I look forward to doing radiant. Thanks
LikeLike