
Our attic is designed mainly to hold our blown-in insulation (a future post will go over the details), as opposed to a place for running HVAC equipment, conduit for electric, or as a potential area for carving out additional storage space.
Nevertheless, in order to have access to our attic for future maintenance or repairs, I installed a well-insulated attic hatch in our master bedroom closet ceiling.
Following Passive House and Pretty Good House principles required trying to protect the thermal envelope, even in this relatively small area, in order to avoid what can be a notorious point of air leakage and heat loss (i.e., the stack effect).
There were two main products I considered using for this:
Battic Door (R-50 / without ladder)
They also have a product that allows for a built-in ladder for easier access to the attic (you won’t need to drag your ladder in from the garage) while also maintaining a high R-value:
The other product I considered using was from ESS Energy Products:
Energy Guardian Push Up Hatch Cover
We ended up going with the Battic product, which I purchased through the Home Depot website (this saved me a trip to the store since it was delivered to site).
Some other products that I’m aware of include:
475 High Performance Building Supply used to sell a Passive House certified version with a fold-down ladder included, but I don’t currently see it listed on their website:
Or this product that also incorporates a ladder is available from Conservation Technology:
Because the Energy Guardian hatch is made out of rigid foam, I thought the Battic door was the better choice since it seemed like it would be a little sturdier and more durable. To be honest, once the product arrived and I unpacked it, I realized it was something I, or anyone with basic carpentry skills, could put together themselves (assuming you have the time).
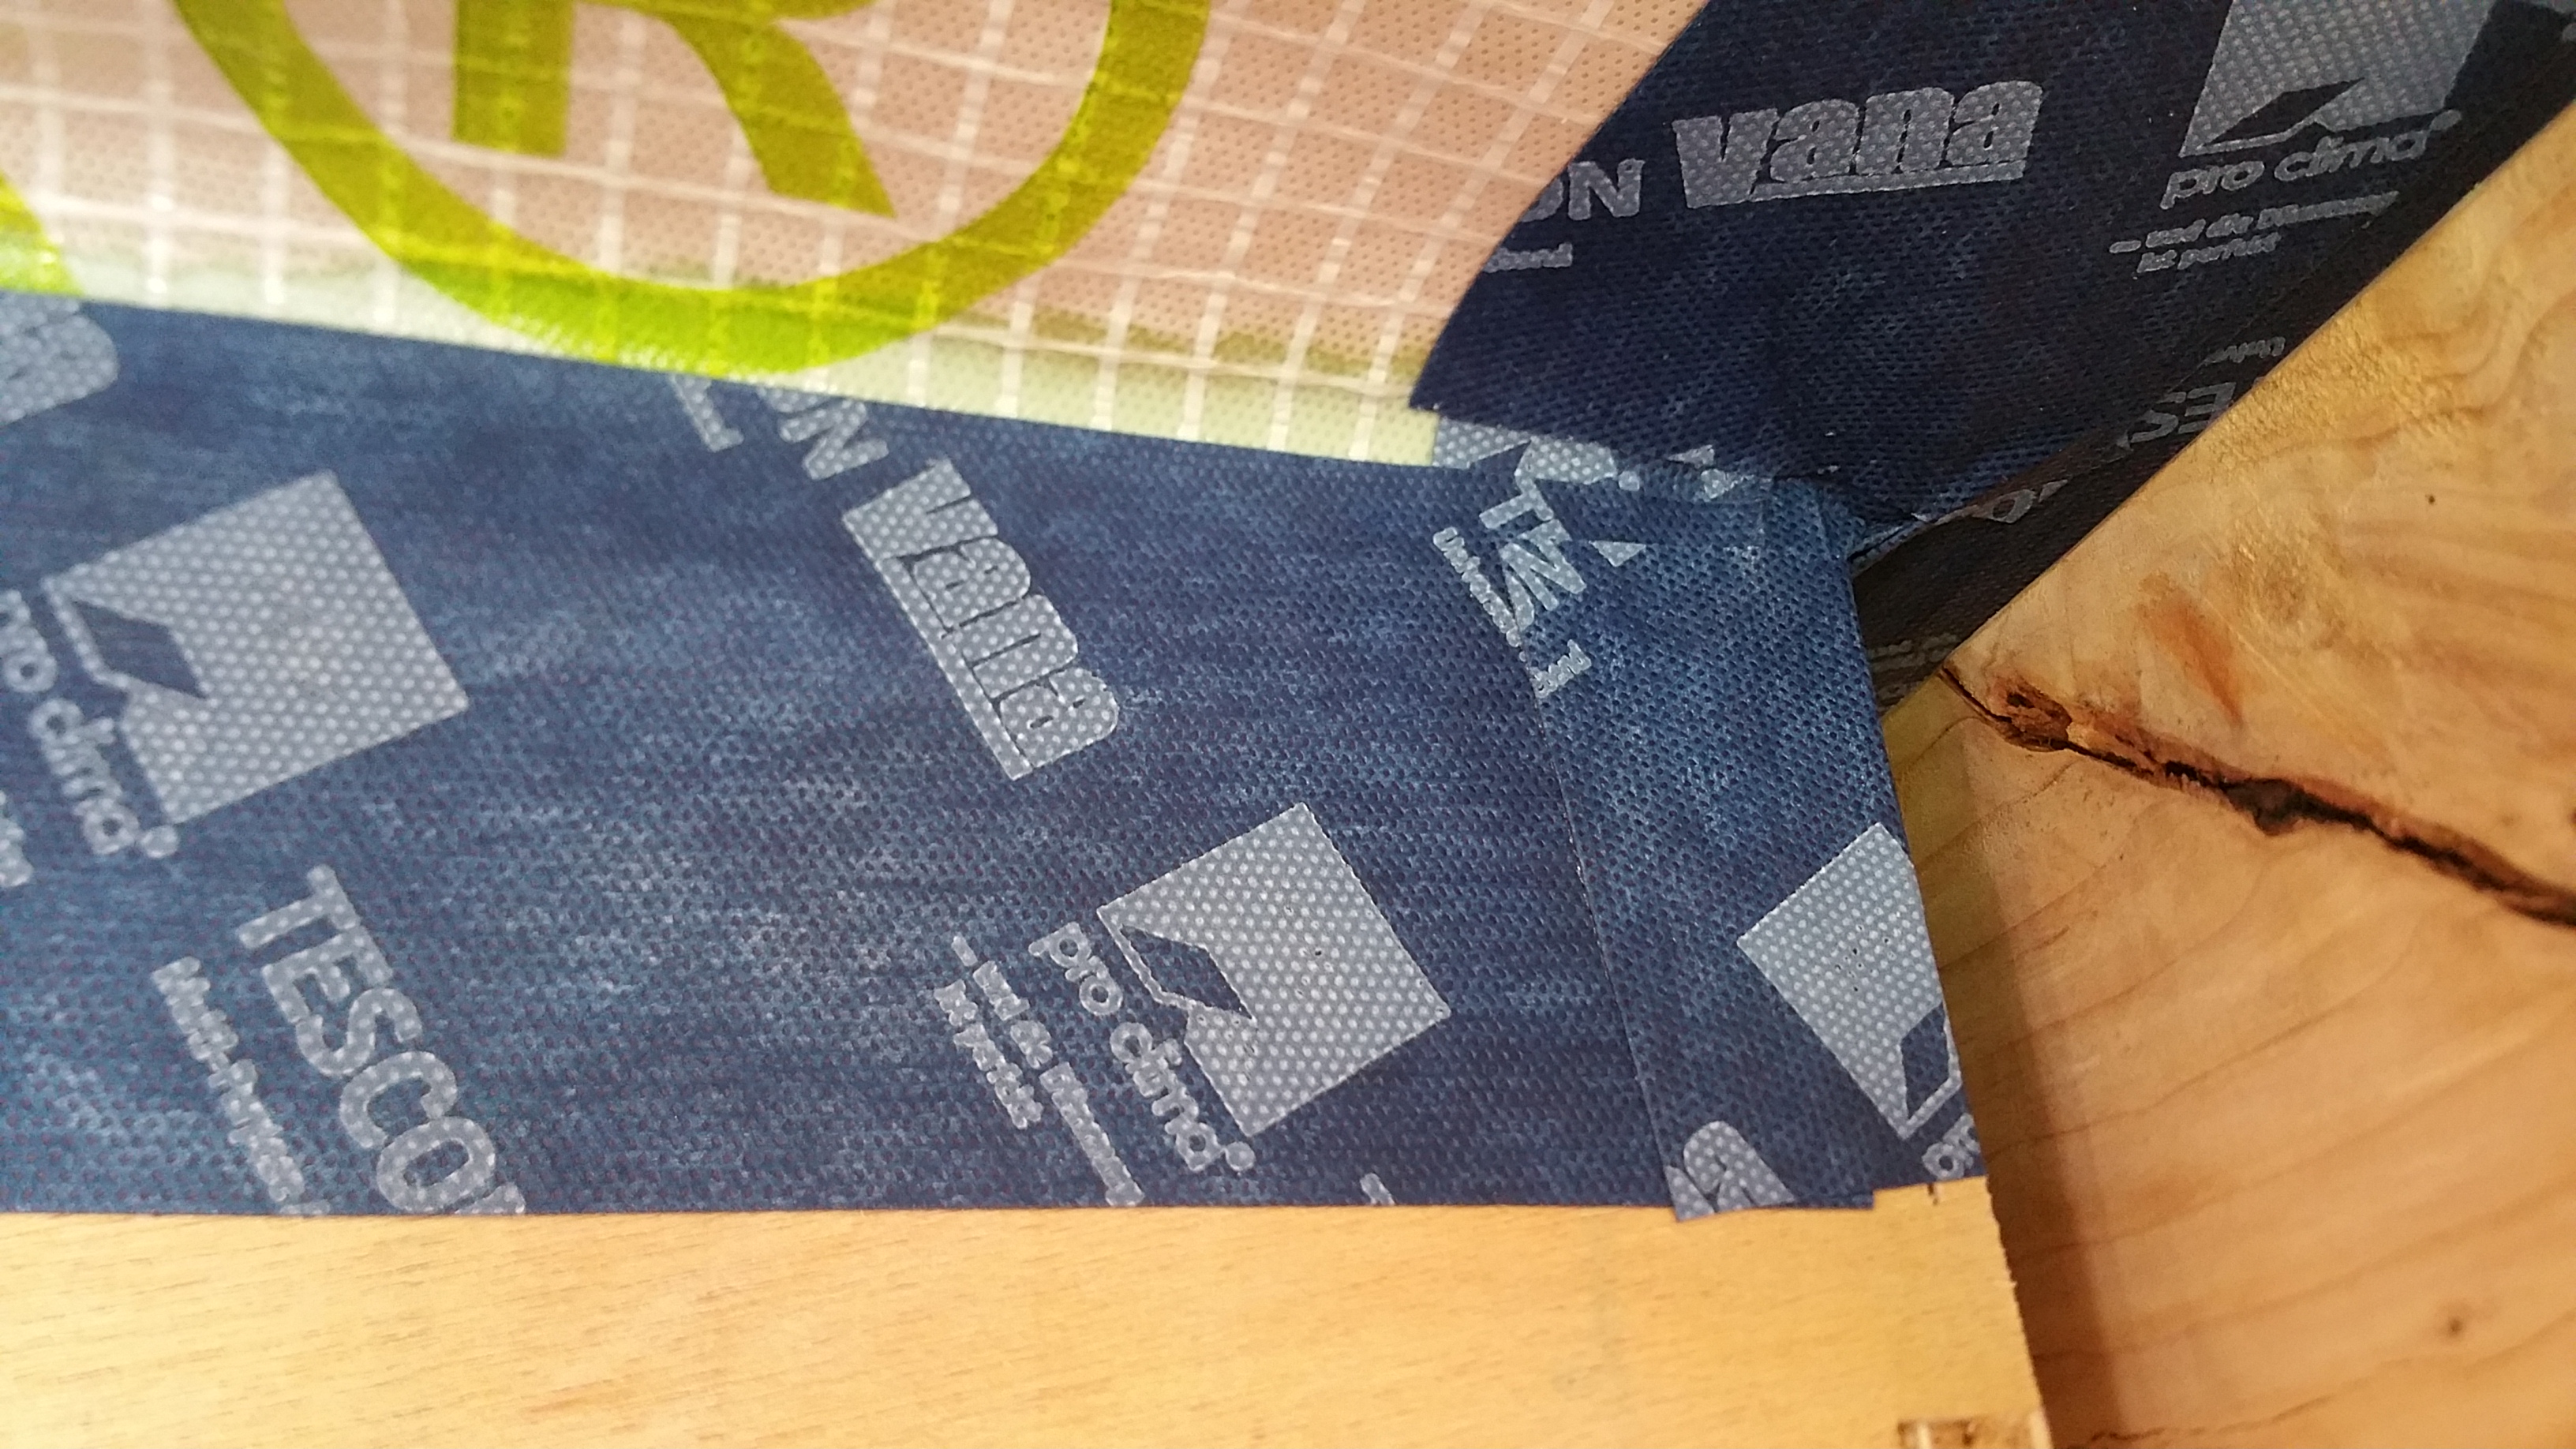
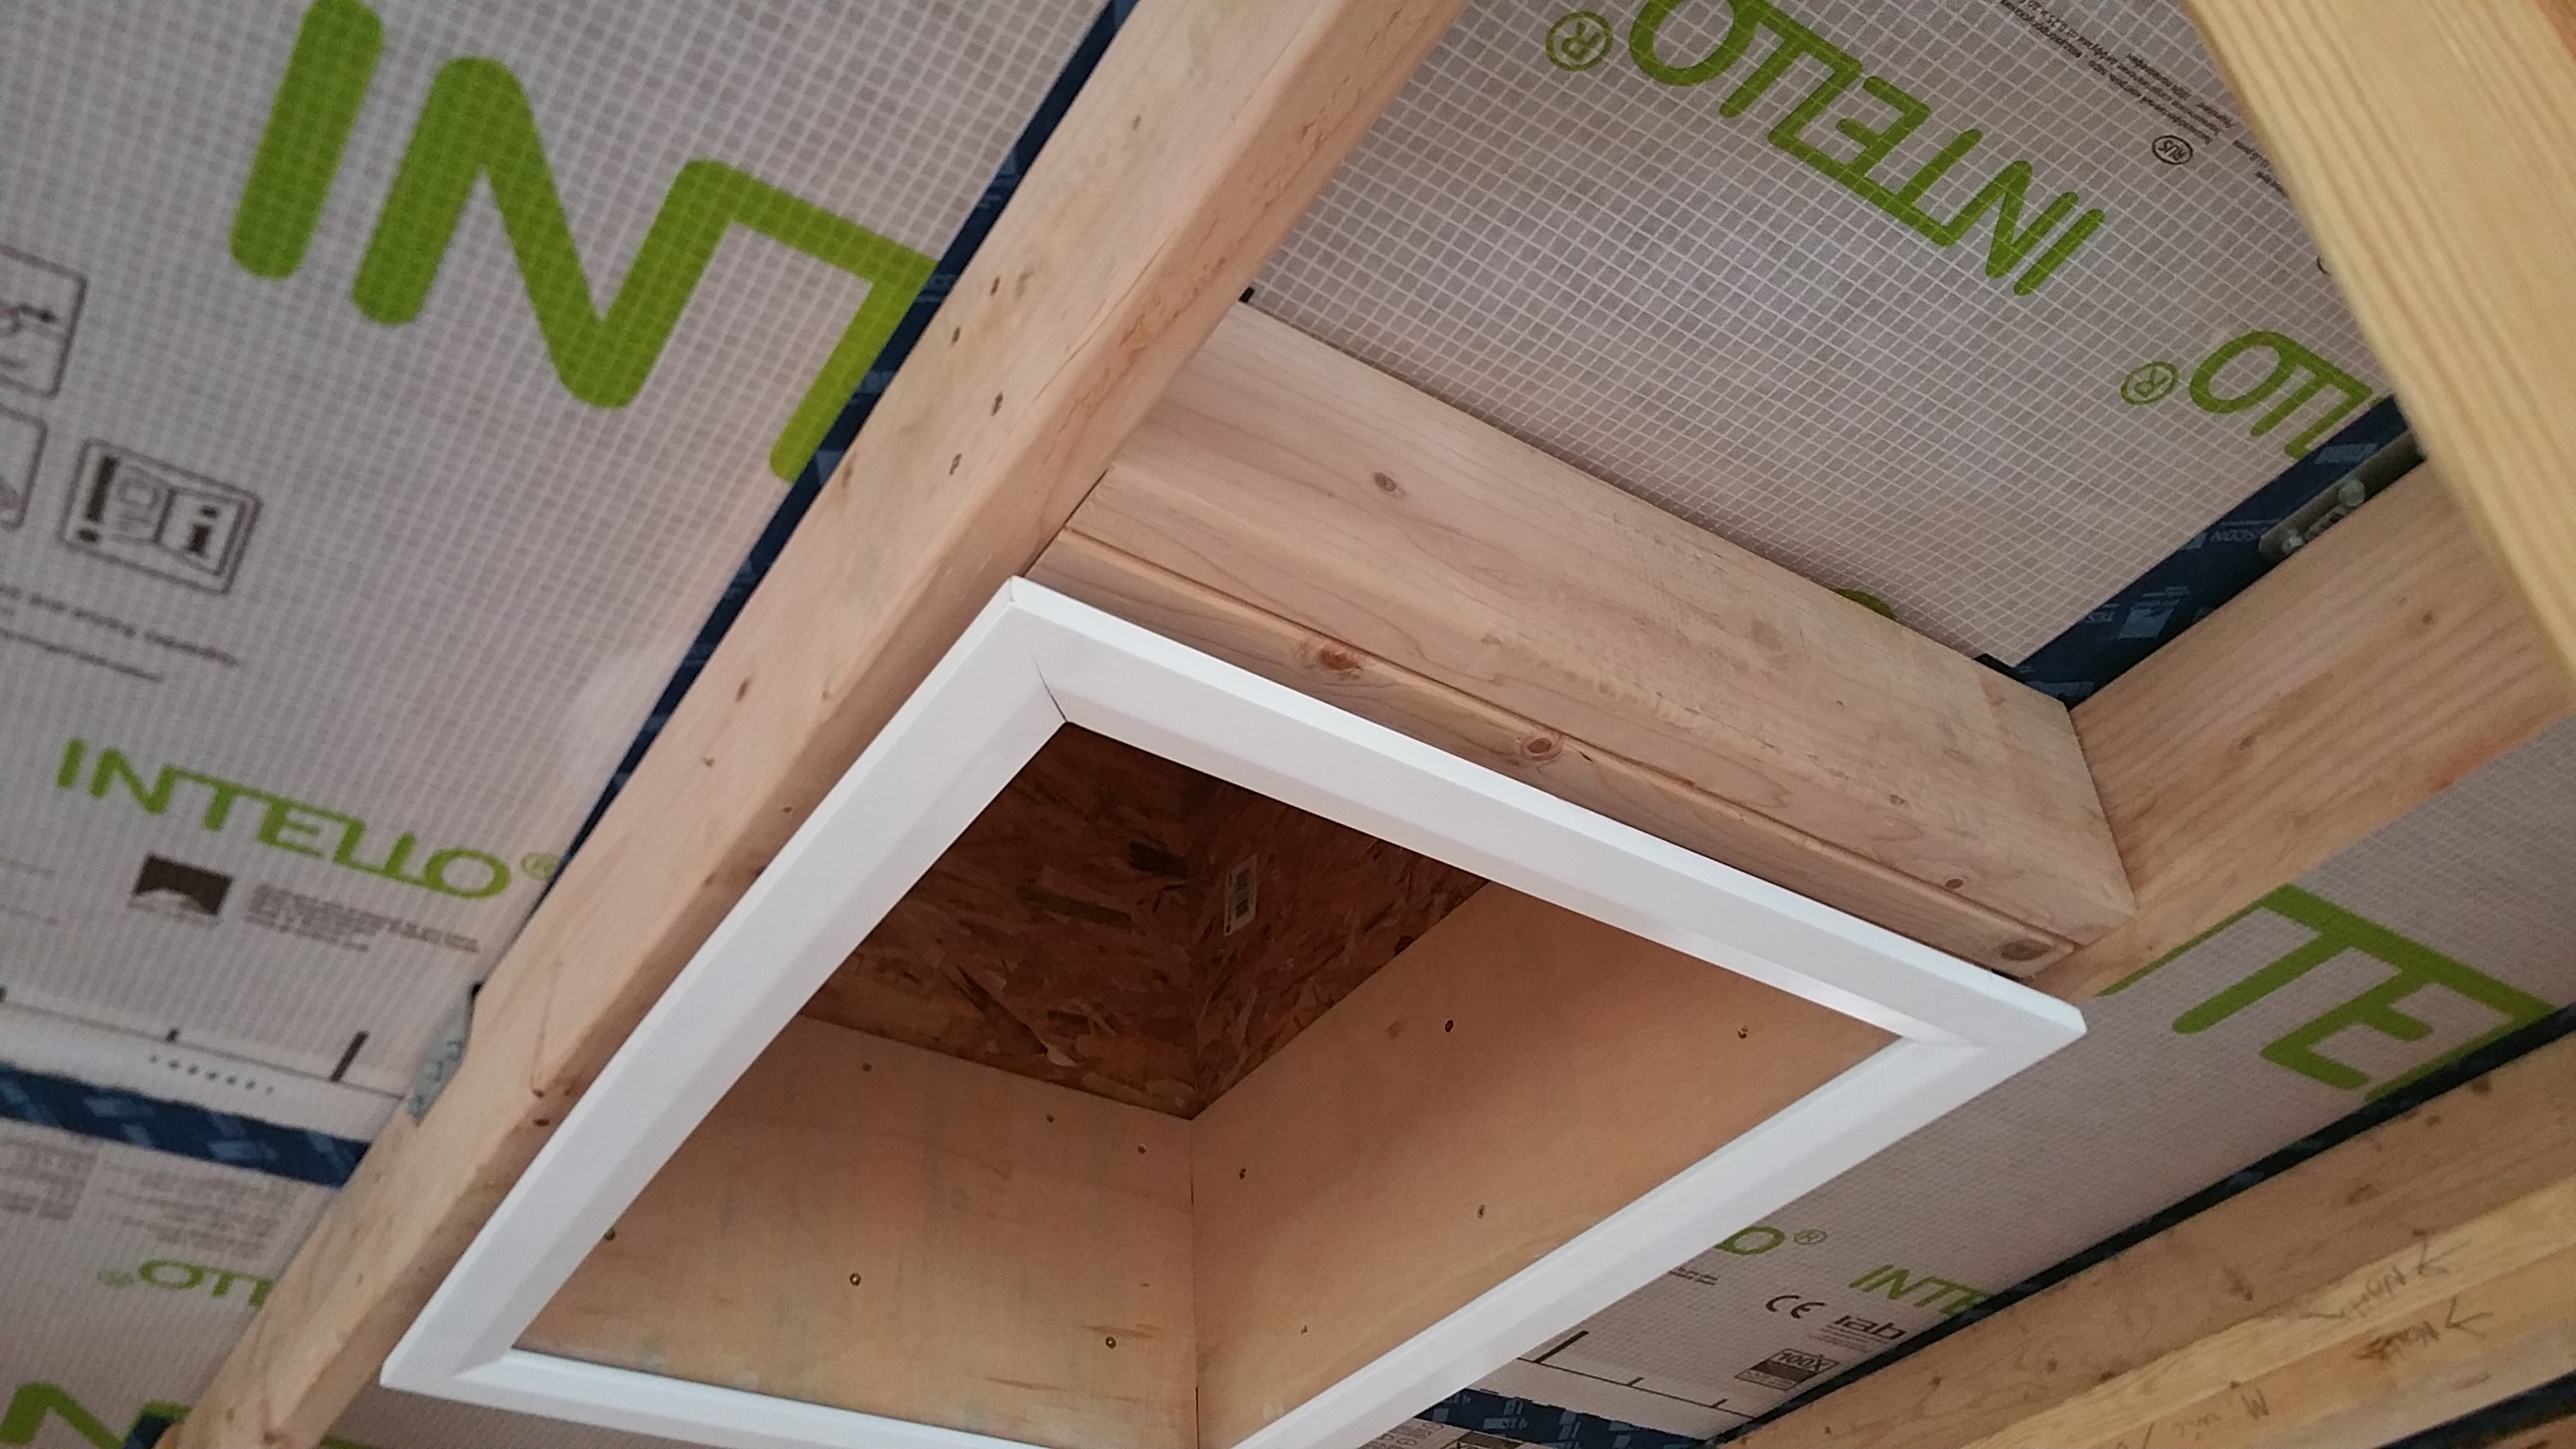
Following the directions, I cut an X in the Intello on the ceiling between two roof trusses (and our 2×6 service core below each truss) in order to establish the opening for the Battic frame.
I folded the cut edges of Intello up into the attic for the two long sides of the Battic frame. For the two shorter sides of the Battic frame it was easier for air sealing to push the Intello down into the living area.
At this point I was able to screw the Battic frame into place.

Once in place, I used a mix of Contega HF Sealant and Tescon Vana tape to air seal the Intello to the Battic frame.
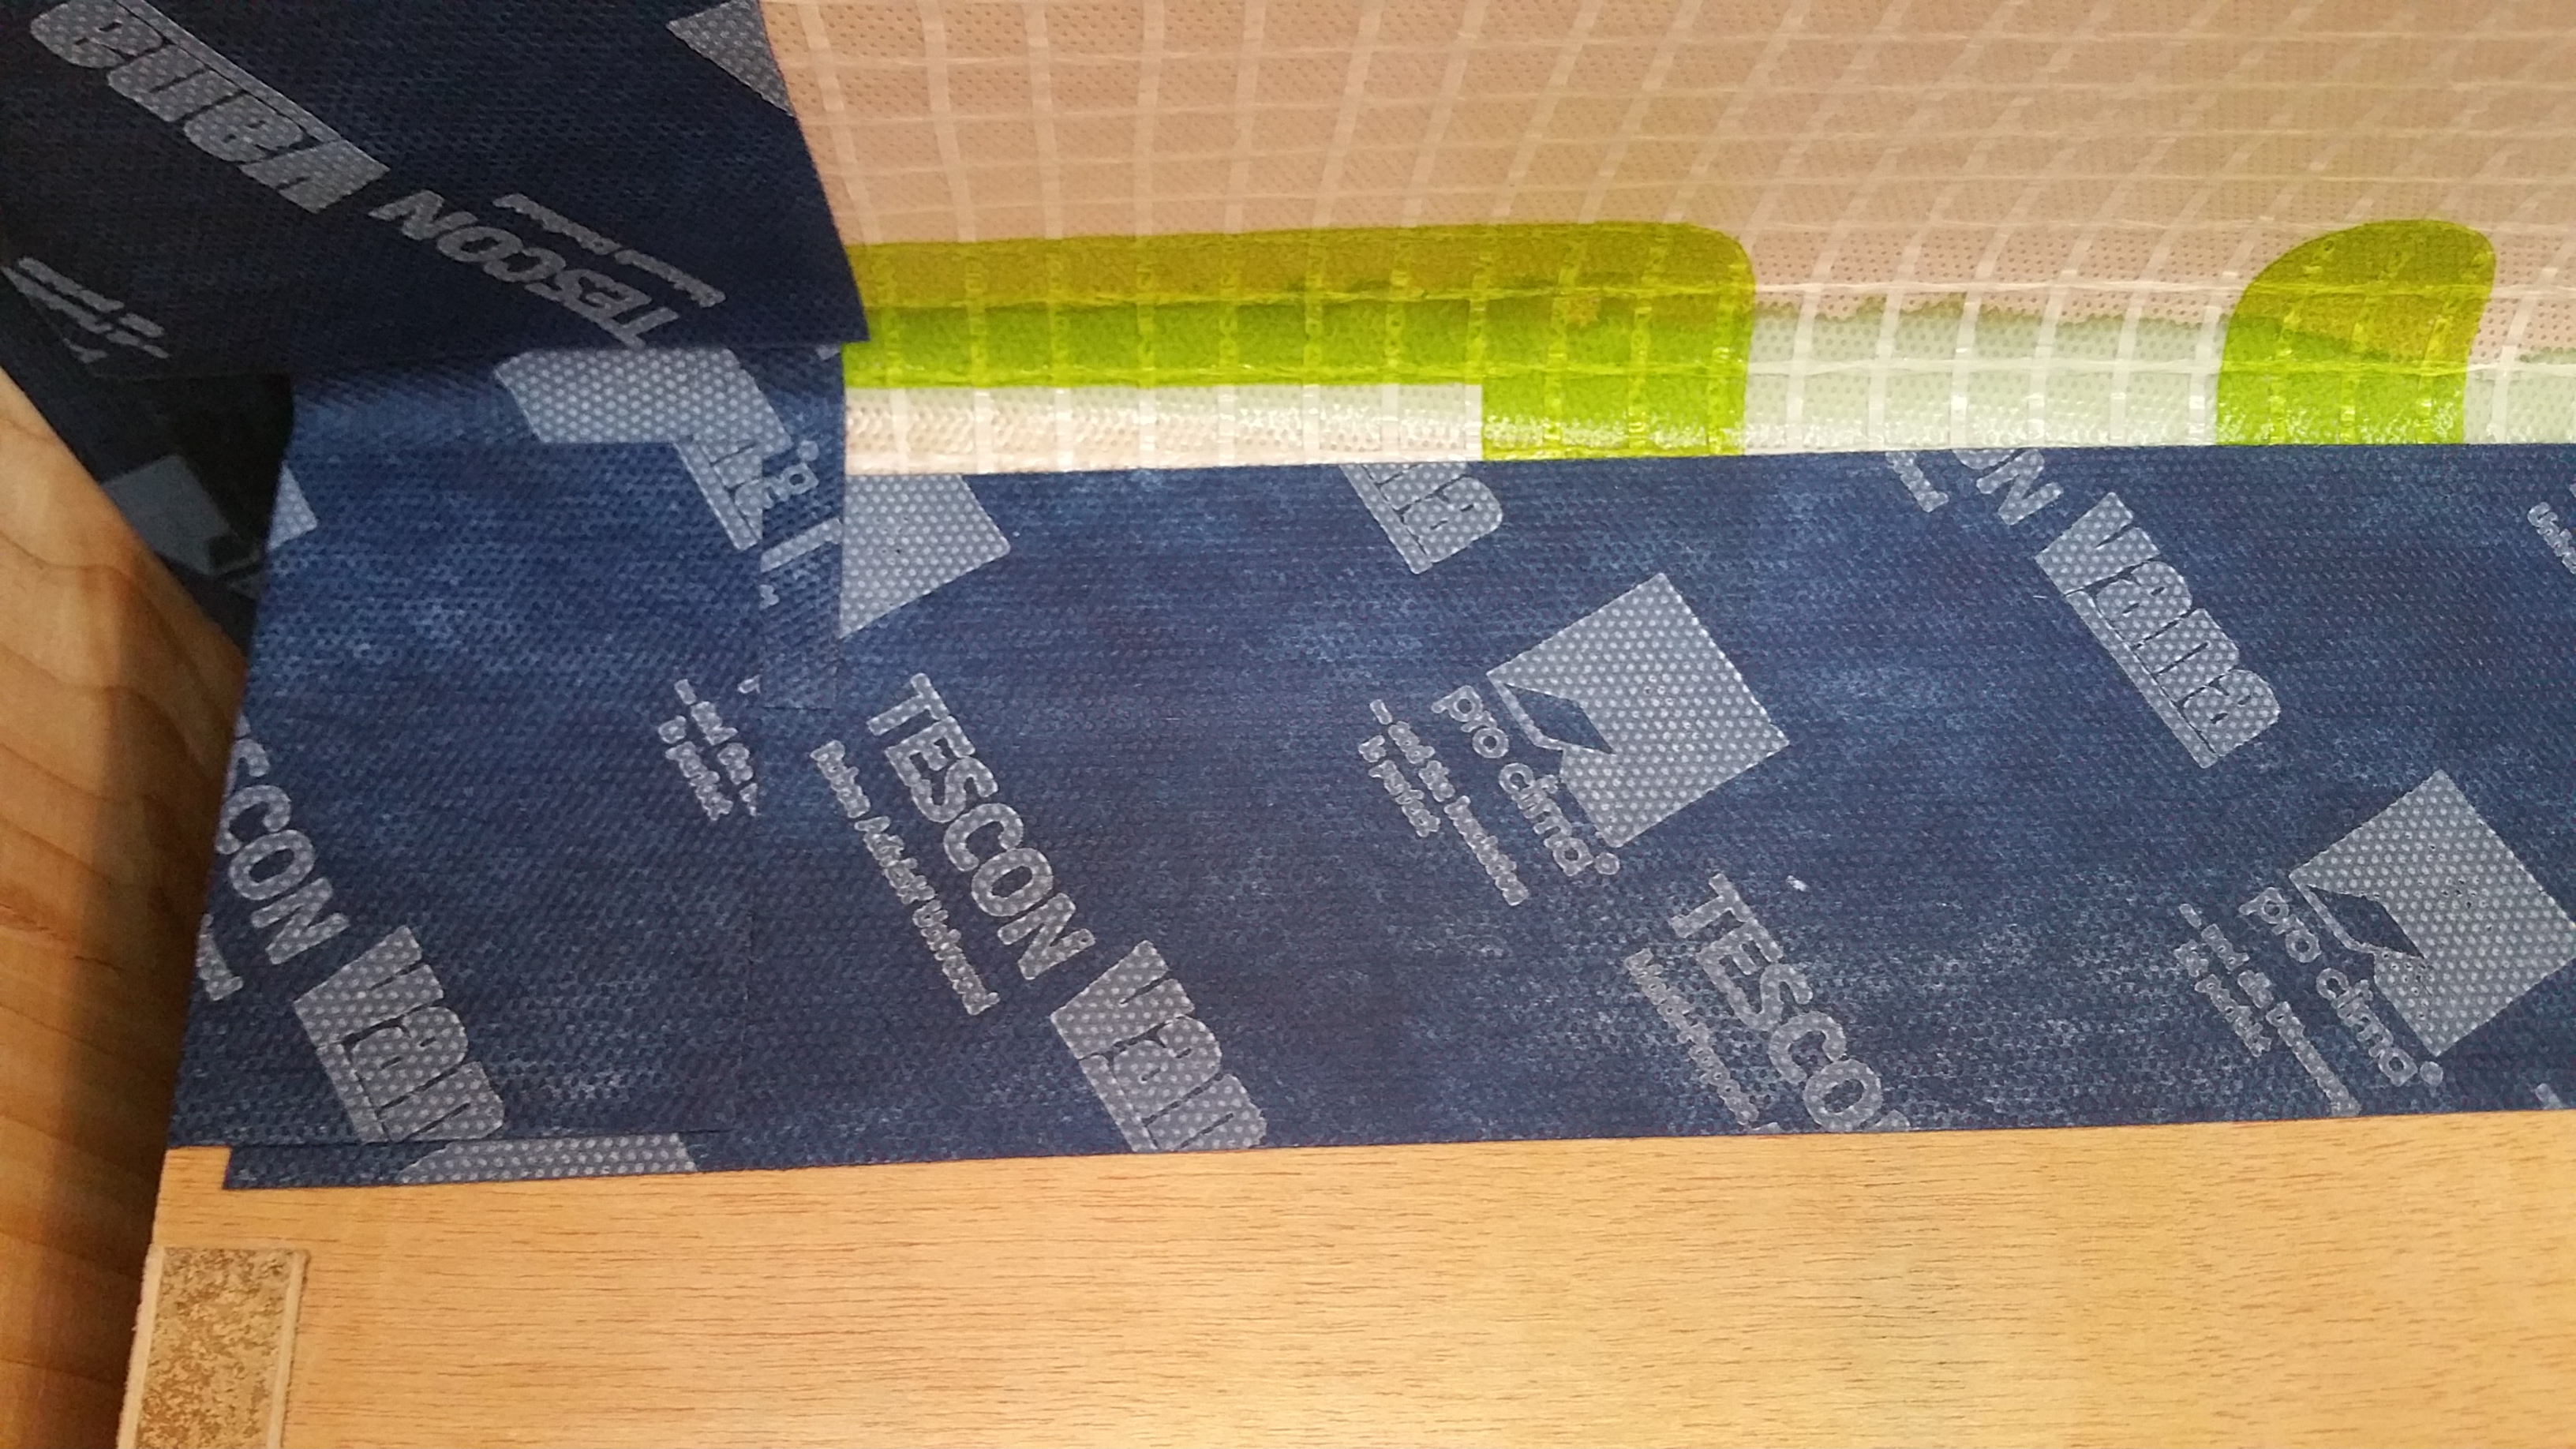

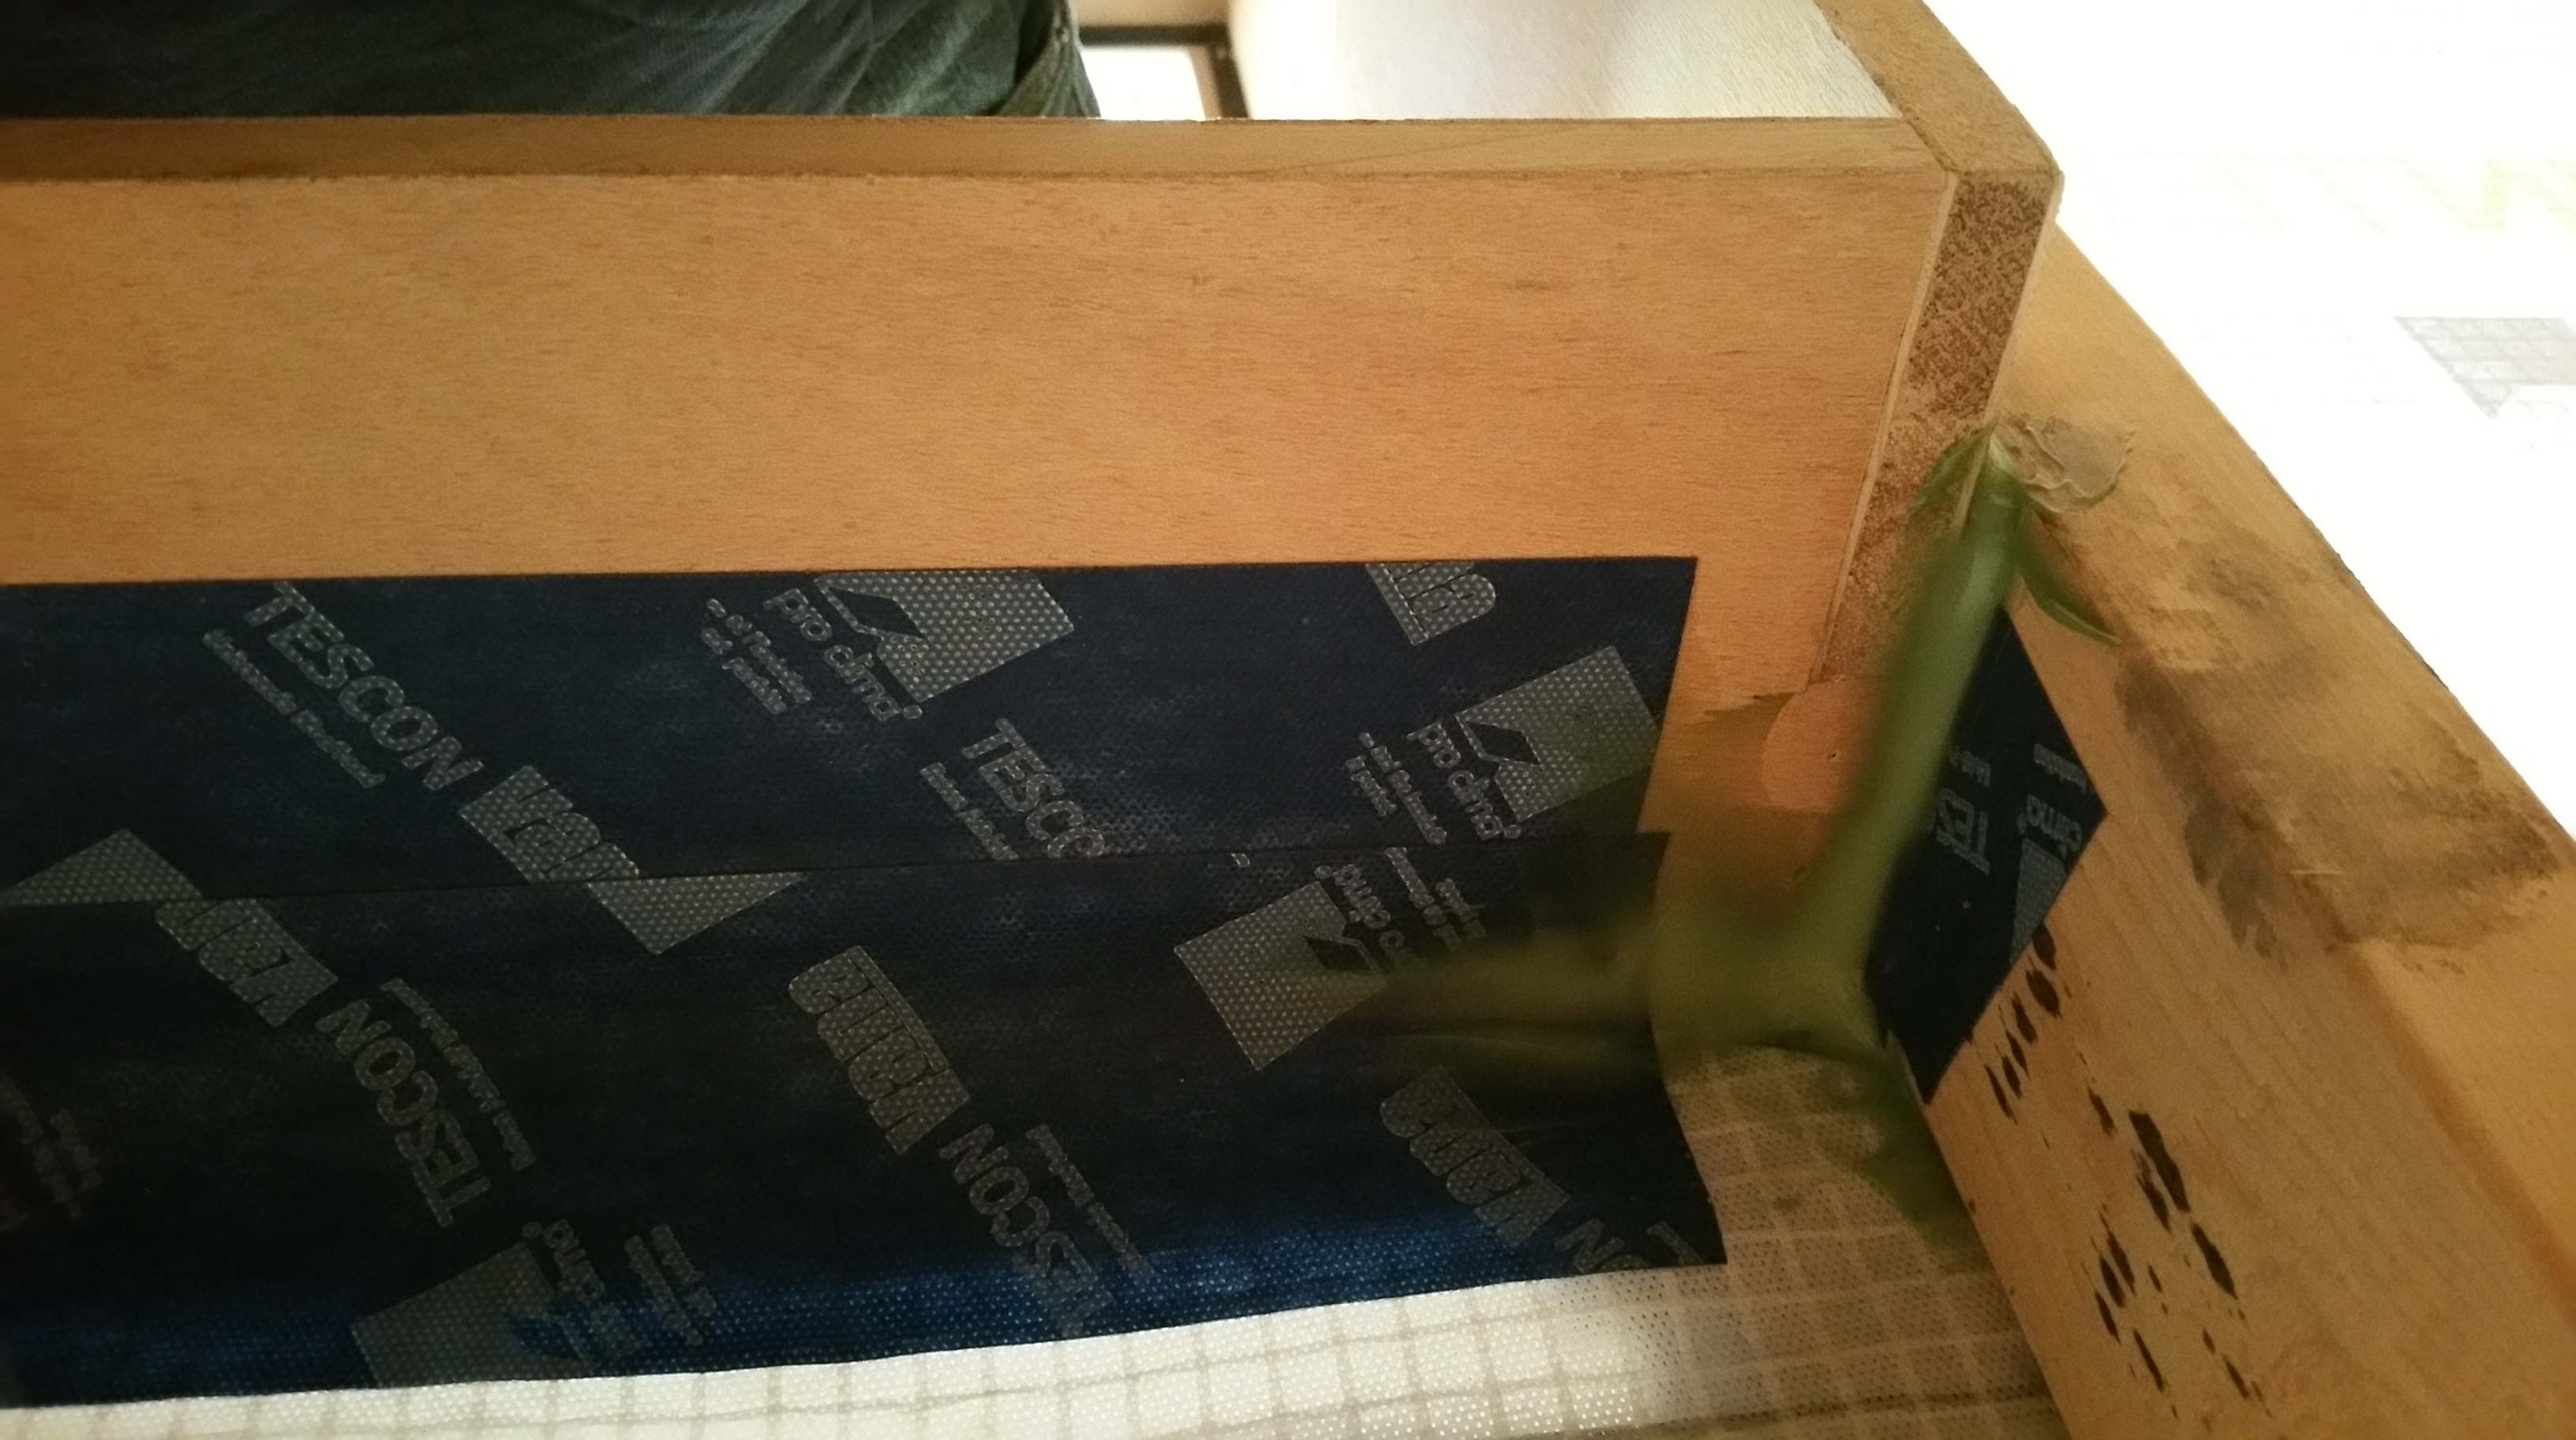
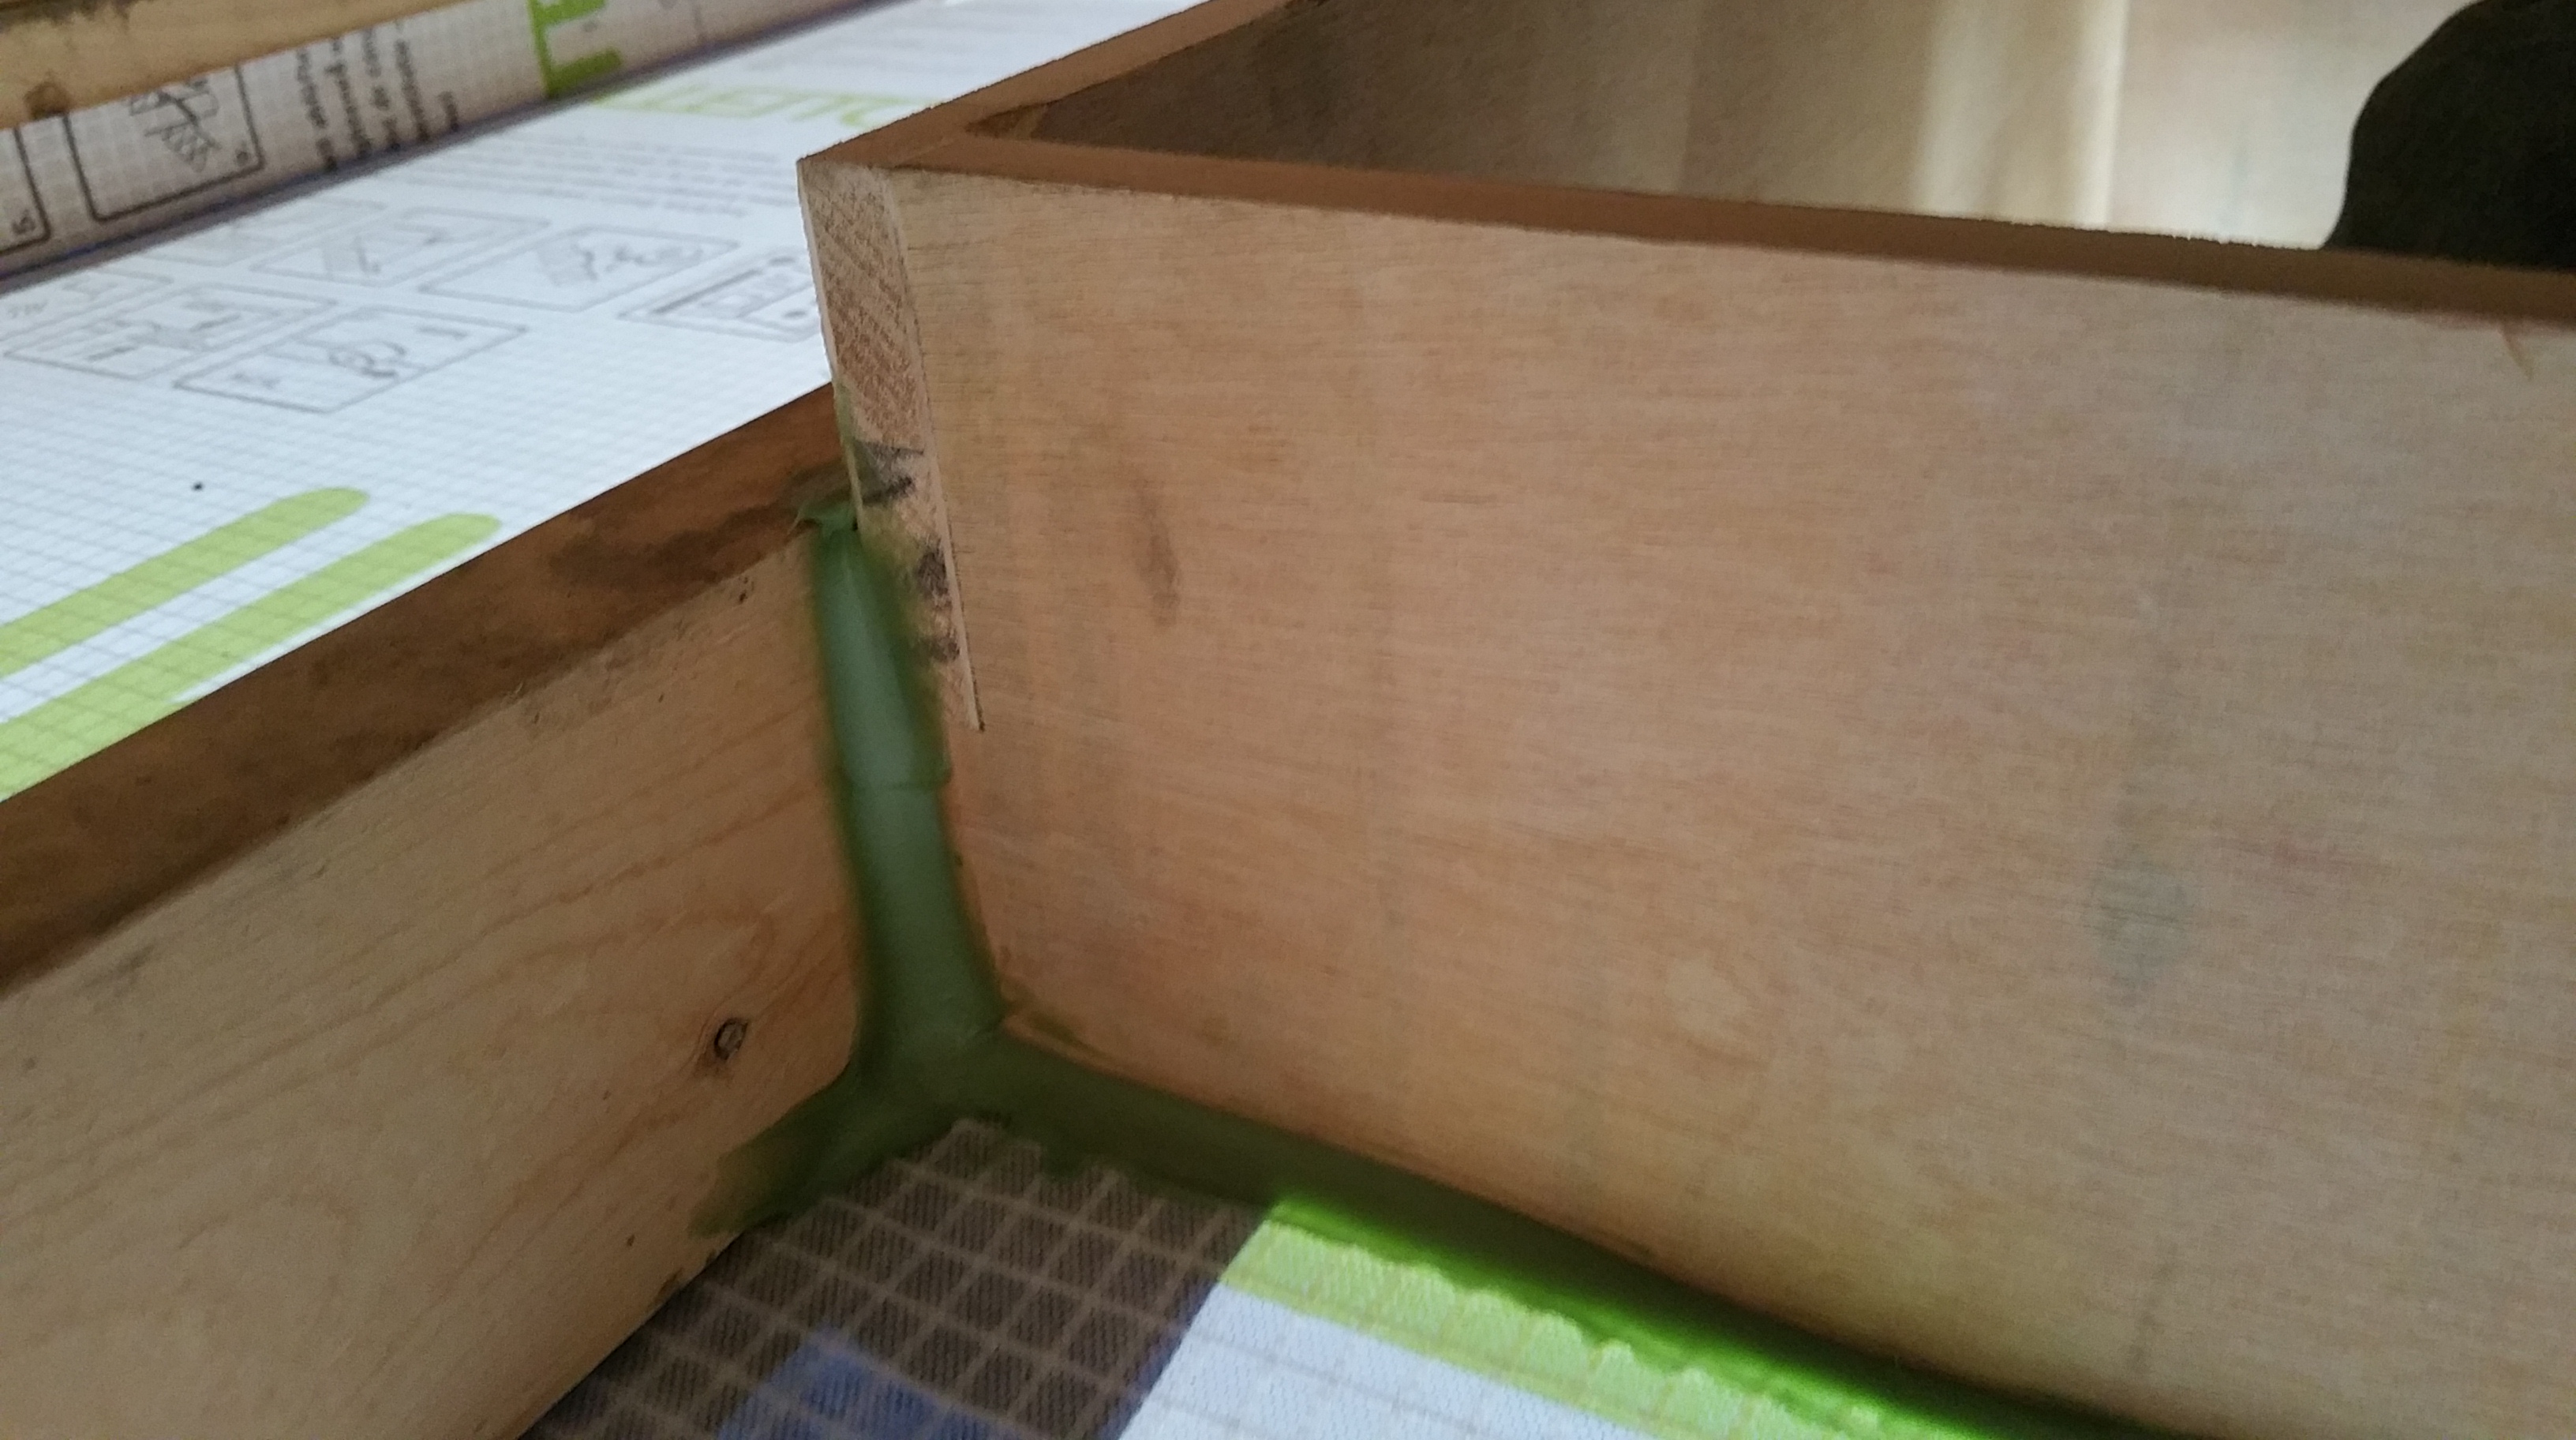
Once the outside perimeter of the Battic frame had been air sealed to the Intello, the only place left for air infiltration was where the lid would meet the frame of the Battic hatch once it was installed (more on this later when I discuss my first blower door test).
There was some additional framing required, but it was just a couple of “headers” between the roof trusses to add structural integrity to the two shorter sides of the Battic frame.
Since we were using a significant amount of blown-in insulation in the attic, it made it necessary to build up the sides of the Battic frame in the attic with some plywood to get the top of the opening above where the insulation would eventually stop.
")

Here’s another view of the 3 sides of plywood installed:

The fourth and final side of plywood was installed just prior to blowing in the insulation — in the interim this made getting in and out of the attic much easier.
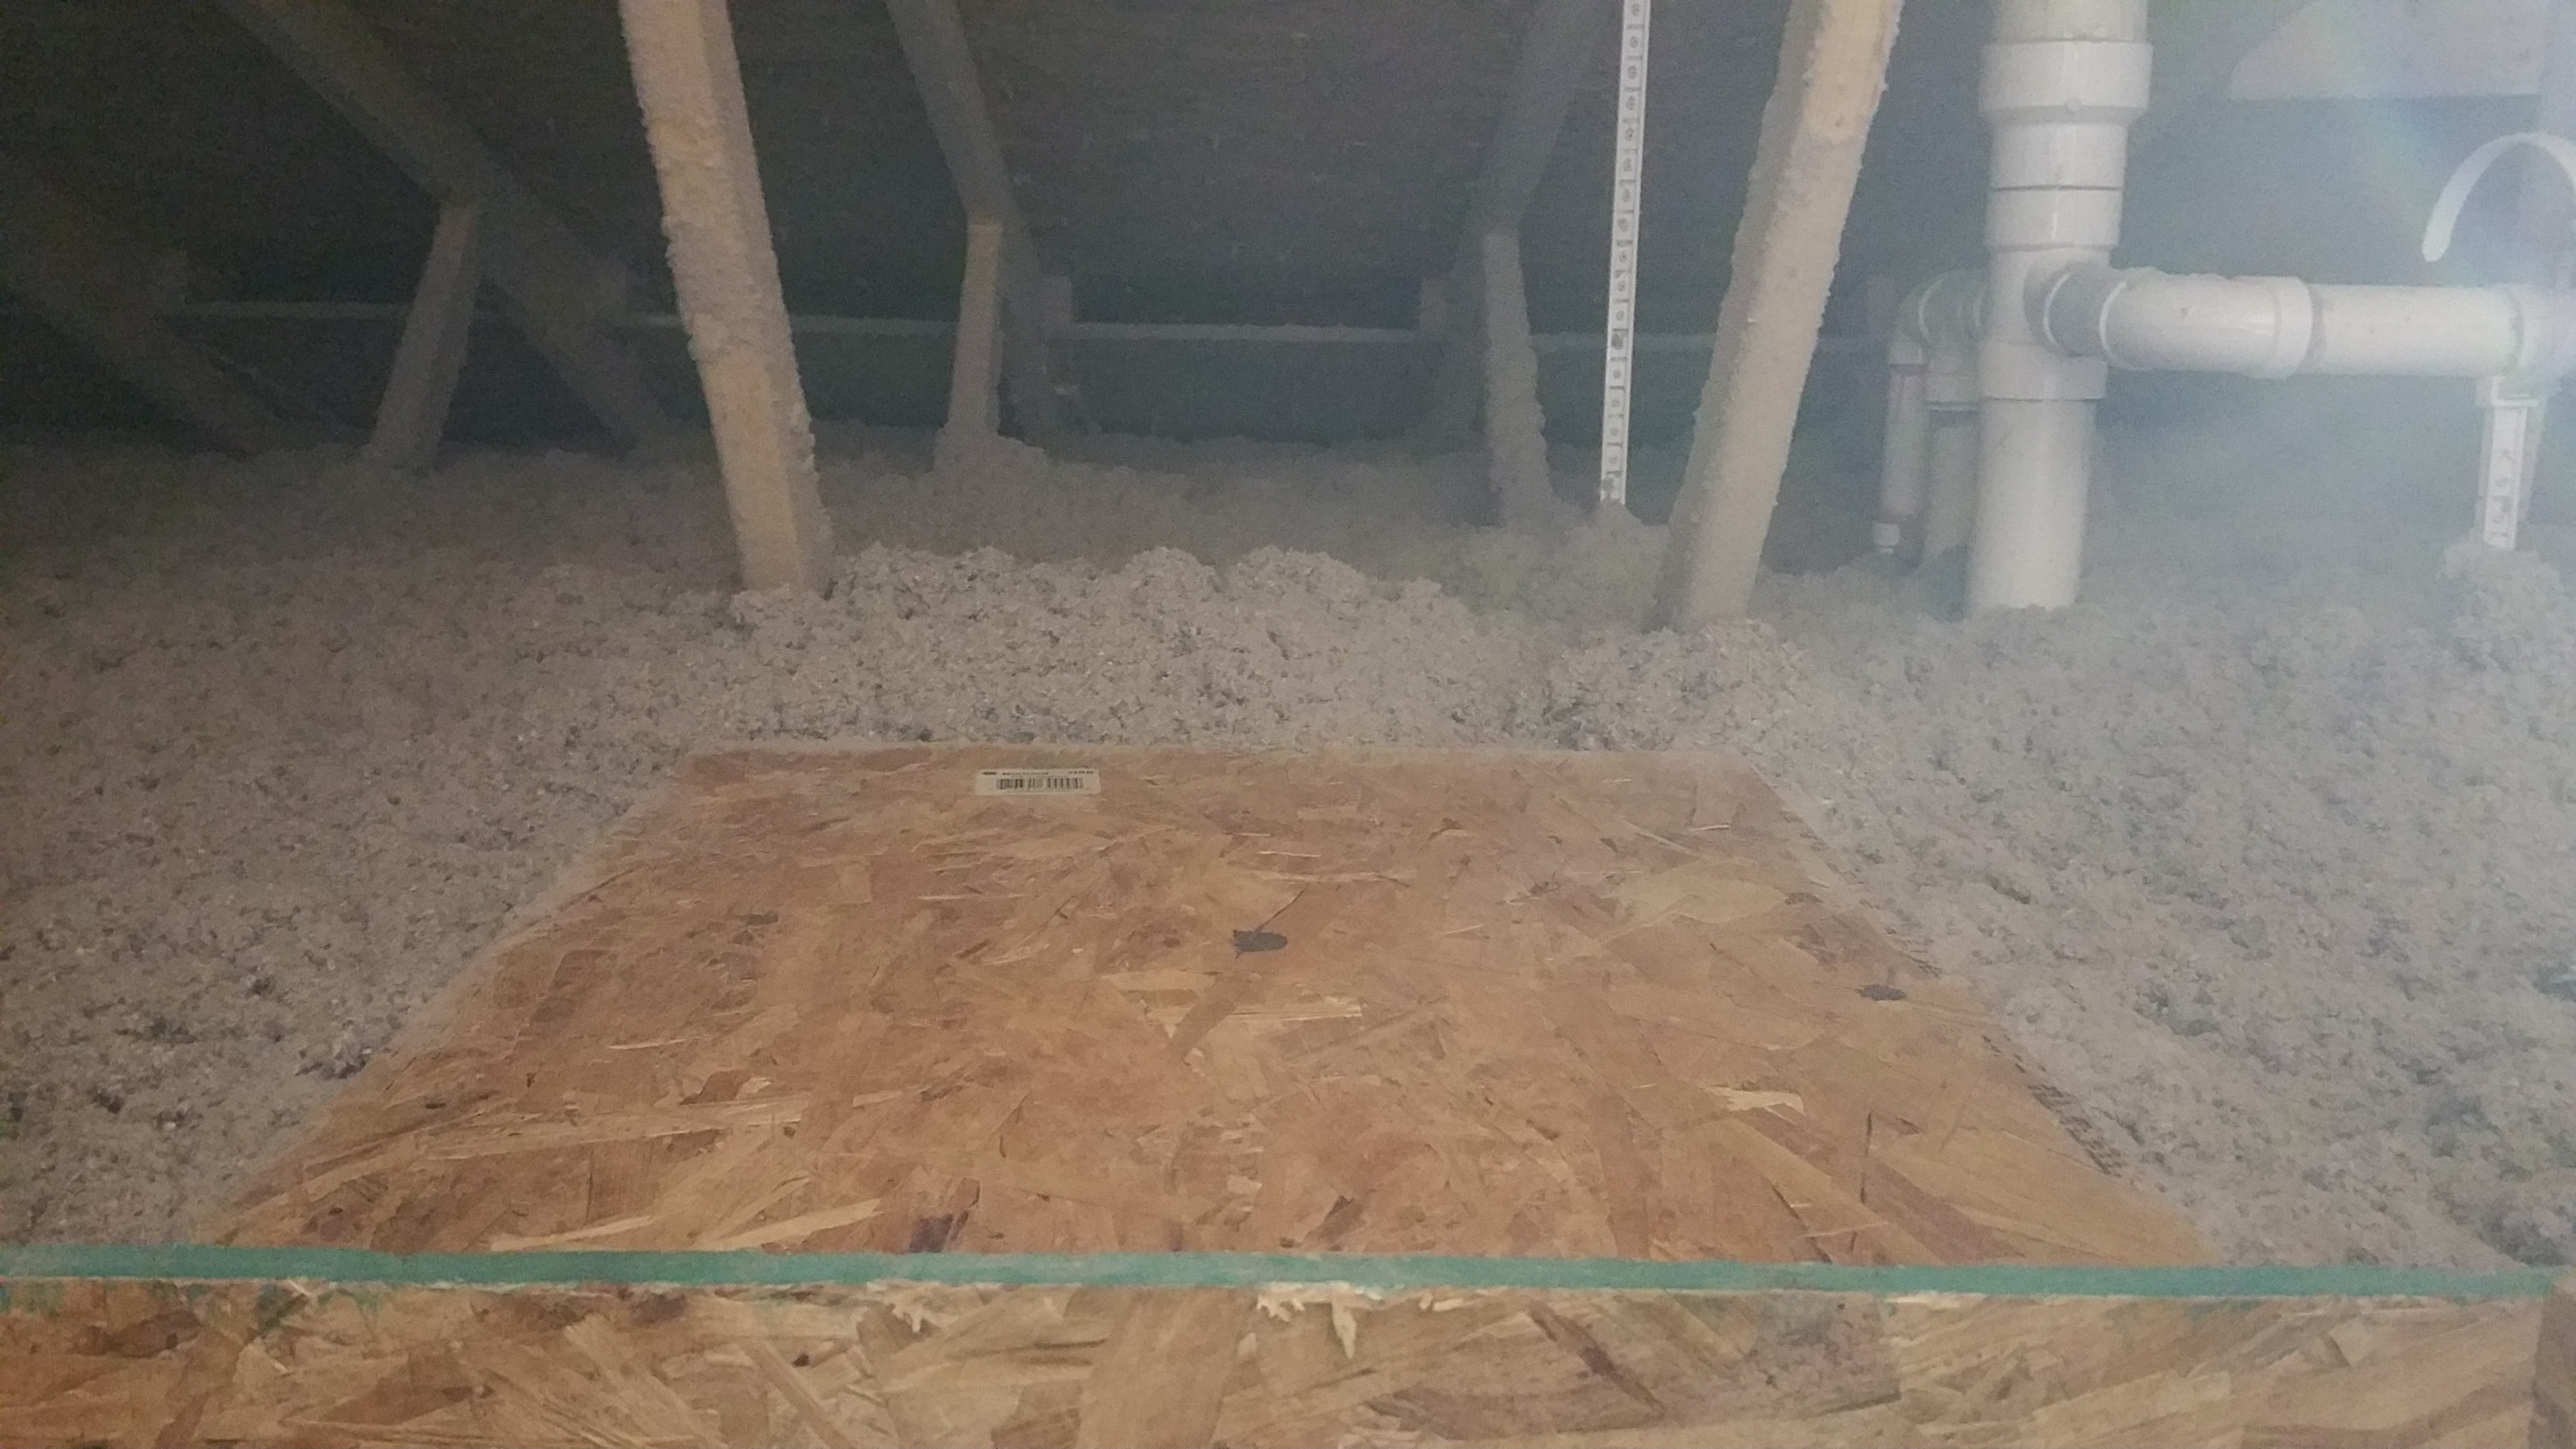
After a couple of practice attempts, it quickly became apparent that raising and removing the lid once in place, and fighting to get it back down into the master bedroom closet, wasn’t worth the trouble. Instead, I built a small bench in the attic next to the Battic frame so I could push the lid up above the level of blown-in insulation, this way it could have somewhere to safely sit while dealing with any issue in the attic.

It’s very easy to grab the lid off the bench and bring it back down into position while slowly walking down the ladder in the master bedroom closet to make the final connection/seal.
Although the installation process was fairly straightforward and headache free for the Battic product, if I had it to do over, I think I would have the attic access point on the exterior of the structure, for example, on the gable end of the house in the backyard.
GBA – gable access to attic
Custom Gable Vents
AZdiy
Putting the access point above the air barrier would make meticulously air sealing the entry point for the attic less important, so keeping water out of the attic would be the main goal. An additional plywood buck would’ve been necessary, replicating what I did for our windows and doors (more on this later), but I think it still would’ve been the better option overall.
Putting the attic access on the exterior of the house would also mean avoiding an ugly hole somewhere in our drywalled ceiling. No matter how nicely trimmed out, these attic access points on the interior of a home never look right to me. We’ve tried to hide ours as much as possible by sticking it in our master bedroom closet, which has worked out well, but not having one at all on the interior of the house would make for a cleaner, better solution in my opinion.
If granted a do-over, I would also add a cat walk in the attic through the roof trusses. This would make getting to any point in the attic much easier to navigate. It would also help to avoid disturbing the blown-in insulation too much.
And here’s a photo of the bench in the attic, next to the opening for the Battic attic hatch, after the blown-in insulation was installed:


You must be logged in to post a comment.