
When it was time to schedule our blower door test we considered using Eco Achievers, but we only knew about them because they’ve worked extensively on projects for our original builder, Evolutionary Home Builders. We decided the potential awkwardness, or even a possible conflict of interest, wasn’t worth pursuing their services. An example of guilt-by-association I suppose, one that is probably unfounded but, nevertheless, the strong affiliation with our original builder made it difficult for us to reach out to them for help. They also hired one of Brandon’s former employees (this employee was nothing but nice and professional towards us as we were deciding to part ways with Brandon), which would’ve only added another layer of awkwardness to the situation.
Unsure how to proceed, I looked online and found Anthony from Building Energy Experts. He was able to come out and do a blower door test for us, helping me hunt down a couple of small leaks, so that we ended up at 0.34 ACH@50 for this initial test.
Here’s a Hammer and Hand video discussing the use of a blower door:
On a side note: all of the Hammer and Hand videos, along with their Best Practices Manual, were incredibly helpful as we tried to figure out all the Passive House details related to our build. It’s no exaggeration to say that without Hammer and Hand, the Green Building Advisor website, BSC, and 475 HPBS, our build would’ve been impossible to accomplish on our own. I owe an incredible debt of gratitude to all of these great resources who invest valuable time sharing such a wealth of information.
Below is a Hammer and Hand video noting the importance of properly detailing corners to avoid air leaks:
Because of this video, I sealed all of my corners for the windows and doors like this:

I also added some HF Sealant to the lower portion of the windows, since some air leakage showed up in this area with Anthony where components of the window itself come together in a seam.

The areas where components come together often need special attention.

Even with layers of redundancy in place, in the picture below there was a small air leak still present at the bottom plate – sub flooring connection. A coating of HF Sealant easily blocked it.
Once the stud bays were insulated (after most of the siding was up), the interior walls would eventually be covered with Intello (I’ll cover the details in a future post on interior insulation), adding yet another layer of redundancy for mitigating potential air intrusion.

Anthony didn’t have any previous experience with a Passive House build, so it occurred to me that it might be beneficial to reach out to Floris from 475 High Performance Building Supply (he had already done our WUFI analysis for us), and Mike Conners from Kenwood Property Development to see if there was someone locally who did. Mike is a Passive House builder in Chicago who had already helped me out with some Rockwool insulation when we came up short earlier in our project (the two GC’s we fired repeatedly struggled with basic math), and he was very nice to take the time to answer some other technical questions for me as well.
Both, as it turned out, ended up recommending that I contact Steve Marchese from the Association for Energy Affordability.
Steve would eventually make three trips to the house, doing an initial blower door test after the structure was weather-tight and all the necessary penetrations had been made through our air barrier, a second test after exterior continuous insulation was installed, and a final test after drywall was up to ensure there hadn’t been any increase in air leakage during the final stages of construction.
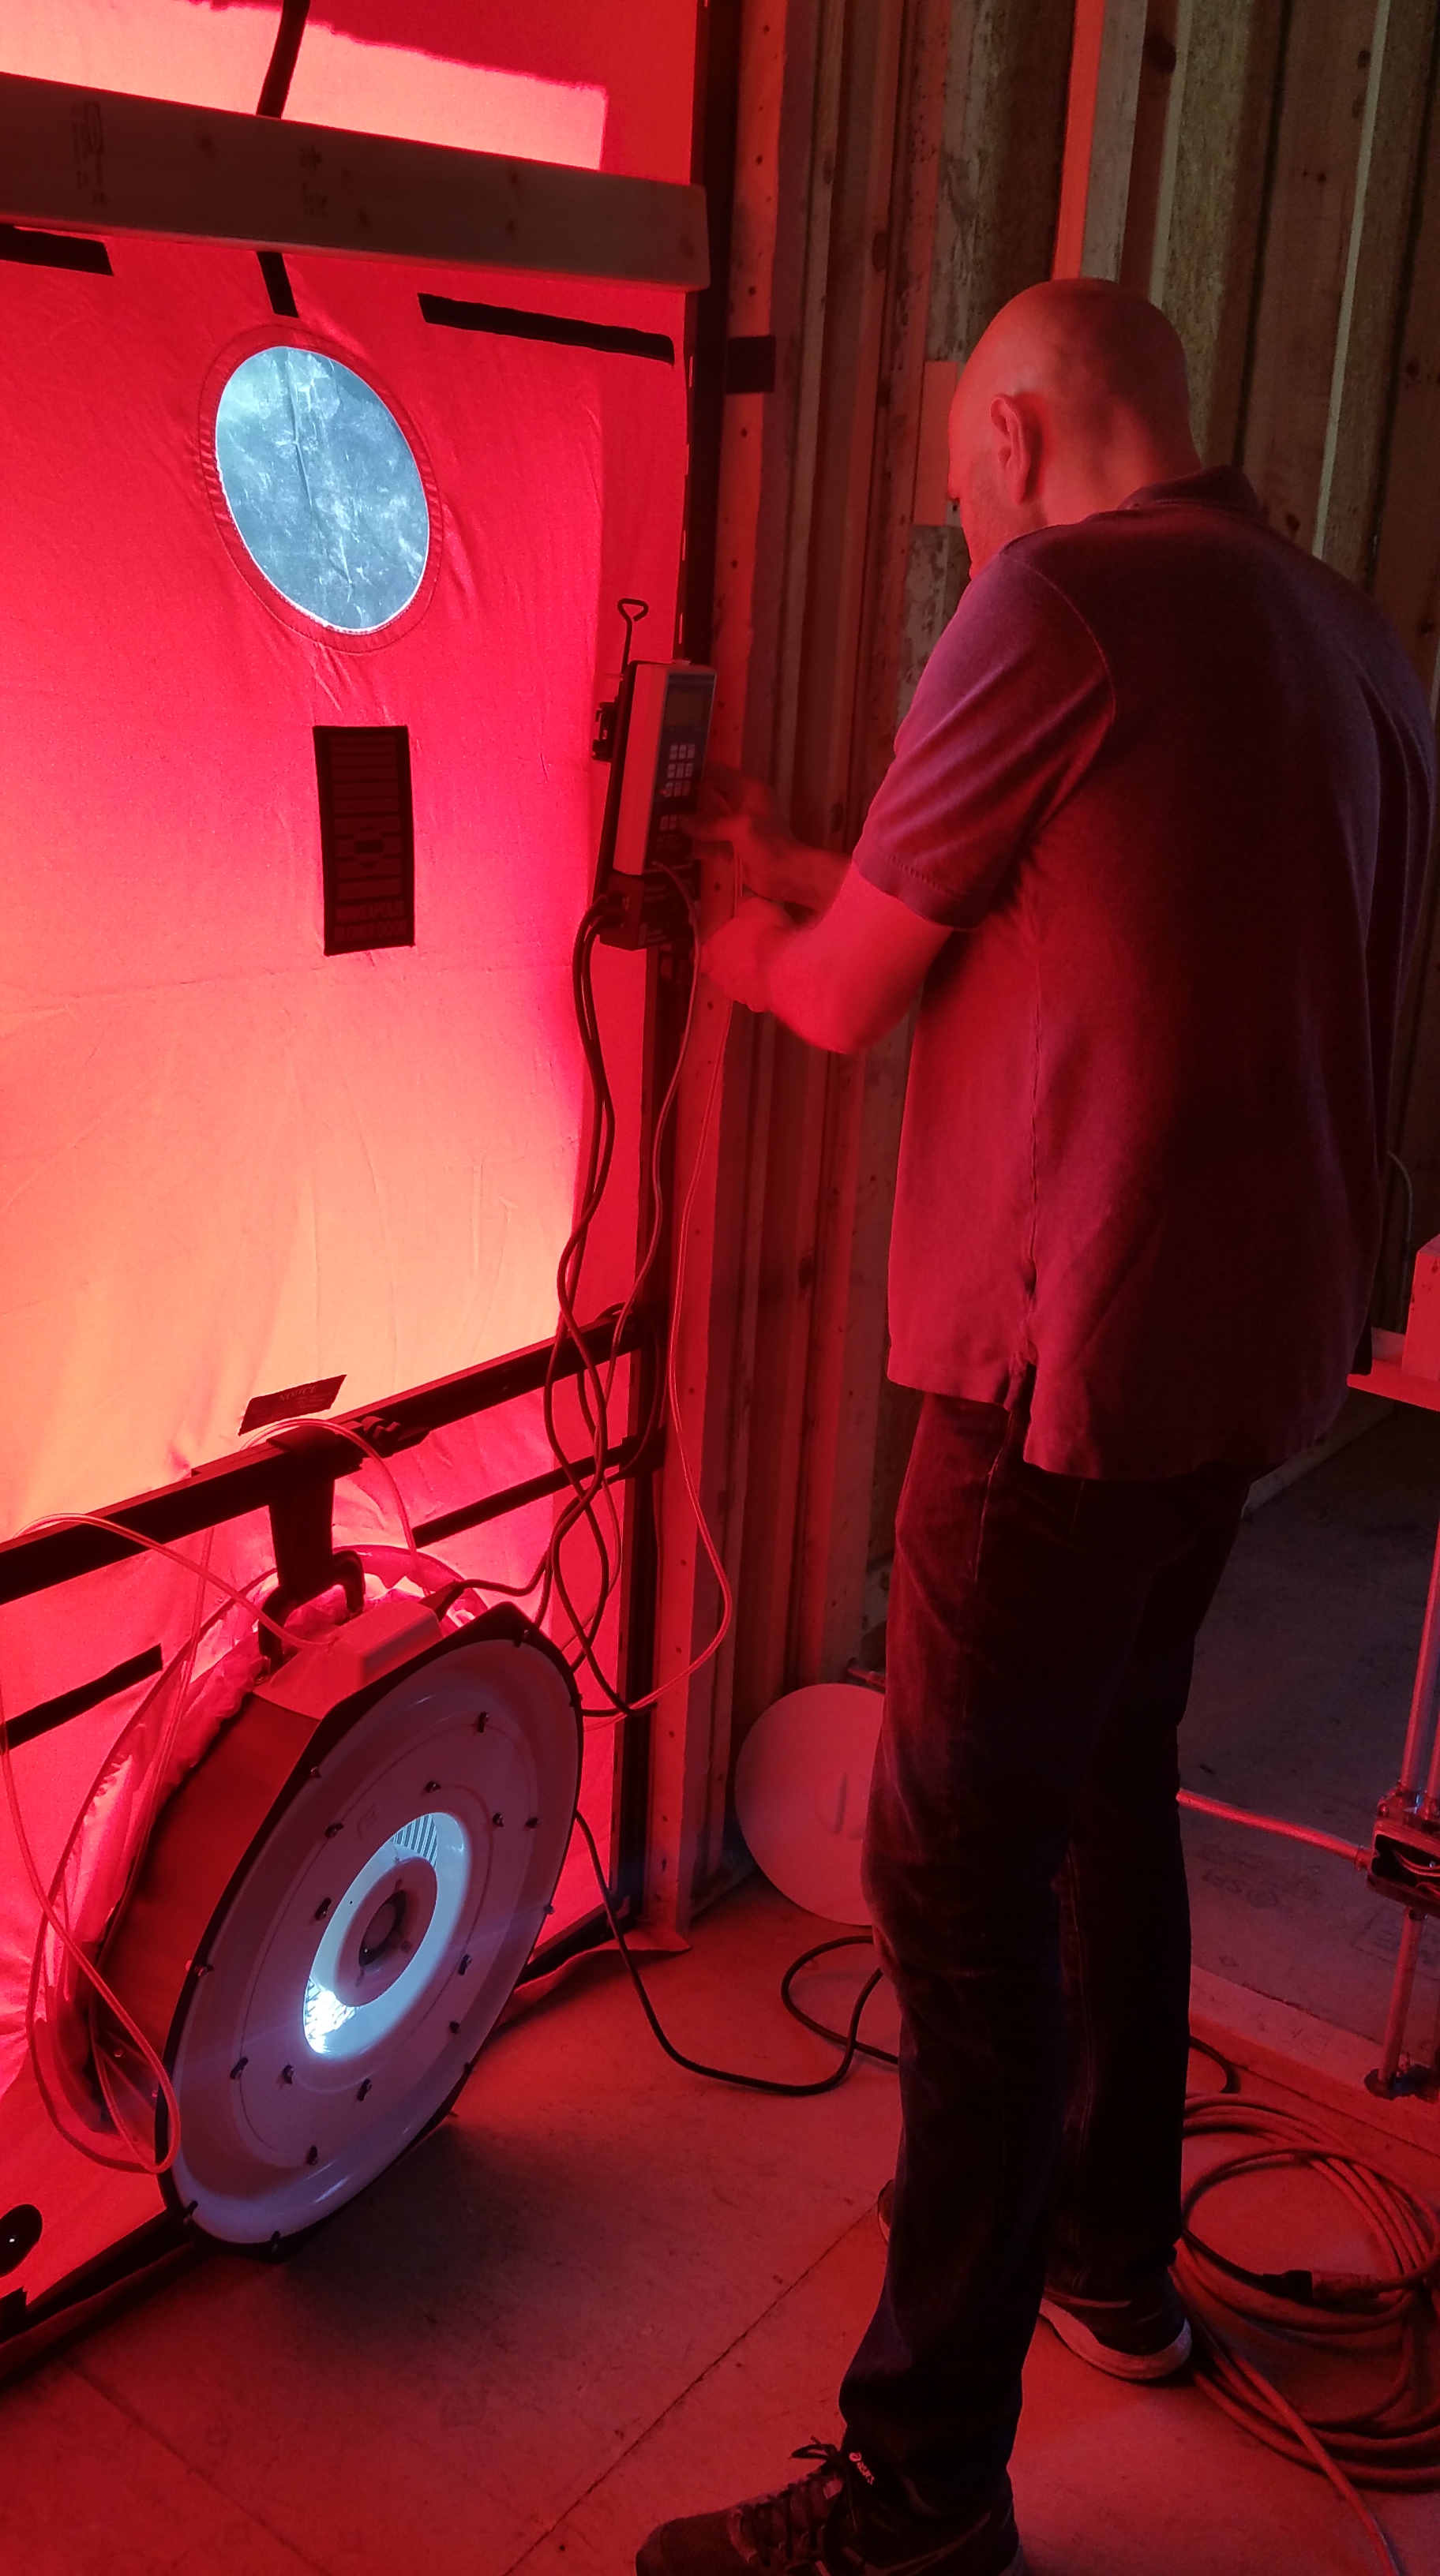
Following Passive House principles for our build, we also followed the same protocols for the blower door tests: Blower Door Protocol
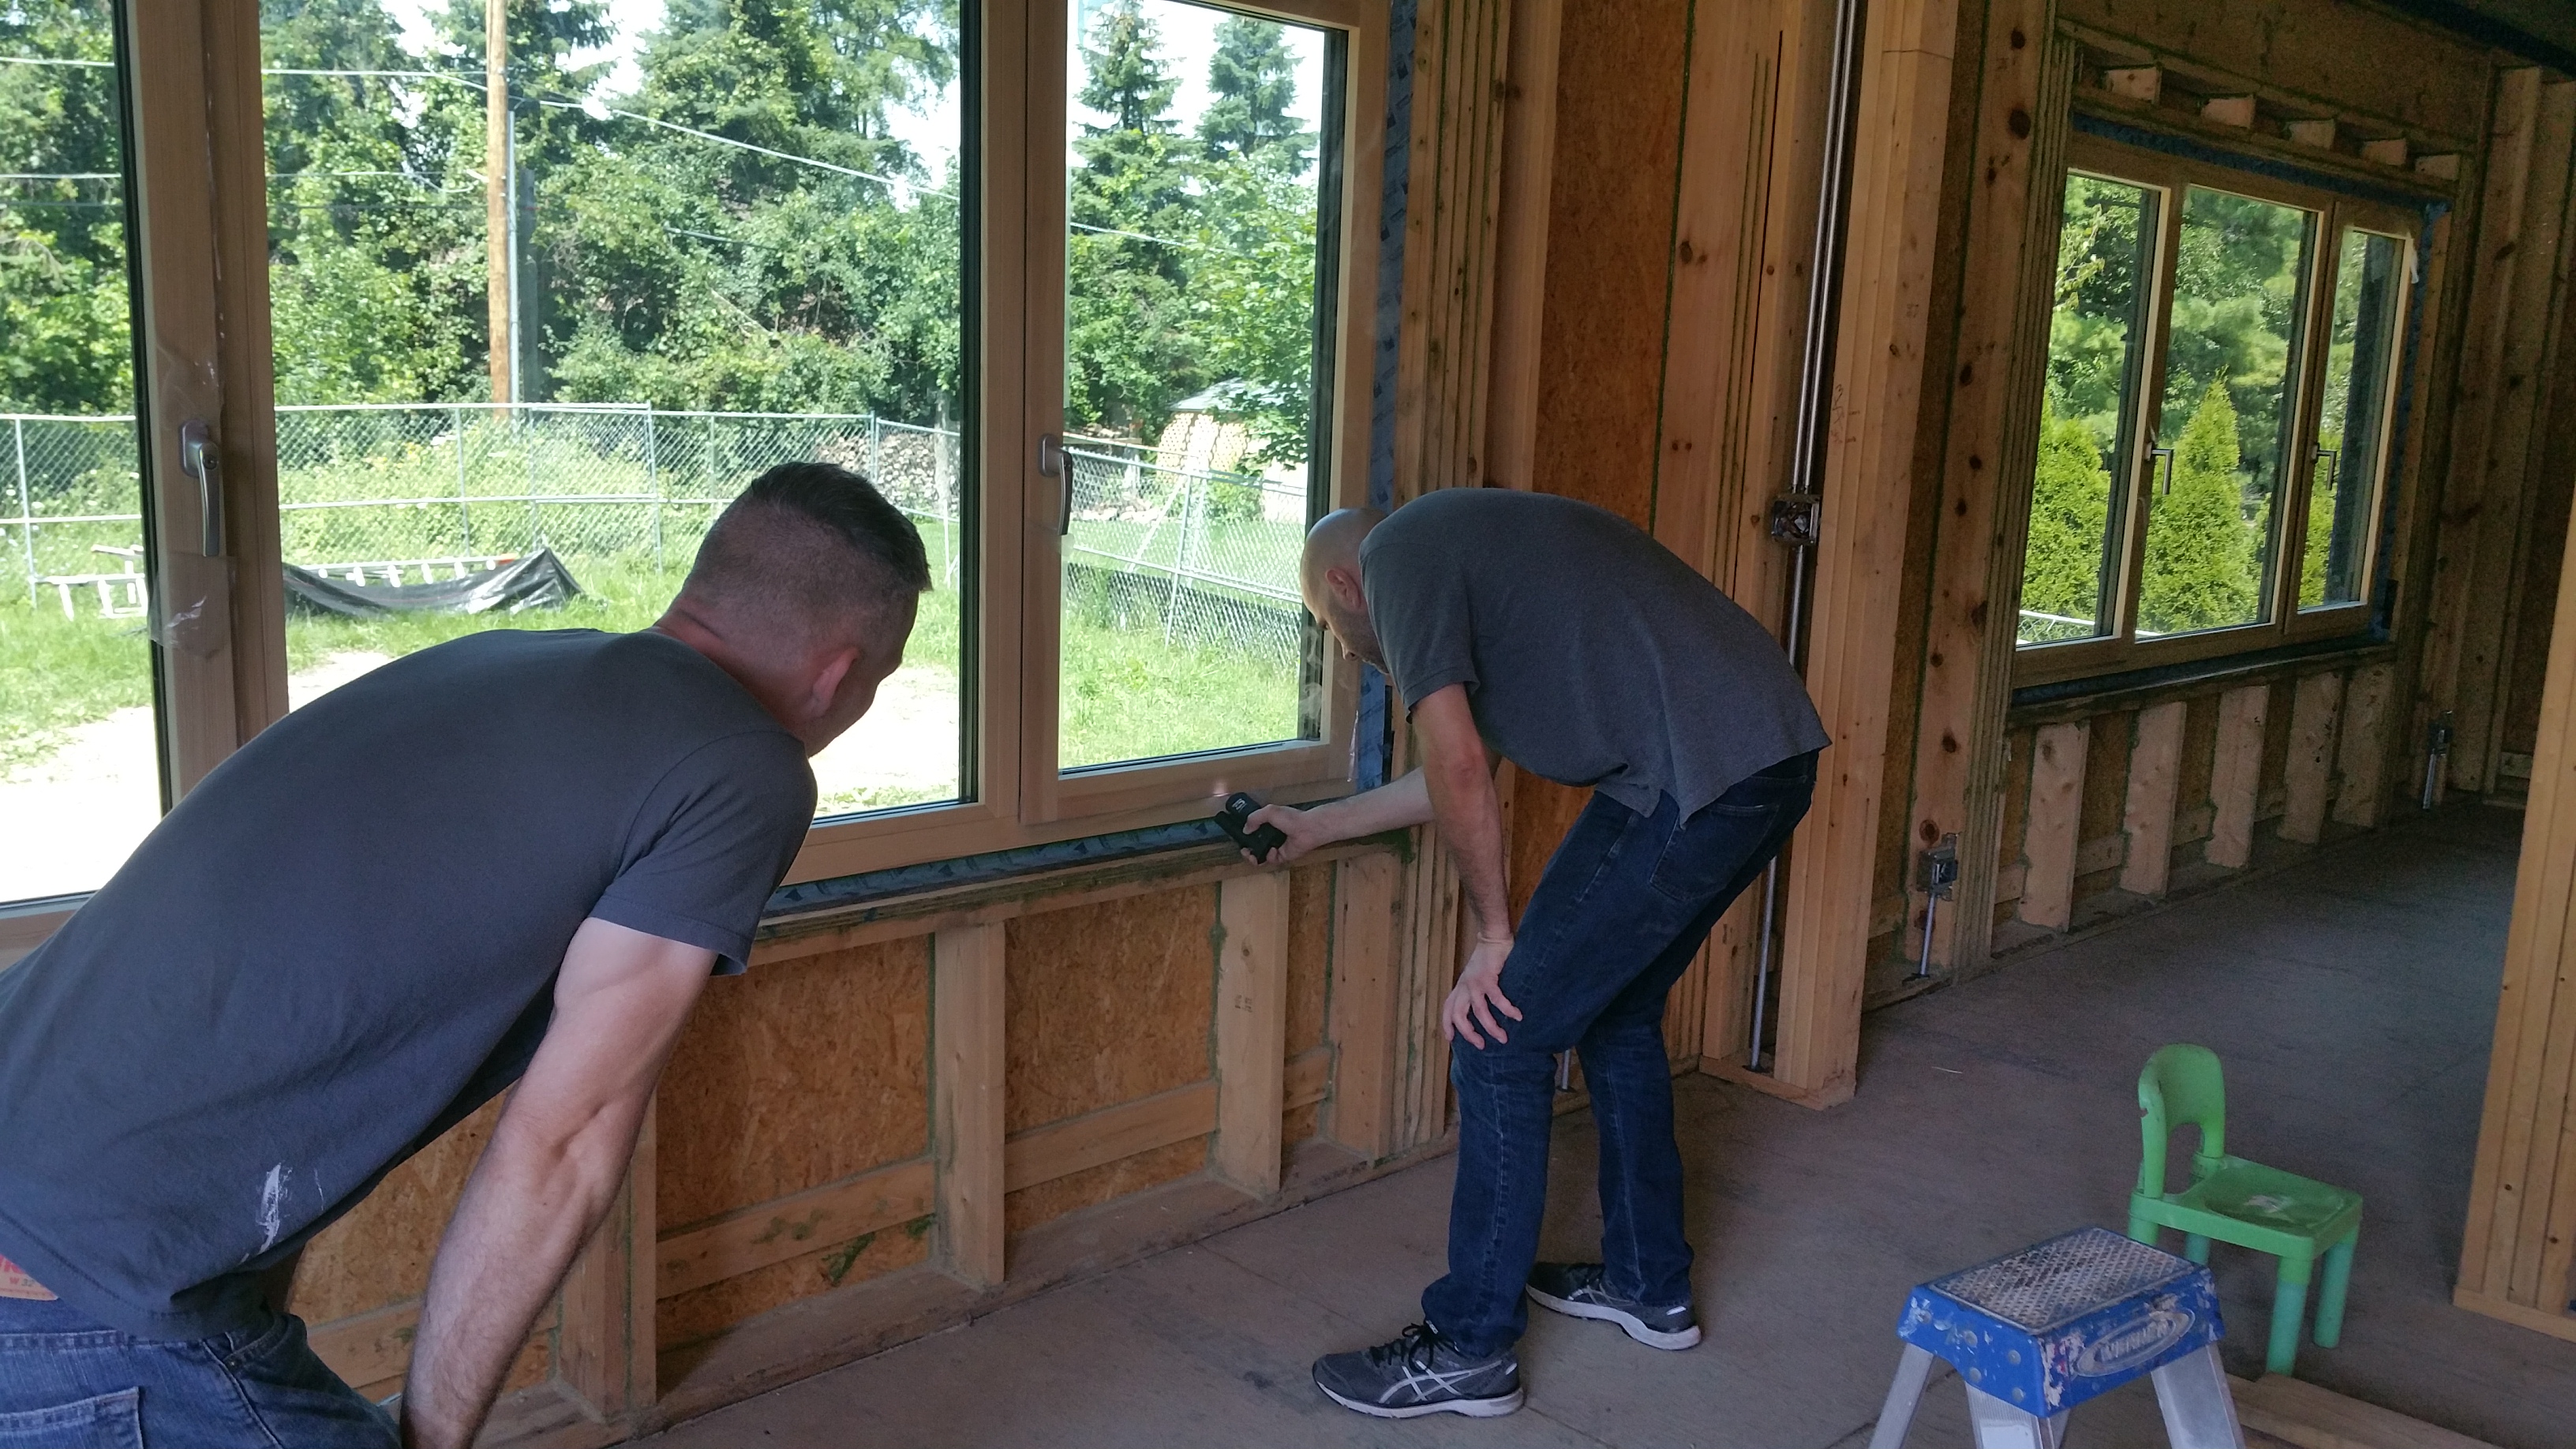
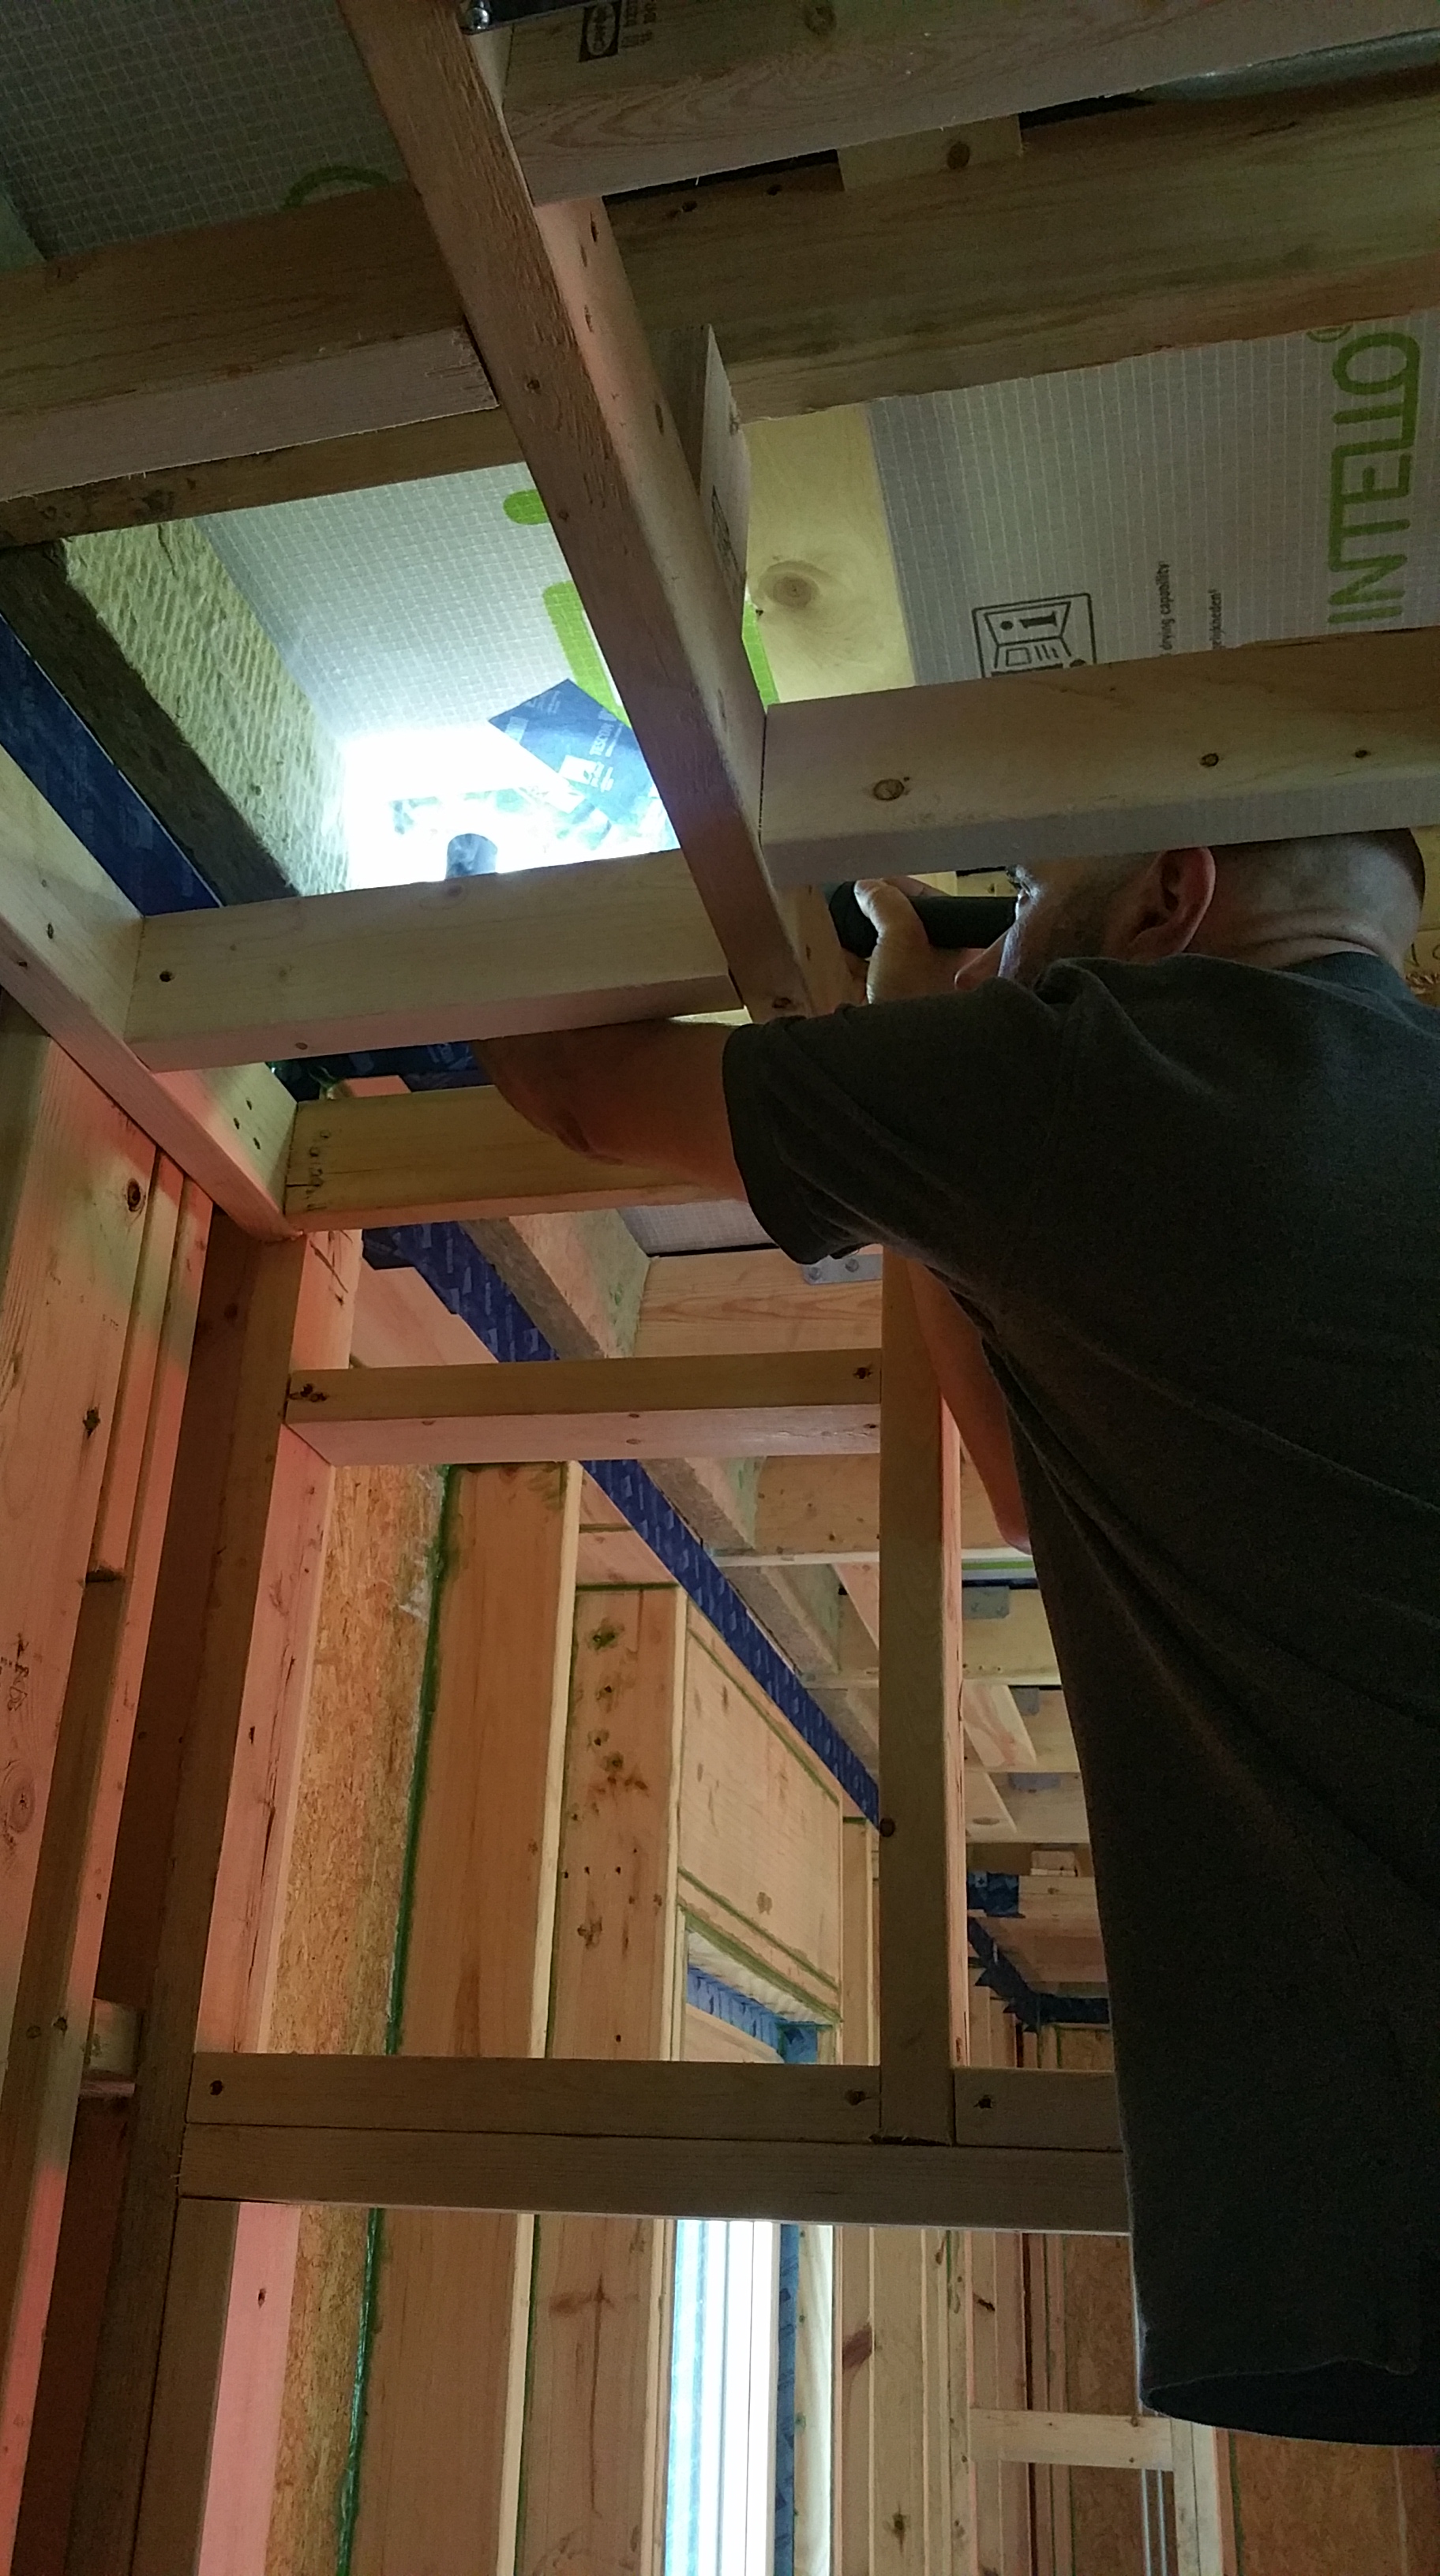
With the structure under pressure from the blower door fan, Steve and I walked around the house while he used a small smoke machine in order to try and find any leaks that I could then seal up.
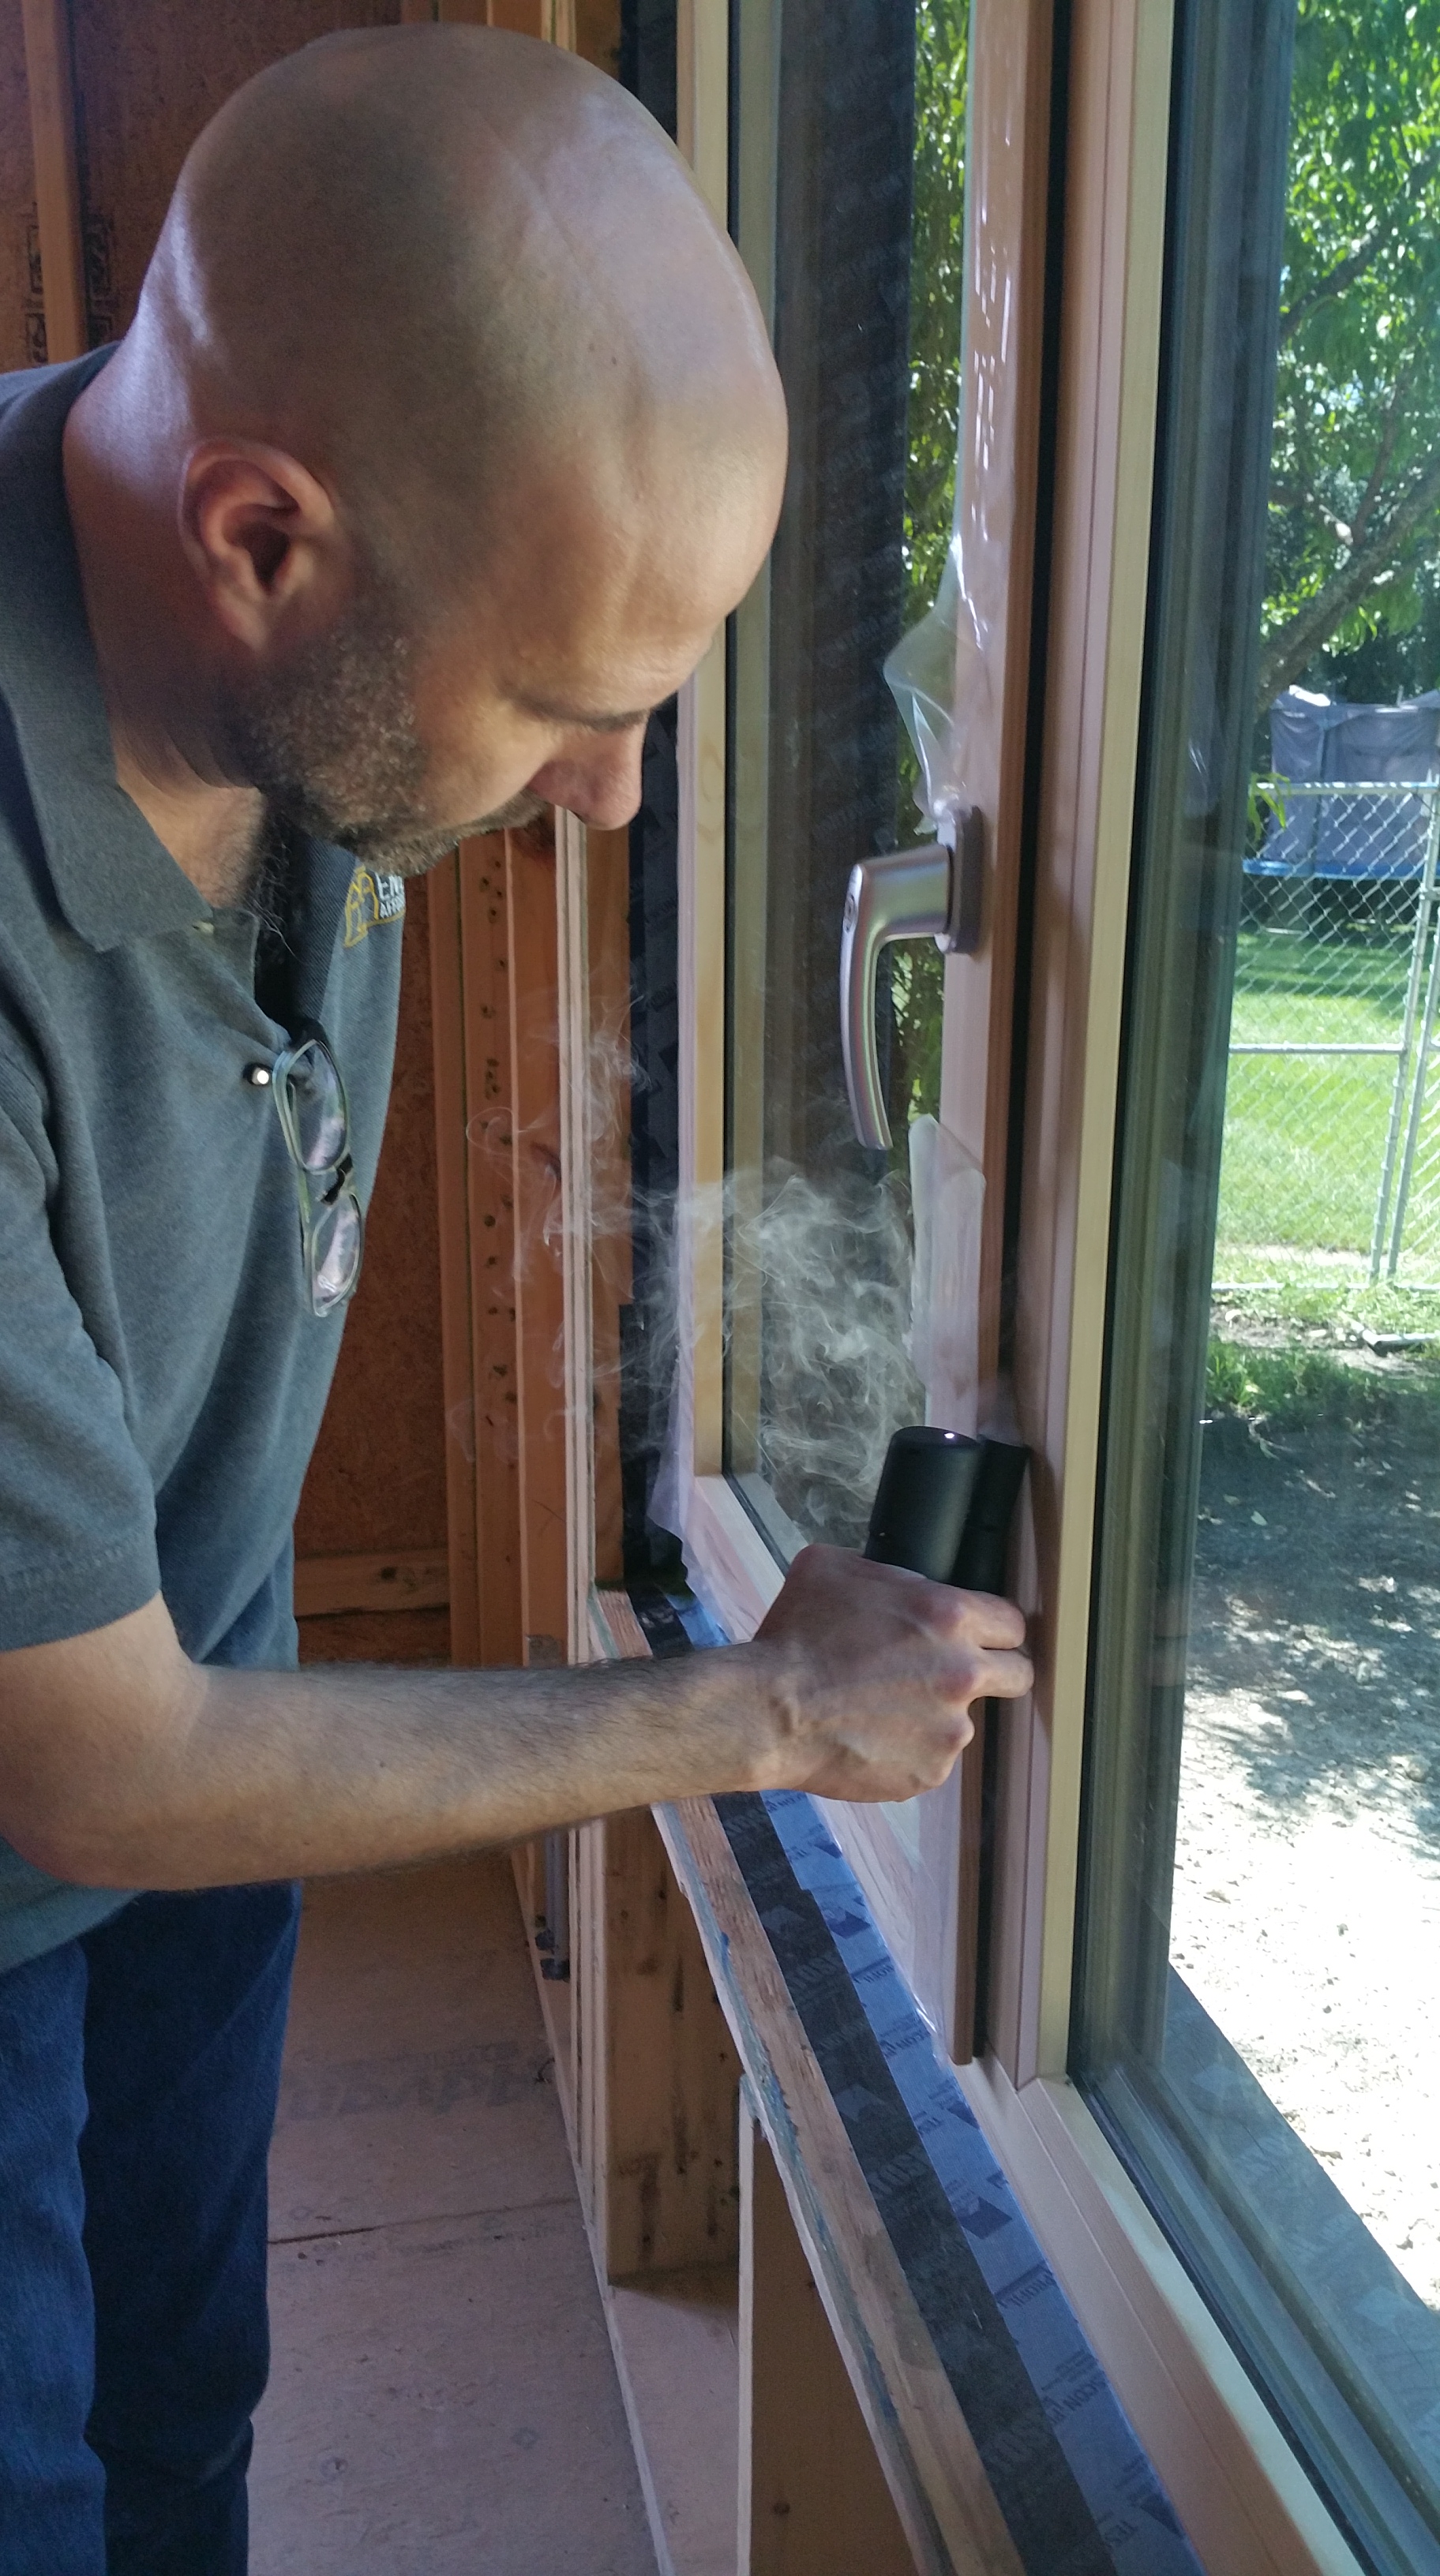
The gaskets around our windows and doors proved to be some of the weakest areas in the house although, comparatively speaking, it was inconsequential since the overall air tightness of the structure was fairly robust (favorite word of architects).

For instance, even though no substantial air leakage showed up around this kitchen door, during our first winter this same door eventually had ice form outside at the upper corner by the hinges, on the exposed surface of the gasket where the door meets the frame.

After figuring out how to adjust the door hinges, there was no longer any ice showing up this winter, not even during our Polar Vortex event in late January.
Much the same thing occurred around our front door as well, with the same solution — adjusting the hinges to get a tighter fit at the gasket between the door and the frame.

Steve was nice enough to go around and methodically check all the penetrations in the structure.

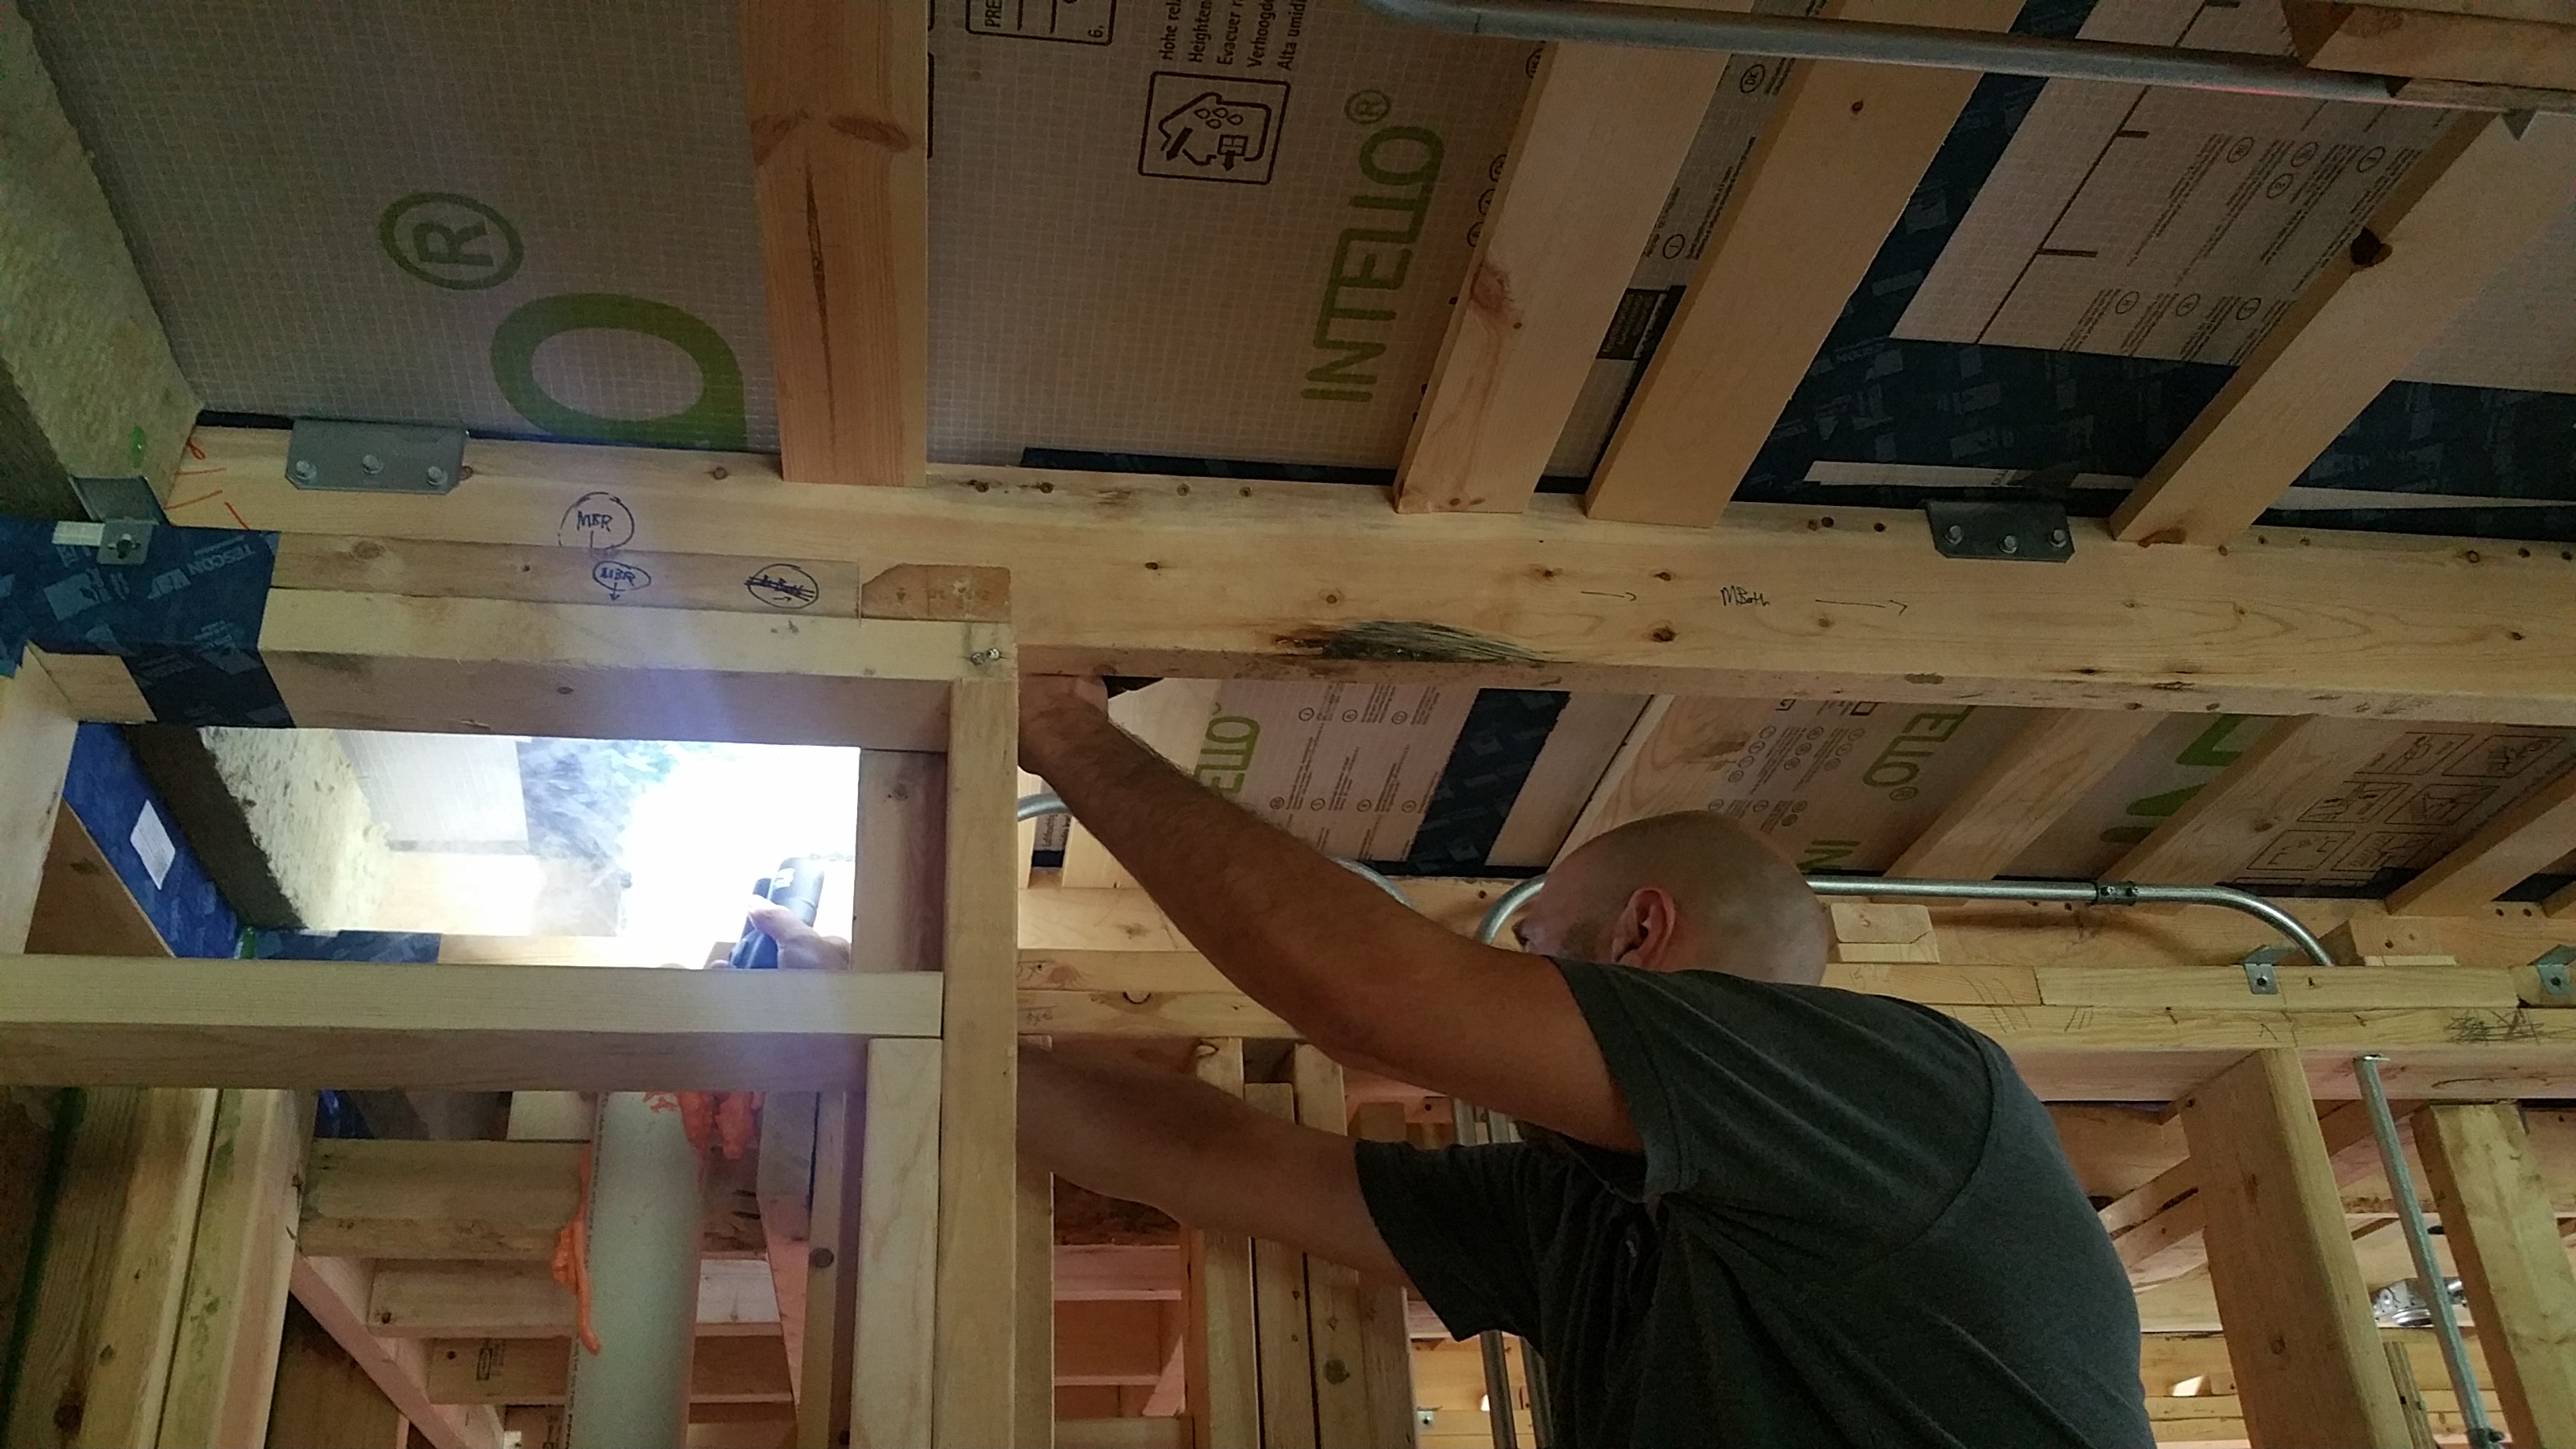

There was one area in the guest bathroom where the Intello ended up getting slightly wrinkled in a corner during installation. With Tescon Vana and some HF Sealant I was able to address it so nothing, thankfully, showed up during the smoke test.
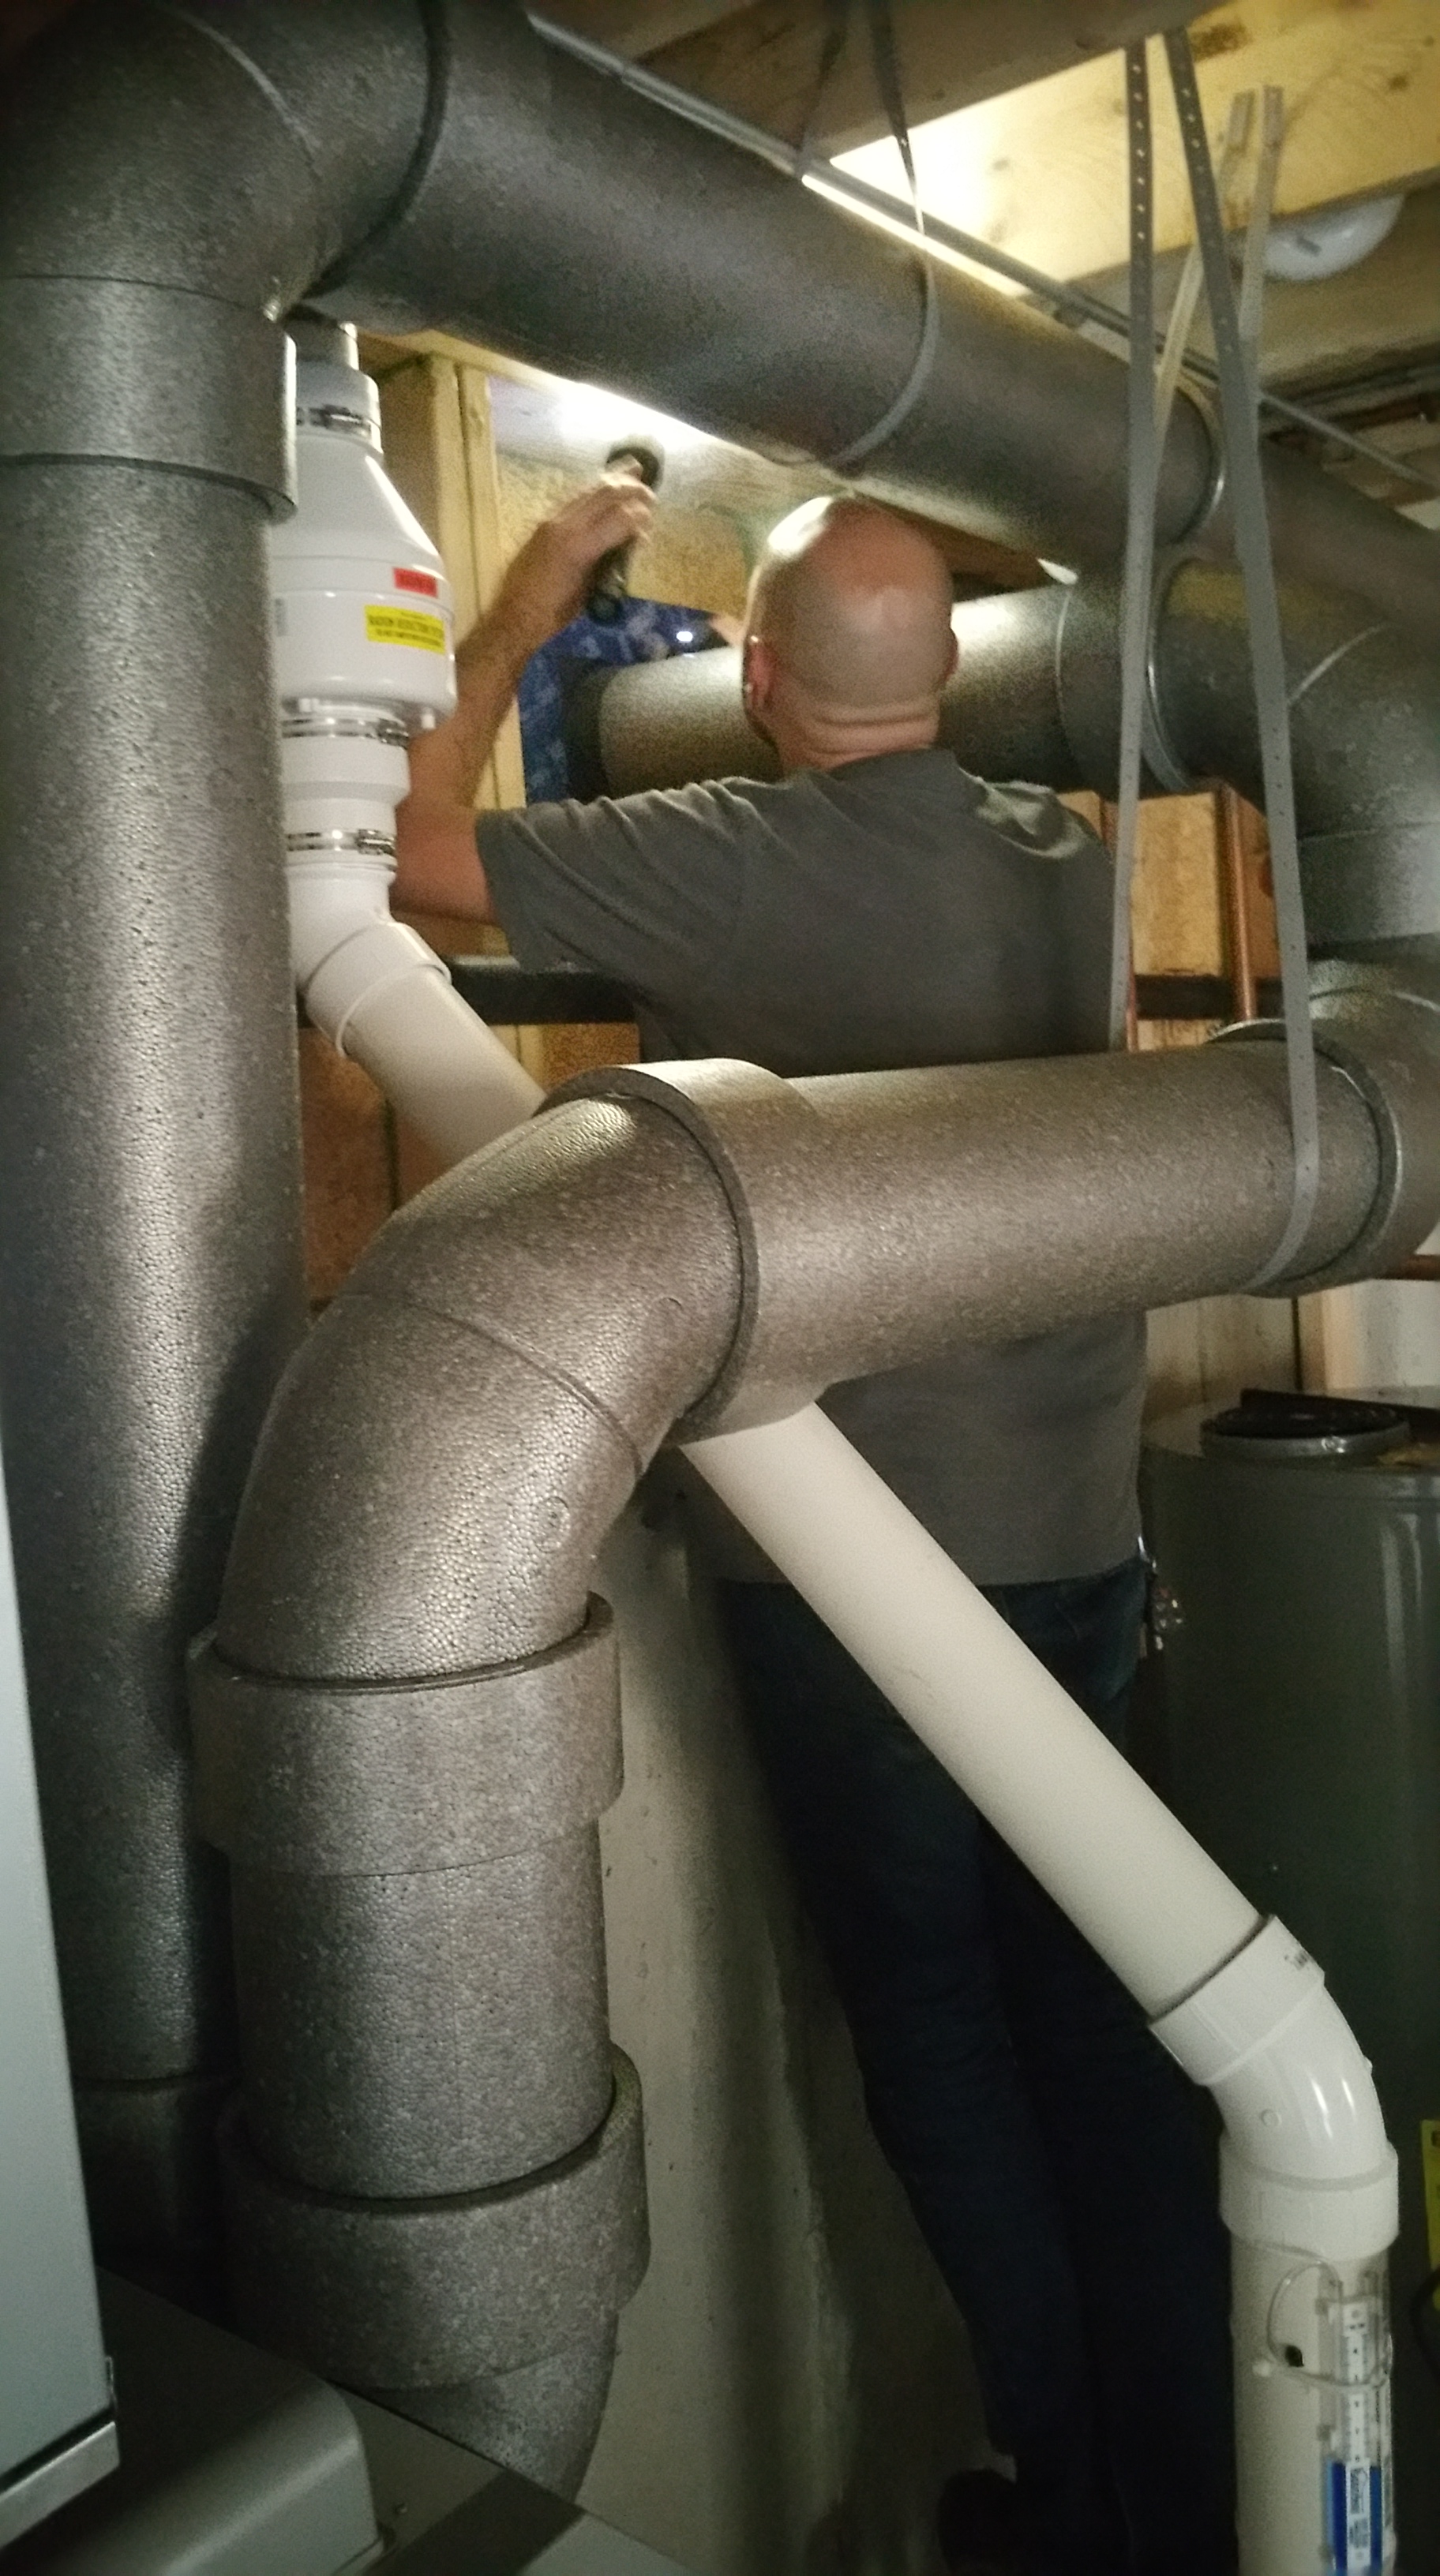
After looking around on the main floor, Steve moved down into the basement.


The lids for the sump pit and the ejector pit were eventually sealed with duct seal putty and some Prosoco Air Dam.


Before the second blower door test, I was able to add some duct seal putty to the lids of the sump and ejector pits.

Below is a copy of Steve’s blower door test results, showing the information you can expect to receive with such a report:
Final Blower Door Test Results
For the last two tests Steve used a smaller duct blaster fan in order to try and get a more precise reading for air leakage.

Steve would be back two more times — once before drywall, and once after drywall — just to ensure we had no loss of air tightness develop in the interim stages of the build (especially after continuous exterior insulation with furring strips were installed).
Here are the final figures noting where we ended up:
0.20 ACH@50 and 106 cfm@50
We are well below Passive House requirements (both PHI and PHIUS), so there was a great sense of relief knowing that all the time and effort put into air sealing had paid off, giving us the tight shell we were looking for. Even so, it was still pretty exciting news, especially for a first build.
And here’s an interesting article by 475 HPBS regarding the debate over how air tightness is calculated for PHI vs. PHIUS projects, and the potential ramifications:


.20 is awesome ! Congratulations. Love all the pictures and details !
LikeLike
Thank you!
And thanks for checking out the blog!
LikeLike
This was incredibly helpful and detailed, thank you!
LikeLike
Thanks for checking out the blog!
Glad we could help!
LikeLike