
Plan for the Basement
With the Zehnder and the Mitsubishi systems installed, I had some time to kill waiting for the siding guys to start, and for my first blower door test to take place, so I moved on to painting my structural steel beam and the exposed concrete walls in the basement.
Apart from a couple of walls for my wife’s office that would eventually be drywalled and painted, and a decorative finish for the concrete floor, these were going to be some of the limited finished surfaces in the basement.
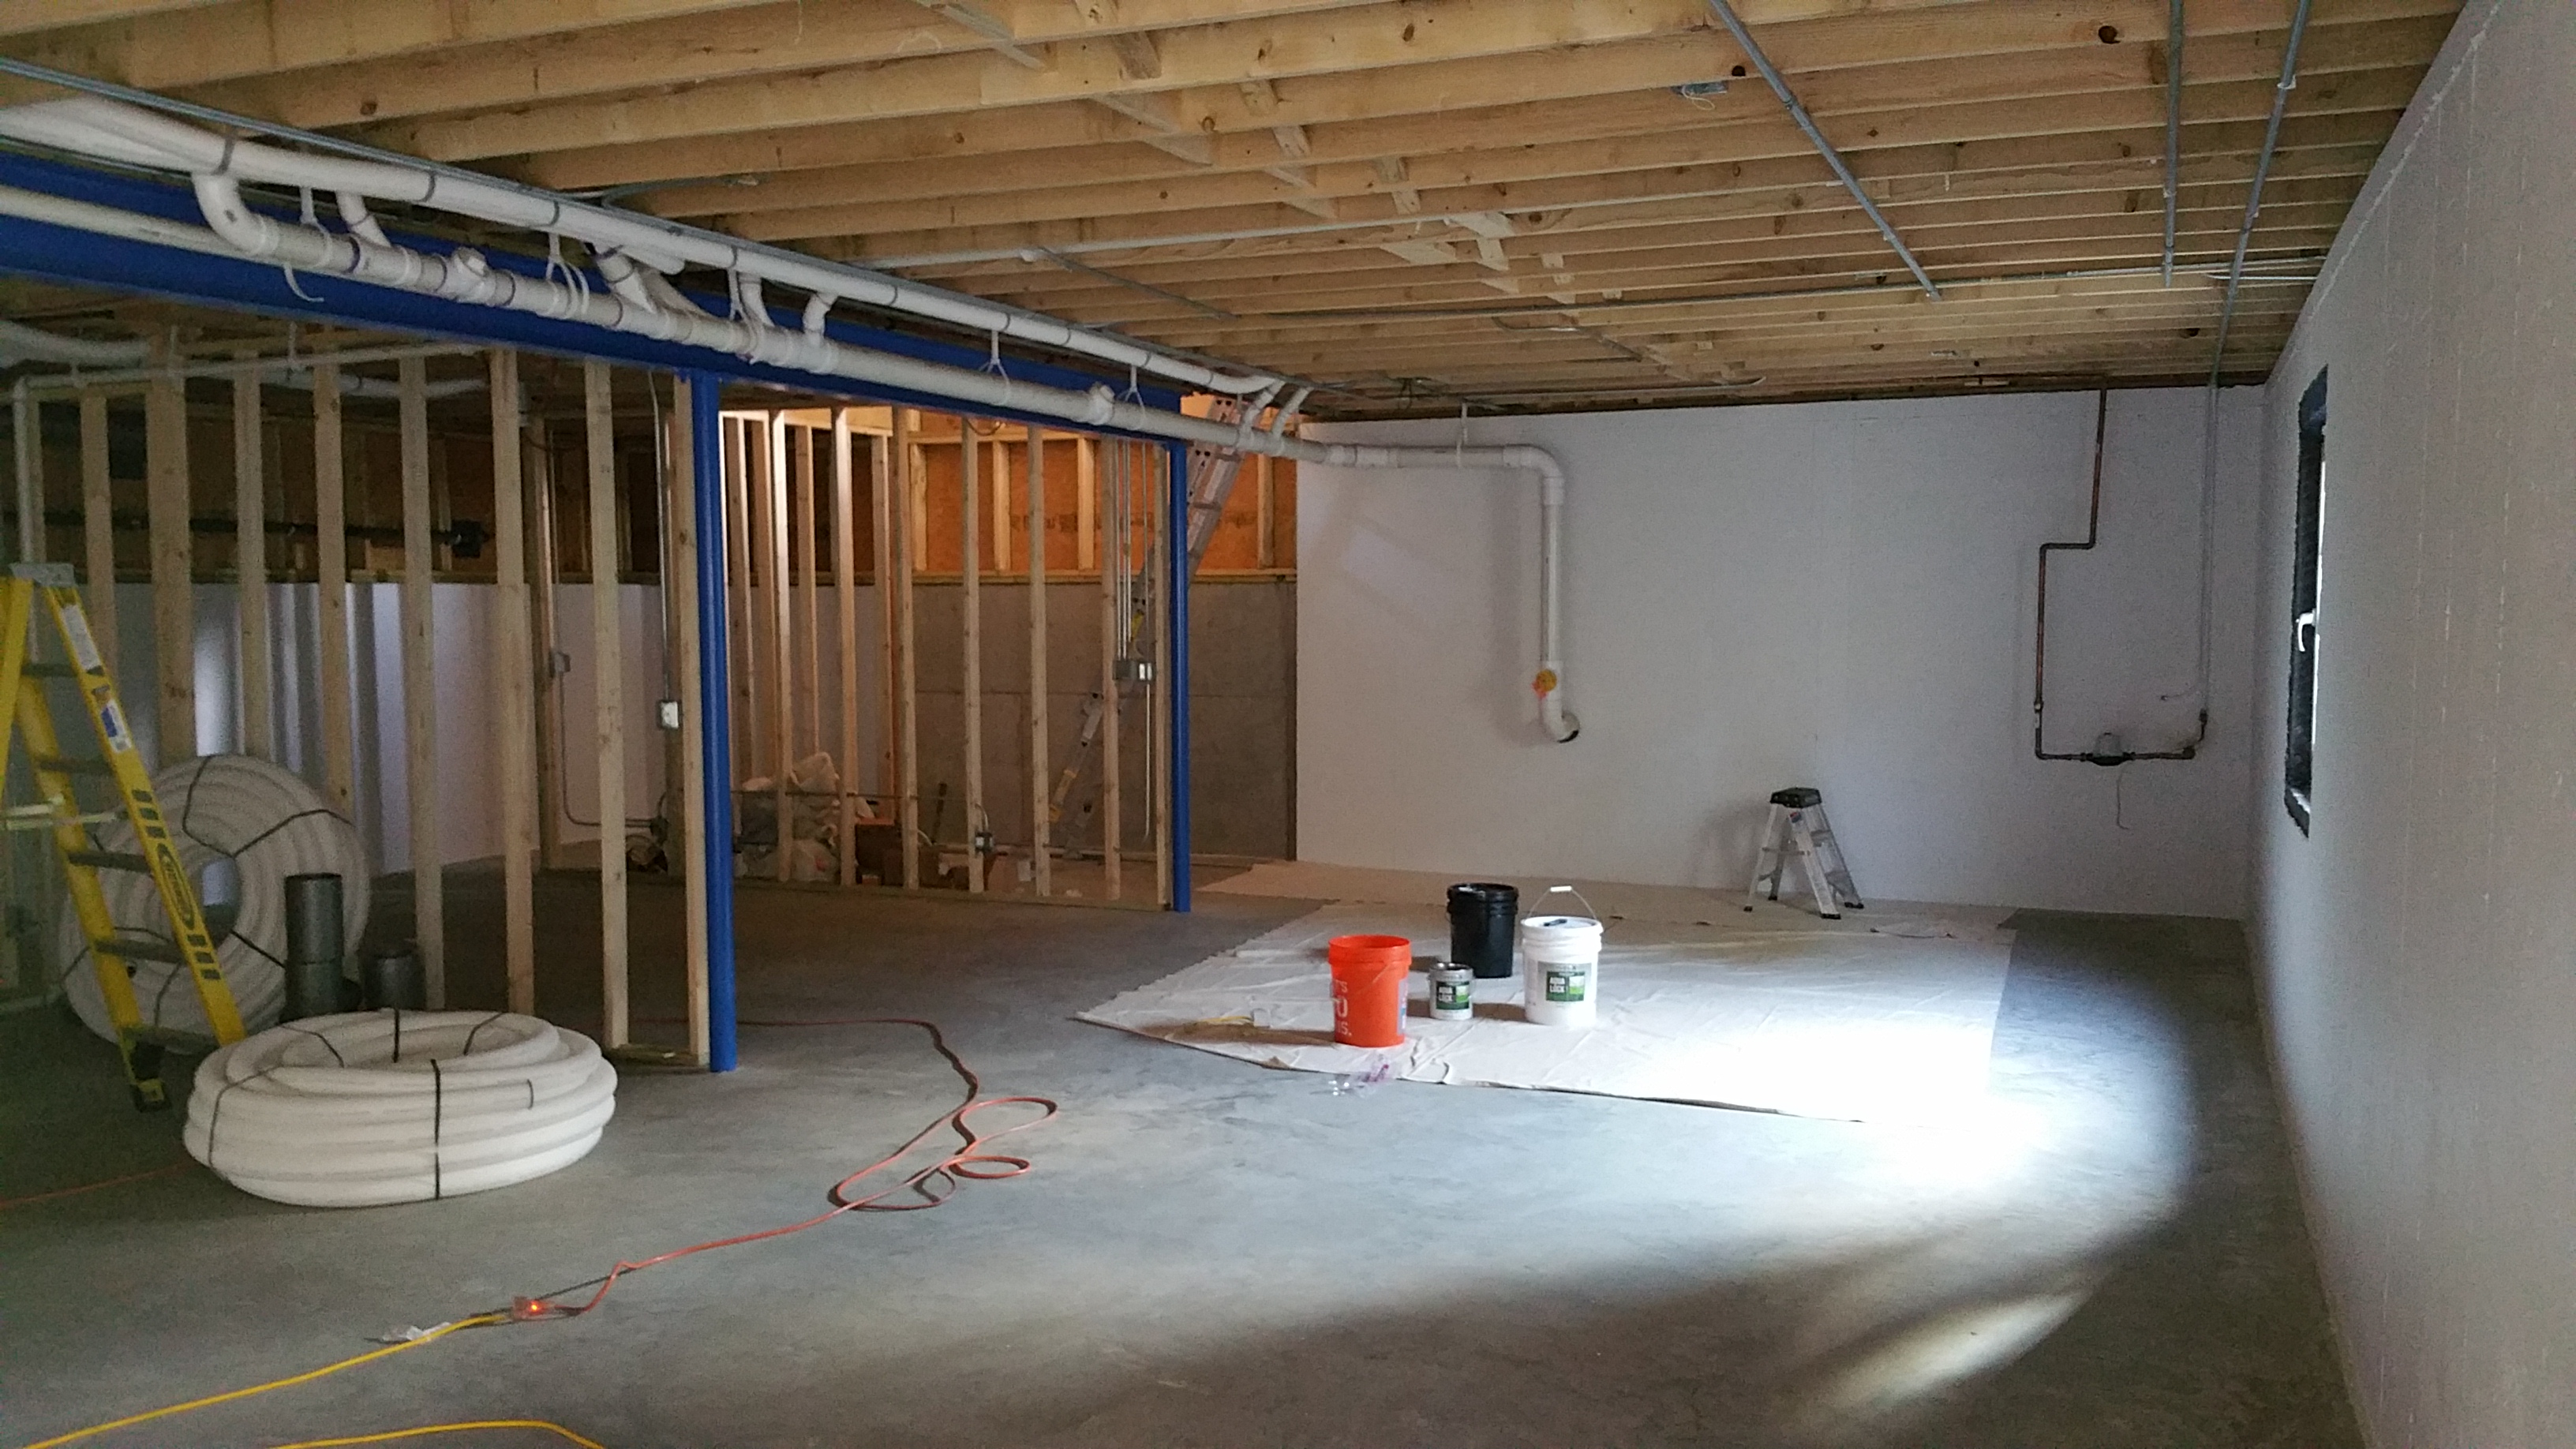
We’re glad we decided to leave the basement ceiling unfinished. In doing so, not only did it mean a more straightforward installation process for mechanicals, it also means if any issues develop in the future we’ll have easy access to identify and solve any problems.
I debated whether or not to spray the basement ceiling — the floor joists and the underside of the sub flooring — but decided that the color change (some shade of gray? black?) wasn’t worth the effort.
Although obviously not to everyone’s taste, we like the unfinished look of the ceiling, especially when combined with the texture of the painted concrete walls and our painted steel beam (not to mention the eventual decorative finish for our concrete floor slab — I’ll go through the details in a future blog post since it was applied much later in the build).
Steel Beam
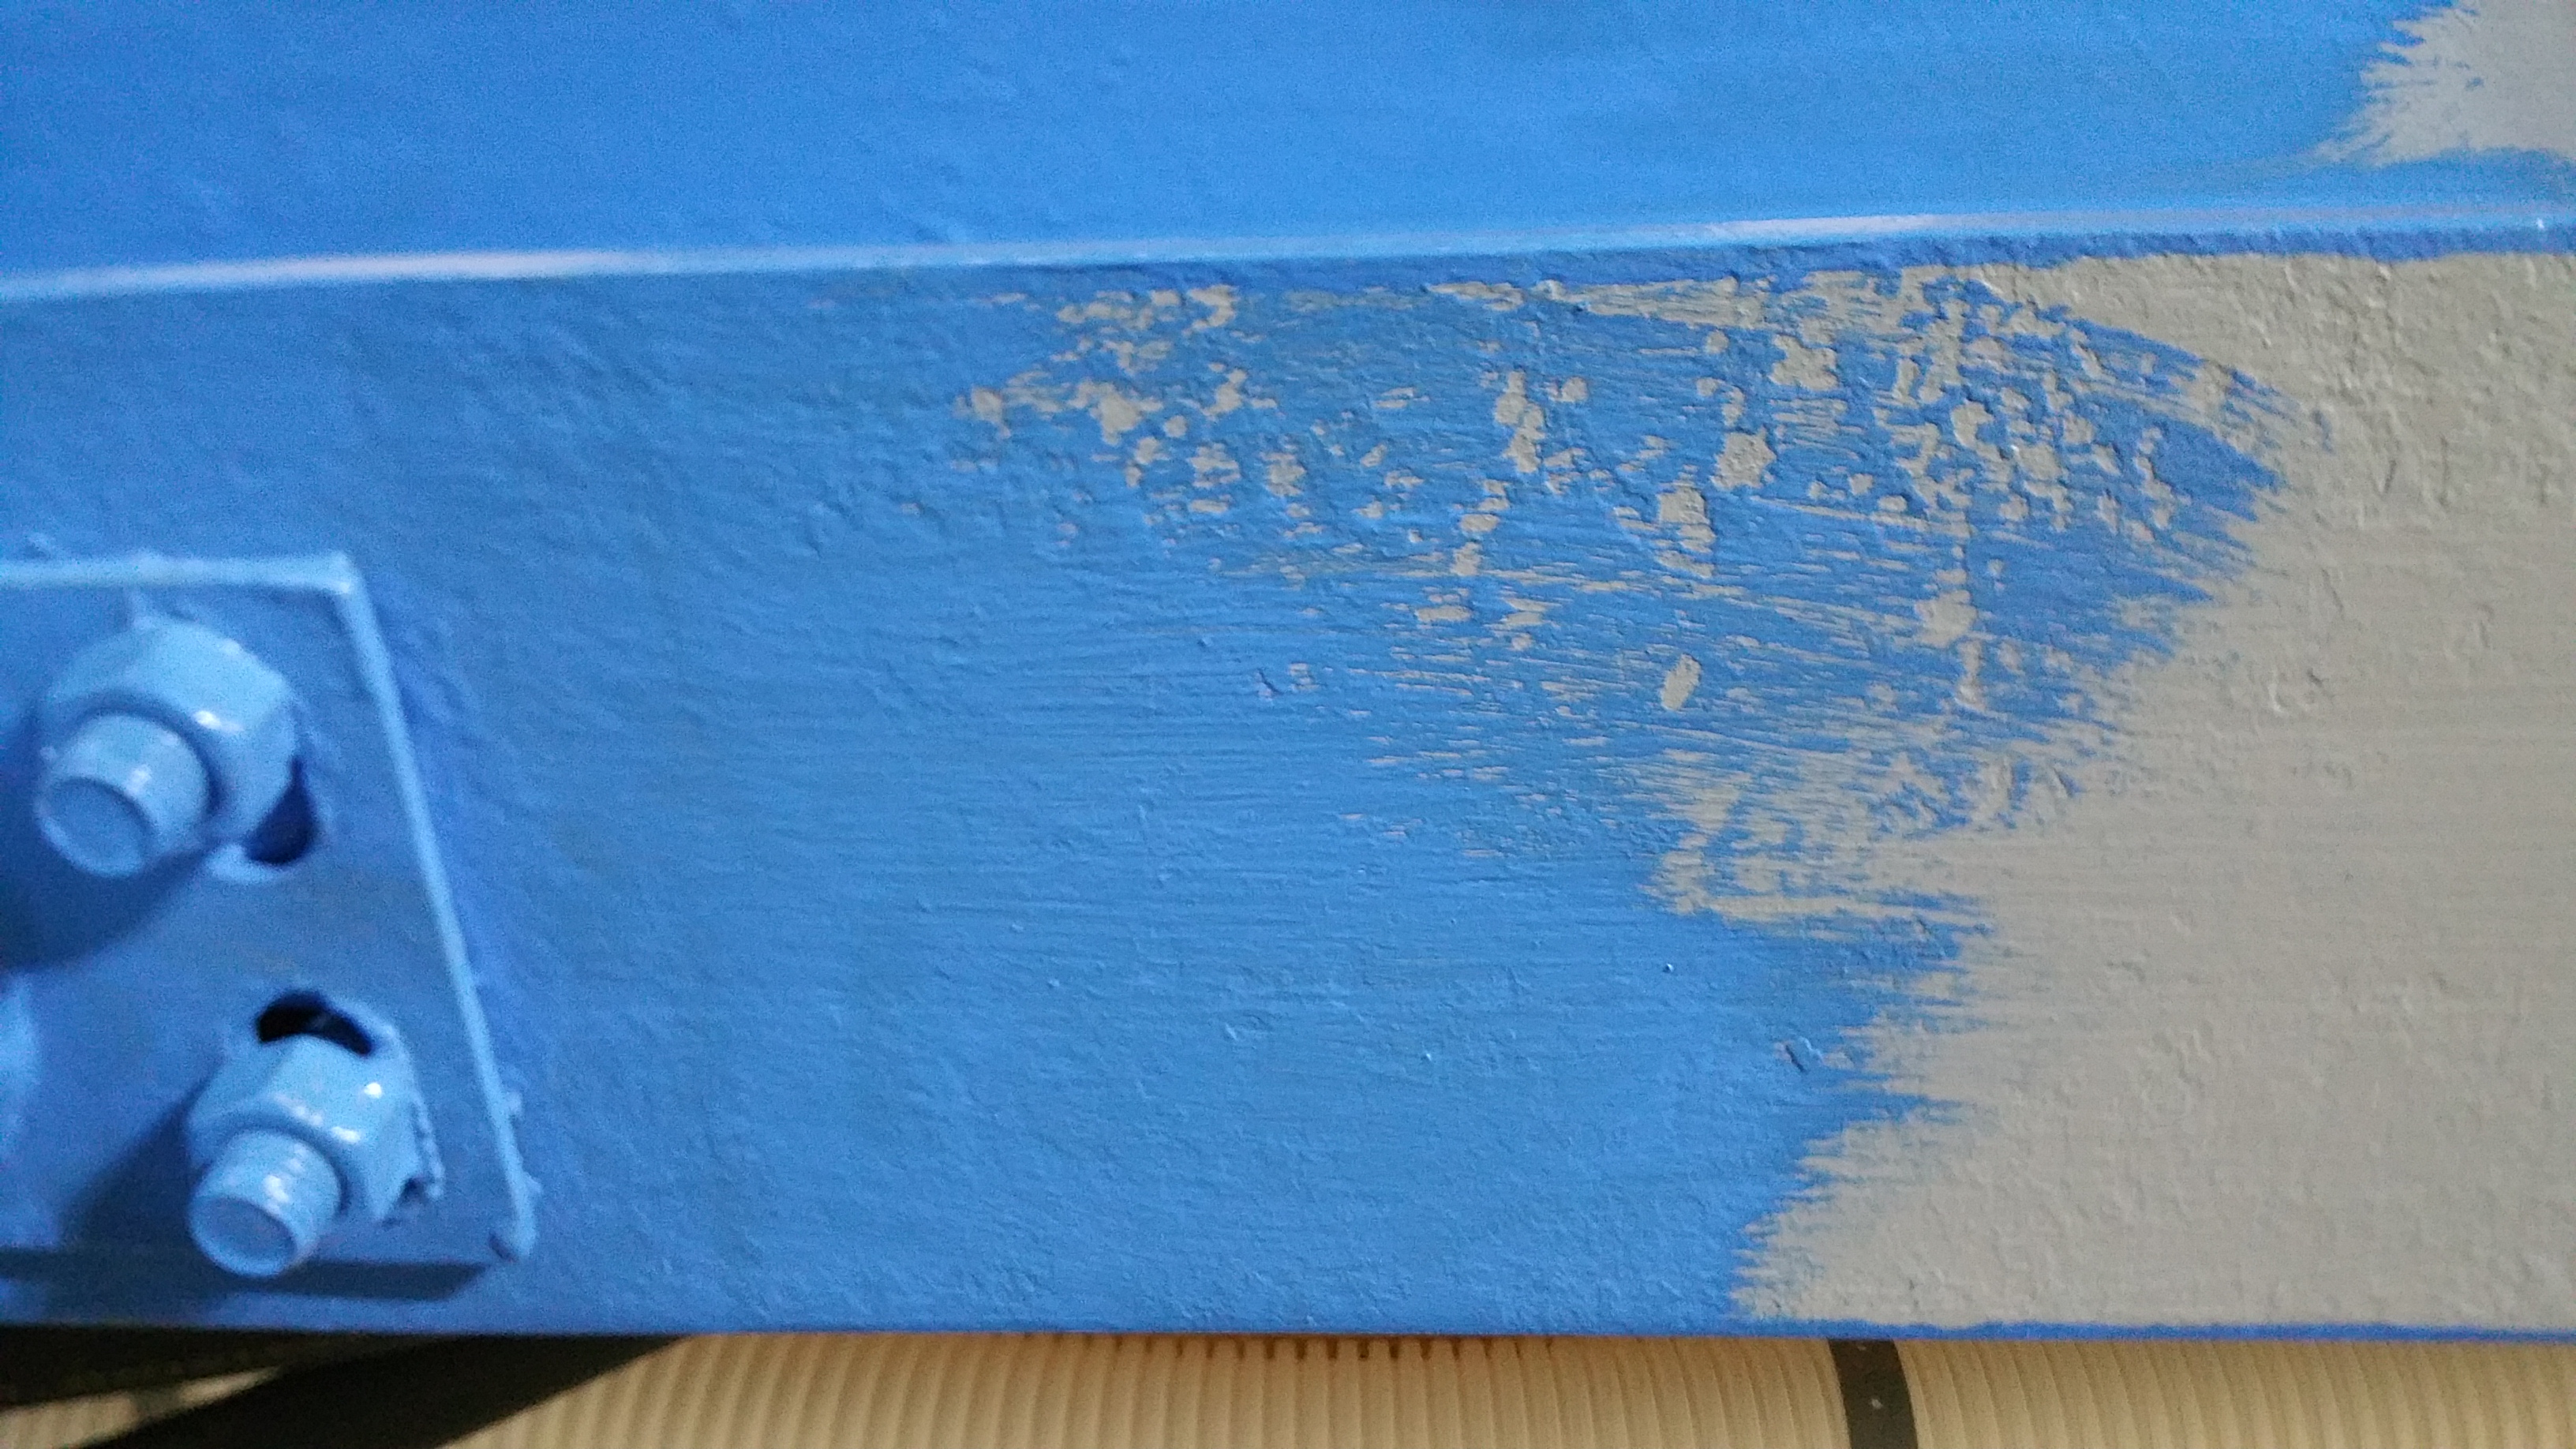
For the beam, I first used a wire brush and some sandpaper to remove any loose and flaking rust. Using a Sherwin Williams primer, their All-Surface Primer tinted gray, I applied a heavy, uniform coat to help prevent the return of any rust in the future (keeping humidity in the basement under control should help a lot in this regard).

After priming, I then applied two coats of a Safecoat product, their semi-gloss in Patriot Blue.

If I could do it over, I think I’d use Safecoat primers and paints for almost all of the interior surfaces. For the sake of convenience, since they have stores near me, I mainly used Benjamin Moore’s Aura Matte and Satin for walls and trim, and ended up mostly disappointed with their performance — hiding is pretty mediocre, flashing when you try to do spot touch-ups, and over-priced for the level of quality. Benjamin Moore does a great job with their marketing materials and with the look of their labels, I just wish the same level of thought and attention to detail went into the quality of their finishes.
Safecoat is available at various stores in the US, but unless you want a stock white, tinting may happen at Safecoat headquarters before shipping to individual stores, so there can be a wait involved (check with your local supplier for details).
I had good luck ordering from Green Building Supply in Iowa. After ordering online, the products are shipped directly to the job site or your home. This gives you access to high quality No or Low VOC products that, at least in my case, are otherwise currently unavailable in local hardware or paint stores.
Unfortunately, they can’t ship during cold spells, since the paint could freeze and be ruined. When it was cold and I needed product, I found Premier Paint and Wallpaper just outside of downtown Madison, Wisconsin (about a 2 hour drive for us). They’re a family-owned shop, and it shows. They have a nice selection of Safe Coat products. In fact, their wide range of products from various brands is impressive, and the people who work there are really helpful and just easy to work with. Unfortunately, I haven’t found a similar paint store in my area. Around me, Benjamin Moore (aka JC Licht), Sherwin Williams, and Pittsburgh Paint stores dominate the market. The smaller mom-and-pop stores, for the most part, don’t really exist anymore, which is a shame.
The Safecoat products that I’ve used typically have some odor, but what little smell they do have tends to dissipate rather quickly (this is particularly noticeable if you change back to a more conventional coating with more VOCs that may take weeks before its distinct odor finally disappears).

It’s a shame that so many structural beams end up covered over, normally considered too humble, i.e., ugly, to be left alone. In keeping with our Urban Rustic design aesthetic, we think that if they’re given even just a little bit of attention and care they can prove to be a real visual asset to a space, especially in a basement if a more relaxed, informal look and feel is acceptable or even ideal.
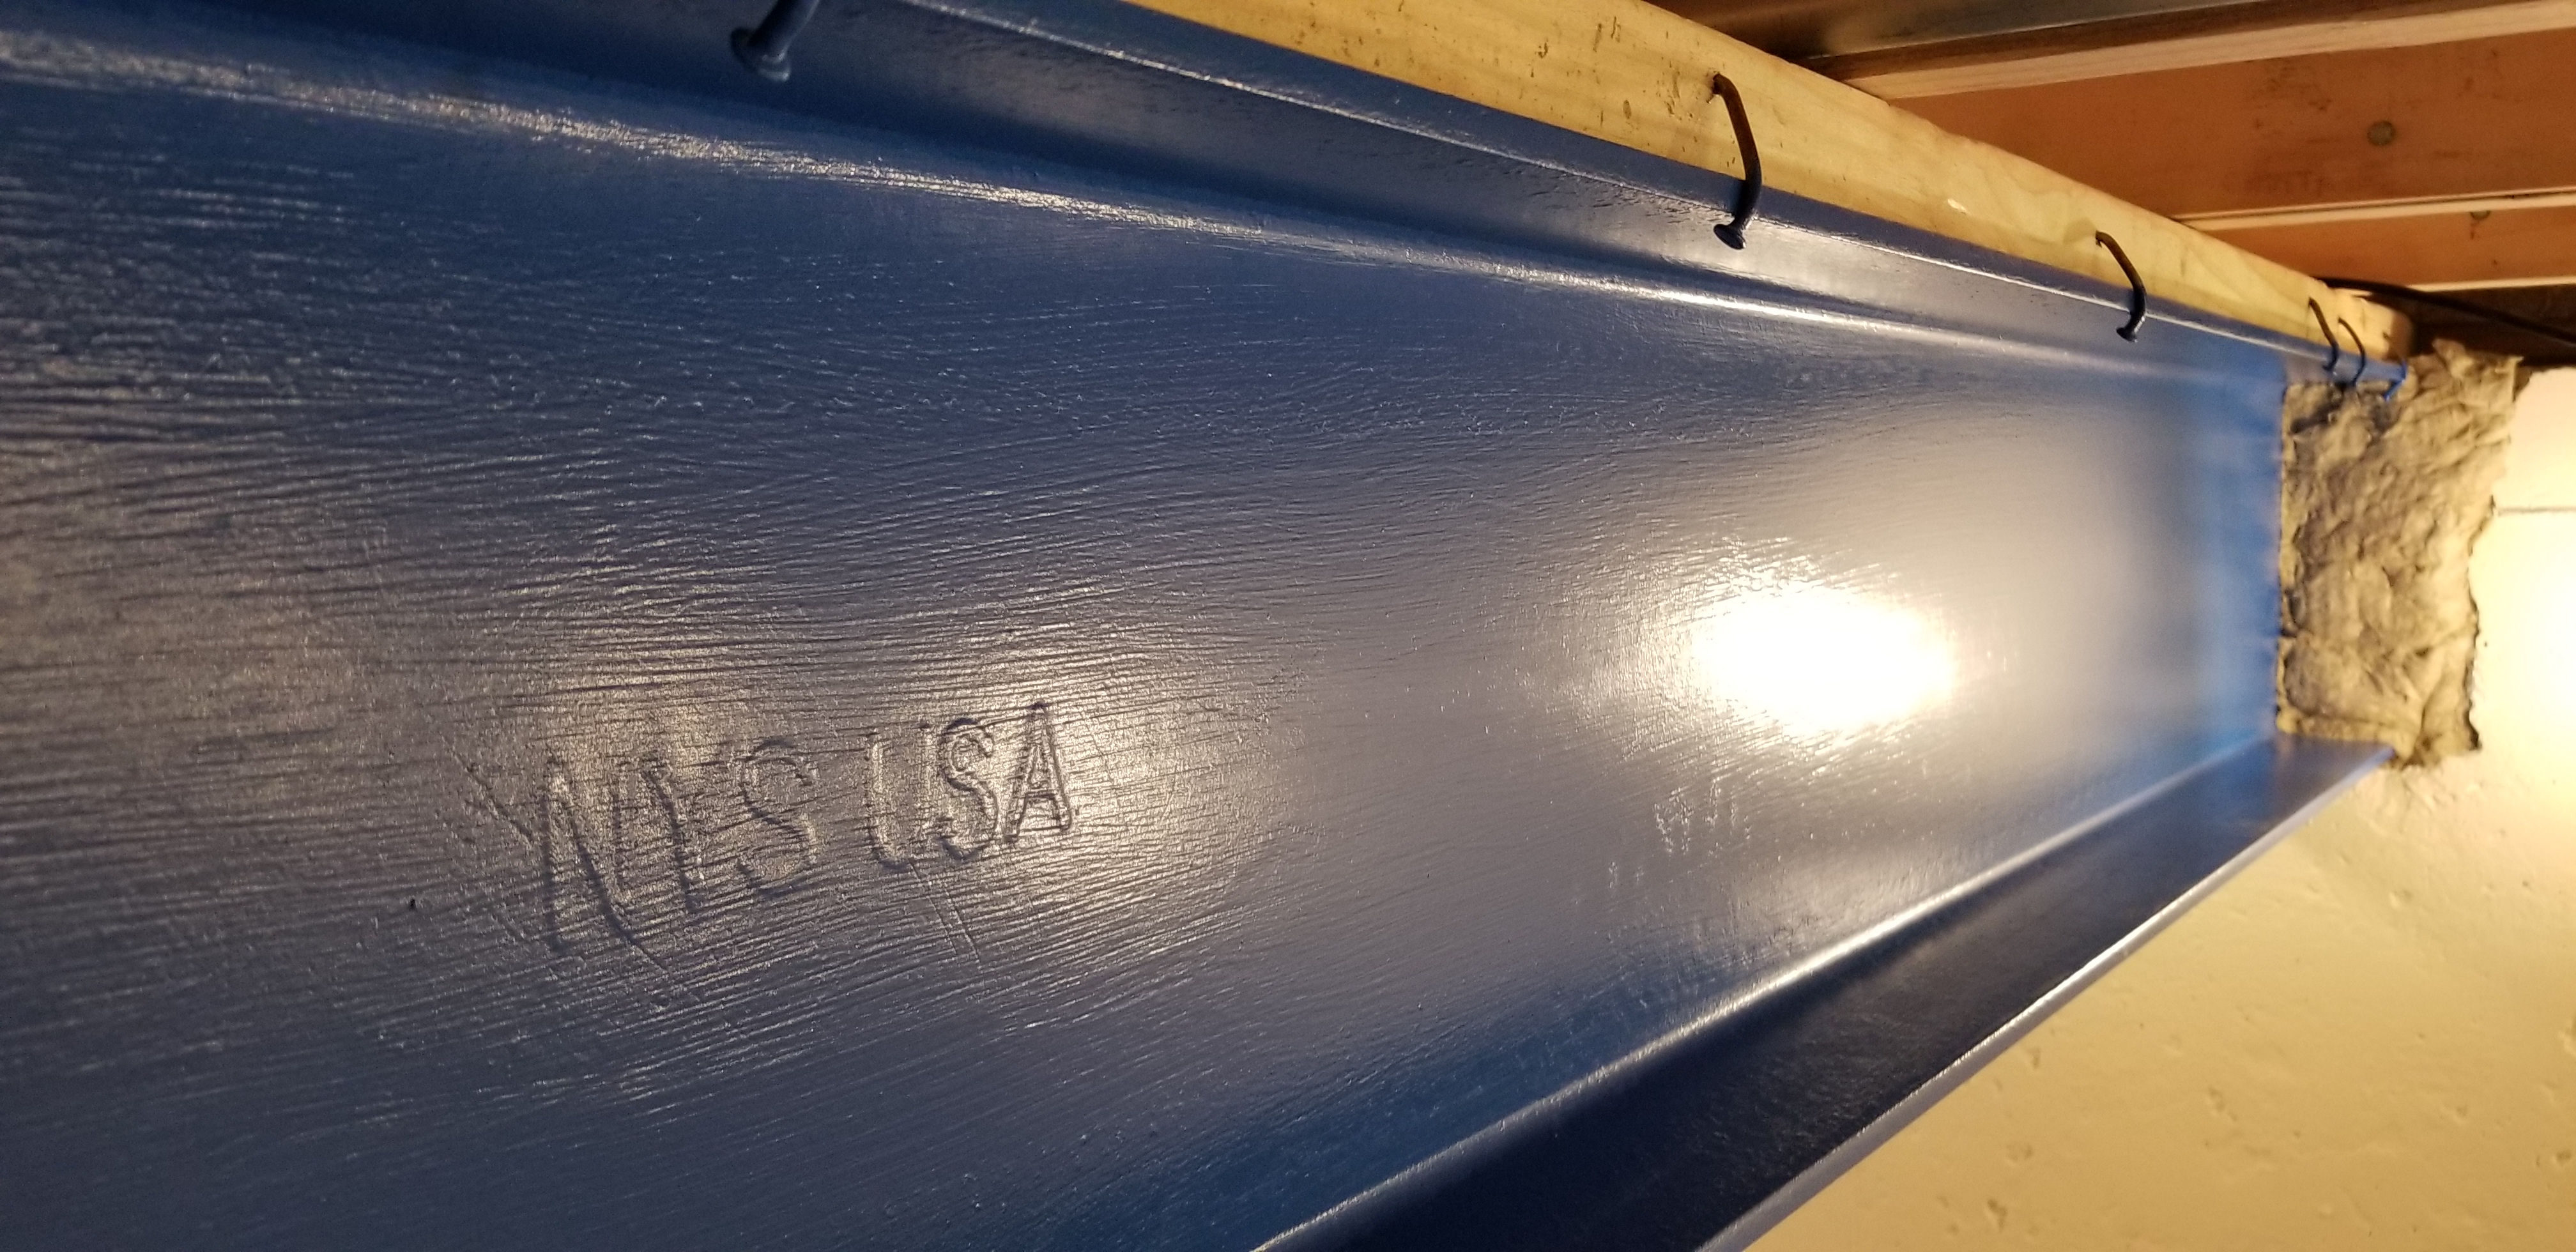
Leaving the spine of the house exposed like this with a bold color emphasizes the job it’s actually doing, and it honors the material by making it front and center visually in the space, rather than trying to hide it away behind drywall or wood. This seems only appropriate since beams like this help keep a house standing upright.
Painting Basement Walls
Once the beam was completed, I moved on to priming the exposed concrete walls:

Paint color can be a finicky thing. After priming the concrete walls, I used a Benjamin Moore color, Jute, as the finish coat. In the basement it looks great, exactly what we were looking for: a nice, warm neutral khaki color. Upstairs, however, when I later did a test swatch on the new drywall this same color looked horrible, taking on pinkish flesh tones, so we ended up having to use a different color for most of the first floor. Testing out colors, even in relatively small areas, can save a lot of time, money, and headaches later on.
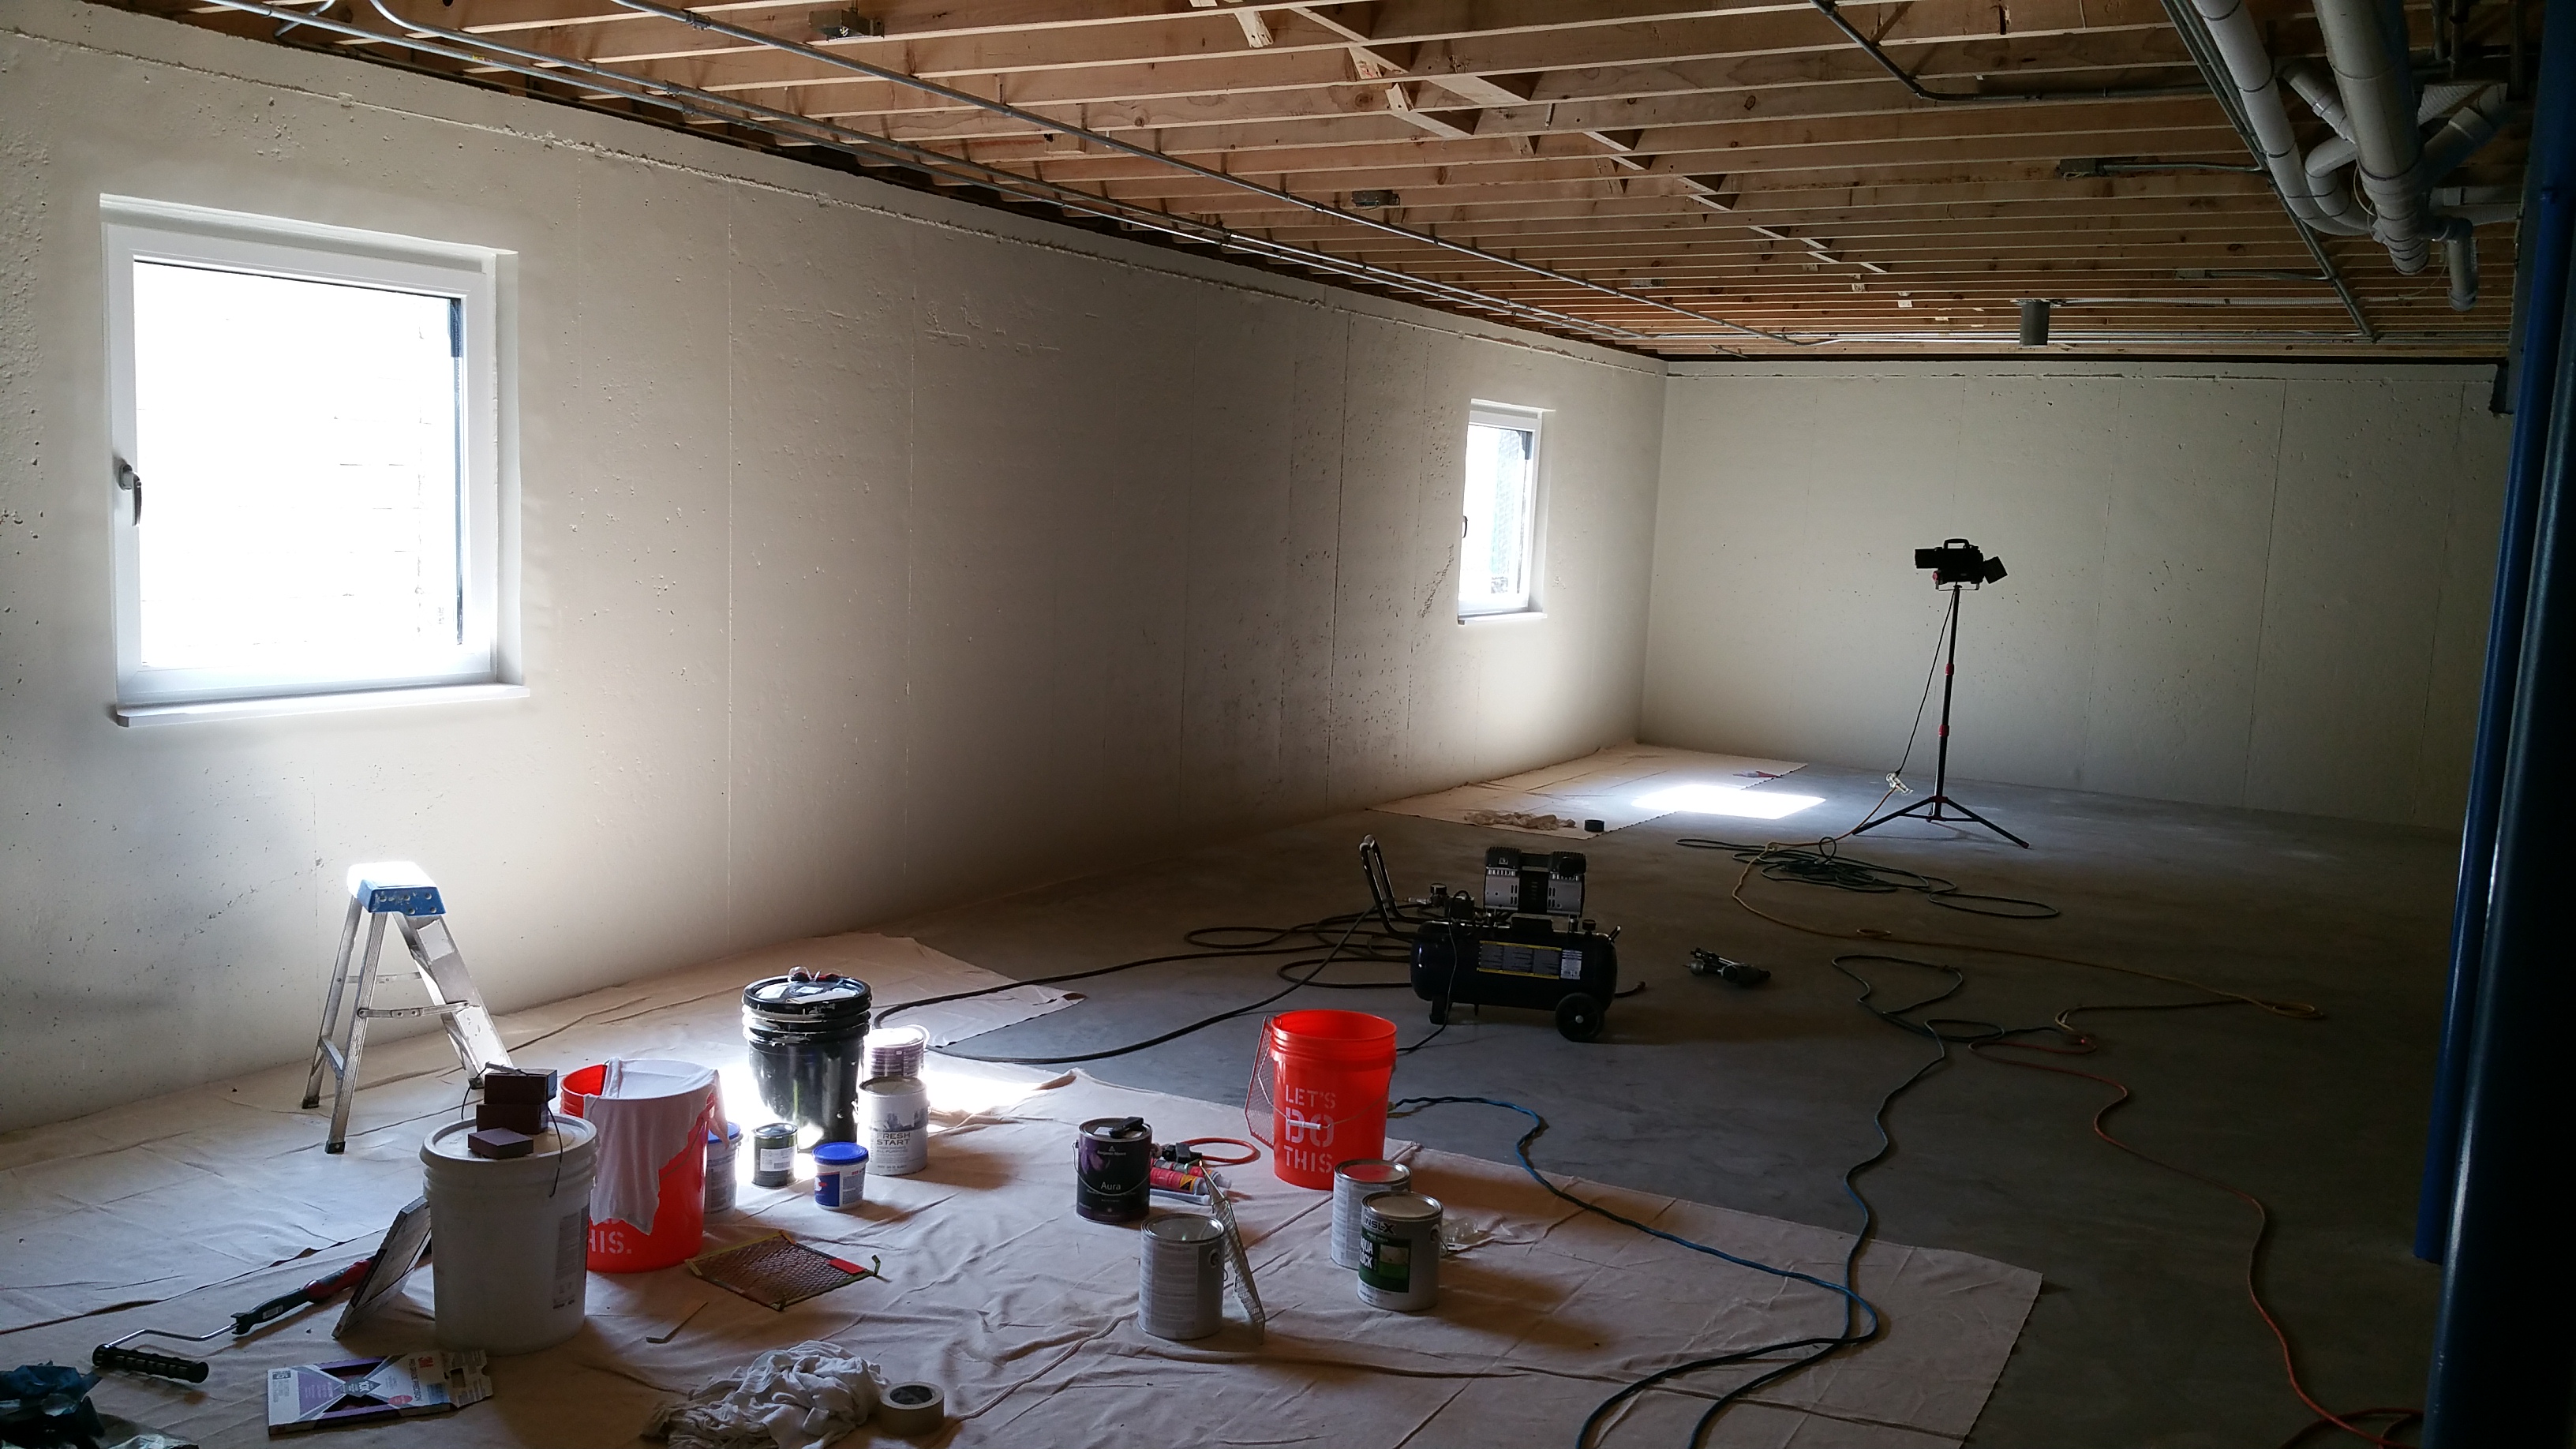
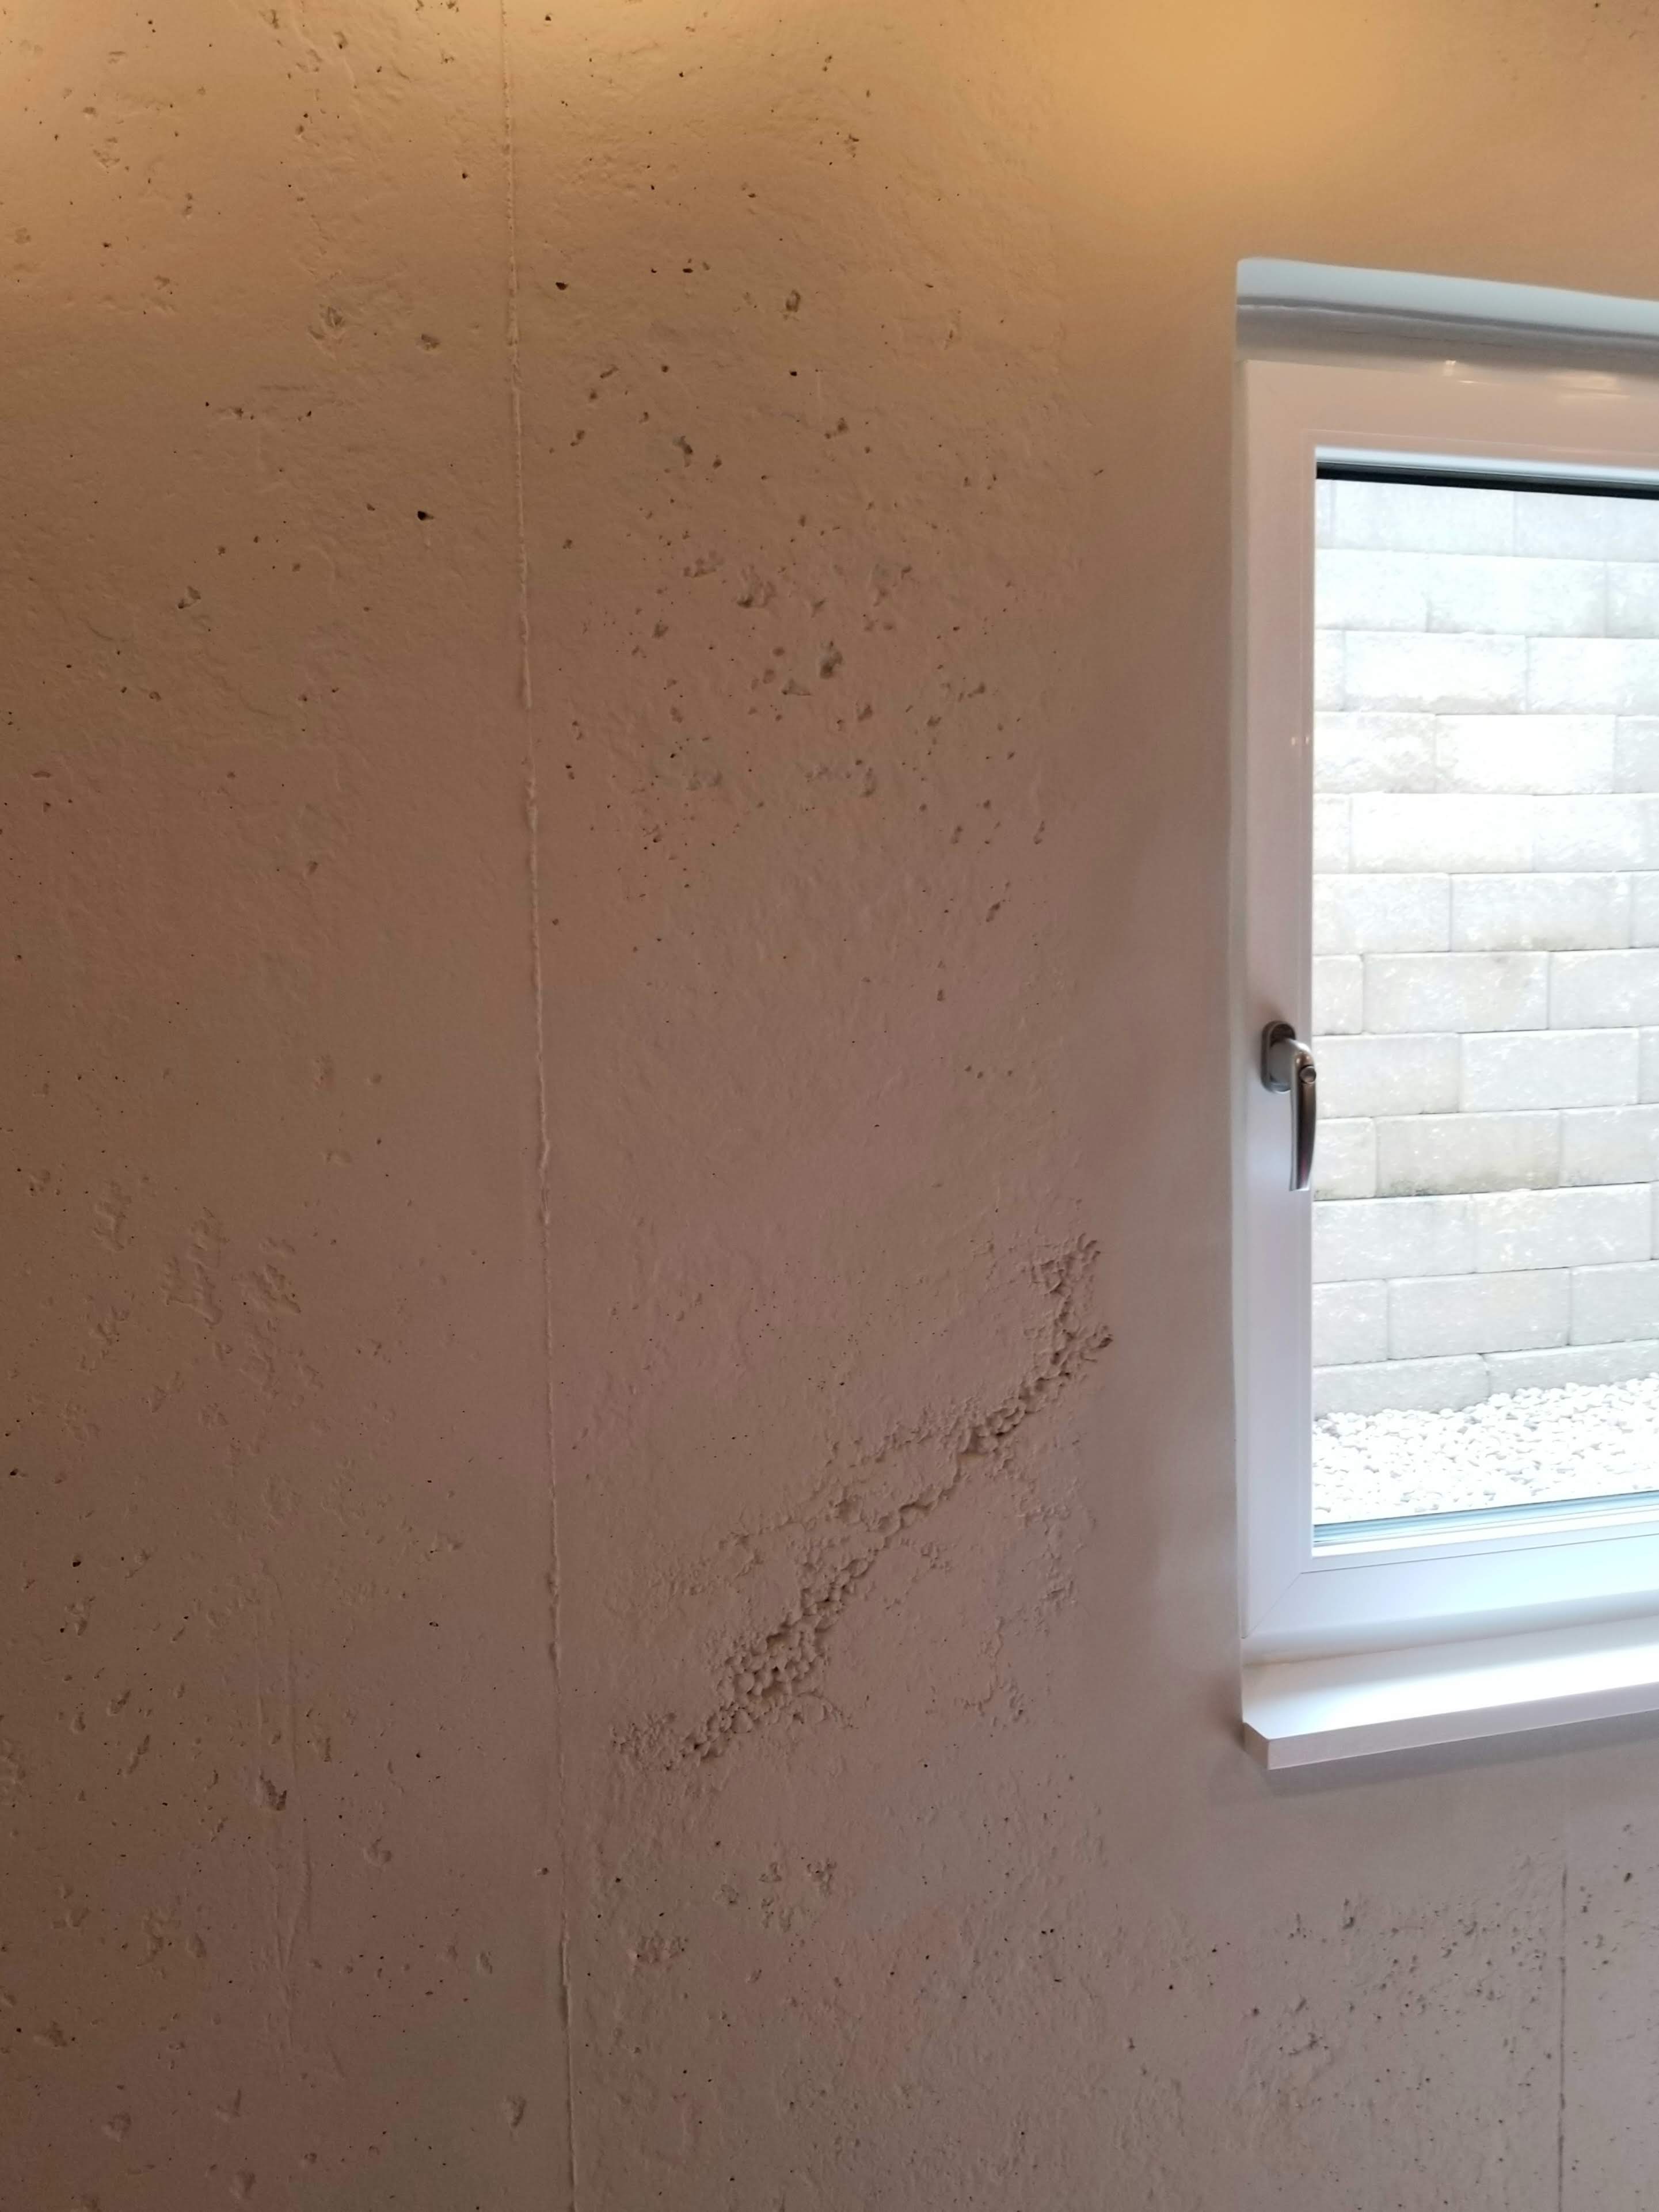
It was really important to me that the basement foundation walls be left exposed, with no insulation or drywall.

I wanted all of the texture, imperfections, and overall character of the exposed concrete to be vividly on display. Arguably, once painted, these imperfections become even more pronounced:


With a good chunk of the basement complete, it was time to move outside and get some work done before the siding began, and before we had our first blower door test performed…
Wall Art
It took quite awhile before we could return to the basement and get some artwork on the walls. After we moved in and got some other projects completed, we started using a plywood-epoxy combination instead of a more traditional frame and glass for a series of poster art pieces.

This involves creating a base out of 1/2″ or 3/4″ plywood. Once sanded smooth, we apply the photo to the plywood with some spray adhesive. When completely dry, we then do a flood coat of epoxy over the entire surface of the artwork-plywood ‘frame’ (typically the plywood is on a base of either 1×4’s or 2×4’s, depending on the look we want, adding stability to the frame while also making it easy to hang on a wall).

If a high gloss finish isn’t ideal, after waiting a couple of days to ensure the epoxy is fully cured, I sand it smooth, up to 360 grit with an orbital sander.
Once the epoxy has been dulled, I then apply a couple coats of hard wax oil finish like Osmo Polyx. Typically I use a satin finish, but a matte can also produce a subtle, high-quality finish. For more info, go here: Urban Rustic: Main Bedroom and Bathroom

One of the more challenging pieces began with an iconic image of the 19th century French artist, Camille Claudel. I’ve always loved this image of the young artist; to me it’s full of life, defiance, and pride:

My introduction to her life and work was through the almost operatic biopic from 1989:

The biography by Odile Ayral-Clause is also well worth a read; less melodramatic than the movie, but a much more fully fleshed out depiction of her life.
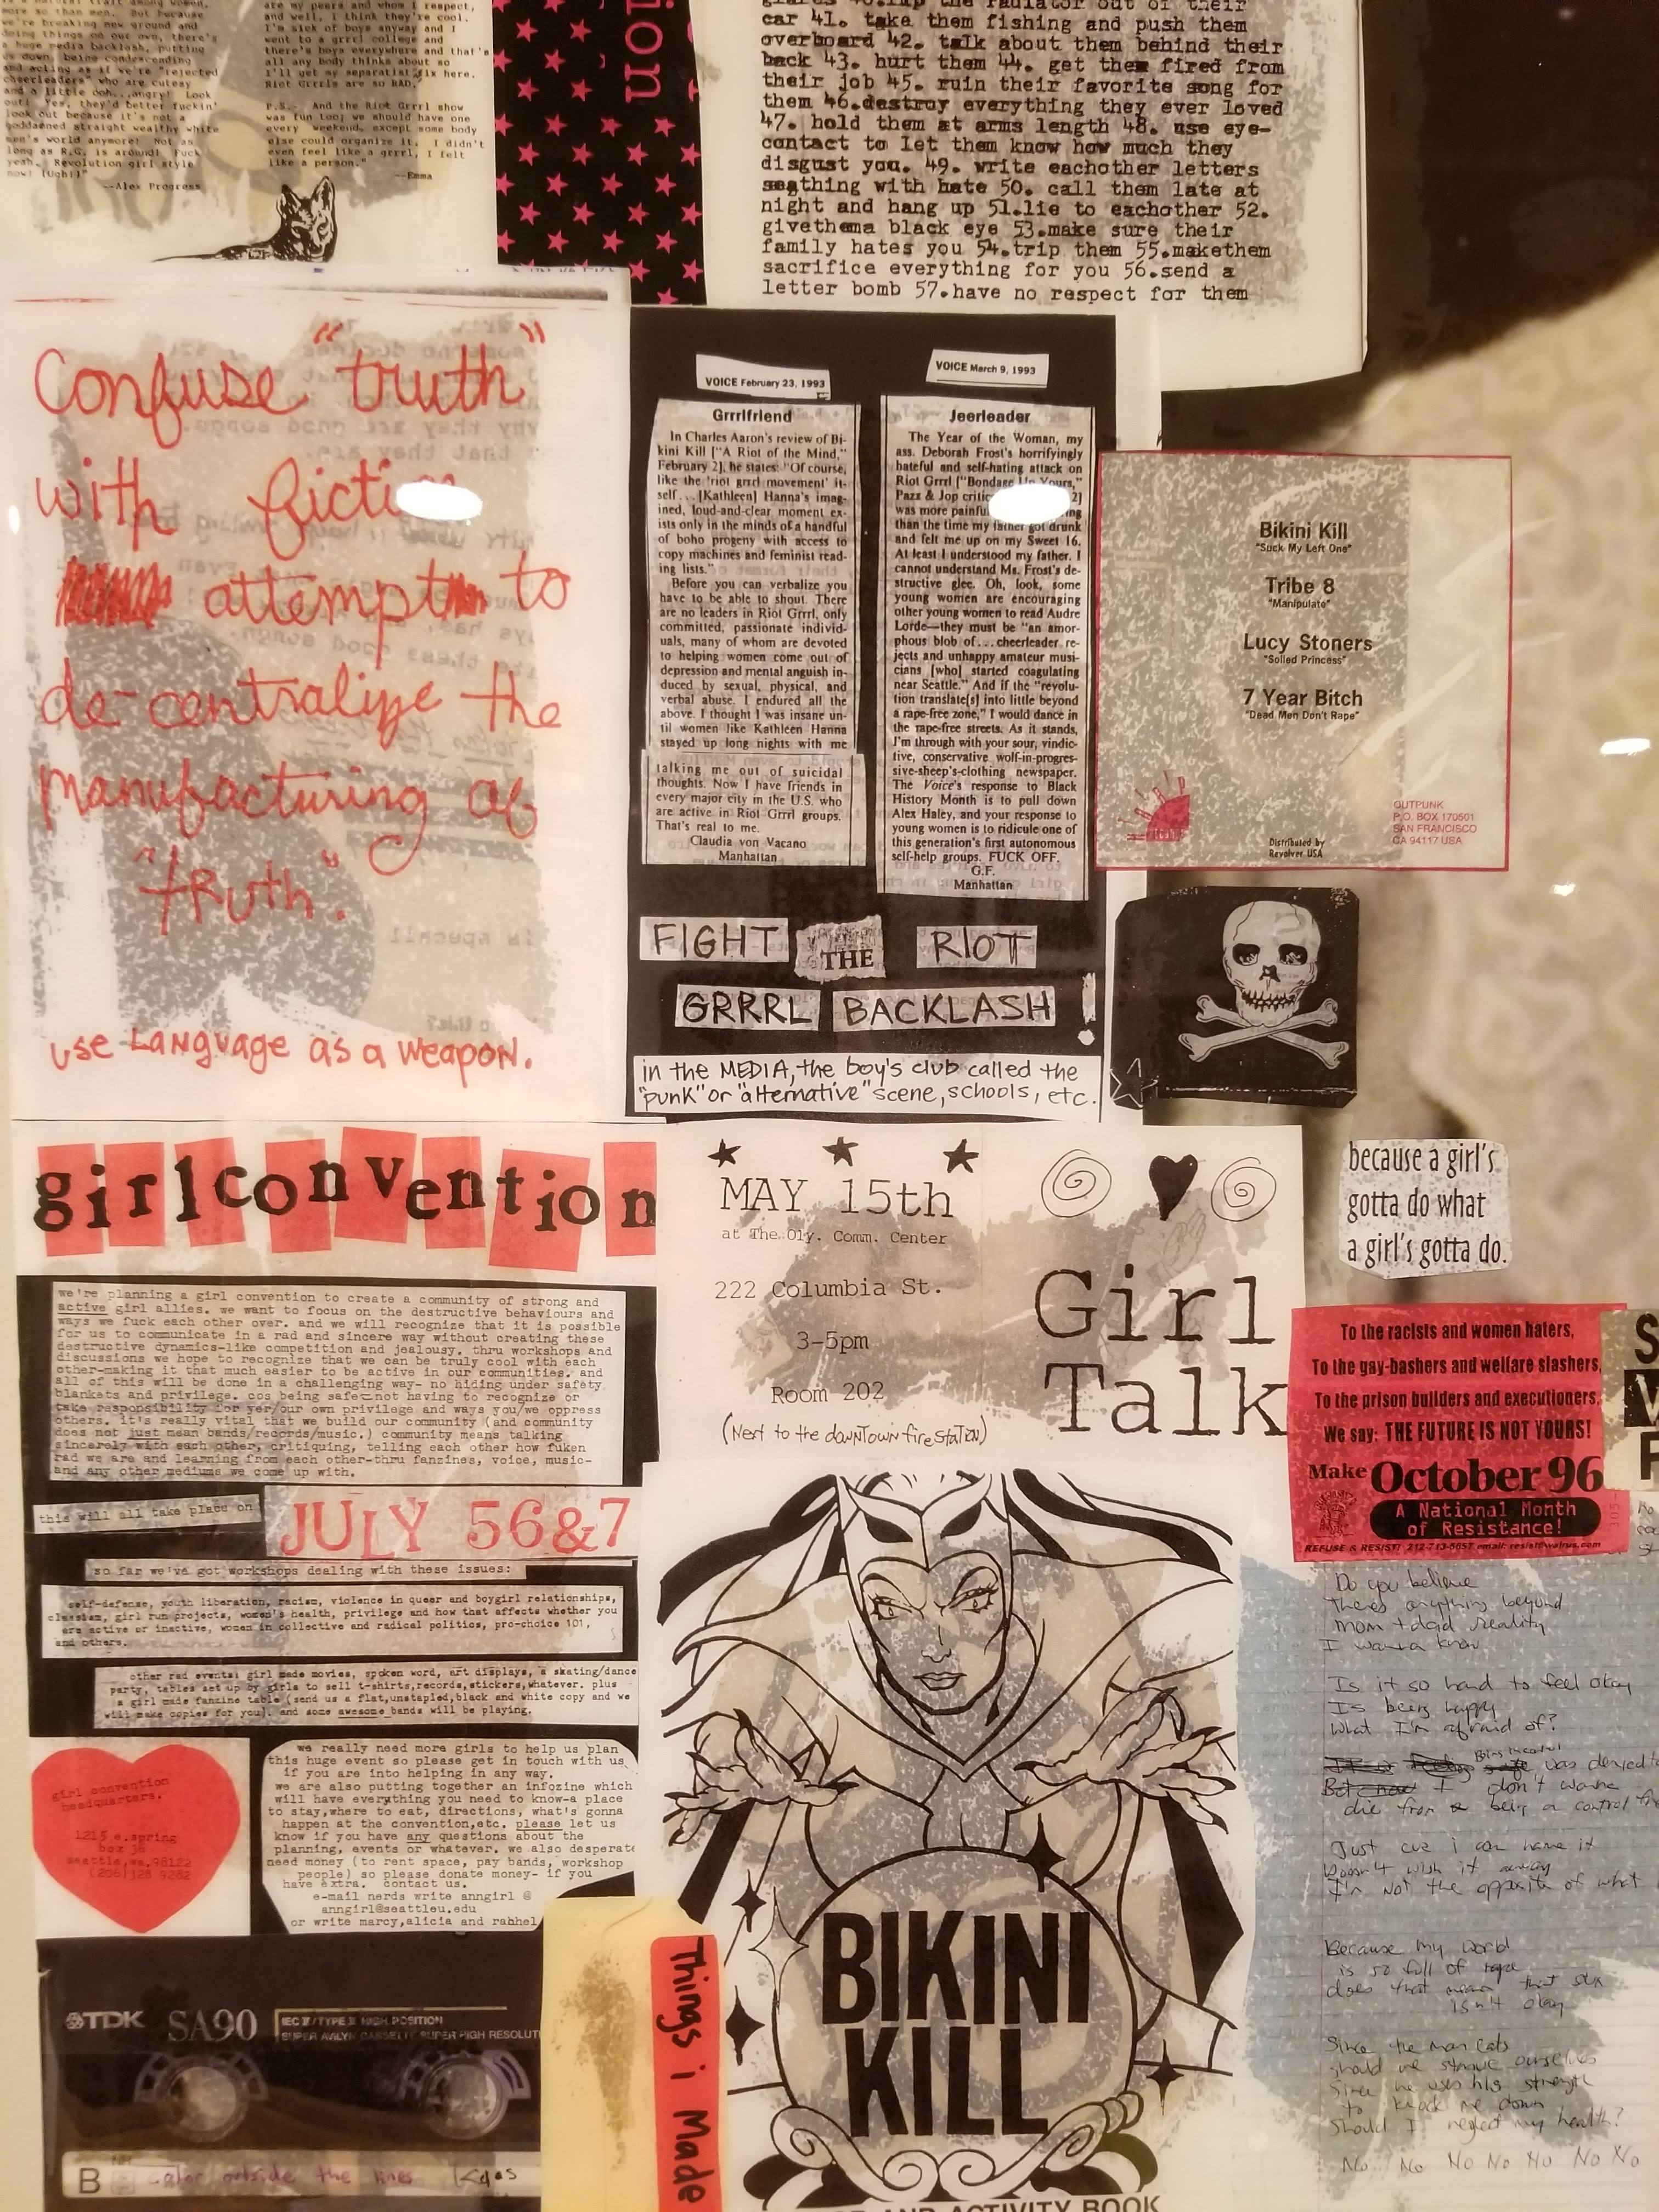
Using this image as a centerpiece, I needed a series of images to complete a collage. Using the DIY artwork from the Riot Grrrl movement collected in the pages of The Riot Grrrl Collection by Lisa Darms seemed to match the power and spirit of the artist’s life:

After getting over the uneasiness of tearing apart the pages of a beautiful book, I set about coming up with a layout for the artwork in combination with the photo of Claudel.
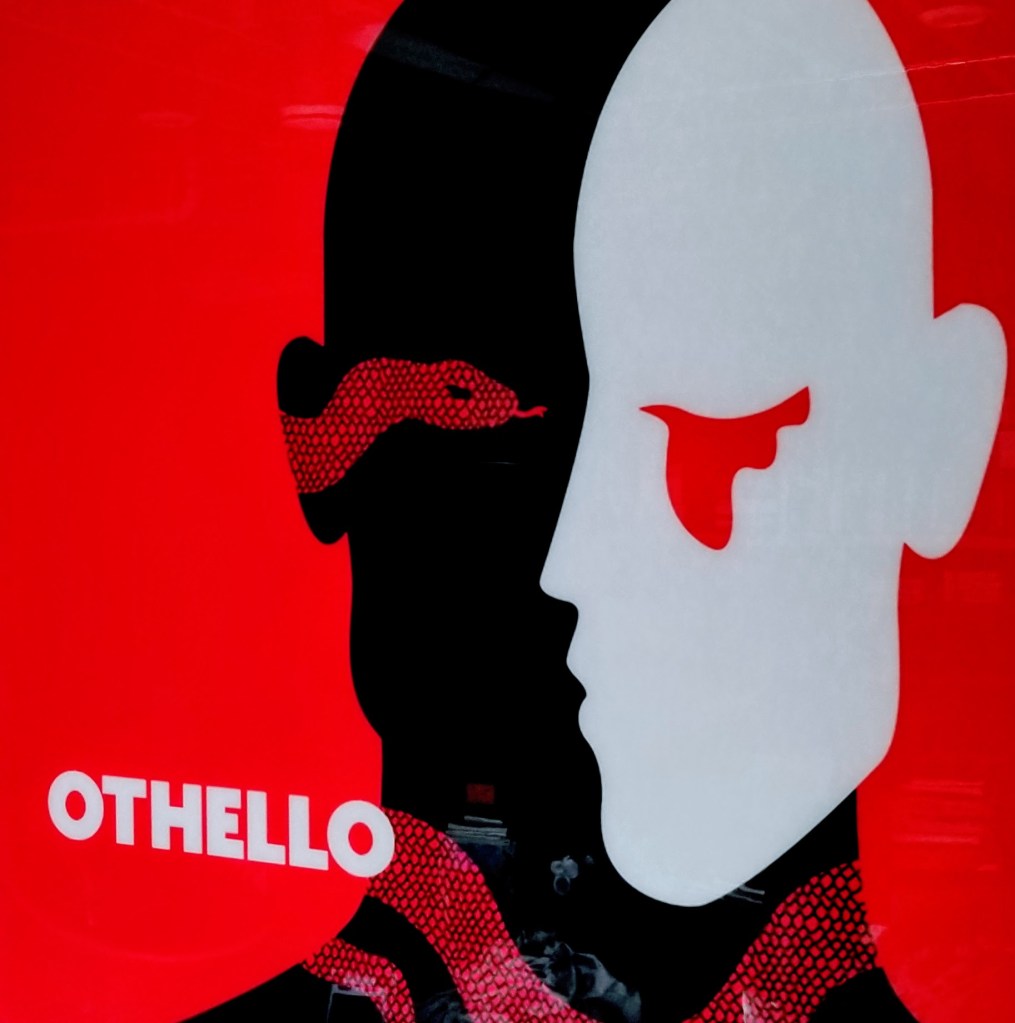
The intent was to surround her with the work from these various Riot Grrrl zines, hopefully making for a visually striking collage:

Series of images from the layout and post-epoxy stages:


Claudel and the Riot Grrls in place above my wife’s office desk:

An overview of the wall art in our basement:


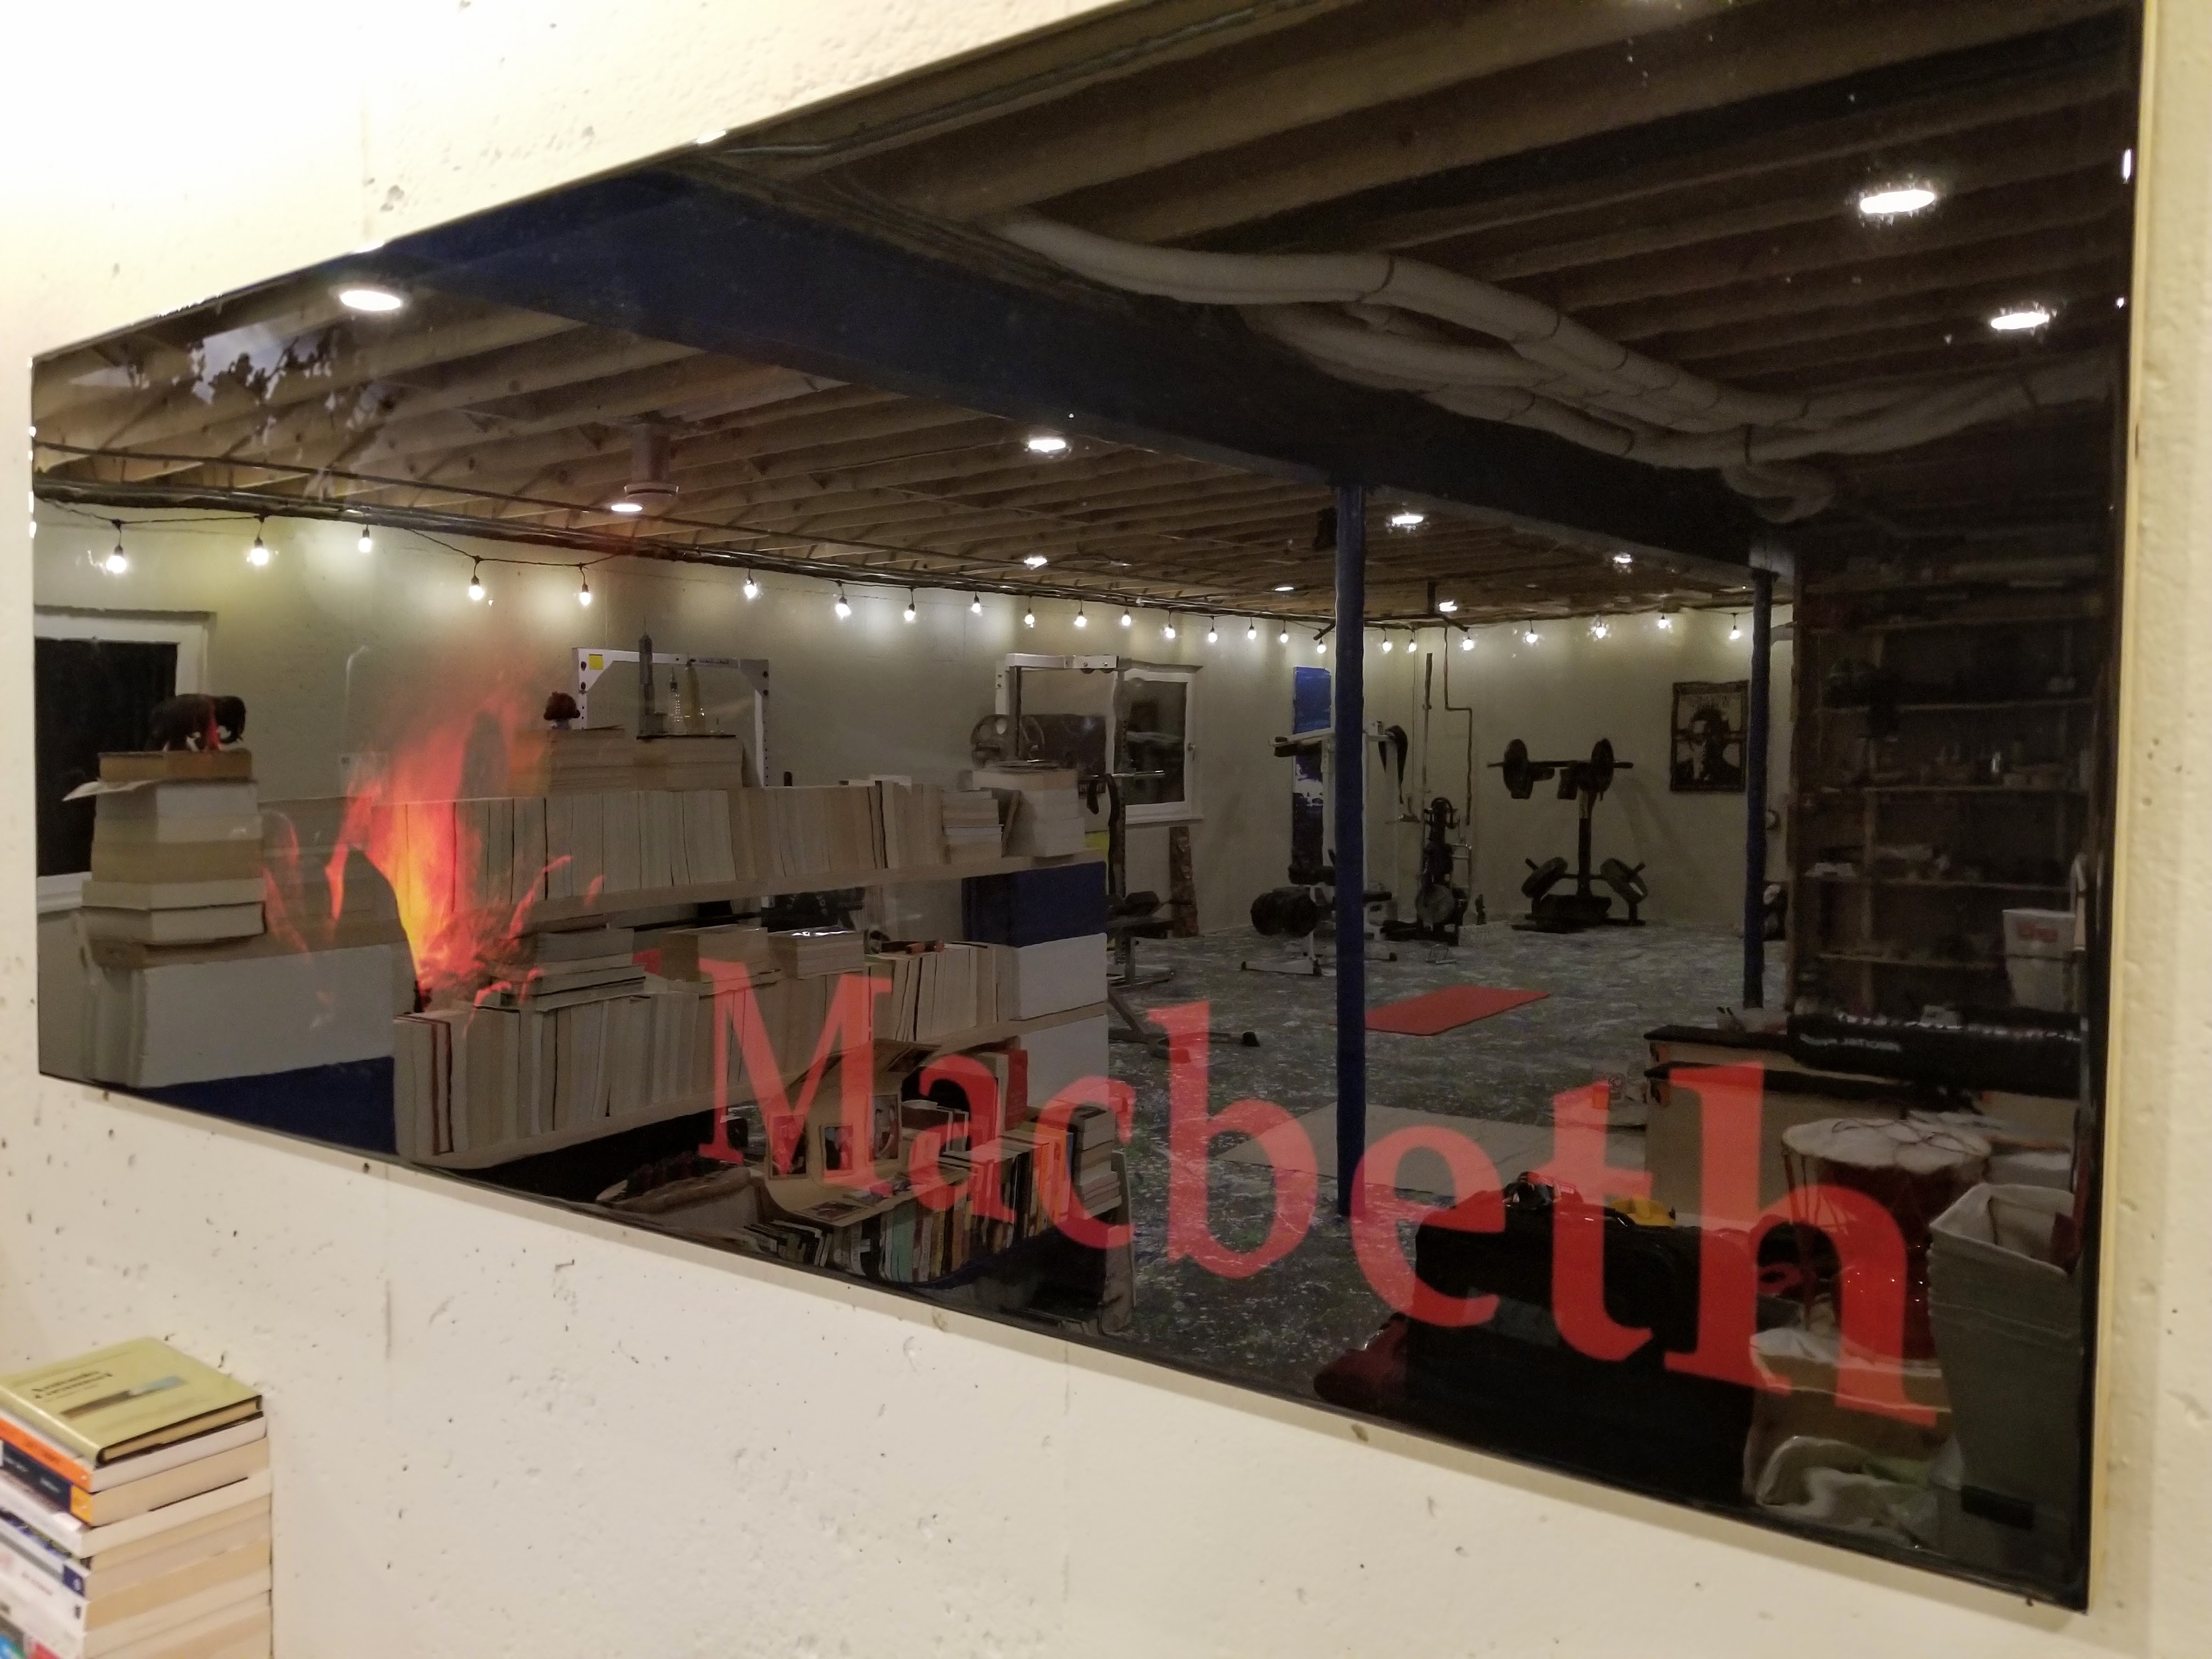


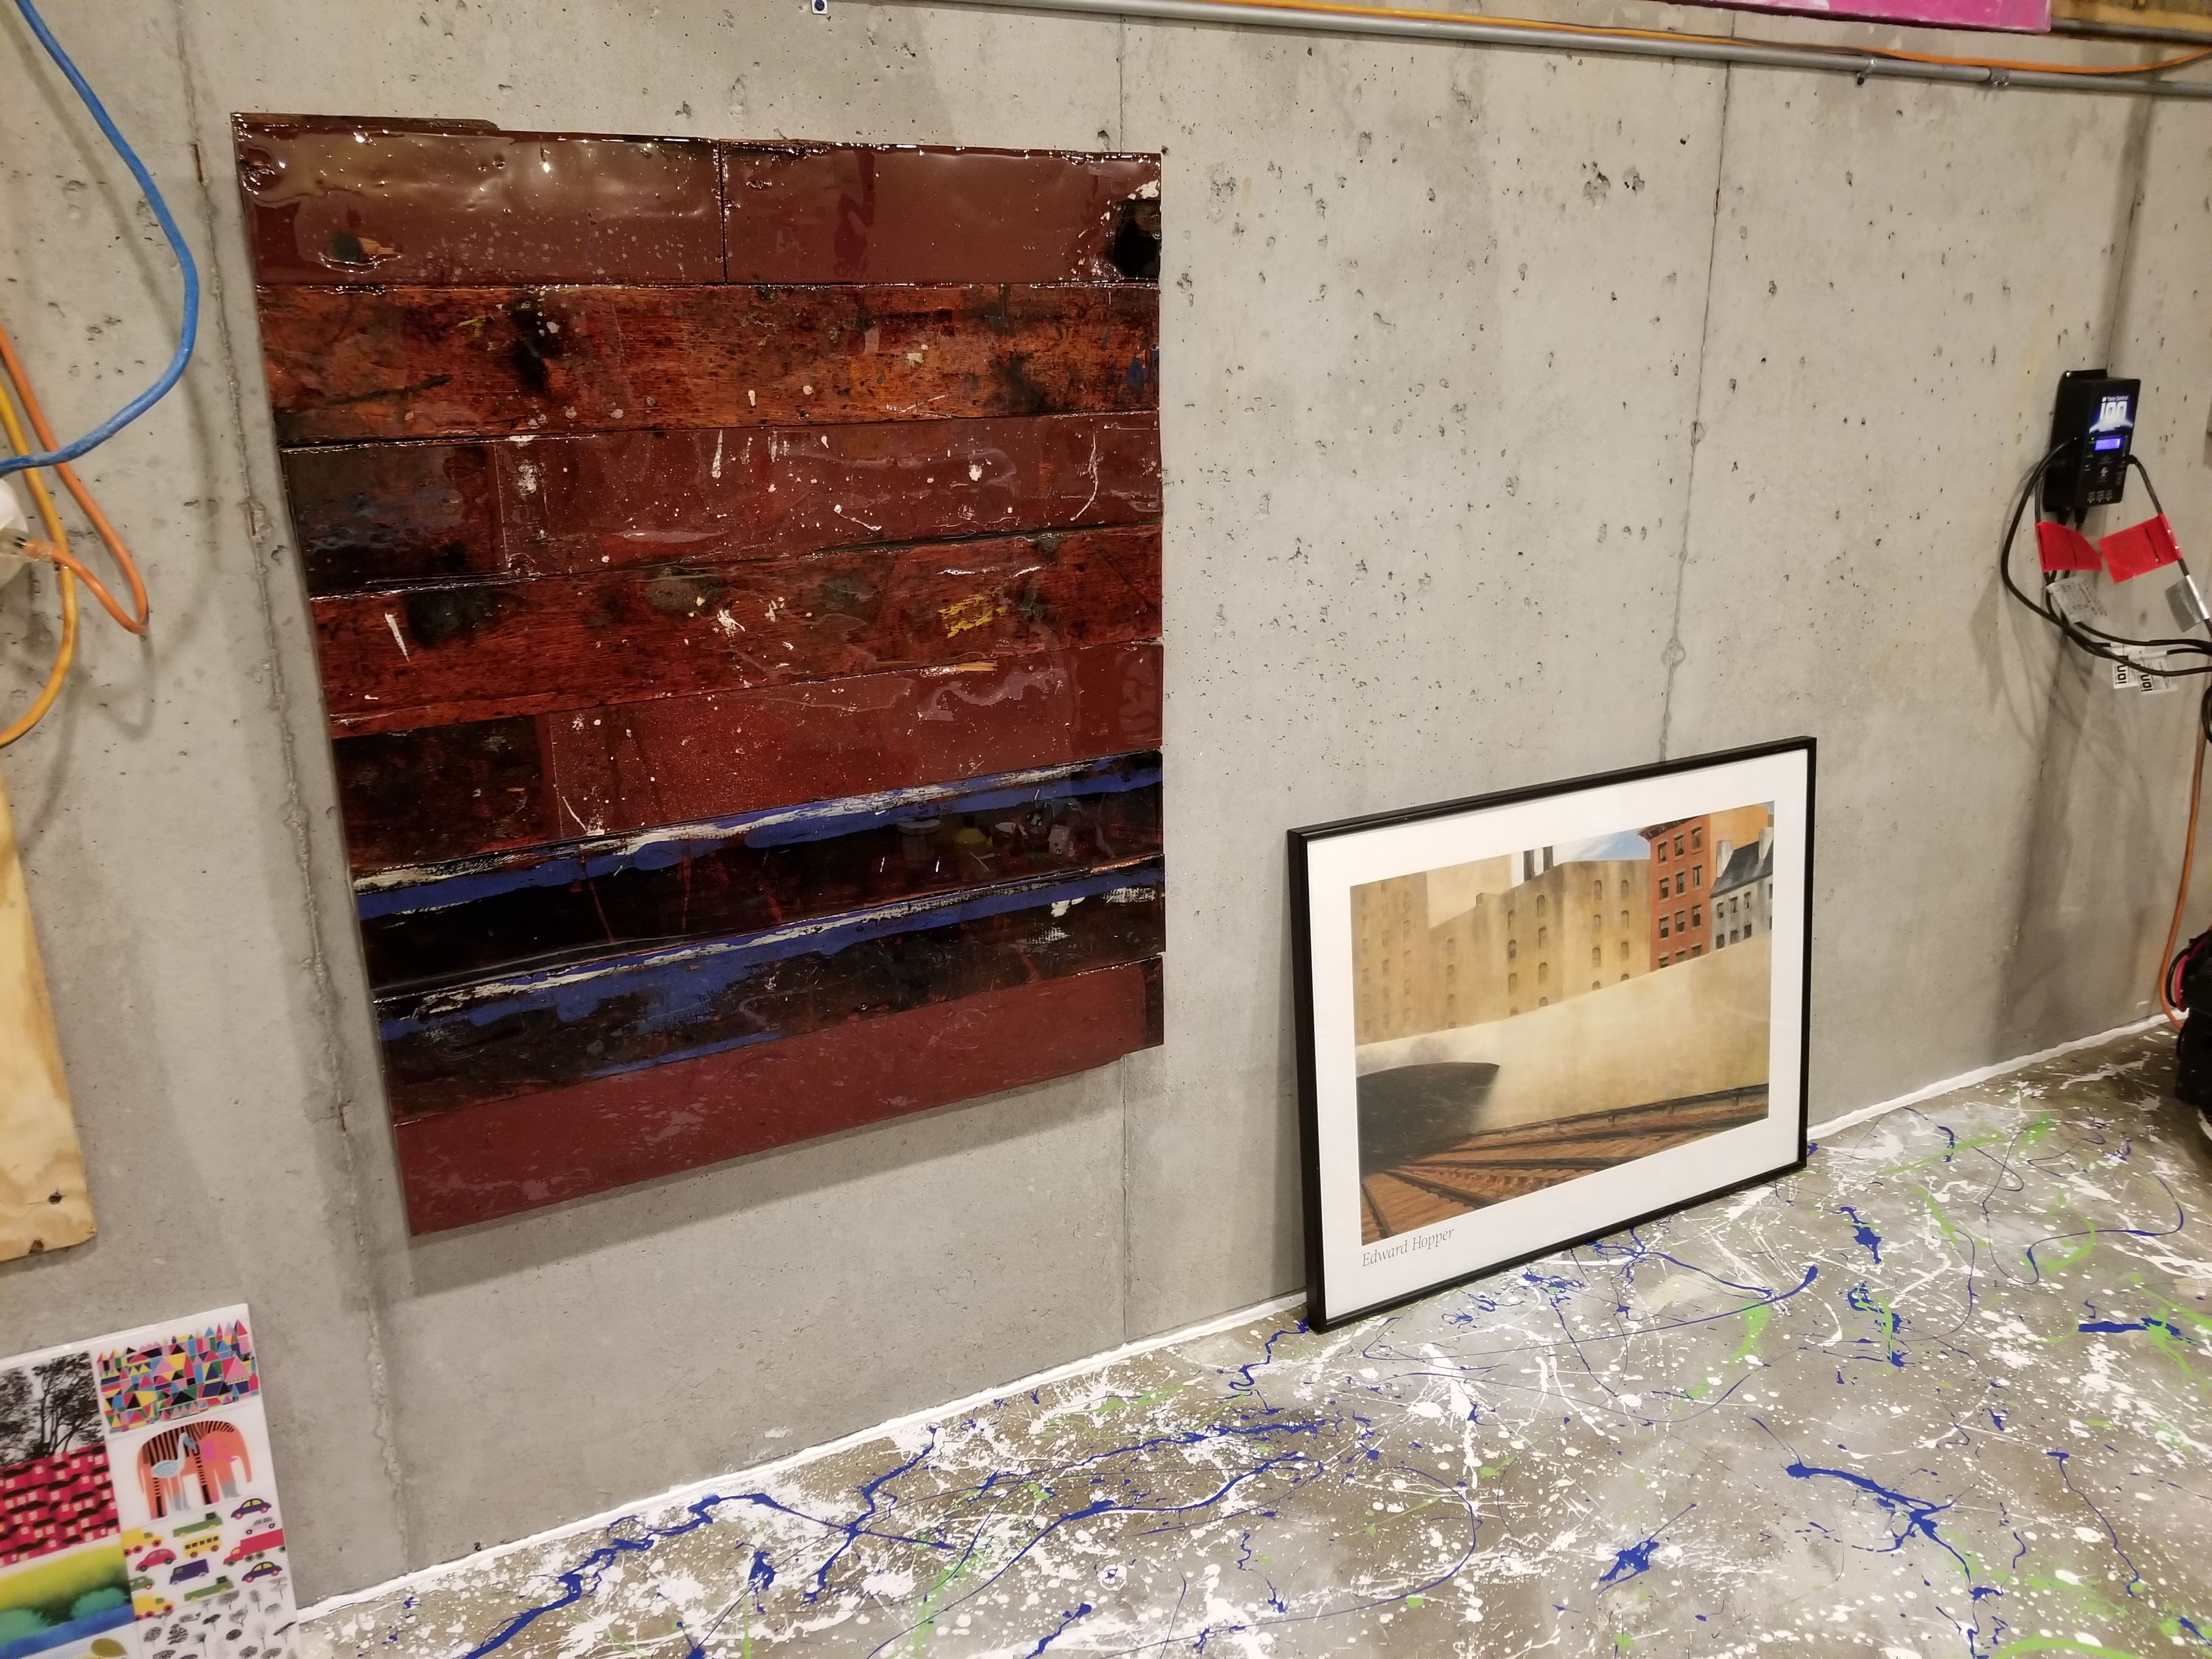
By keeping the high gloss finish on most of the Shakespeare posters, along with the Claudel-Riot Grrrl collage, the images can do double duty with their mirror-like finish, offering objective and subjective perspectives simultaneously, pulling in the viewer while subtly suggesting no one is above the ‘Sturm und Drang‘.
asdsdfasdfa


Hi I was wondering what finish you painted your concrete walls? Did you paint them flat? eggshell? semigloss?
LikeLike
Hi Warren,
We went with a flat finish for the exposed concrete walls.
Thanks for checking out the blog!
Eric
LikeLike
Hello, wondering what paint you used for the primer and top coat on the walls? Is this a sealing or waterproof paint or something else? I keep reading it is bad to use waterproof paint on concrete basement walls and that they should breathe as to not damage the foundation over time or cause mold/mildew behind paint surfaces. However I do want to paint them white and have some sealing of moisture if possible and not detrimental to the walls. Thanks for any input or experience you have!
LikeLike
Hello, sorry it’s taken me awhile to get back to you. I was out of town on a family vacation.
I used a Sherwin Williams concrete primer to initially seal the walls. The top coat was a Benjamin Moore product in a matte finish. Both were water-based products.
If you have a significant amount of moisture in your foundation walls, even on a seasonal basis, priming/painting may not work, meaning you may end up with areas of peeling paint. If there’s enough moisture present to cause paint to peel, typically it requires a significant amount of work to address drainage around your foundation walls and footers.
If, on the other hand, there are no obvious signs of moisture present in the walls, then priming/painting should work just fine.
LikeLike