
Mudsills
In a conventionally built home, mudsills are typically an area of significant air leakage (if you’ve ever seen sill sealer — a thin layer of foam normally used to address this lumber-concrete connection — under an actual mudsill, you can visibly see just how poorly it performs).
In contrast, after reading about various strategies employed to reach the Passive House standard of 0.6 ACH@50 for air tightness, I decided to use the approach developed by architect Steve Baczek specifically for mudsills. There is an excellent article in Fine Homebuilding magazine that describes the details, and there is a companion series of videos available on Green Building Advisor (after the first video, membership is required, but it’s well worth it for this series of videos, as well as all the other information available on GBA).
We didn’t use the layer of poly, or the termite shield, but the remaining details we followed fairly closely. And we did make one product substitution — instead of using the Tremco acoustical sealant, we decided to go with the Contega HF sealant (less messy, lower VOC’s, and skins over and firms up enough to apply the Pro Clima tapes, all while remaining permanently flexible like the Tremco product — these products are available at foursevenfive.com).


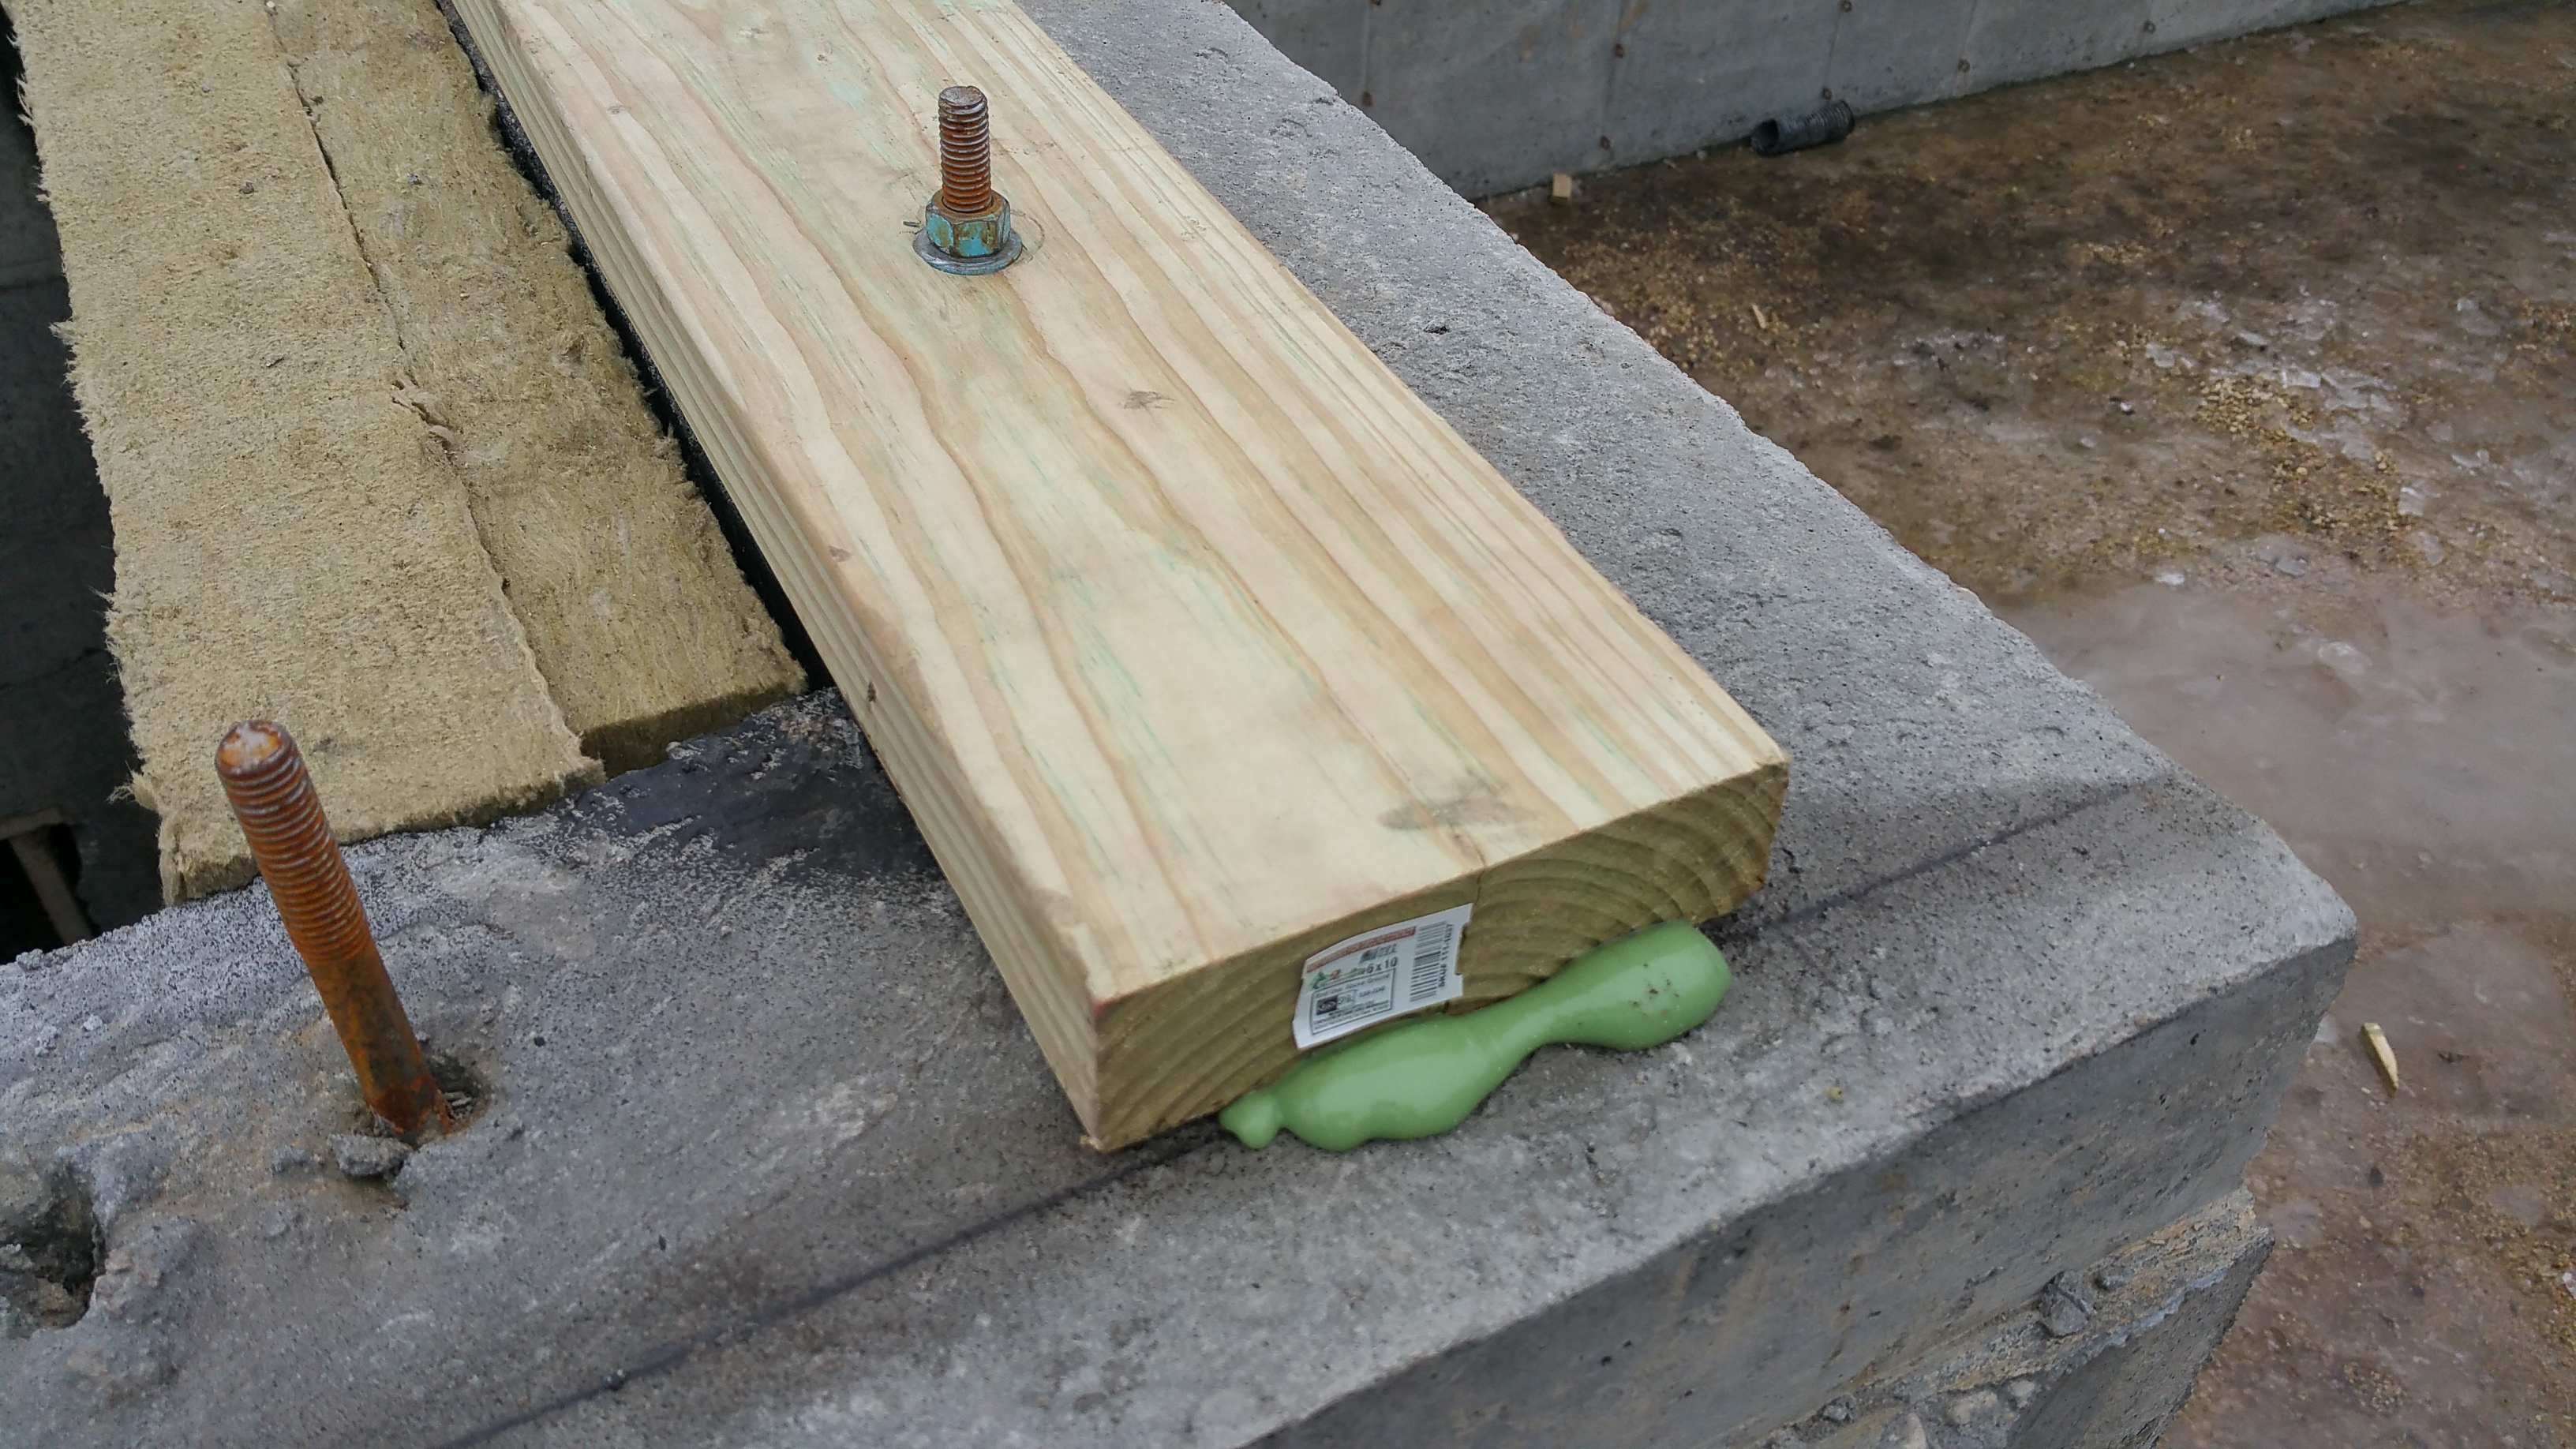
Installing the sealant on the mudsill (interior/exterior edges, seams, and bolts/nuts/washers) required some gymnastics:


Once again, based on Steve Baczek’s design — going from exterior to interior — here is our Mudsill Air Sealing Approach:
- Bead of sealant on the exterior side of the 2×6/foundation connection
- BG65 gasket under the sill plate — along with a thick bead of sealant under the gasket and sill plate (including around bolts)
- Bead of sealant on the interior side of the 2×6/foundation connection
- And then, finally, a taped connection on the interior side of the 2×6/foundation connection as a last line of defense against air infiltration (which I’ll complete once all the trades go through the interior of the house).
The approach assumes I will make mistakes at certain points with each layer of air sealing, so I’m counting on these layers of redundancy to protect me from myself. Again, this is the first time I’ve ever done this, so the theory is that even if I make a mistake in one area, it’s unlikely that I will make a mistake in exactly the same spot with successive layers of air sealing.
Obviously I’m trying to do my best with each layer, but I like the idea of added layers of protection (a Passive House obsession), especially when accounting for the long-term life of the structure. Even if each layer could be installed perfectly, presumably each layer will fail eventually at different times and in different places (hopefully 50-100 years from now if the accelerated aging studies are accurate), so hopefully these layers of redundancy will help maintain significant air tightness far longer than if I chose to use fewer layers. Plus, I’m enjoying sealing everything up, so I don’t mind the process, which always helps.
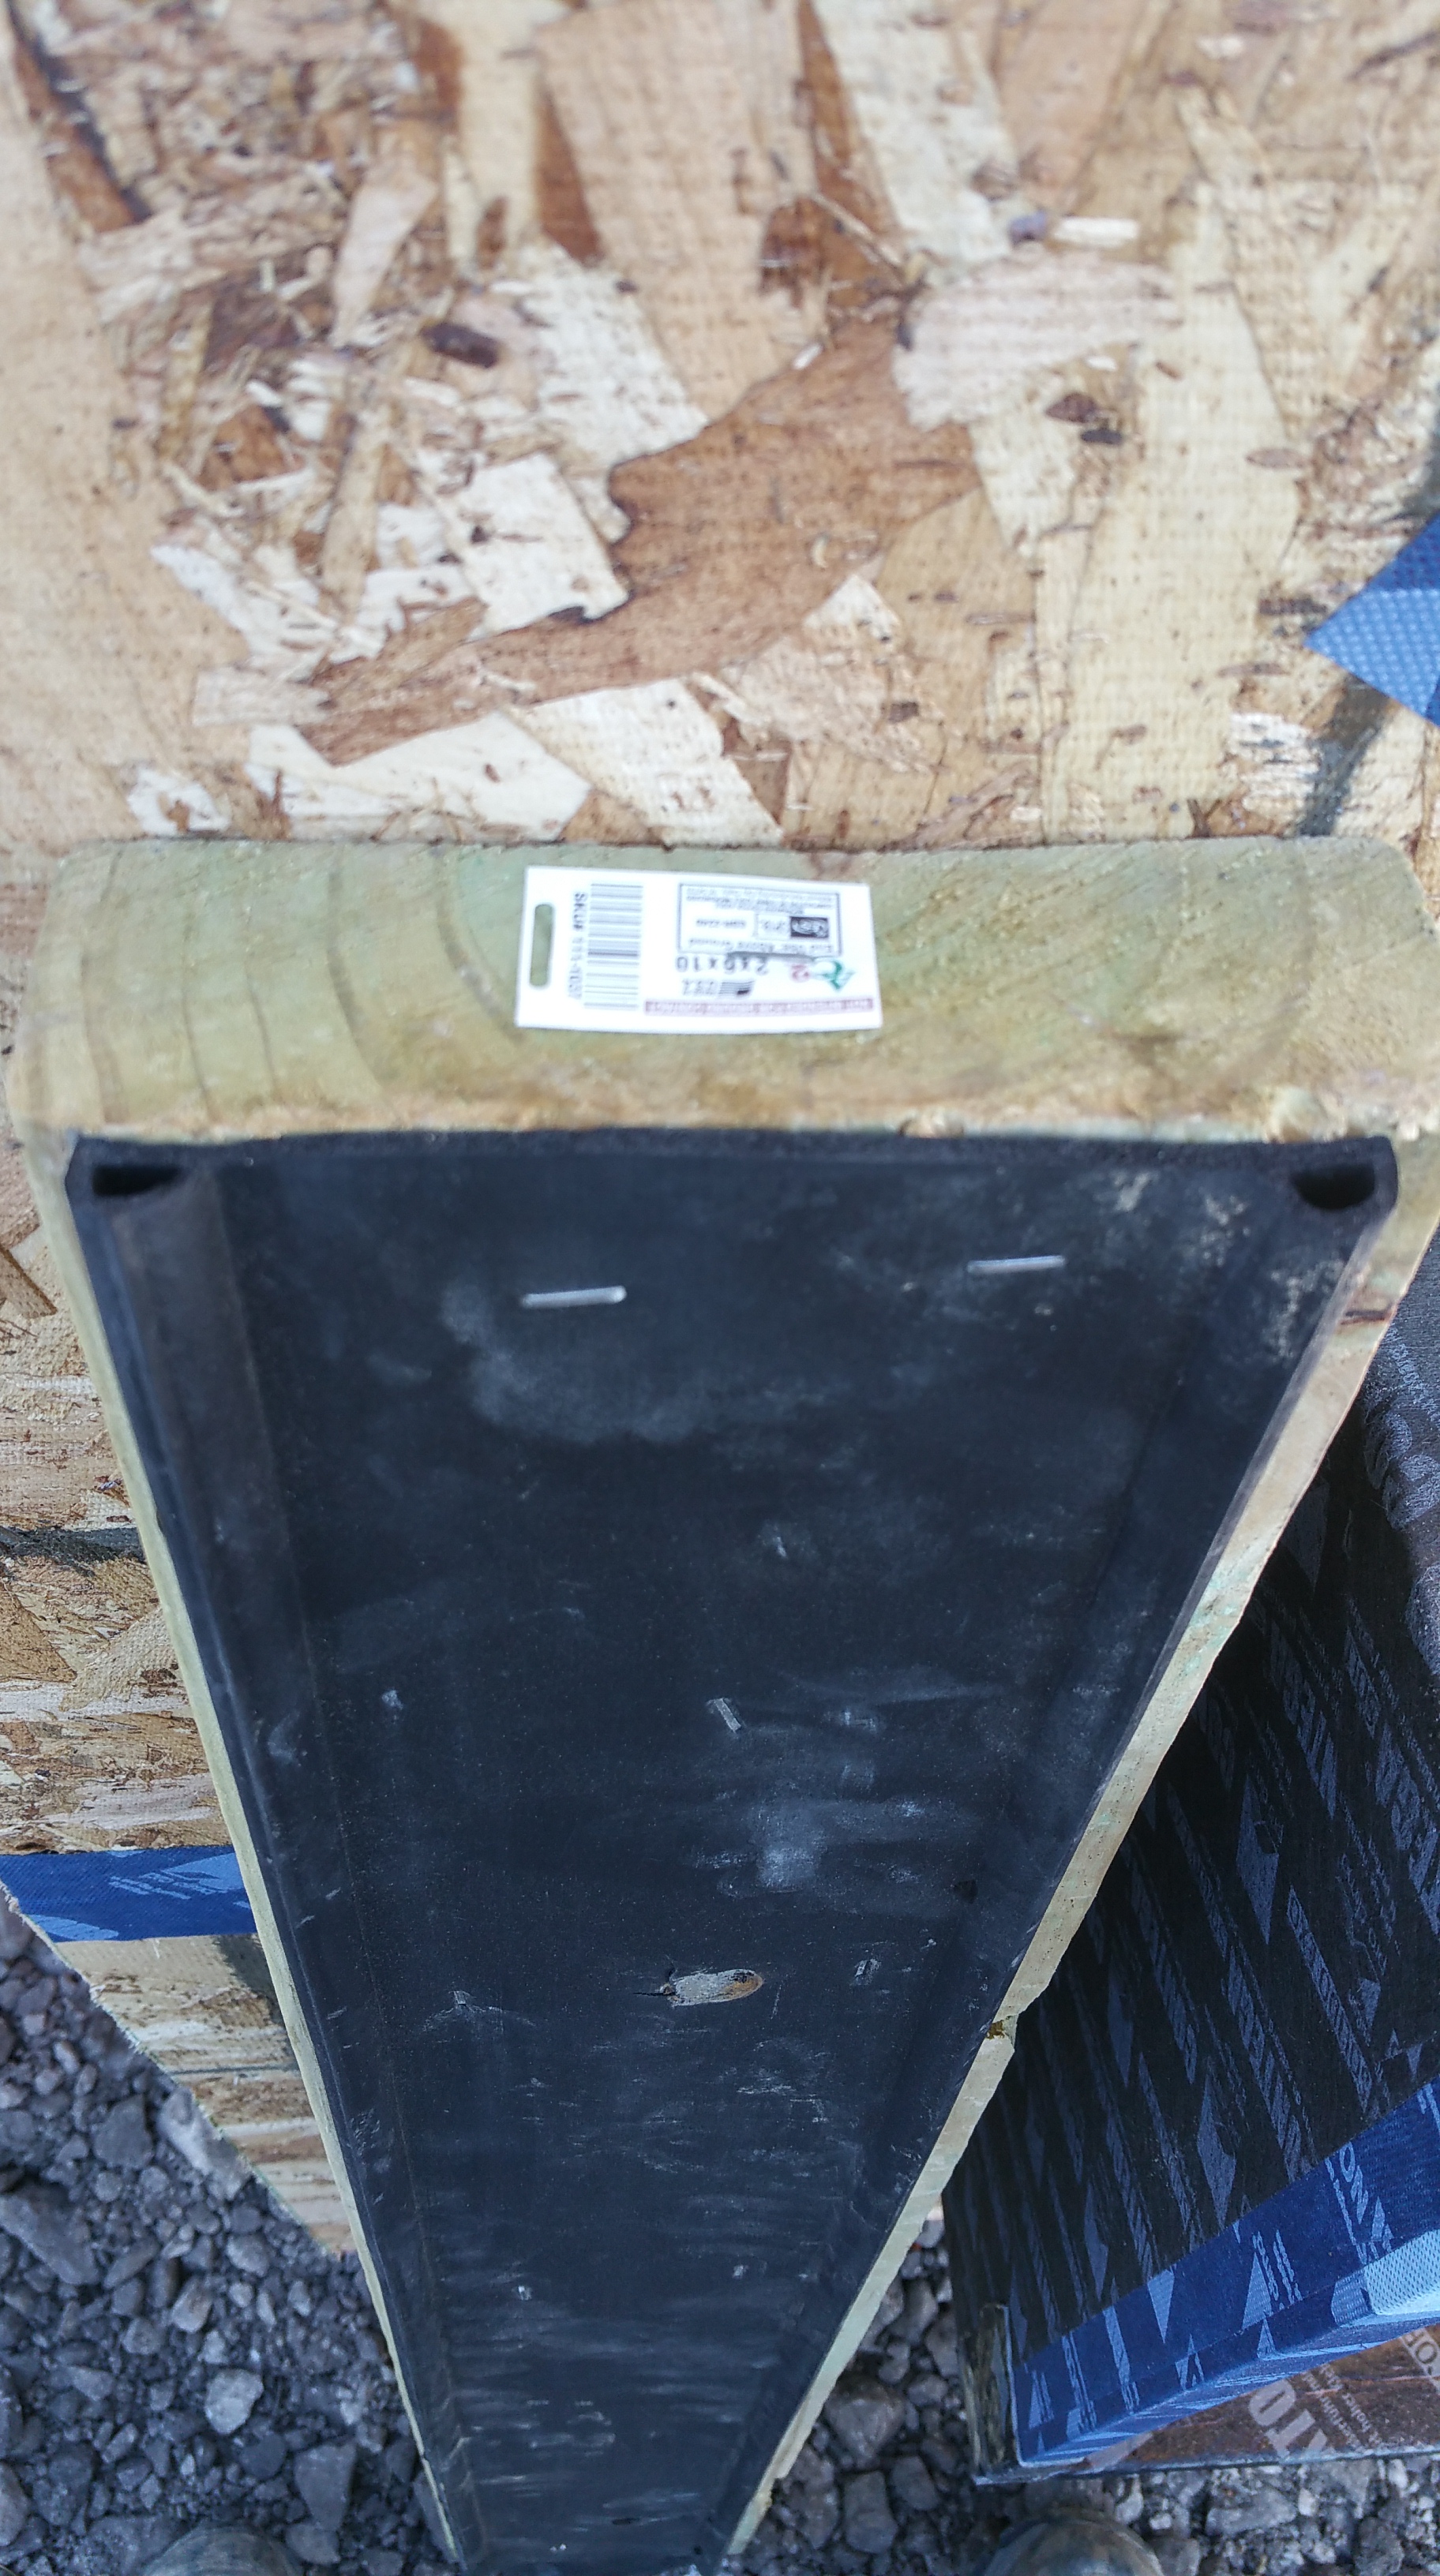
For larger gaps (not just for mudsills, but anywhere in the building envelope), roughly 3/8″ inch or larger, I am utilizing backer rod to help fill the gap before applying sealant.
This is what it looks like:

The backer rod (readily available at any hardware store) makes life easier for caulks and sealants — less stress on the connection between materials as the inevitable expansion and contraction occurs in the gap.
Hammer and Hand’s Best Practices Manual has the best explanation for their use that I’ve come across:
“While the humble sealant joint may be uncelebrated, it is vital to building durability and longevity. Proper installation is key to sealant joint integrity and function throughout a life of expansion and compression, wetting and drying, exposure, and temperature fluctuation.
Note: Because sealants are just as good at keeping moisture in as they are in keeping it out, placing a bead of caulk in the wrong location can result in moisture accumulation, mold and rot, envelope failure, and hundreds of thousands of dollars in repair and remediation. If we know anything, we know that building envelopes will get wet – the question is, “where will the water go?” Make sure you know the answer throughout construction, especially as you seal joints…

… Joint Rule of Thumb: Sealant should be hourglass-shaped and width should be twice depth (shown in diagram).
Backer rod diameter should be 25% larger than the joint to be filled.
Joint size should be 4x the expected amount of movement (usually about 1/2” of space on all sides of the window casement).
Ideal joints are within a range of 1/4” at minimum and 1/2” at maximum. Joints outside this range require special design and installation.
Always use the right tool: sealant is not caulk and should never be tooled with a finger (saliva interferes with bond).
Substrates need to be clean, dry, and properly prepared (primer if necessary).
When dealing with thermally sensitive materials, apply sealant under average temperature conditions because joints expand and contract with changes in temperature…”


Air Sealing: Rim Joist – Floor Joist – Mudsill Connections
Since there was time between completion of the rim joist/floor joist installation and the installation of the sub flooring (a weekend), I took the opportunity to seal up all the visible connections.

Once the subfloor goes in, these connections are still accessible from inside the basement, but the space to work in would be really cramped and uncomfortable (at least I thought so).

The same areas after applying the sealant:

I found the silver Newborn sausage gun (photo below) worked great for thick beads under the mudsills, but the blue gun worked even better for all other seams. Because the blue gun utilizes disposable tips, it was easy to cut the tip to exactly the size I needed, thus using (wasting?) less material (and hopefully saving a little bit of money).
An added benefit of the disposable tips is less time required for clean up at the end of the day (always a good thing). Both guns work great, and appear to be really well-made, although I would probably only buy the silver one again if I consistently needed a fat bead of sealant.

In the photo below, I filled larger gaps with either backer rod, or in the case of the largest gap, bits of pulled apart Roxul Comfortboard 80, before applying the sealant. Since this is the first time I’ve done this, these are the kind of connections that I failed to anticipate beforehand. They are definitely worth planning for.
The temptation is to just fill these kinds of voids with sealant, but for the long-term durability of the connection backer rod or some kind of insulation stuffed into the gap is a better solution. Filling the voids before sealing doesn’t take much additional effort, so it’s definitely worth taking the time to do it right.

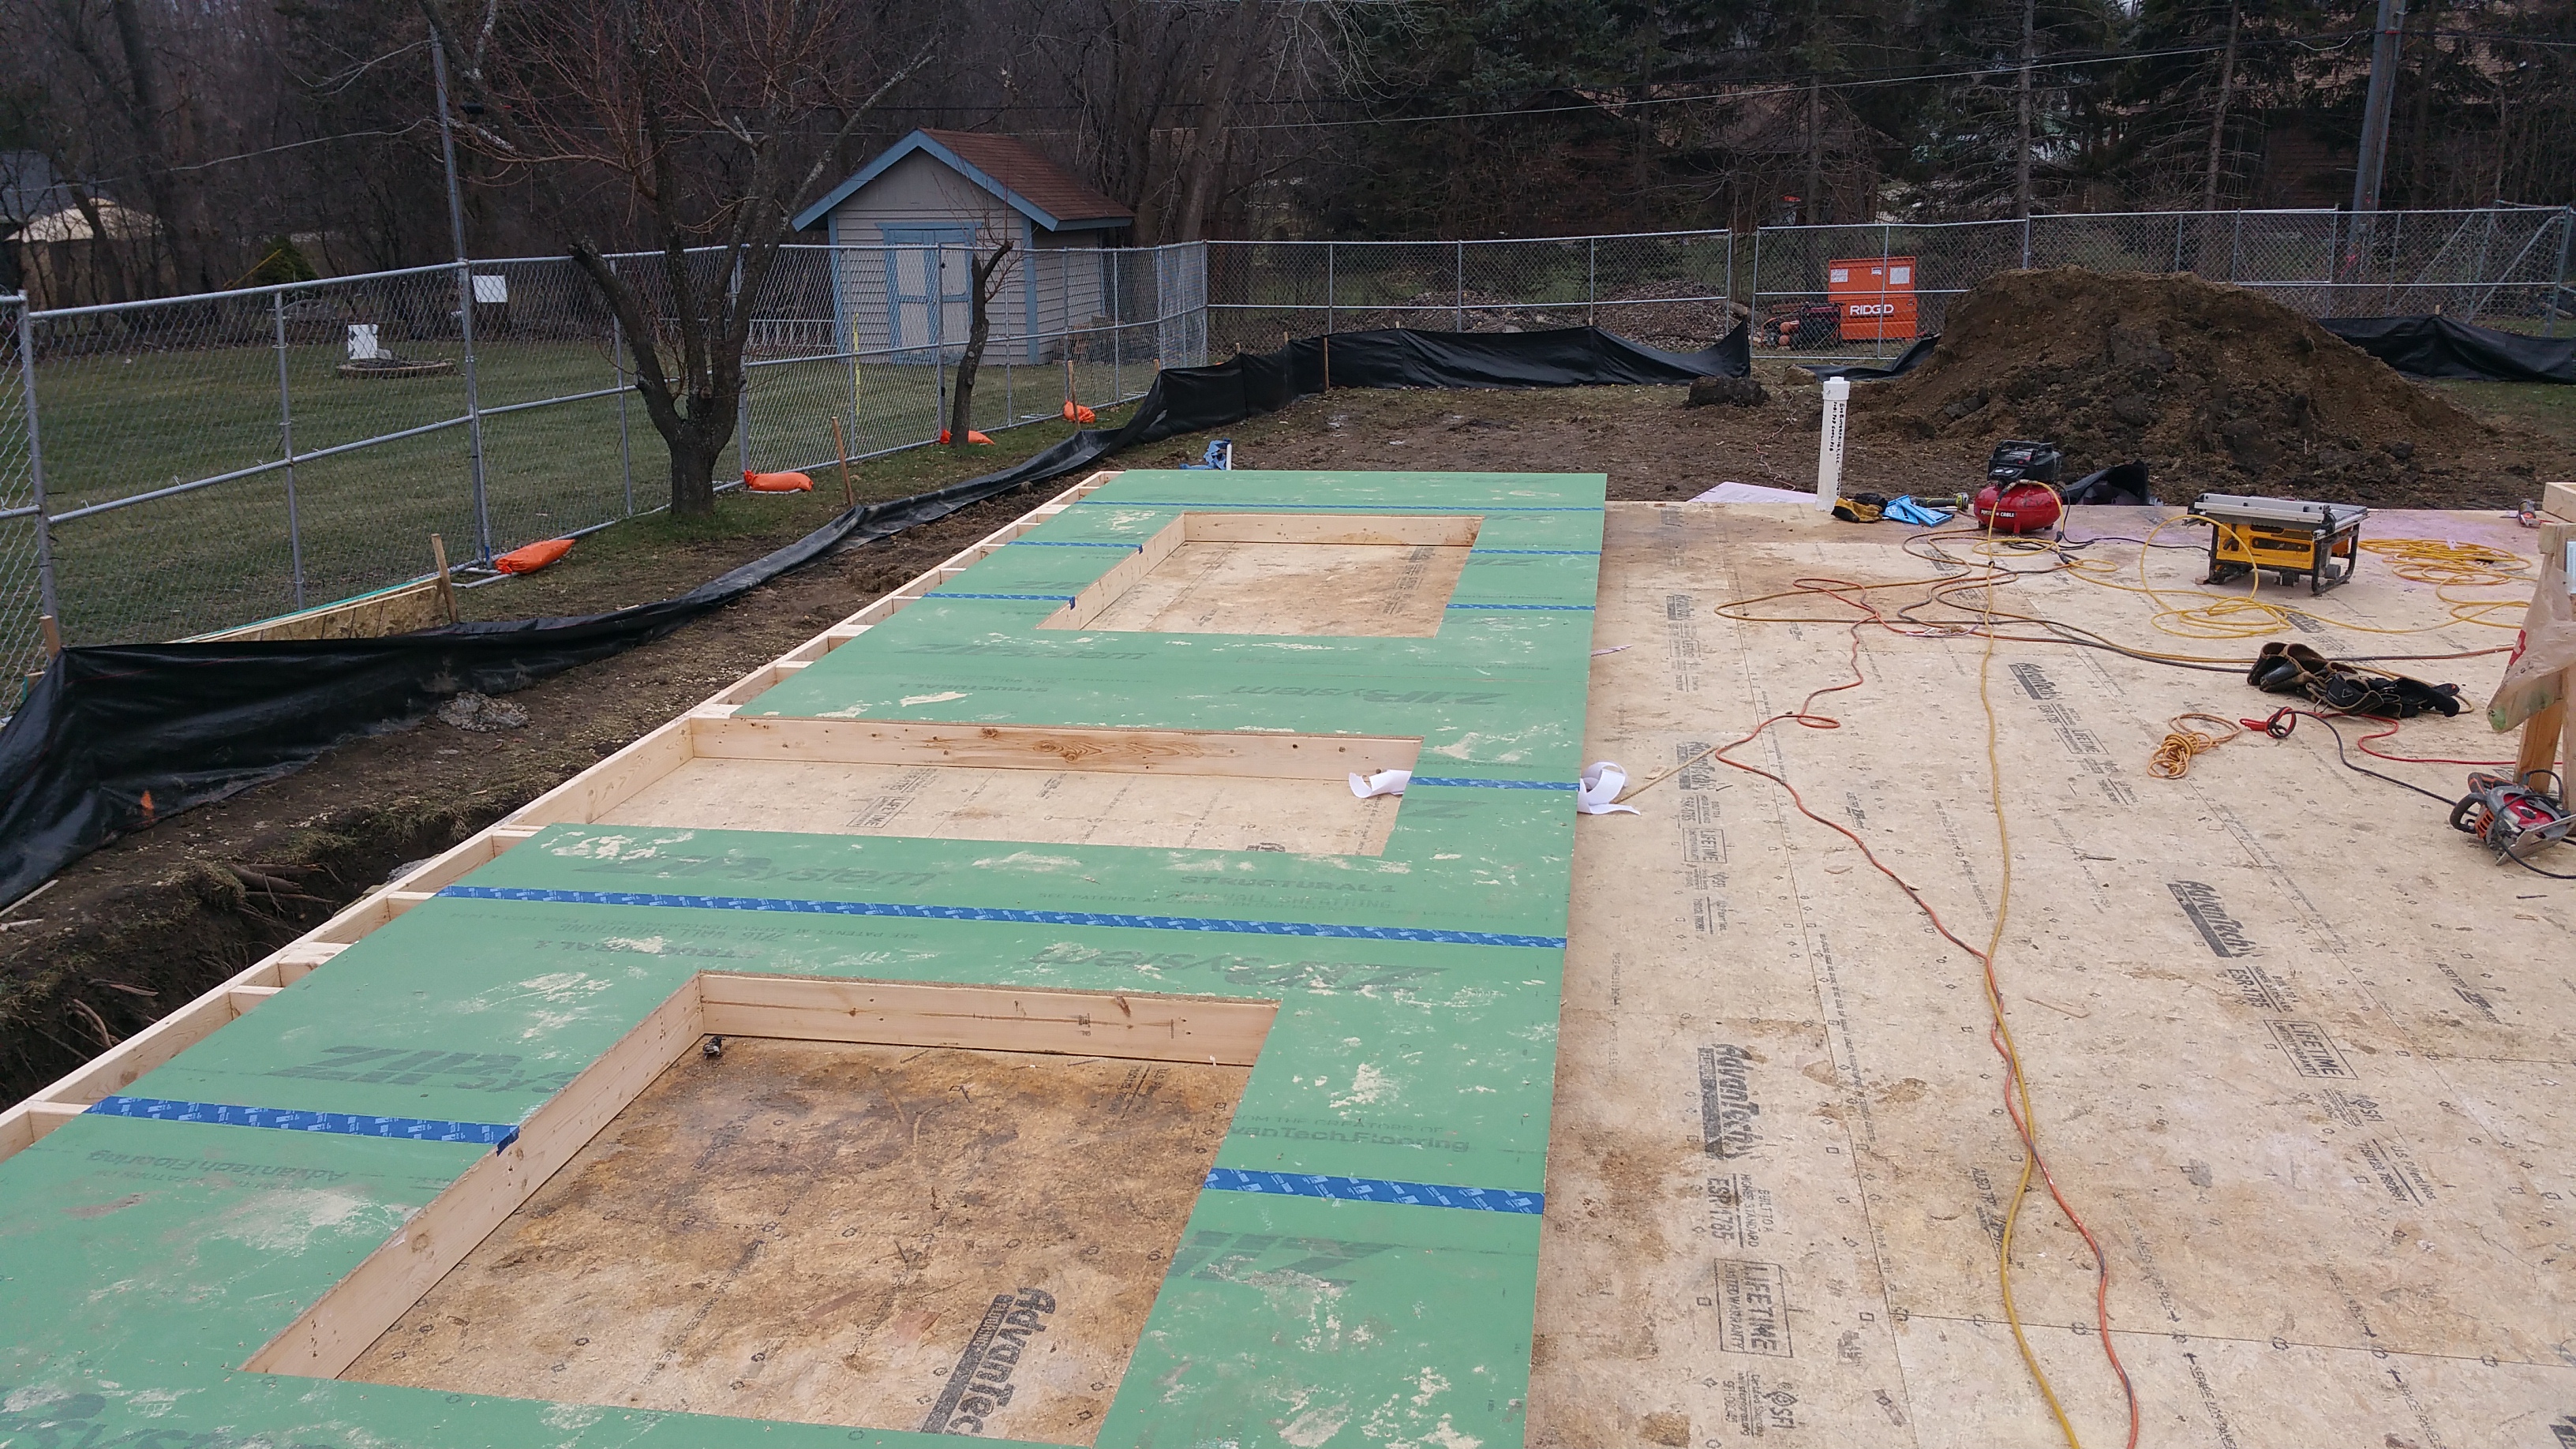
Knee Walls Installed
Because our lot is sloped, the plans called for a series of knee walls:

When I saw the first piece of Zip about to be installed, I realized the bottom edge, which is exposed OSB, would be sitting directly on top of the Roxul on the foundation. While it’s unlikely that water will find its way to this edge (the flashing for the wall assembly will be installed over the exterior face of the Zip at the bottom of the wall), it seemed like a good idea to tape this edge with the Tescon Vana for added protection and peace of mind (even if it only protects this exposed edge until the rest of the wall assembly is installed).

Knee wall pictured below had all exposed seams in the framing lumber filled with the Contega HF sealant before also applying the Tescon Vana tape, all of which was done prior to the Zip sheathing being installed. The sealant takes about 48 hours to cure enough before you can effectively cover it with the Pro Clima tapes (something to consider when setting up scheduling goals).


For the bottom, exposed edge of the Zip sheathing, I cut the Tescon Vana tape like I was wrapping a present…


Once the Zip sheathing was installed on the knee walls, I could move into the basement and seal up the connections between the Zip and the framing members, in addition to hitting any seams in the framing itself.
Once the house gets closed in, I will go back and tape the connection between the top of the foundation and the mudsill for one last layer of protection against air infiltration.

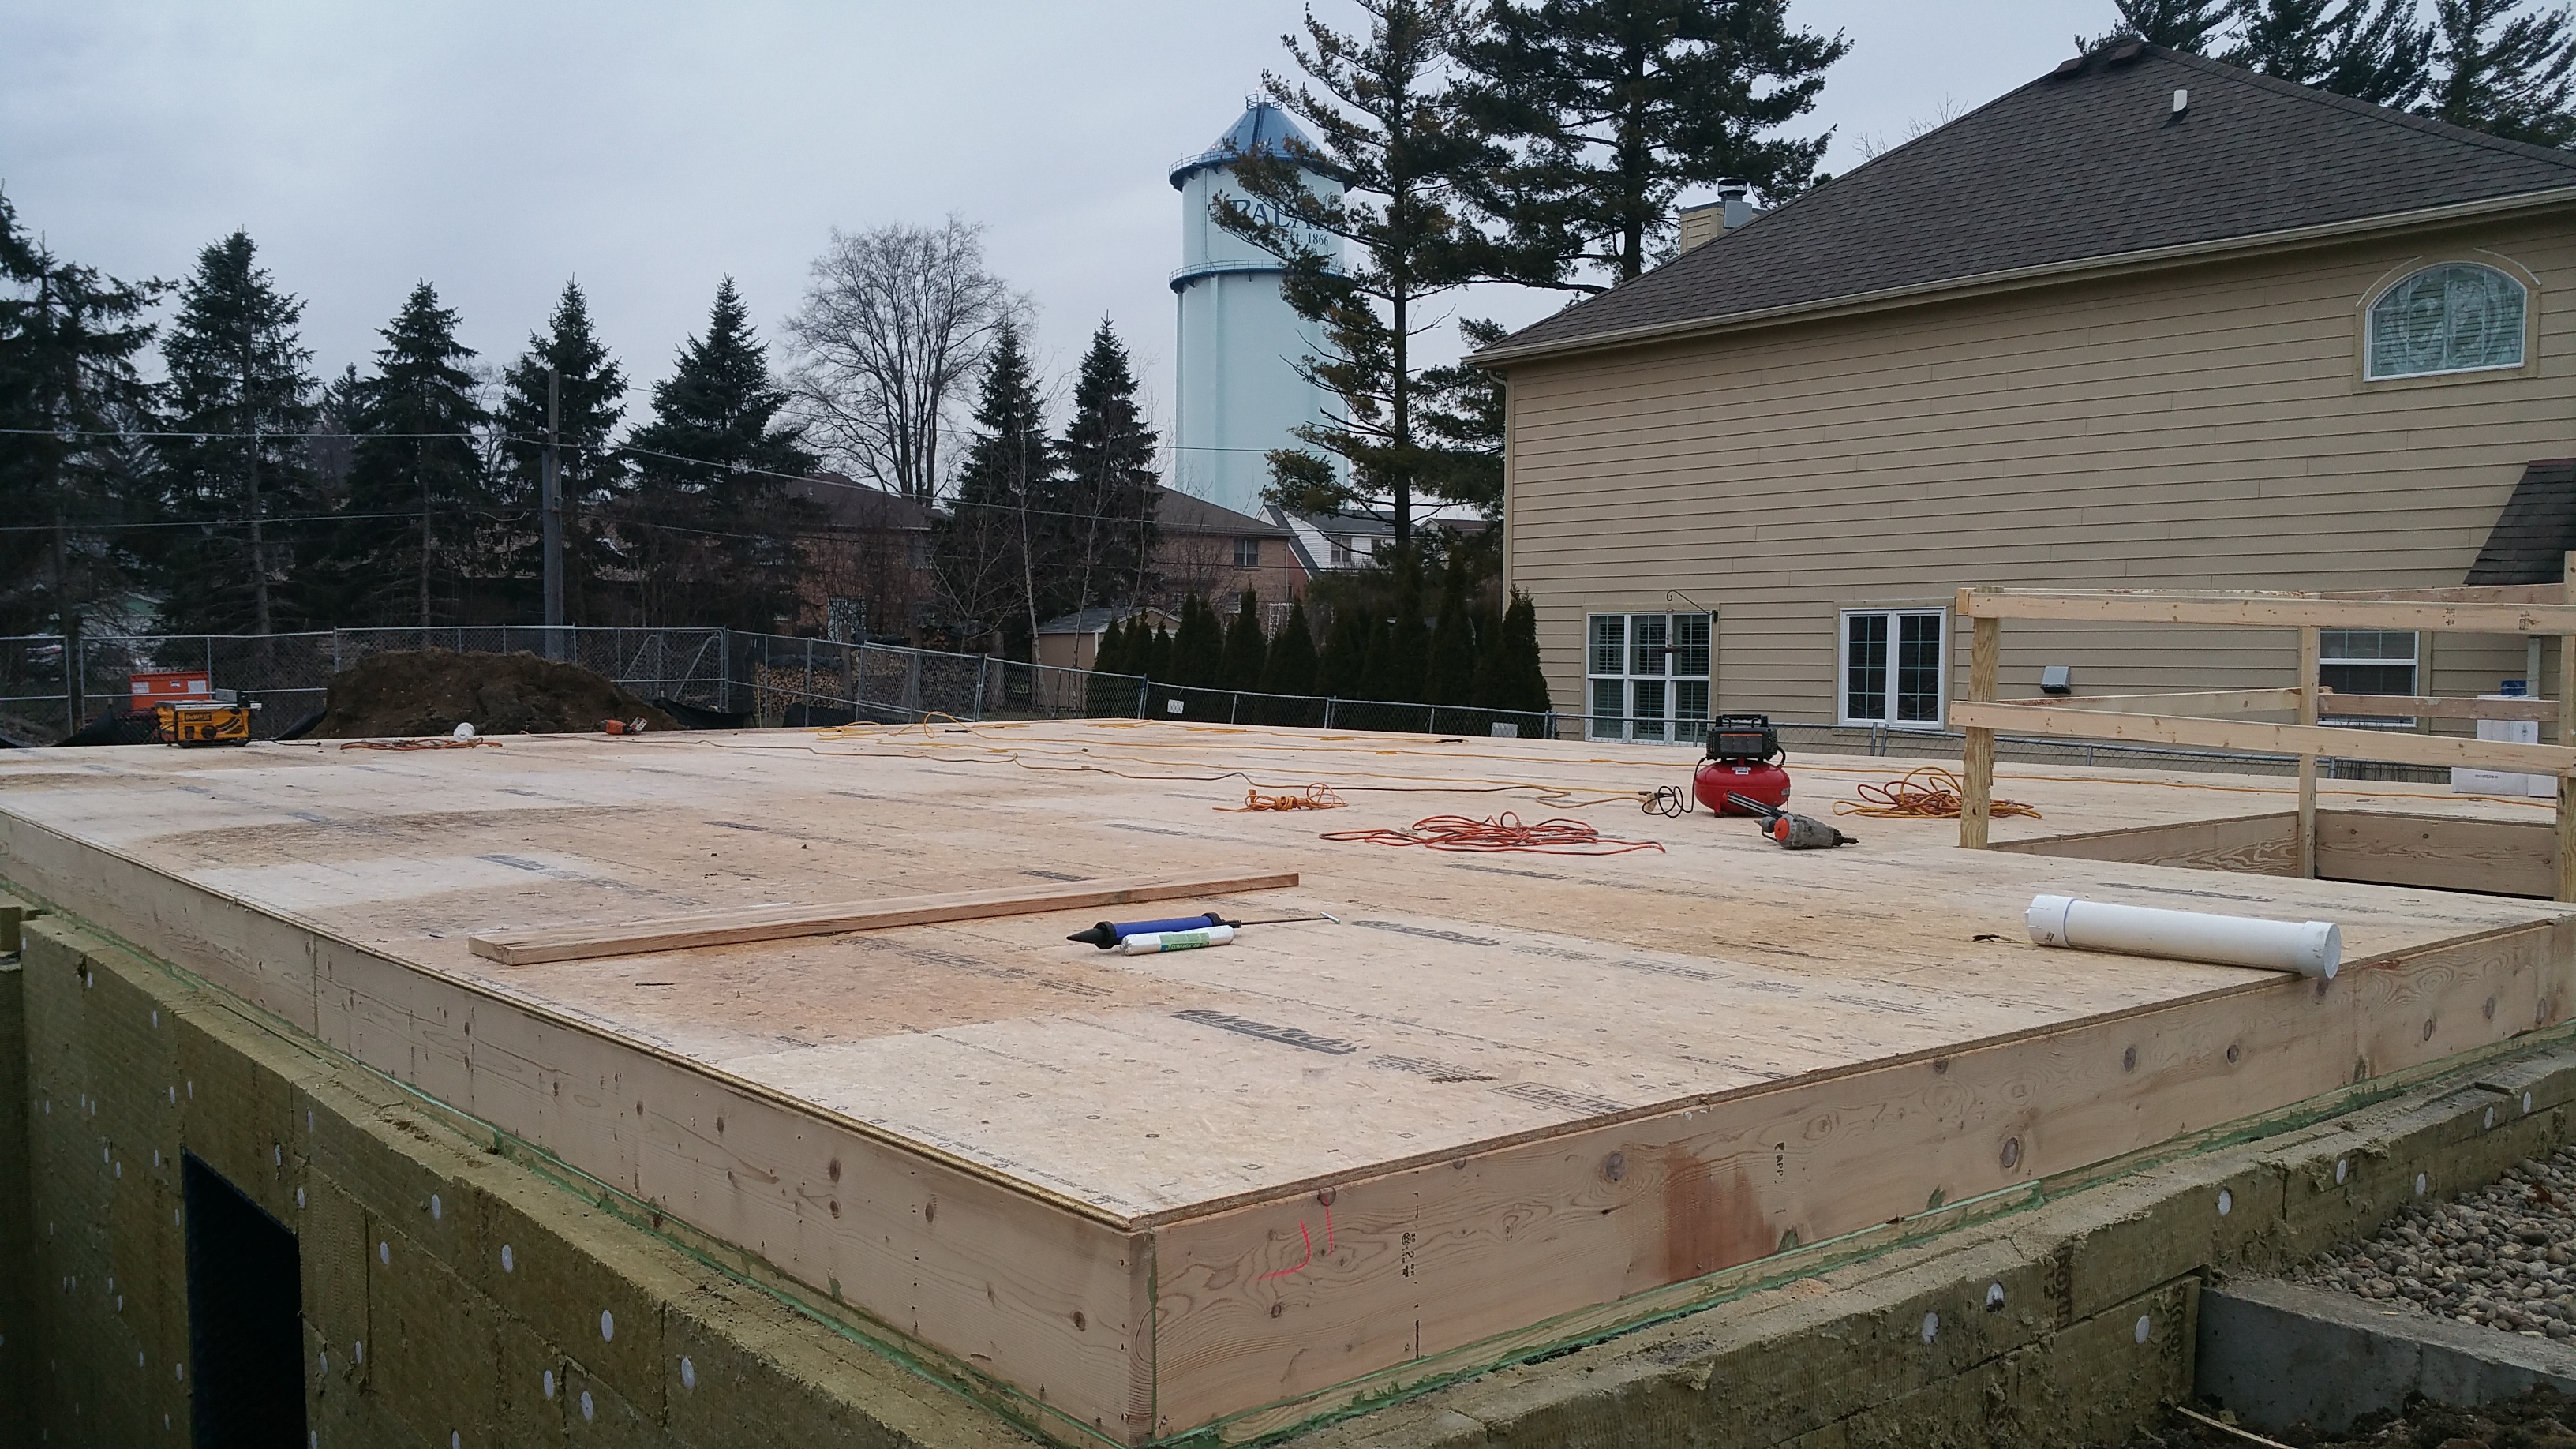
Subflooring
We decided to use Huber’s Advantech Subflooring after years of reading about it in Fine Homebuilding magazine, and based on the online comments from installers who see the added benefits that come with what is an admittedly higher price point. For instance, it’s more resistant to moisture, so it should produce more stable, flatter flooring (e.g. hardwood or tile) when the house is complete, in addition to preventing annoying floor squeaks.

In order to maintain a high level of indoor air quality (IAQ), we’ve been seeking out low or no VOC products. So, in addition to the Advantech subflooring, which is formaldehyde-free, we chose the Liquid Nails brand of subfloor adhesive (LN-902/LNP-902) because it is Greenguard certified. Another great resource for anyone trying to build or maintain a “clean” structure is available at the International Living Future Institute website: The Red List


Basement slowly being covered by subflooring:

Walls Go Up
Our wall assembly is almost entirely based on Hammer and Hand’s Madrona House project, which I discuss here: Wall Assembly
In preparation for construction, I built a mock wall assembly in order to easily explain to anyone on site how the various components should go together. It also gave me a chance to practice using the Contega HF sealant, along with the various Pro Clima tapes from 475 High Performance Building Supply.

It’s been exciting to see the walls go up, incorporating the many details in the mock wall assembly.


The final step before the walls were raised was to staple the B75 gasket to the bottom of each sill plate.


View from south-east corner of the house with the guys framing in the shadow of the water tower:

The only section of wall where the B75 gasket rolled up on itself is shown below — no doubt because this was the most difficult section to get into place because of the stair opening. Otherwise, the guys had no issues with the gasket.
Even on this wall where the gasket did roll up on itself, I will cut off the excess that ended up on the interior side before sealing the connection with the subflooring, and then spend some time filling the void on the exterior side with backer rod and sealant as well.

Below you can see some of the junctions where different materials meet, and the effort that’s going into air sealing these inevitable gaps: sealant at rim joist corners, rim joist – subfloor connection, and gasket under the wall sill plate:


We’ve tried very hard to keep foam out of the wall assembly and the overall structure itself (based on environmental concerns), however, one place where it did find its way in was the insulated headers for above our windows and doors:


Once the perimeter walls were up, I went around with an impact driver and decking screws to tighten the connection between the Zip and the framing members, especially at the top of the walls. Although the Liquid Nails adhesive helps a lot, it still makes for an imperfect connection between the sheathing and the framing members:


Having seen construction adhesive and nails in action, I would recommend a glue-and-screw approach if you’re trying to fully maximize the tightness of the connection between the sheathing and the framing.


Excellent presentation! You are surely a modern Craftsman. Wish I could find such talent to build my North Georgia mountain view home
LikeLike
Thank you for the kind words!
Even here in the Chicago area, where there’s no shortage of tradespeople, it was a real struggle to find subcontractors willing to tackle Passive House details. For whatever reason, trades here in the Midwest have been slow to adopt “green” building techniques and products. I met resistance from many of them, even some of those I ended up hiring. It made for a really stressful and, oftentimes, frustrating building process.
“North Georgia mountain view home” sounds beautiful.
Good luck with your project!
If you need help, let me know. Feel free to contact me directly at my email address: zewt [at] hotmail [dot] com
Thanks for checking out the blog!
LikeLike